Showing posts with label Noris Raketen. Show all posts

Thursday, November 17, 2016

Noris Raketen Aggregat - 9, Finished


This was an interesting build! Everything I've read about these kits is true. Poor fitting parts, incorrect fin templates and not much room for wadding and a parachute.
I don't think I would ever have the guts to launch this one. It is heavy!
It has already been sent off to the client.

Wednesday, November 16, 2016

Noris Raketen Aggregat - 9, Part 13, The Canopy

The rubber canopy was different.
It was molded with a flat bottom.  There is no way it'll fit the nose cone curvature.

I held some 220 grit around a BT-55 and sanded the bottom.
The rubber rolled around and was pushed to the outside edges. It was still stuck to the sides and had to be scraped off.
The inset picture shows the slight arc on the bottom.


This mask was simple.
The tapered back end was painted black.


Some Fabri-tac glue was spread on the bottom of the canopy.
After being set and centered, masking tape was used to hold the ends down and form the rubber to the nose cone curvature.

Noris Raketen Aggregat - 9, Part 12, Home Print Decals and Trim


The kit included stickers. After you spend this much time on a build it doesn't seem right to compromise and use peel and stick trim.

The markings were drawn on Corel Draw and home printed on Bel decal paper. 3 coats of Krylon clear acrylic were sprayed on the decals.
Home print decals take longer to soak and transfer than mass produced kit decals.


I used a thin strip of aluminum Trim Monokote at the tail cone / body tube joint.
Once the strip was tucked into the root edge it was trimmed off with a razor blade. (It looks crooked but is actually straight.)

Tuesday, November 15, 2016

Noris Raketen Aggregat - 9, Part 11, Masking For The Black

Here's the start of the fin mask.
The edges were set using Scotch tape. The tape was hit with a marker before being cut to better see the clear edges.

Note for novice builders - Paint masking lines will never be sharp unless the surfaces underneath are clean and smooth. While some builders pay extra for specialty masking tape, I can get the same results using clear Scotch tape. Don't expect great results the first time you use any new tool or building material. Practice makes close!


Everything else was covered with masking tape.

All the edges were sealed with a once over with a Q-tip.


After the tape was pulled the results were pretty good.
There will be some touch-up before the decals are applied.

Monday, November 14, 2016

Noris Raketen Aggregat - 9, Part 10, Short Fin Fitting


The smaller fins are cut from thick mat board, almost 1/16" thick.

The instructions say something about coating these fins with a glue and water mixture to seal them. I'll just use primer.

I did use some white glue to seal and round off the fin edges.
A bead of white glue was set down the edge and rounded over with a fingertip.
After it dried I did some light sanding with 400 grit.
The fiber fins were shot with primer/filler and sanded.

The die-cut root edge fit wasn't good. The fins are thin and glued to a plastic tail cone. I wanted as much root edge contact as I could get.
The fins were glued onto the tail cone with the Beacon Fabri-Tac glue. The joint feels flexible at first but gets harder and stronger the next day.


Enlarge the picture to see the fit.
The fitted fin is on top, you can see what trimming is needed on the lower one.


The plastic launch lug is cut in two and the ends trimmed at a 45 degree angle.
These were also glued on with Fabri-tac.

Saturday, November 12, 2016

Noris Raketen Aggregat - 9, Part 9, Lining Up Long Fins

The lower long fins were already glued onto the main body. Where wood was glued to body tube, wood glue was used. When wood was glued to plastic I used the Beacon Fabri-Tac glue.

Above the clothespin notice the outside edge of the upper fin is purposely cut wide. After the glue dries I can more accurately sand that edge down to match the contour of the lower fin.

A flipped clothespin was used to hold the two fin halves in alignment. The clothespin wood halves have been reversed for a even flat clamping surface : CLICK HERE


With a sanding block the sides were taken down and matched with the lower fins.
The outside edges are now square and can be rounded together.
The sides were rounded with 400 grit.


The tops of the nose cone fins were trimmed and rounded.

The long fin fitting was the hardest part of the build. The fin kit patterns were short and the curved cut lines didn't match the tailcone or the nose cone.
The negative things I've read about Norris Raketen kits are turning out to be true! The kits can be built - but be ready to make many adjustments to the parts.


Friday, November 11, 2016

Noris Raketen Aggregat - 9, Part 8, New Nose Fin Fitting


The top ends of the lower long fins were sanded flush with the body tube end.
On the left you can see the fin is just a bit longer than the body tube.


New nose cone fins were cut longer so they would go to the top of the nose cone, or closer to it.


On the left you can see the fin going beyond the tip of the nose cone.
The sides are wider than the lower fins. After they are glued on to the nose cone the low ends will be sanded to match the lower fin width.

The inset picture shows the inside tip. The nose cone top had a slight bowing out.

After more sanding the nose cone fins match the contour.
The fin tip was sanded to match the height of the nose cone.

Just the leading edge of the fins tops were rounded.
The nose cone had the primer sanded off for better adhesion.
After the fins are glued on the low sides will be sanded to match the lower fins. Then the rest of the leading edge will be rounded.

Thursday, November 10, 2016

Noris Raketen Aggregat - 9, Part 7, Main Fin Gluing and Launch Lugs


After the other snags in the kit I double checked the fin placement recesses in the tailcone. They were off! Not by much, but enough that the fins wouldn't be evenly spaced after gluing.


The launch lugs are plastic.
As per the instructions the ends were cut off at 45 degree angles.

Wednesday, November 9, 2016

Noris Raketen Aggregat - 9, Part 6, Parachute Shelf

A chute shelf is added so the parachute won't shift down inside the tube during boost, possible shifting the Center of Gravity.

The translated instructions don't tell you how to install the shelf. Without some sort of tool to press it in place, this ring will spin around and drive you nuts trying to get it at the correct location - 55mm from the top of the tube.

The inset picture shows the 55mm location and what little room is left for the wadding and parachute with the nose cone shoulder slid in place.

The instructions show the shock cord tied to the ring, another thing to get in the way while trying to glue the ring in place. I tied a Kevlar line to the engine mount earlier.

I learned this from a Sirius Rocketry kit.
TIP: To place the shelf ring, roll a tube of paper a little smaller than the inside diameter of the airframe tube. Tape the tube closed.
Mark the rolled paper at the 55mm mark.
Set the ring inside the end of the tube and slowly press it down inside with the rolled paper up to the 55mm mark.
It might take a few tries to get the ring in the correct place.

With a dowel apply a few dots of glue to tack the ring in place. After that dries a fillet can be added.

Tuesday, November 8, 2016

Noris Raketen Aggregat - 9, Part 5, Fin Fitting

The two long fins were cut out using the kit supplied templates. I was surprised to find they were 1/2" short of the front of the body tube!
Yep, I should have checked the length of the root edges before cutting any wood.
Good thing the kit supplied plenty of extra balsa.


The nose cone fin extension fit pretty well after some careful root edge sanding to match the curvature.
This fin pattern was also a bit short after comparing it to the instruction drawings! I'll have to cut and fit two more.


The fin on the left is after shaping to fit the tail cone and body tube joints.
After the first fin was trimmed the root edge was traced onto the second long fin (on the left) for shaping.

Monday, November 7, 2016

Noris Raketen Aggregat - 9, Part 4, Nose Weight

This model requires 45 Grams of nose weight. The kit supplied clay weighed 45.7 grams.

I don't make clay worms to be pressed into the nose cone, I find myself chasing the ends around with a dowel.
It's easier to pack in small balls of clay. The pointed piece at the top goes in first, right into the nose cone tip.


The clay was moist and packed in well.

The "X" shoulder cap was too tight. I had to sand the sides just to get it inside. It was glued in using the Fabri-Tac glue.

Saturday, November 5, 2016

Noris Raketen Aggregat - 9, Part 3, Engine Mount


A notch was cut for the switched out engine hook.

No engine block was in the kit, I added a 20/50 ring.


A engine hook relief notch was cut in the back end of the tailcone.

The engine mount tube outside diameter was very loose against the low end of the tailcone. Another centering ring was glued on sanded down until a friction fit was reached.


Beacon Fabri-Tac glue was used around the shaved lower ring and the engine mount was pressed into place from the top of the tailcone.

From the top a fillet ring of Fabri-Tac glue was applied using a Q-tip.

Friday, November 4, 2016

Noris Raketen Aggregat - 9, Part 2, Engine Mount

The engine mount tube was bigger than normal for a 24mm engine. I read that some German engines are 25mm diameter.
The inset picture shows a BT-50H (heavy wall) tube slipped inside the kit supplied tube.
I'll end up gluing this tube inside the larger one for a better fit without having to use too many wraps of masking tape.

You can see how rough the cut tube edge is on the left.


This is the line drawing for the engine mount.
It's pretty self-explanatory, if you speak German.


The engine hook didn't spring back after a light bending. I'll replace it with a spring steel hook.
There is no notch for engine hook movement indicated for the tail cone. The kit supplied hook would be bent and not usable after the first engine was slid in.

Thursday, November 3, 2016

Noris Raketen Aggregat - 9, Part 1, Parts

This build kit is from Noris Raketen, a German hobby company.
Here's some copy from the Apogee website that pretty much says it all:

"This is a warning: These kits are NOT for beginners. They require extra finishing skills from the modeler.
I want to point out the negative aspects of these kits up front, so that you know what you'd be getting when your shipment arrived.
The tubes in Noris Rocketry kits are not quite the same quality of tubes you would normally get from kits sold by Apogee Components. They do not have that smooth glassine coating that makes our tubes so nice to work with. You'll find they have a matte finish, like an ordinary piece of photocopy paper. I'm surprised at how much strength the glassine adds to the tube, because without it, these tubes feel a bit soft. The good news is that once everything is assembled and glued up, they are as strong as USA-made rocket kits. The ends of the tubes on the models we built were fairly rough, and the spiral seams were pretty deep. It will take extra work to prepare the tubes prior to painting them.
Some of the fits, where parts mate with each other, may also require a bit of work. For example, a couple of the centering rings on the Vostok kit were very loose. I had to use extra glue to fill the gaps than I'd normally apply to a model. In addition, I had one tube coupler that was a little tight, but this was easily fixed by peeling one layer of paper off the tube."


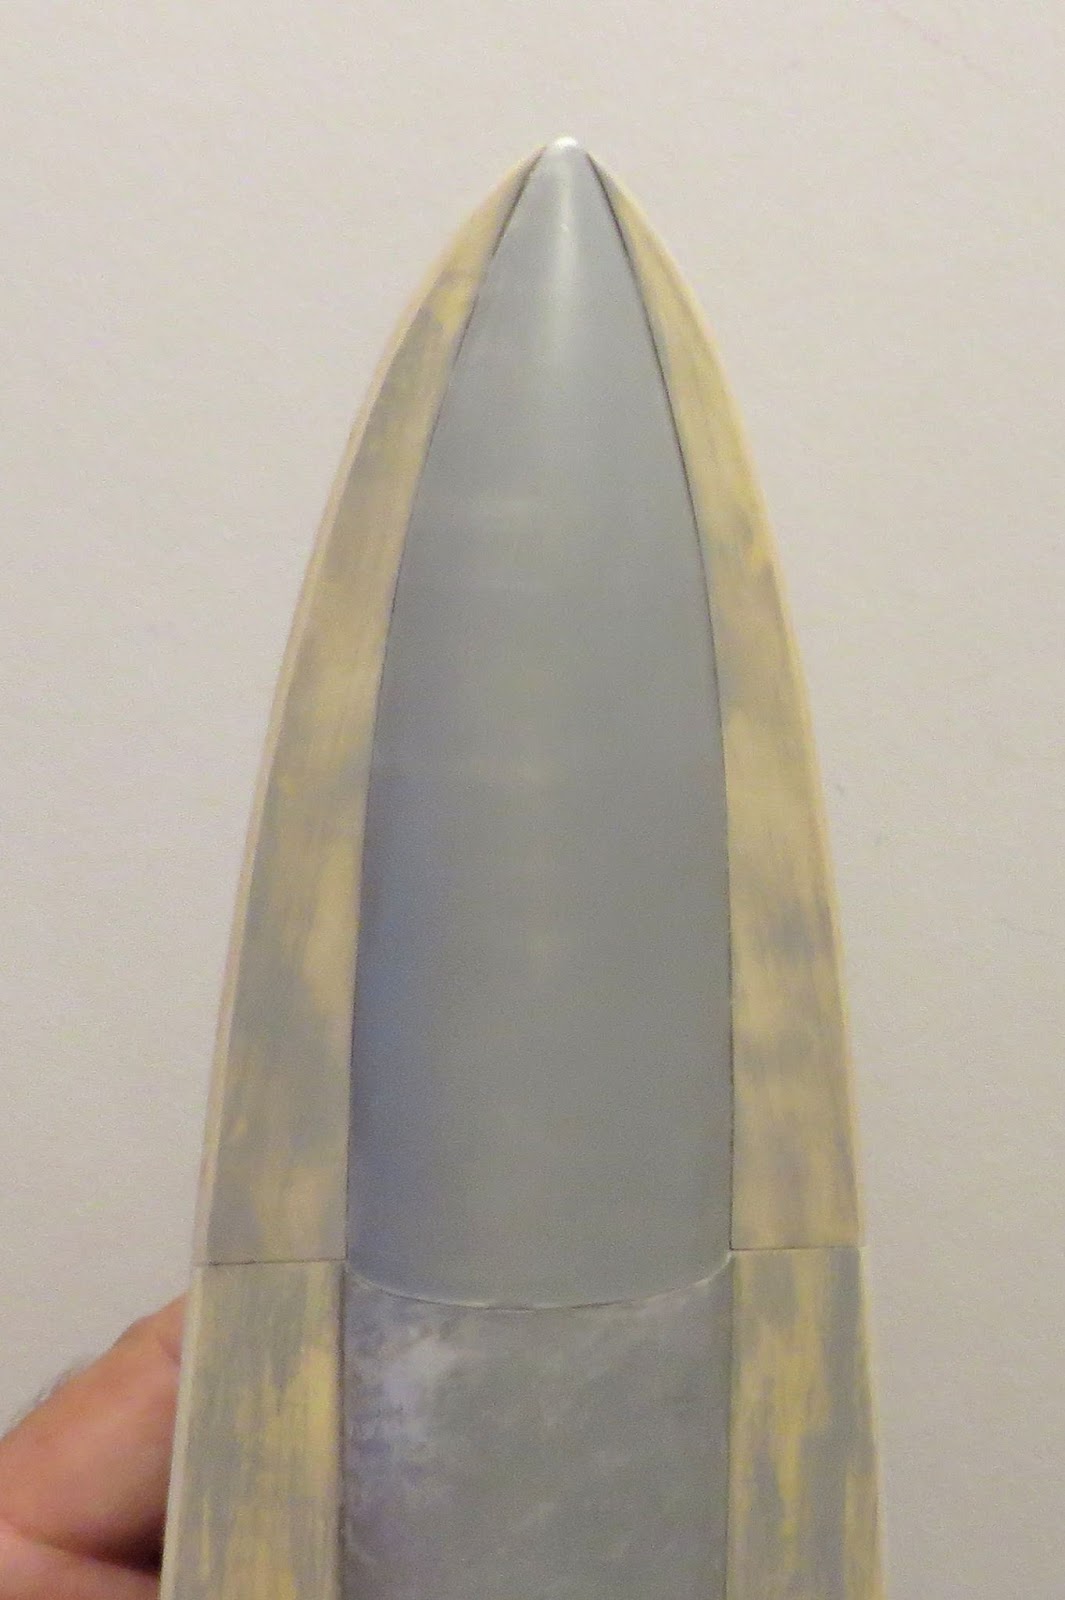
I had heard the Noris body tubes could be very rough, but these weren't that bad. Not Estes quality, but workable.
The instruction illustration is how I'll finish the model, not like the box picture.
(The 45 gram clay weight isn't in the picture.)

Parts of interest:
The round "X" piece is the nose cone base. Very tight fitting.
The engine mount tube is robust, thicker than a thick walled BT-50H.
The engine hook is spring steel, thicker than usual.
The decals are peel and stick. I'll probably draw up some new water slides.
The long oval shaped piece is the clear cockpit. Not a hard plastic but rubbery.
The round elastic shock cord is thick but way too short.
The fins pictured here are thick fiber. The larger side "wing" fins are cut from balsa.
The launch lugs are white plastic.

Hang on to your hats - This is going to be a bumpy ride!

Wednesday, November 2, 2016

Noris Raketen Aggregat - 9, Background

This is the Noris Raketen AGGREGAT - 9.

I'm building this one for a client.
I've seen them on Ebay but never put in a bid. Like the Chinese made MPC rockets, I'm always curious how rocketry is done in other countries.

There's not much available online about the rocket, but I did find this:
The Aggregate 9 (A-9) / Aggregate 10 (A-10) was the last in the Aggregate series of missile designed and developed by Dr.-Ing. Wernher von Braun in 1944 under the leadership of Dr. Walter Robert Dornberger, at Army Research Center Peenemünde.

The Aggregate 9 (A-9) / Aggregate 10 (A-10) was a two-stage intercontinental ballistic missile (ICBM) which design can be traced back to the early 1940s some of the people who assisted in the design were Ludwig Roth, Hermann Oberth, Walter Thiel. However work resumed in 1944, under the codename of Projekt Amerika. The Aggregate 9 (A-9) / Aggregate 10 (A-10) was 26 m long by 4.75 m in diameter and had a take off weight 100 tons and used the following engines first stage 1 × liquid fuel rocket engine producing up to to 30,500 kg of thrust. second stage 1 × liquid fuel rocket engine producing up to to 152,500 kg of thrust. Which gave a maximum thrust of 183,500 kg for 50 seconds of burn time.


There's not much to go on in the instructions and all the copy is in German.
The two pages shown here are specifically for this build. The inside and cover pages are generic looking a little like a condensed Estes Yellow Pages.

Here's the engine mount directions.


Page two shows the fin placement, launch lugs and cockpit locations.
That's about it!


I went to Google Translate and typed in most of the German copy.
Many of the words didn't translate so I'll have to wing it!

The box copy exclaims:
Lehrreich! = Instructive!
Raketenfliegen Ganzjahrig Erlaubt = Allowed rockets fly year round!
Sicher! = For Sure!
Interessant! = Interesting!
Immer Wieder Verwendbar! = Always Reusable!

This should be fun! = Das soll Spaß machen!