Showing posts with label Baffle. Show all posts

Wednesday, February 15, 2023

Centuri Quasar Clone Build, Kit #KC-7, Part 11, The Baffle

I didn't have a Centuri style Baffle, shown on the right side instruction drawing.
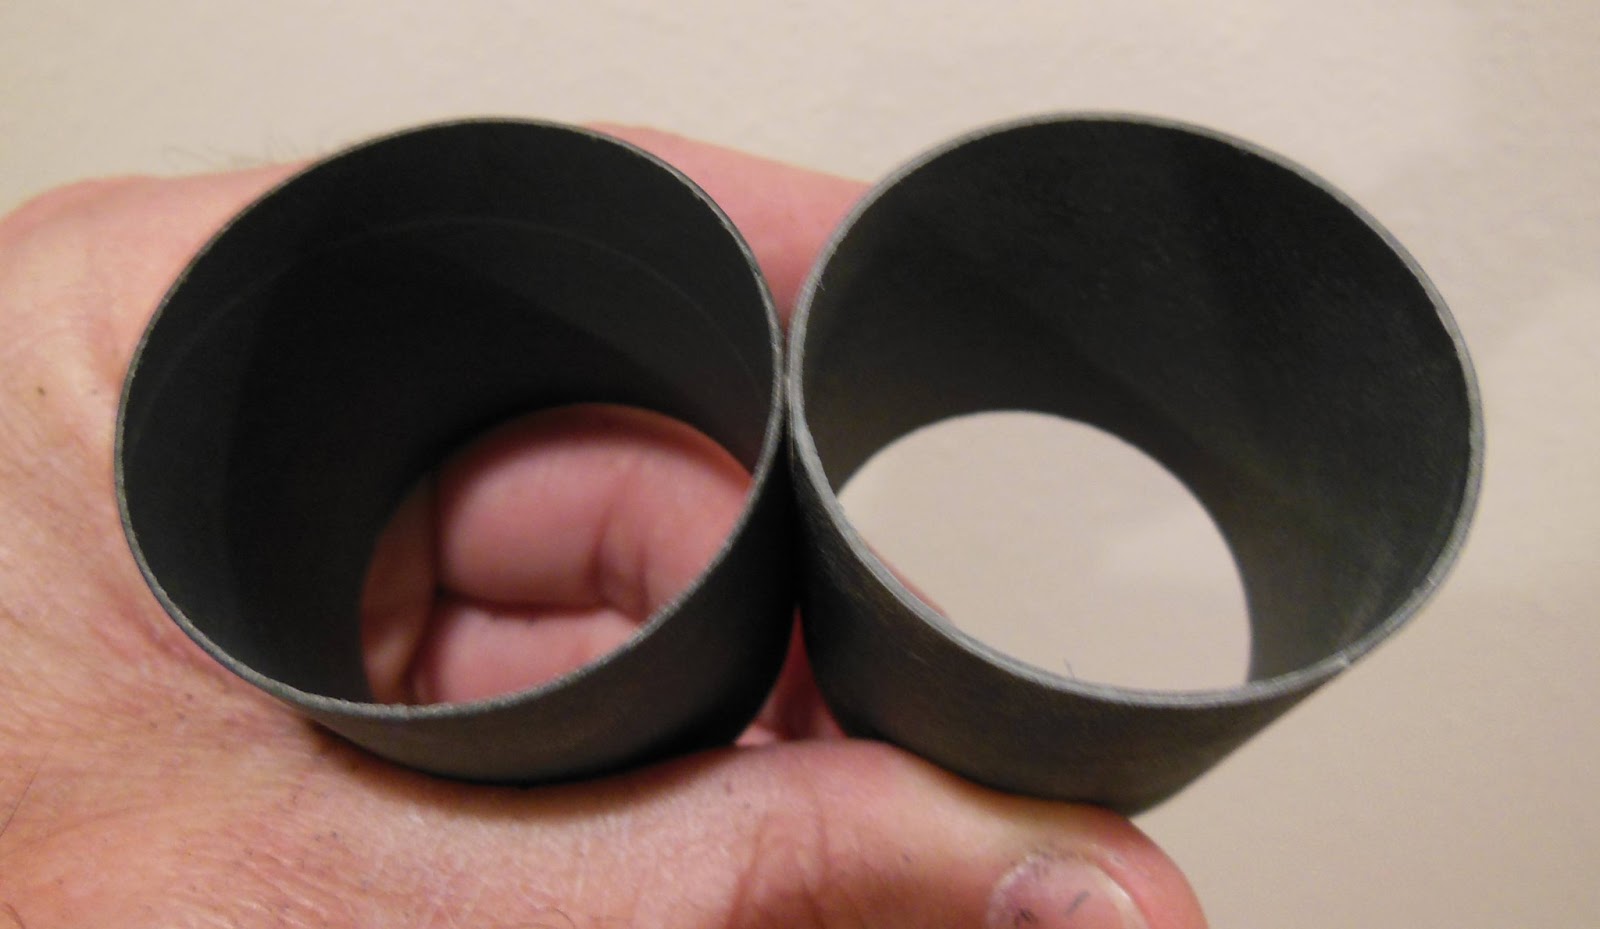
I did have a Semroc baffle that fits a ST-16 tube, very close to the diameter of the Estes BT-60. The baffle was assembled years ago and sat in the spare parts drawer just waiting for this build. It only required some sanding of the end rings to fit the BT-60 tube I used on the build.

On this baffle, the ejection gases enter up through the central hole in the lower ring. The gasses then pass through holes in the bottom of the "cone" turn and go up through the holes in the upper ring. 

A Kevlar shock cord line is looped under the upper ring.


Note the yellow tint of the baffle card stock. That's a coating of yellow wood glue over most all the surfaces. The glue can help prevent ejection charge burns.

The baffle was slipped in (no glue yet) 3 1/2" down from the top of the main tube.


A glue fillet was applied drop by drop using a Q-Tip taped to a dowel.

Friday, July 19, 2019

Centurion Project, Part 13, Tying It All Up!


CENTURION:
I glued the baffle into to the (shown upside down here) upper body tube. There is a pencil mark at the halfway point. The other lines are leftover paint lines when the model was spray painted white.


CENTURION:
The 1/4" wide shock cord was tied to the screw eye using a Duncan Loop Knot.


CENTURION:
The parachute shroud lines were laced through the latch end of the snap swivel. This method was suggested by Ed Mitton.
The other end was tied to an overhand knot in the shock cord with a double loop of some scrap shroud line.
COSMIC EXPLORER:
The 18" parachute seems a big large for this size model, a 15" chute would be better.
TIP: You are better off cutting out the spill hole before assembling the parachute. I had already assembled the chute.
On the left you can see a shroud line running underneath the spill hole location. Be sure to clear the shroud lines outside the perimeter of the spill hole before cutting the chute with your knife.


CENTURION:
I don't like overall covering a rocket with Future or acrylic finishes. Rockets can get sticky in humid weather.

TIP: I will roll a little Future over the open ends of the decals - just the joints and cut ends.

Friday, December 15, 2017

Baffles - Which Side Up? Part 2


On the N.A.R. Facebook Page, Joseph Barrett asked:

"Which is top and which is bottom? Also the build thread I’m following says to spray the lower half of the Executioner with high heat spray paint. Is this necessary?"
According to the Centuri instructions, the tighter set, centered holes should go towards the bottom of the rocket.
Centuri originally designed it, I'd go with their recommendation.

I did add a smoothed coat of wood glue to the rear facing sides of the disks before they were glued onto the coupler. I don't think high heat paint would be needed.

My Semroc Centurion (with the Centuri style baffle) had over 15 flights when I opened it up.
To see the surprising autopsy - CLICK HERE

Thursday, December 14, 2017

Baffles - Which Side Up? Part 1


On the N.A.R. Facebook Page, Joseph Barrett asked:
"Which is top and which is bottom?
First, a little background:
The baffle that Joseph is referring to was a Centuri Patent design.
Centuri introduced this style of baffle first in 1971 with the Centurion kit.
To see that catalog page, CLICK HERE


The Estes Bandit with their "Ejection Ducting System" came along a year later in 1972.
The ejection gasses had to go up, hit a bulkhead and exit out punched side holes into an outer tube. The ejection then traveled down, then up again past a notched top ring to eject the parachute.
Compared to the simplicity of the Centuri baffle, the Estes system reminds you of a Rube Goldberg drawing.

Tuesday, January 10, 2017

Centuri Baffle Evolution


This is the first baffle system I remember, introduced by Centuri in 1971. CLICK HERE
A coupler with two punched disks glued on either side.
Very simple and effective, far easier than the ejection system used in the Estes Bandit.

In the drawing, the engine would be down to the left of the lower flat plate. On the lower plate the holes are punched closer to the center.
To the right upper side, the plate has the holes punched to the outside edge.


Now that the JimZ site is back I was able to check the Centuri Long Tom instructions.
It looks like the lower plate evolved into a centering ring with a single larger hole in the center. The smaller holes remain and circle the outside of the upper ring.

Monday, April 11, 2016

Estes Hi-Flier XL, #3226 Build, Part 11, Baffle Gluing

Before gluing in the coupler, roll over the lip of the body tube. The small turned over edge can slow down the coupler slide.

When the top and bottom of the baffle ends were sanded even with the sides of the red coupler, the outside diameter was taken down a bit. Sometimes kit provided couplers are tight and can freeze up before they are all the way into the tube.
Do some dry fits before using glue and make sure the coupler slides in easily.

I tied on a long 1/4" elastic shock cord to the Kevlar line.
The elastic was fed through the upper tube before gluing the upper half of the coupler.

The trick is to use enough glue so the coupler won't sieze up, but not so much that the glue dries and shrinks up the tube making a recessed ring.


Again, turn the upper tube to even out the glue ring making a smooth fillet inside.

A Q-tip was taped to a dowel to remove any excess glue.

Wednesday, April 6, 2016

Estes Hi-Flier XL, #3226 Build, Part 7, Making A Baffle


You can make an internal fillet by applying a line of glue just inside the edge of the coupler.
Then apply a second bead of glue on the upper edge.


TIP: While the glue is still wet, set the disk on the end of the coupler and turn the disk.
This smooths out the glue bead inside the coupler edge. You should end up with a pretty even interior glue fillet.


After the glue is totally dry, sand off the overhanging edges.

Here I am sanding only with down strokes so I can't pull up and loosen the cap edge.
Use 220 grit and the edge should come off easily.
Here's the finished coupler/baffle.

Before gluing the coupler into the body tube ends,
TEST FIT (no glue) and SAND, 
TEST FIT (no glue) and SAND.

You may have to go over the baffle ends a few times for a sliding, smooth fit in the tubes.
I might use epoxy to insure there is no chance of it seizing up in the wrong position.

Tuesday, April 5, 2016

Estes Hi-Flier XL, #3226 Build, Part 6, Making A Baffle

I'll be adding a small reinforcement disk over the underside of the upper disk.
This does two things - It protects and covers the Kevlar line from the ejection charge and reinforces the baffle disk.


A notch was cut into the disk so it will glue flat over the Kevlar line.


Here's how the upper disk looks before gluing onto the red coupler.
On the left is the underside of the upper disk. The Kevlar line is under the small center disk.
On the right is the top side of the disk with the Kevlar securely tied.


Two clothespins were used to clamp the disk in place while the glue dried.

Monday, April 4, 2016

Estes Hi-Flier XL, #3226 Build, Part 5, Making A Baffle


A good sharp scissors should be able to cut around the pencil line traced earlier.
Cut just outside the pencil circle. The excess will be sanded off even with the outside of the coupler later on.


Using the rotary punch, holes were made in the upper (left) and lower (right side) ring.
Look close and you can see smaller circles to center the hole punches.


Mark a center line on the upper ring and punch two small holes for the Kevlar tie loop.

Sunday, April 3, 2016

Estes Hi-Flier XL, #3226 Build, Part 4, Making A Baffle


The kit includes a long 3" red coupler. Why not put it to better use and make a baffle out of it?

To start, sand the ends flat. Coupler and tube ends are cut at a slight angle. For a slightly wider gluing edge, sand the ends flat with 220 grit on a block.


I have some heavy frame mat board about the same thickness as the centering ring material.
The disks will be glued flat onto the ends of the coupler so trace around it with a sharp pencil.

The baffle will be a Centuri style with five center holes on the bottom disk and eight outside holes on the upper disk.
To see how the Centuri baffle works, stop by the Ninfinger website: CLICK HERE

Mark the hole locations before getting out your rotary punch.

Friday, June 14, 2013

Big Girtha Build Part 19, Odds and Ends


Normally a baffle like this would be used to couple two body tubes together. I had to install this one from the top.

The fit was tight so I didn't feel good about putting glue into the tube first then having it "freeze" in the wrong spot.


It was dry slid into the tube using the end of my straightedge.
Figuring space for the parachute and nose cone shoulder I felt it needed to be 8 1//2" from the top.

Fillets were applied using a long dowel with rounded ends.


The shock cord anchor was made up "Centuri" style using a piece of scrap body tube.
This mount fits the inside curvature of the body tube better than a tri-fold mount could.

This style of mount won't work in body tubes smaller than a BT-55 size.
It might block the parachute ejection.

From the front end you can see the shock cord mount set down 2" from the top.
Below that is the installed and filleted baffle.

The picture makes the baffle look like it is five feet down the tube!
I've got a little paint to clean up on the inside of the body tube.

Monday, April 1, 2013

Centurion Project Part 3 Baffle

Jumping ahead a bit to the Semroc baffle, included in the Centurion kits:

Be sure to coat the punched plates with white glue.
The left side of the picture shows the amount of glue applied before smoothing it out.
I was amazed how well the flat plates held up to repeated ejections when I did the "autopsy" on my old Centurion. I'm convinced the white glue coats help protect the thick card stock.

Pick up the excess glue out of the punched holes with a Q-Tip.
Two coats of white glue were applied to both sides of the punched disks.


Sand down the angle cut ends of the coupler with 220 grit on a block.
The ring on the left hasn't been sanded.
Enlarge the picture and you can see the sanded ring edge on the right gives a wider gluing edge.


TIP: When gluing the plates on the coupler:
In addition to the glue on the edge, apply a line of glue a little inside the edge of the coupler.

Go to the next picture -


Set the disk on the edge and turn the coupler against the still disk a few times.
Turning the coupler smooths out the glue on the inside edge into a smooth "automatic" fillet.


Even with careful gluing, you will still have to sand the disk edges even with the sides of the coupler.

Be sure to sand the coupler until you get a smooth slide into the body tube. You don't want the coupler to freeze up in the wrong position when glue is applied.

Oops! I forgot to tie on the shock cord!

Tuesday, February 5, 2013

Baffle in the Estes Black Star Voyager?

Check out the instructions for the new Estes Black Star Voyager kit - HERE
This is a level V build!

A forum post talked mentioned a baffle in this kit.
All you are really doing is drilling some holes in the adapter to allow the ejection charge to pass through. Later in the flight prep you are told to add wadding.

Instead of drilling four 1/8" holes,  I'd probably cut off the top of the adapter leaving most all of the shoulder for gluing. That's a long body tube to pressurize.

While you are checking out the instructions, take a look at the built up fins and ridged nose cone. Pretty cool!

Monday, January 14, 2013

Centurion Autopsy

My Semroc Centurion has been through the wringer!
A few years after the initial build, it got epoxy fillets and a repaint. Flights were good for a while.
Recently, after a bad two stage attempt it went horizontal and crashed into a tree. Rebuilt with three new fins.
The last flight broke off a fin on landing. After 15 flights it's time for a new build.
Before throwing it out, let's open it up and check the condition of the baffle. I always wondered how the thick card stock top and bottom would hold up to repeated ejection charges.

On the lower left is the bottom side baffle plate that faces the top of the engine.
The gray crud is all the ejection charge buildup.
Both of the punched disks got a good coat of white glue before gluing them to the coupler. The white glue seems to have protected it well.
There doesn't seem to be any degradation of the disk thickness. I would think the ejection buildup acts like an insulator, building up a little more with each flight.


Here's the top baffle plate with a little bit of the body tube still attached.
Above the exit holes there is gray discoloration on the inside of the tube, but no burning of the inside.


Cutting off the top disk you can see much of the same gray crud that was on the bottom.

Under that layer is the end of the elastic shock cord, the tail end glued flat against the inside disk.
I pulled off the shock cord and it was still stretchy!


I salvaged the nose cone and two 12" parachutes for the new build.
Those two parachutes had no melts in them after 15 flights and ejections through the baffle.

Sunday, June 3, 2012

Space X Falcon Build Part 9 TIP: Gluing In the Baffle Plate

TIP: I learned a valuable trick on this build - How to install a single baffle plate deep in a body tube.
Normally, I'd glue a baffle plate onto a coupler and slide the plate/coupler assembly into the tube.

I wish I knew this technique when I tried to install a single centering ring in the upper portion of the QModeling XP Raptor! That ring flipped and spun while I tried to get the edges of the ring tight against the BT-55 tube. Very frustrating!

As shown below, a simple roll of copy paper will set the baffle plate straight in with full contact all the way around the inside of the body tube.


The instructions have you roll a paper cylinder about 1" in diameter.
I made mine about 1 1/2" wide. I thought it would give me more control when sliding the plate in place.


Here's the plate sitting of top of the rolled cylinder before sliding it into place.


The plate is started into the tube end and pressed up to the 4" mark drawn on the paper cylinder.

(I installed this baffle plate before the second attempt at the body wrap.)

This is where the Space X kit build ends.
It's very rare for me not to finish a model. But, after all the problems with the wraps I was dissapointed and threw in the towel.

Saturday, June 2, 2012

Space X Falcon Build Part 8 Cord Prep

Both sides of the Kevlar and elastic shock cord get tied loops.

The "baffle" plate has a small hole to the outside of the larger holes.
At one time, I would guess the smaller hole was supposed to be a Kevlar anchoring point.


The Kevlar is looped through two of the larger holes on the plate.

NOTE: The baffle plate keeps the parachutes nearer the front end of the rocket during boost. A single baffle plate still requires flameproof wadding to protect the parachutes.

Thursday, April 19, 2012

Ranger Clone Build Part 28 Baffle Plate Install

I may have mentioned a few posts back:
This is a single "baffle" plate. It doesn't protect the parachutes from the ejection charge.
It's there to prevent the parachutes (and wadding) from traveling back to the rear of the model during acceleration. The single plate also gives you a place to attach the shock cord.

The Semroc Ranger instructions have you glue the plate 4" from the top of the model.
I decided to go a little deeper at 4 1/2" from the top of the tube.
I felt a little more room was needed for the wadding, parachutes and nose block.

I've laced the loose end of the shock cord back into one of the holes and out the back below the coupler. This will keep it out of the way when gluing in the plate assembly.


I didn't use any glue yet. The coupler fit was tighter than I would have liked.
It was pushed into place using a ruler. This way I knew it was at the 4 1/2" depth I wanted.

After it was in place, a fillet was applied drop by drop using the rounded end of a 1/4" diameter dowel.


After the fillet dried, the shock cord was pulled forward using the end of a bent coat hanger wire.