Showing posts with label Satellite Interceptor. Show all posts

Monday, May 28, 2012

Carded Satellite Interceptor Finished!


This is a great design, scaled down very well by Bob Harrington.

I know the nose cone isn't the correct profile, I'll leave that for another day and another order to Semroc. Bob includes a conical card stock nose cone on his print, but I haven't had very good luck forming the sharp tip.

Saturday, May 26, 2012

Carded Satellite Interceptor Build Part 11 Fix


Any leftover red was rubbed off with the white eraser.


A very light skin of white glue was rolled over the exposed rough paper and rolled flat with a clean dowel.
It's not perfect, but looks better than it did before.

Carded Satellite Interceptor Build Part 10 Fix

The forward red stripe was a little wider than the main body stripe.

I should really go back, and print another at the correct width. But, I wanted to get this model done for the group launch on Saturday.
This is one way to "get by" until I can fix it correctly.


The body has been turned over and a straightedge set on the wide end of the upper stripe.
The stripe was lightly scored through the first outside layer of the card stock with a new razor blade.


Another line was scored outside the red stripe.
With the tip of a blade, the red stripe was lifted and pulled off the tube overlay.


Friday, May 25, 2012

Carded Satellite Interceptor Build Part 9 Assembly


There are a lot of fins on this rocket.
For reference, use the instructions from the Estes website HERE.


When you are finished gluing, use a white eraser to clean up any smudges and dirt.
You'll want to clean it well before hitting it with a clear coat.
Carded models need a clearcoat to protect them when they land in wet grass.


Finally, add a launch lug under one of the wings.
This is a regular LL-2A lug covered with copy paper.
A glue stick was used to adhere the paper to the lug. One side was sanded off for a glue line.

Carded Satellite Interceptor Build Part 8 Fin Fitting


The root edges of the wing fins didn't really match the body tube.
I ended up sanding a slight curve in the root edge until a better fit was obtained.


After sanding the root edge, the fit is better.


Sometimes after drying, a three ply laminated fin might have a slight warp.
Before gluing, sight down the root edges and gently bend the fin to a straight line.

The fin on the left has been straightened.

Wednesday, May 23, 2012

Carded Satellite Interceptor Build Part 7 Wing Tip Dowels


The wing tip dowels were cut from toothpicks.
The ends were rounded and all three were sealed with two coats of varnish, sanding between coats.

I wanted to paint them white before gluing to the wing tips.
They were stuck to masking tape (sticky side up) on a strip of cardboard with the exposed ends over the edge.


This is the flip side of the cardboard.
This way I could spray all sides of the dowels and have a raw wood edge for gluing to the wings.


After drying you can see the bare wood for a glue line.

Carded Satellite Interceptor Build Part 6 Body Tube Wraps

Before you start gluing a carded model, wash your hands and keep them clean!
Carded models, especially white carded models will pick up any oil and dirt from your hands.


Bob Harrington's carded models are true carded plans. The flat print rolls into a body tube about the size of a BT-5.
For a little more strength, I decided to roll the printed half of the body around a regular BT-5 tube. This is a long body for a 1/2" diameter final tube size. I've had trouble rolling a long tube before and to make it easier, I cut the "tube" length in half.


I sprayed the back of the wrap with spray adhesive and started wrapping the tube down a pencil line.

Covering a tube this small, the wrap started to lift. I ended up sneaking some white glue under the lifted edge using a razor blade. The glued edged were rolled back down with the white barrel of a Sharpie pen.


Even at this small scale, the top of the wrap was continued with another piece of printed card stock.
I don't know what I did wrong here, but the upper red stripe was wider than the printed stripe on the lower body piece. I couldn't get it to print correctly so I'll try to make adjustments later.

Tuesday, May 22, 2012

Carded Satellite Interceptor Build Part 5 Rounding Fin Edges


To prevent delamination, run a bead of white glue over the edges.
This strengthens the outside edges and helps round out the square sides even more.


This is one of the edges after smoothing out the bead of glue.
You can see how the bead will dry and leave a rounded side.
You don't want a bead of glue on the root edges of the fins. Keep the root edges square.


After the glue bead dries, lightly sand and smooth the glue edge.
Repeat with another bead of glue if necessary.

Carded Satellite Interceptor Build Part 4 Fin Lamination

All the fin laminations have been glued up and are ready for cutting.
Notice how the skins were glued to the flat, squared outside edges of the interior cardboard.

The fins were cut out using the outside gray lines. If both outside edges were lined up properly, the printed images should be centered on both sides of the fins.


The fin sides are lightly sanded to square them up.


To get a little roundness to the outside edges, roll over them with something smooth, hard and round. I used the front end of a retracted ball point pen.

Monday, May 21, 2012

Carded Satellite Interceptor Build Part 3 Fin Lamination


Lightly roll over the glued skin to smooth it out and remove excess glue.
Be ready, the skin can slip around and out of alignment with the interior cardboard edge.

Lay waxed paper over the fin and cardboard.
Set overnight in a heavy book for drying.


After the first side has dried, here's the other side ready to be glued in place.
Before applying any glue, double check to be sure the position of the mirror image is correct.

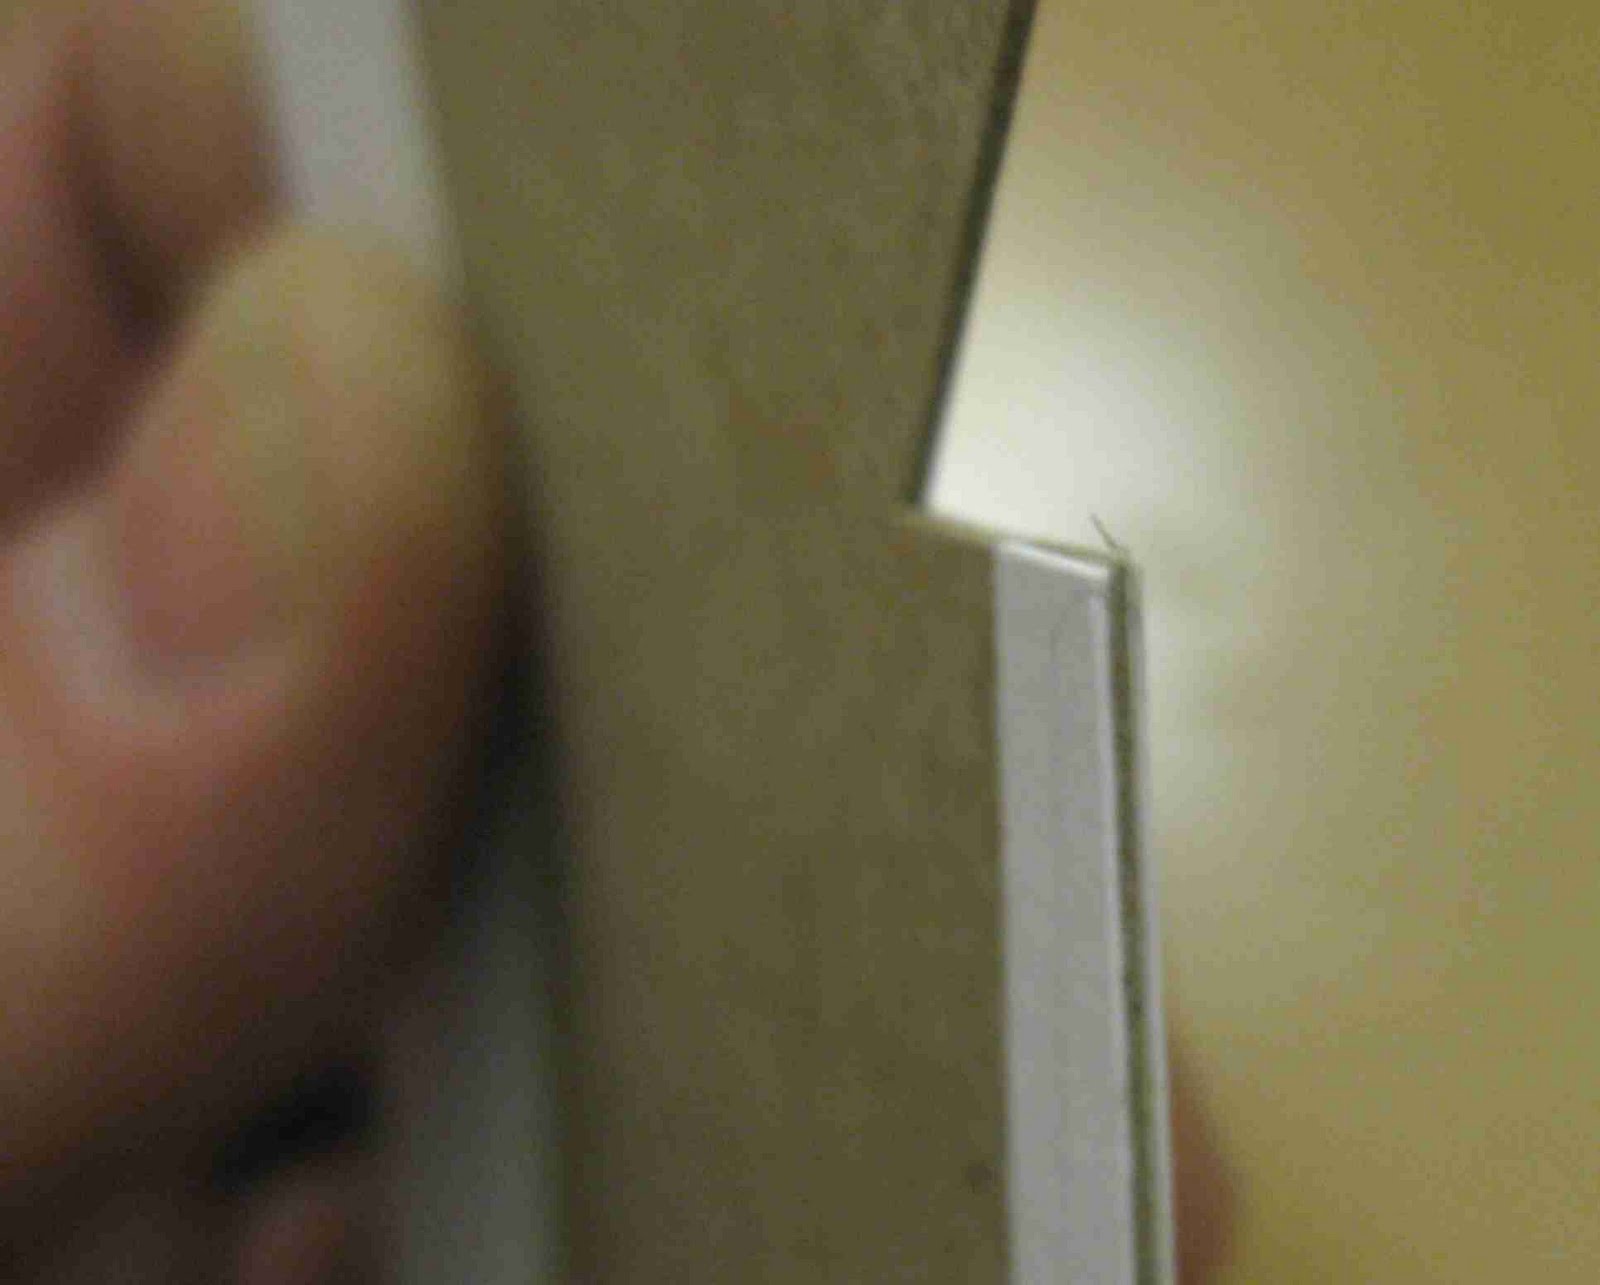
Line up the two edges (the two edges you cut on the edge lines) and glue the other side in place.
Set in a book and allow to dry.


This shows the long upper strake fin with both side skins glued on both sides of the cardboard.

The root edges and forward tip of the fin sides are lined up.


Carded Satellite Interceptor Build Part 2 Fin Lamination

In my carded downscales, I draw both sides of the fins joined at the leading edge like a butterfly wing. The leading edge is creased, folded and glued over the card stock center.
In this "kit", Mr. Harrington has the fin sides as two separate pieces.
Enlarge the picture to see how the sides were cut.
In this case, the trailing edges and root edges were cut on the faint gray lines. The other sides were cut outside the lines and will be cut down after gluing the lamination.


In the picture to the right, the fin side hasn't been glued down yet.
(It'll be glued and slid into the corner of the card stock.)

The cardboard has been cut to a 90 degree angle, the same as the root and trailing edges of the fin overlay.


The back of one side of the printed fin gets a light, smooth coat of white glue. The fin is lightly pressed into position on the cardboard.
To be sure the back edges were even, both edges (cardboard and card stock print) were pressed down on a table top.

Sunday, May 20, 2012

Carded Satellite Interceptor Build Part 1 Parts

I haven't made a carded rocket in a while. I started this one while I was entertaining on a cruise ship.
This is Bob Harrington's carded downscale of the Estes Satellite Interceptor.


You can print these on 65 lb. or 110 lb. cardstock.
I prefer the 110 lb. cardstock


In addition to the two printed pages, you need some cereal box cardboard for the center layer of the laminated fins.

For better glue adhesion, lightly sand to rough up the printed side of the cardboard.
The cereal box "flats" were initially cut out with scissors.
I go back with a straightedge and square up the sides.

We'll concentrate on the laminated fins first.