Showing posts with label Repairs. Show all posts

Thursday, February 27, 2025

The Big Fix!

I had broken a fin or two at the last launch.
To glue these back, I needed a small clamp that wouldn't dent the balsa.

Previously, I had adapted some small clamps from clothes pins. 
Notice the regular clothes pin on the left. The wooden halves have been flipped on the right.
For a better explanation: CLICK HERE


The glue line shows the unusual break.
Normally I'll clean off the glue before applying the clamps. I left the glue line for the picture.

Be sure the squeezed out glue is cleaned off where the clamps sit or you might glue the clamps to the fin!


After the glue dries and the clamps are removed - 
I hit any breaks with a Sharpie pen.

Ready for flight.

Saturday, November 9, 2019

Estes Little Joe 1, #7255, Build Part 15, Nozzle Gluing & Shroud Fix


Notice one of the motor housings has a notch on the small side to fit around and allow movement of the engine hook. This is a dry fit before gluing.
I used the Beacon Fabri-Tac glue to seat the small nozzles and housings.

There is a tab on the larger nozzles and a notch in the centering ring for it to fit in. This sets the proper nozzle angle.
To get the glue where I needed it, a bead a Fabri-Tac was set around a Q-tip. The glue was transferred and rolled around the inside edge of the centering ring hole.


Here's the very impressive back end of the Little Joe I.
FIX: I mentioned earlier I didn't like the fit of the shroud at the lower end. I went back to fill in the step.

The silver paint had to be sanded down to the card stock for the CWF to stick.
NOTE: I kept a paper towel taped around the body tube so it wouldn't get dirty while handling.


Here's the shroud repair after sanding and painting.
This side is clean and came out well. There is still a slight step on the other side where the edges of the shroud met. I can live with that. Overall the fit of the shroud is much cleaner.

Monday, January 14, 2019

The BIG FIX - New Way Firecat 4, Part 2

I'll be spraying new white paint over existing white paint so there is no need for a complex mask.

The root edge fillet and fin are still bare. With any luck, the Titebond M&TG will have covered the torn skin on the tube.

A grocery bag was slid on from the rear. A slot was cut for the fin to be exposed. The bag was torn back to open up one flat side of the tube up to the base of the launch lug standoff.

You can see the masking tape opening out, the edges are not pressed tight on the square tube edges. Being a square tube, I'm hoping the new white paint will blend at the edges.

After the first coat the was a small blob of paint in the finish. It was shaved off with a single edge razor blade followed by light sanding.


Here's the tape pulled up on the lower side.
The white paint blend turned out well.


Fixed and ready for launch!

Thursday, January 10, 2019

The BIG FIX - New Way Firecat 4, Part 1


From the December 1, 2018 R.O.C.K. launch:
"When I picked it up I noticed one of the upturned fins had torn off. A dent in the nose cone assembly told me it was hit from a snap-back ejection. The fin wasn't found anywhere near the landing area."


A new fin was cut from some tight grained 3/32" balsa.

Notice the notch in the TTW fin tab. There is two wraps of electrical tape over the engine hook so the root edge had to be fitted.

The torn area on the body tube was sanded as smooth as I could get it.


At first I tried rubber bands thinking the pressure could hold the fin as the glue dried.
The rubber bands didn't work, they pulled the fin to one side or the other.


Titebond M&TG was used for a wide fillet that could cover the torn body tube area. Two fillet runs were applied.
400 grit was wrapped around a Q-tip for round cushioned sanding.

Tomorrow - Masking and paint.

Wednesday, December 27, 2017

THE BIG FIX! B32-M Spike, Part 2


Some CWF was brushed over the fill piece.
Sandpaper was wrapped over the fin so I wouldn't sand into the original leading edge.


Here's the patch after sanding.
The decals were peeled up without any problem. Home print water slide decals didn't stick very well to the aluminum paint.

The upper body was masked off at the halfway point between the two fins.

I shot the repair and surrounding area with Duplicolor Filler/Primer. Two more coats were shot and sanded to surface.


After the tape was lifted the mask line was clean and sharp.
There is still a dent in the body tube and some minor scratches. I was more concerned with the fin repair.


Instead of printing up more fin decals, I cut some strips of black and red trim Monokote. They ended up sticking better to the aluminum paint and were much more opaque.


The red bands on the payload section were replaced with trim Monokote. On the left is the translucent decal before, on the right is the new red trim.

Ready for the next NEFAR launch with a D12-5! 

Tuesday, December 26, 2017

THE BIG FIX! B32-M Spike, Part 1


This is the B-32M Spike I kit-bashed from the Estes STM-012 kit. I took some design cues from the Madcow AGM-33 Pike.

I like how it turned out - too bad it didn't stay shiny for long.


I've only flown it once, last July with a D12-5. How it got this lower fin damage I'll never know, probably a snap-back of the upper section. The hit was strange, a chunk taken out of of the lower fin, scratches and a dent in the tube. The fin right above it had no marks.


This missing chunk was larger than what could be filled with putty.
It's easier to plug in a rectangular piece of balsa.

The rough edges were squared up with a diamond file.


3/32" thick replacement balsa was set behind the area and the edges traced.


The new piece was cut out and sanded to fit, then glued in with yellow glue.


After the glue dried, a rounded leading edge was carved following the original fin.
The leading edge was matched and smoothed with 400 grit.

Monday, September 5, 2016

Dr. Zooch MR Little Joe I Fix

Sometimes repairs sit for a year while I figure out a good way to fix them.
After making trim spray paint decals for the latest MR Little Joe I used the same trim on my older Dr. Zooch Little Joe I.

I built a BT-60 based Dr. Zooch Little Joe I in 2010. Back then I didn't know about spray paint decals. Instead I painted some copy paper orange, cut strips and glued them on the fins. It's the same idea as the sprayed decals but not as thin. The Dr. Zooch models have printed card stock wraps. I looked on the orange fin edges as another piece of painted paper trim. White glue didn't hold and some trim pieces peeled off.
I decided to replace them with some of the leftover orange decal material from the recent Enerjet Little Joe I build.

The remaining old orange trim was peeled off. They came off clean and easily.

New orange decal strips were cut and applied. I had to use some Pledge acrylic under the rear edges again.

The "decal" edges were less noticeable and adhered much better than the first attempt using sprayed copy paper.

TIP: You'll get the best results spraying over the white decal sheets. While you can make spray decals using clear sheets, the white decal sheet will be slightly thicker and easier to transfer onto your model. When you think about it, spray paint on a clear transfer sheet is only as thick as a coat of paint!


Repaired and Done!
This version is smaller than the Enerjet News Little Joe I and the same scale as the Dr. Zooch Mercury Redstone kit. You do build the tower from dowels on this one.

Saturday, January 23, 2016

The BIG FIX, Alway Saturn IV, Part 1


My Alway Saturn IV sat in a tree for a month after a B6-4 flight last May.
At the June club launch I found it at the base of a tree. It was wet and the soaked body tubes were squishy.
CLICK HERE to see the story.
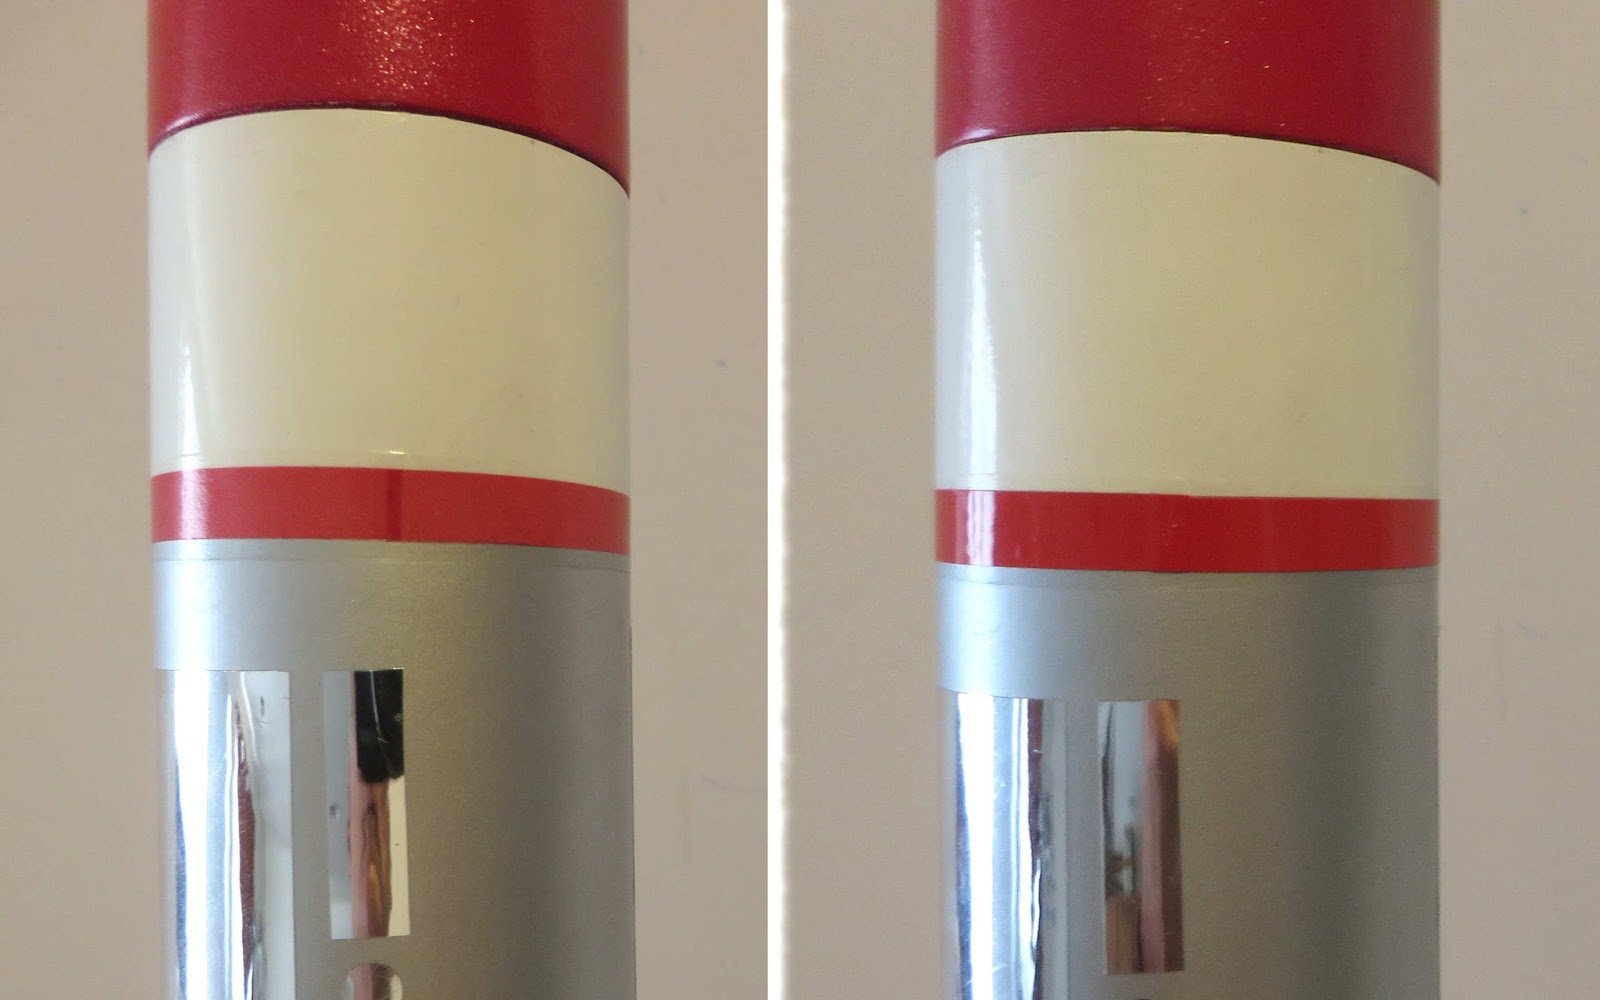
I let it dry out. While the tubes are showing their seams now, the model feels very strong. There are six BT-5 tubes at the bottom. The paint and vinyl Contact paper trim was clean. The home print decals were starting to release.
Well constructed and sealed models stay together longer. If this were a "naked" build, there wouldn't be anything left after the rain and sun exposure.
I finally got around to gluing it back together.


Lonnie B. knew I needed a new nosecone. The original nose cone and parachute were still high up in the tree.
Lonnie donated a Bullpup kit, the right nosecone is in the kit bag.

Problem was, the BT-55 body tube had shrunk!
I sanded the shoulder until I got a good slip fit. I was concerned, too much sanding and I would have gone through the plastic wall!


I never liked the shock cord attachment on this nose cone.
The plastic loop was cut off and the hole at the base was widened.

A shock cord was tied through the base and one of the loop holes.


I don't use masking tape to hold engine hooks on the engine mount tube. They do decompose over time.

The old engine mount tube was pulled out, the electrical tape had to be removed afterwards. The tape still looked new and the overlap was still strongly adhered.

Friday, January 22, 2016

The BIG FIX, Quest Magnum Engine Mount


Here's the carnage after my Quest Magnum launch a few months back.
On the far left you can see the two engine cluster mount, still tethered by the Kevlar line.
Moving to the right is the Quest kit parachute, a clean break, torn in half! Five of the six shroud lines were still attached.
The fins and body tube are fine. This model is my favorite Quest kit, well worth repairing.


The parachute is an easy replacement. The engine mount took a little more work.
At the top you can see some black from the ejection charge blowing back through the ends of the crescent centering rings.
The Kevlar line is dirty, but still very strong.


I have a few marked sticks to apply a line of glue for the forward centering rings.
Glue drops are applied to the end and the stick turned inside the body tube until I get a fair sized bead. Not too much glue, you don't want the glue to shrink and "Coke bottle" the body tube.
Some instructions have you apply glue and slide the mount into place.
Here I slid in the mount but not far enough to hit the glue bead already in place.
More glue was applied around the end for the lower ring contact.

When I can (if the glue isn't setting up too quickly) I turn the mount right before it is in its final position. This spreads out the glue bead evenly for an internal fillet.

Sunday, May 17, 2015

The Big Fix, Estes V2 Fix Part 7, Mask, Black Paint and Finish

Here's the before picture , how it looked after sitting in a tree for a month. The members of the Orlando R.O.C.K. group trimmed the tree and got it back to me. That was back in December of 2012!

This certainly wasn't a quick repair!


The V2 has a new 18" Odd'l parachute and is ready for flight.

The re-build and new paint came out well.
The only body part that was replaced was the BT-70 tube.
The nose cone, tail cone and fins were pretty well sealed and are original.

EDIT: I just noticed, I have to add another trim line at the bottom of the "Vs".

The epoxy fin fillets were originally made narrow at the top and wider at the bottom, like the fairings on the real V2.
The fillets were smooth and the mask lines came out very sharp.

The finish is glossy, I might hit it with a coat of flat clear to dull it up.

Thursday, May 14, 2015

The Big Fix, Estes V2 Fix Part 4 Fin Repair


The leading edge of one fin was chipped out.
(I probably should have fixed this before I did the black stripes in the last post.)
You could use CWF to fill the void if it were smaller.
I have to replace the leading edge with hard balsa.

You could never fill the chipped area with an exact shaped piece.
I removed a full rectangle of wood.
A replacement piece was cut just a little taller than needed so the leading edge could be sanded even after the glued dried.


The fill piece was sanded to the leading edge, filled and primed.
It's ready for a shot of black.

Wednesday, September 25, 2013

The Big Fix, MMX Jayhawk Kevlar Replacement


The last time I flew the ASP MMX Jayhawk the Kevlar line broke.
This will be an interesting fix.
I have access to the low end, the upper attachment is still good.
This would be better accomplished with an awl but I couldn't find it.
I used my small rat tail file to open up a small hole by lifting up the side of the engine block.
Be careful not to punch through the side of the rocket body. Keep the awl or file parallel to the body tube sides when lifting and "drilling" the hole.
A knot was tied in the new Kevlar.
The line was fed through the rear and through the hole in the lifted engine block side.
Apply some glue under the lifted engine block and press the block back down. Pull the Kevlar through the front until the knot rests against the closed engine block.
The two lines were tied together with a simple overhand knot.
A small streamer was taped to the Kevlar line.
Ready to fly again!

Sunday, September 22, 2013

The Big Fix, MMX Red Max to 13mm Engine Conversion

I have two BT-5 models that don't perform that well with MicroMaxx engines. They just don't get an altitude to justify using an engine.
These were carded models built a few years back. This Red Max has a body skin print wrapped around a BT-5 tube.

I thought I'd try to remove the MMX mounts to use some 13mm engines I found on sale.

The inside of the hand rolled MMT tube was scored with a hobby knife to raise an edge I could grab.

Long pliers were used to hold the raised cardstock tab.
The pliers were turned and the mount removed in a spiral.
It was easy to remove.

The model already had a 13mm engine block in place.
One side of the block was lifted with an awl.
A new Kevlar line was knotted and slipped through the hole.
There is no room for even a streamer. Nose-blow recovery should be  fine for recovery.
This one should fly better with a 1/2A3-4t engine.