Showing posts with label E Sprint XL. Show all posts

Friday, February 10, 2017

Estes Sprint XL #7224 Build, Finished


An interesting, easier build.
I missed the extra decals that were included in the original BT-50 based Sprint kit. On the right is the catalog version I put together years ago.
The cleaner decor is okay, just a little too plain for me.
I probably could draw and print it up but home print black decals end up translucent over white paint.

This same rocket is up for auction on Ebay right now through Sunday night.
Scroll down to the February 8 post for the Ebay link.

Thursday, February 9, 2017

Estes Sprint XL #7224 Build, Part 8, Decals


The fin grain still showed on two fin sides after the first light white coat. I rubbed in some CWF with a fingertip. The coat was thin so there wouldn't be much sanding.


These are all the decal you get! The original Sprint kit had two sheets for two different decors.


The big "meatball" decal is interesting to line up. The name on the bottom of the ring is set on a curve.
TIP: Stack some CD cases to get a straight flat line parallel with the table top. The tips of the "S" and "TM" in the "SPRINT XL TM" name are both equidistant over the top of the CD case.


Around the top of the body tube is the single black band.

Cut the top edge right at the black ink so you have nothing to trim off.
After the decal dried a black Sharpie was run over the top edge covering the white paint.

Wednesday, February 8, 2017

Sprint XL and Long Tom Builds on Ebay


For the next few days, both the finished Sprint XL and Long Tom builds 
are up for auction on Ebay!
The Sprint XL is HERE, The Long Tom is HERE
Stop by, make a bid and support the blog!

Those high shipping costs has been adjusted and corrected . . .

Estes Sprint XL #7224 Build, Part 7, Fin Gluing

With the lugs glued on the fin marking guide is wrapped. Line up the LL line with the lugs already in place. The engine mount hasn't been glued in place yet.


TIP: With the tail cone removed, extend the fin line over the lip end of the tube.
With the fin even with the end of the tube the gluing line will be completely covered by the fin. With that little tick mark on the body tube edge you have something to center the fin on.


Wow, flashback to 1972 - only bigger.


The fins were initially glued on with Titebond II.
A fillet of Titebond II followed, then a final fillet with Titebond M&TG. Or as its now called, Titebond No Run No Drip.

Tuesday, February 7, 2017

Estes Sprint XL #7224 Build, Part 6, Lugs and Primer Fill


The launch lugs have to be cut in two.
The original smaller Sprint had two lugs only 1/4" long. The lug ends were cut at an angle.

This lug is simply cut in two.
To get a straight cut, wrap some tape around the lug at the halfway mark. Slide a dowel inside to support the lug, otherwise it could collapse.


As suggested by Eric James Blitchok in an email, 

TIP: An aluminum angle was used to check the alignment of the two lugs.
I used to check with a launch rod slid into or set beside them. The aluminum angle works better. You can slip it on from the side, adjust the lugs and remove it while the glue dries.
The lugs got fillets and then another fillet with Titebond M&TG.

The nose cone and tail cone were slid in and the model got a shot of Duplicolor primer/filler.
Here's how they looked after sanding. I tend to take off most all the filler. For me it's used to fill any remaining body tube seams and balsa grain after the CWF is sanded down.

Some filler/primer was left in the molding seam in the nose cone.

Monday, February 6, 2017

Estes Sprint XL #7224 Build, Part 5, Fin Shaping

In the original Sprint kit you had a choice to either airfoil the fins or round the edges.
These new instructions say to round just the leading edges. That didn't make much sense given the shape of the fins. I decided to round it all - the leading edge, outside tip and trailing edges.

The edges are knocked off with a sanding block with 220 grit. (See inset)


The real rounding is done with a small piece of 220 grit and fingertips. The final round is shown in the inset picture.


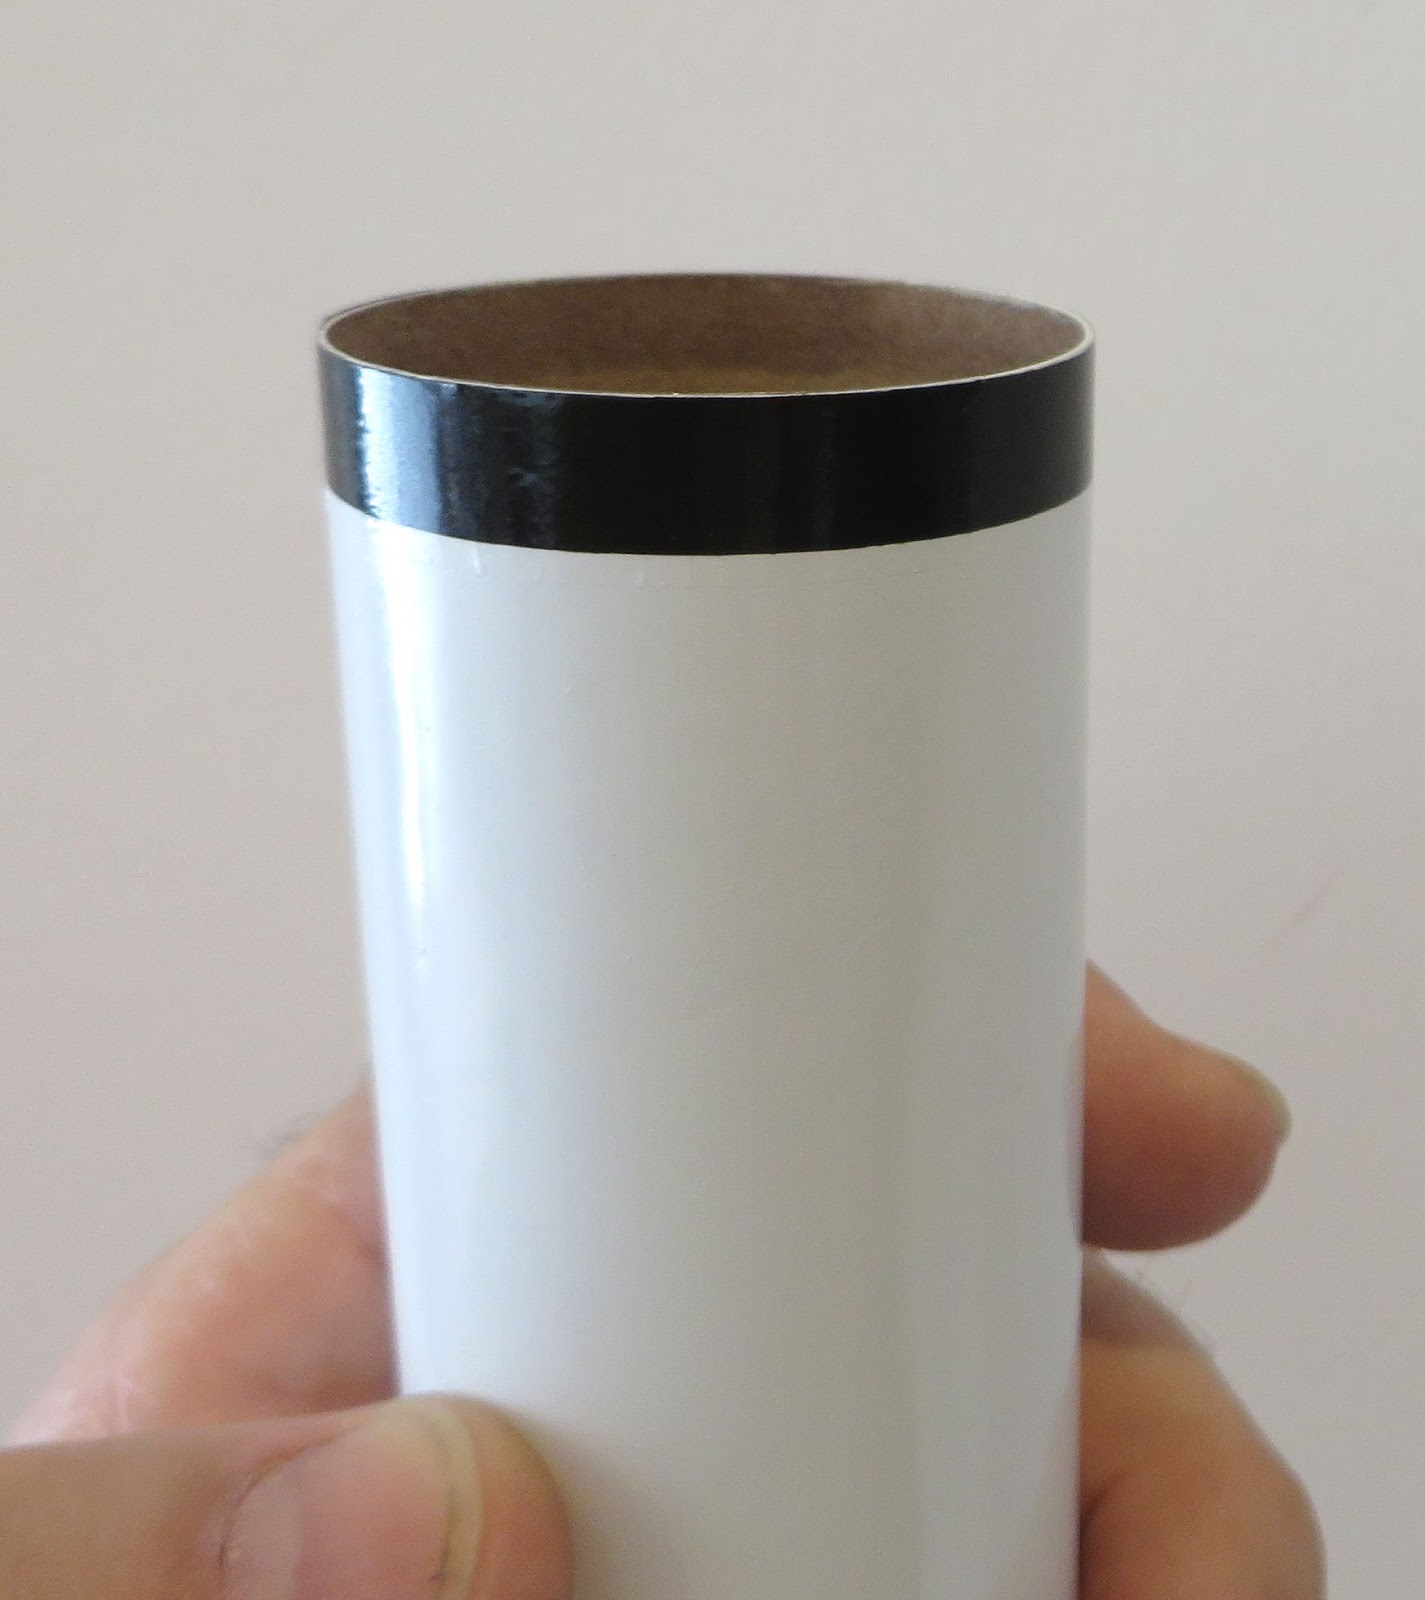
The fins were filled with CWF and sanded smooth. One fairly thick coat of Duplicolor Filler/Primer followed. The filler/primer fills any remaining wood grain.

I read on the forums where some builders do many applications of filler, then three or four coats of primer sanding between coats.
That's an awful lot of work!
For me, brush on one coat of CWF and sand, then one (somewhat heavy) coat of Duplicolor spray primer/filler and sand.
Many use the cheaper Rusto Filler/primer. I tried it and it was very rubbery, too hard to sand. Try the Duplicolor Primer/Filler once and you won't use anything else.
White undercoats follow that, usually with a bit of smooth sanding to remove any rough spots.

Saturday, February 4, 2017

Estes Sprint XL #7224 Build, Part 4, Engine Mount & Kevlar


Look close at the ends of the tail cone. There is a slightly raised molding lip.
I used my sanding block with 220 grit to straighten out the sides.


The engine block sits inside the end of the engine mount tube. Use a D engine casing to set the block so it won't be glued in at an angle.


The instructions say to glue the upper centering ring even with the top of the engine mount tube.

TIP: For a stronger mount the ring was glued about 1/8" down from the top. This way you could put a glue fillet on both sides.


A 150 lb. Kevlar line was tied below the upper ring.

The mount is set beside the main body tube to get the right length of line before the mount is glued in.. You'll want the Kevlar tie loop below the top of the body tube to prevent a zipper tear.

Friday, February 3, 2017

Estes Sprint XL #7224 Build, Part 3, Tail Cone Fit


First up you'll have to widen the low end hole.
200 grit was wrapped around an 18mm casing. Constantly check the fit of the BT-50 engine mount tube.


The engine hook slot was widened with a small diamond coated file.


Even though the slot was wide enough at the back, the hook was still getting caught up inside. The interior walls had to be hit with a knife.


Here's the final fit with the mount slid in place. The BT-50 tube is flush with the end of the tail cone.
I did remove the finger tab and flipped the hook over.
The fins don't sweep back on this one so the engine hook seems longer than it should be.

Thursday, February 2, 2017

Estes Sprint XL #7224 Build, Part 2, Tail Cone


You could cut through the nose and tail cone with a razor saw but I used my break-off blade knife.
Repeated scoring and the plastic was separated.


The tail cone needs the most work.
When first broken off the slot for the engine hook is very narrow.


GOTCHA:
Trust me, do a dry fit (no glue yet) of the engine mount and fit it to the tail cone. If I glued the centering rings at the positions shown in the instructions my lower ring would have been off by 1/16".

Estes Sprint XL #7224 Build, Part 1, Parts


I've wanted to build this one for a while. I picked up two in the Estes clearance sale.
I had an Astron Sprint in the early 1970s. It was considered high tech and high performance back then.

The parts look good, no problems yet.
Only one set of decals is included for the simpler looking scheme.
Two pats of nose weight clay together total .50 oz.
The engine mount tube is a heavy wall BT-50.
The nose cone and tail cone are blow molded.

Wednesday, February 1, 2017

Estes Sprint XL Background


The first K-49, BT-50 based Estes Sprint was introduced in 1970. It was advertised as "The First True Competition Model".
To see the catalog page, CLICK HERE
Very few models had boat tails back then. The Sprint sported a low drag parabolic nose cone and fin shape. It used 18mm engines, streamer recovery and came with two different decal motifs.
On the original the boat tail was formed from card stock. There was no engine hook, the engine was friction fitted with masking tape.
The old Sprint stood 13.8" tall.


The newer Sprint XL is an upscale model built around a BT-60 and uses 24mm engines.
"In memory of Mike Dorffler (1946-2010), longtime Estes Model Rocket Designer." Mike Dorffler designed other models including the Estes Cineroc.
The Sprint XL is 22.8" tall.
The Sprint XL build starts tomorrow!