Showing posts with label Q Icarus. Show all posts

Thursday, March 2, 2023

Quest Icarus Build #Q2006, Finished


The thin white ring above the black band is the coupler ridge that was molded in red, now painted white.

The fin stickers needed some trimming to better fit the fins.
I wanted to have an evenly spaced white border at the leading and trailing edges.


The stickers did stick very well.


I was lucky and found a blue spray paint that matched the blue in the stickers.
The upper (originally red) body and nose cone was sprayed a white undercoat, then blue.

Wednesday, March 1, 2023

Quest Icarus Build #Q2006, Part 4, More Prep & Mistakes!

The yellow motor tube is pre-notched for the engine hook.

Well - The knife punch is too high for the upper bend of the engine hook. It has to be 1/4" down to allow for the engine block to fit flush with the top of the tube.
I made a new slit at the correct position. The wrong knife punch will be fine with the glued in engine block underneath it.


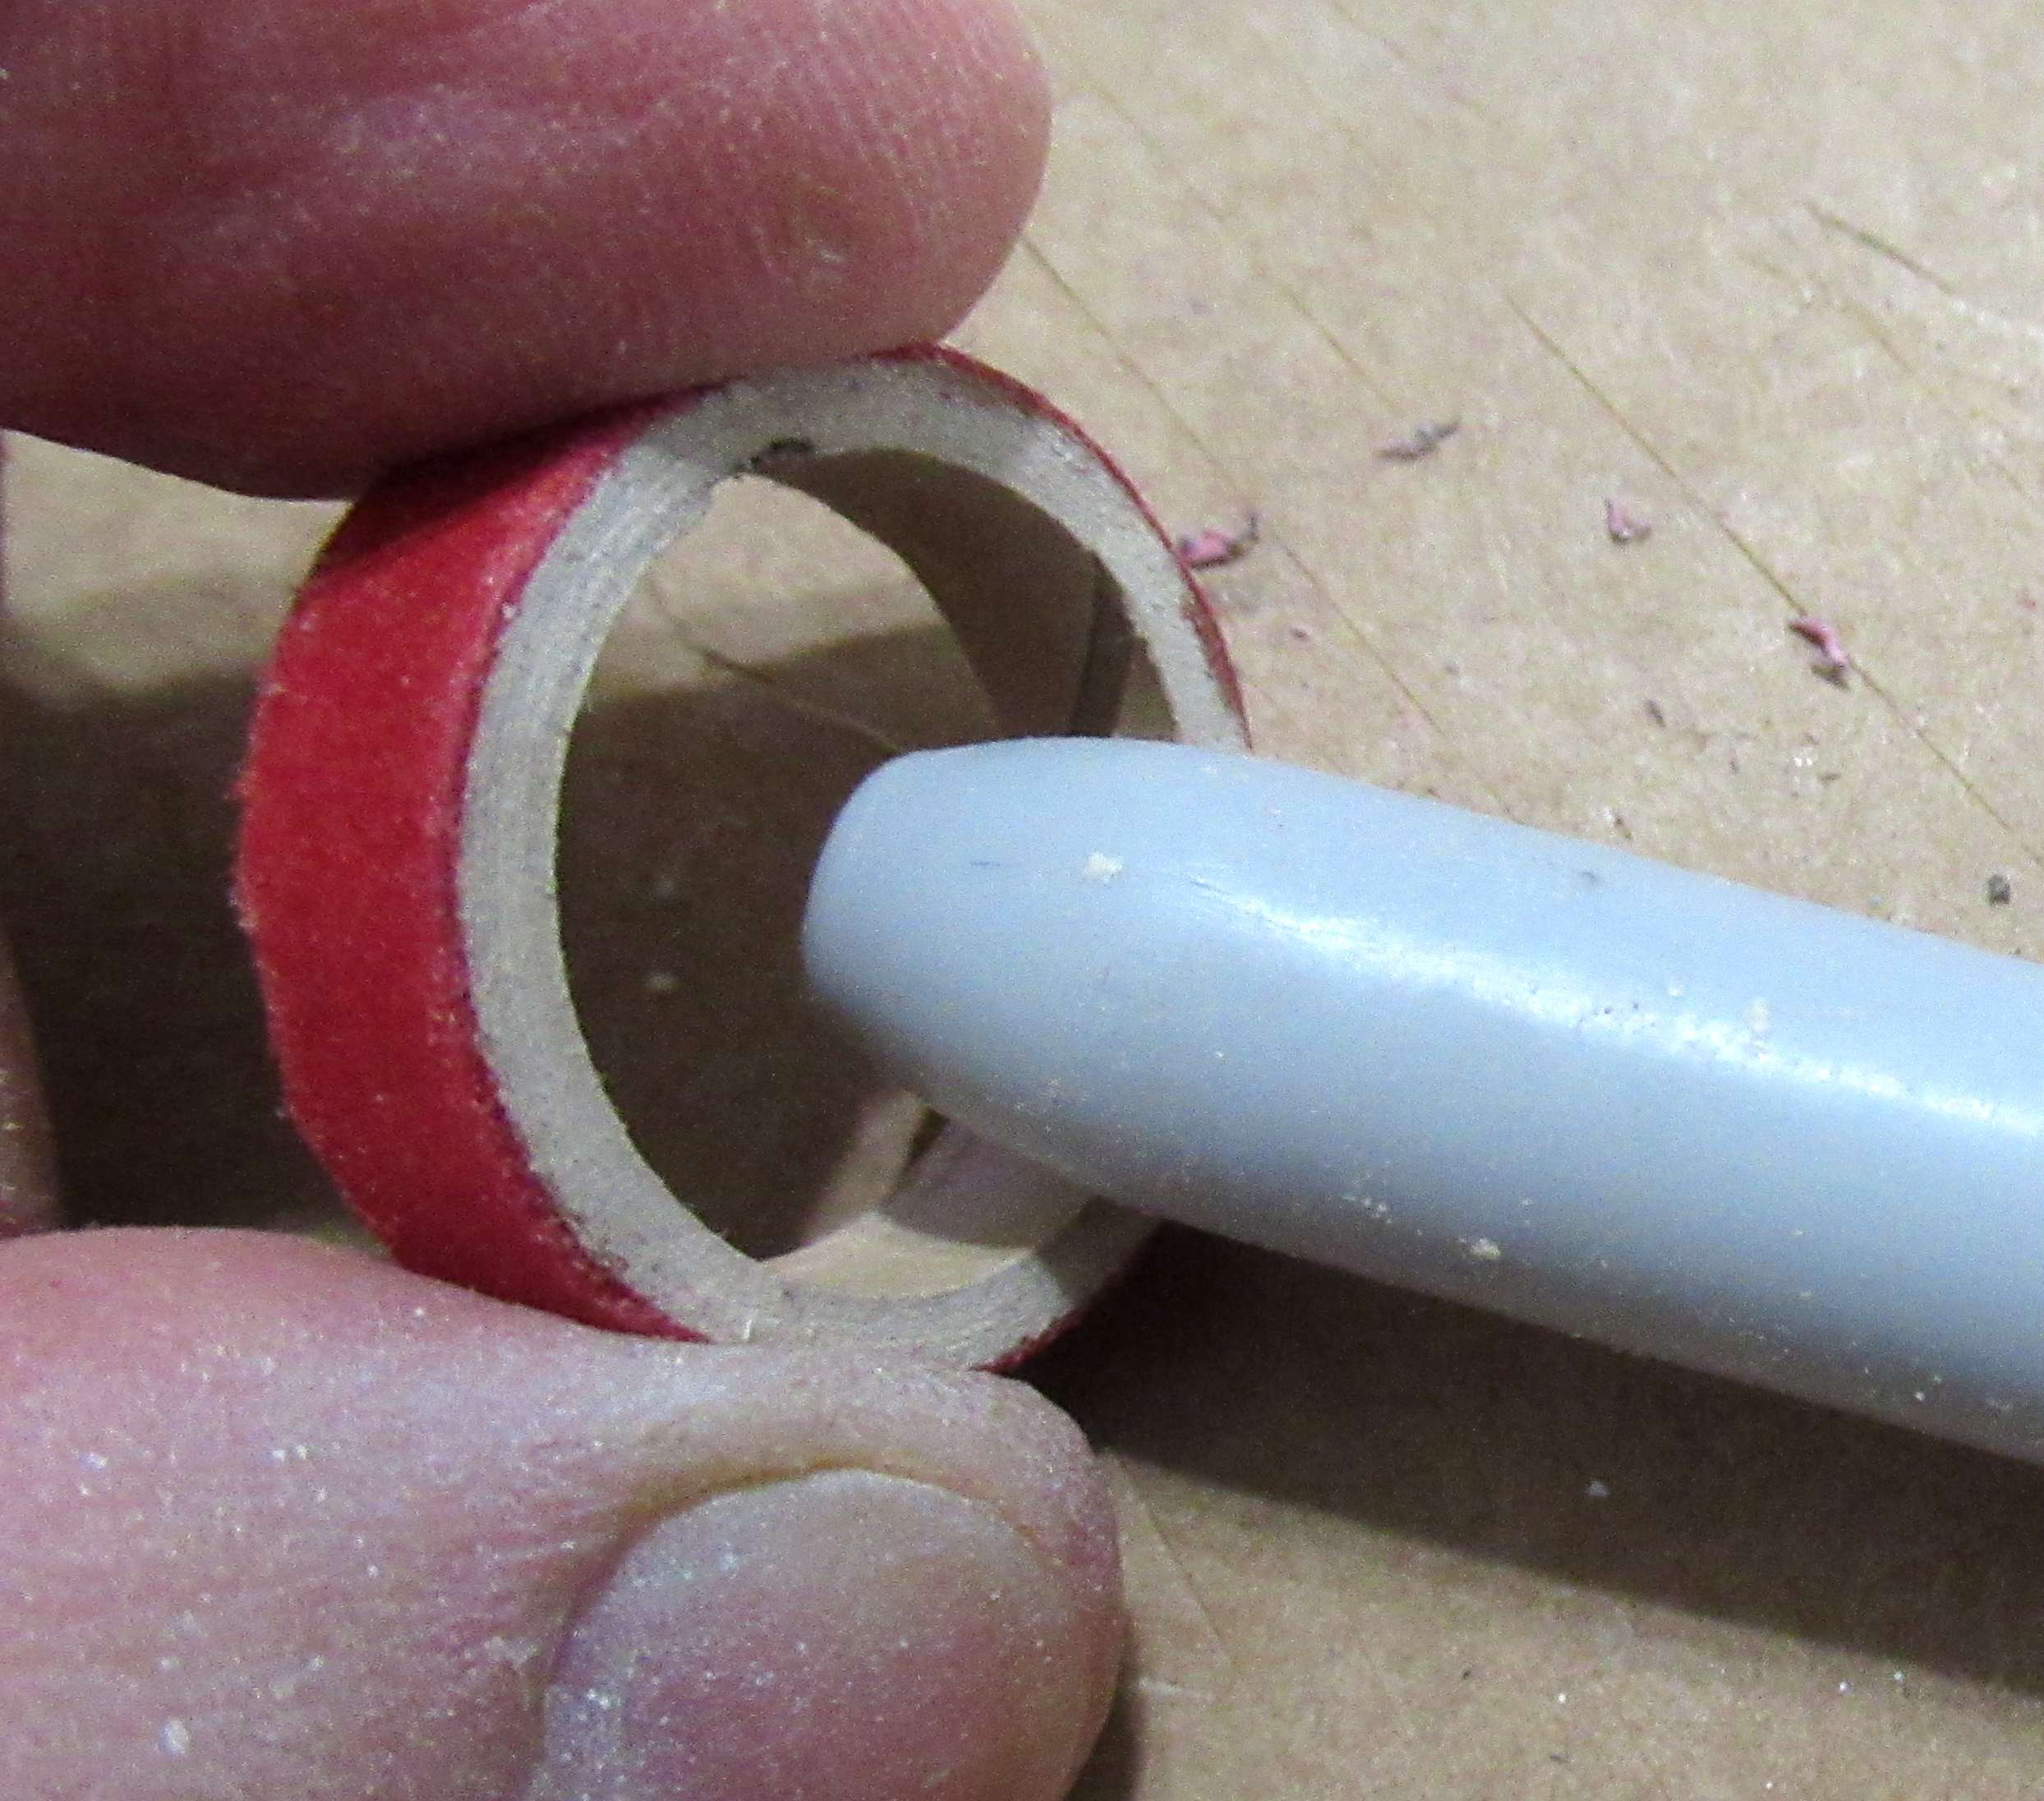
The red centering rings had raised cut off burrs on the inside.

Press and smooth these down with a burnisher for an easier slide over the motor mount tube.

GOTCHA: There is a small mistake in the instructions.

The drawing shows the fins marking guide wrap still on the body tube with the fins glued on top! "Position finds on guide lines?"

Remove the marking guide, then glue on the fins.

I made a mistake!
The instructions don't mention not using the launch lug standoff. I used it. 

Not a big deal, but the launch lug can be glued directly onto the body tube without the standoff.

On the left is a flight model with the balsa fins.
On the right, the show model with filled body tube seams and stronger basswood fins.

Tuesday, February 28, 2023

Quest Icarus Build #Q2006, Part 3, Parts Prep

The plastic coupler end had a molding nub that needed to be sanded off. If left on it could scar up the inside of the lower body tube.

The coupler is molded in red. At the center there is a thin shoulder that would show as red on the white and blue finished model. That center shoulder ring will have to the painted white.


The upper body tubes had a red outside layer.
The kit face card shows this tube as a medium blue. I wish this was a white tube!

I picked the best two tubes to be on the "show" models.


The tube seams were filled on the two show models. The flight models didn't get the same fill.

The tube on the right shows the red after sanding the CWF filler. The red layer was really thin! These will need some gray primer and sanding to cover that spotty red.


The nose cone mold lines took some scraping and filling to get a smooth finish.

Here I'm using the backside of the knife blade. No sense using the sharp side of the blade and dulling it.

Monday, February 27, 2023

Quest Icarus Build #Q2006, Part 2, Parachutes

Unless you enjoy frustration - Don't cut out sheet plastic parachutes with scissors!
TIP: Notice the ruler is turned over, with the cork facing up. 
With the metal down there is less flex of the sheet plastic and you won't end up with a jagged cut.

Why place cork on the back of a ruler? Sure it helps with slippage, but - 
The cork also raises the ruler so old style India ink pens wouldn't run under the edge. 
 

TIP: Notice the cardstock under the chute material.
This backs up the thin plastic and makes for a cleaner punch.
It's hard to get a good punch without the backing.

Note the punch is set to the outside of the reinforcement ring center, towards the "point" of the chute edge. A tear won't have a chance to start if the string is against the stronger reinforcement.


The Quest shroud lines look like they might be weak, but they are stronger than the lines included in some current Estes kits.

If you don't have long tweezers yet - these are very useful: CLICK HERE

Sunday, February 26, 2023

Quest Icarus Build #Q2006, Part 1, Parts


I built four Icarus kits for Quest last year. This will be a quick blog build.

The Icarus is a three fin nose cone model. Tall with a good sized payload section.

"Quest reissued kits with a 24mm engine mounts to use the new 24mm Q-Jets. The 30mm diameter SPORT and LIGHTNING. The ICARUS reissue kit has a 35mm body. All three kits will include an 18mm adapter."
I've already started to group the four kits in zip bags.

The yellow tubes are the thin wall Quest motor mount tubes. The centering rings are red, the engine blocks are blue.

I like the Quest round elastic shock cords.
Below the shock cord is the nose cone bases.


Balsa for four kits.

Two "show" models will get basswood fins. 
The flight "demo" models will use the balsa fins.

It's not mentioned in the instructions, but the lug standoffs are not used.


Oh boy!
I get to assemble eight parachutes!

The extras are for other Quest builds.