Showing posts with label Filler/Primer. Show all posts

Thursday, September 11, 2025

Estes LTV Scout, Build, Part 7, Great Tubes!


Oh, how I miss the older, tighter better made tubes!
They feel denser and stronger. 

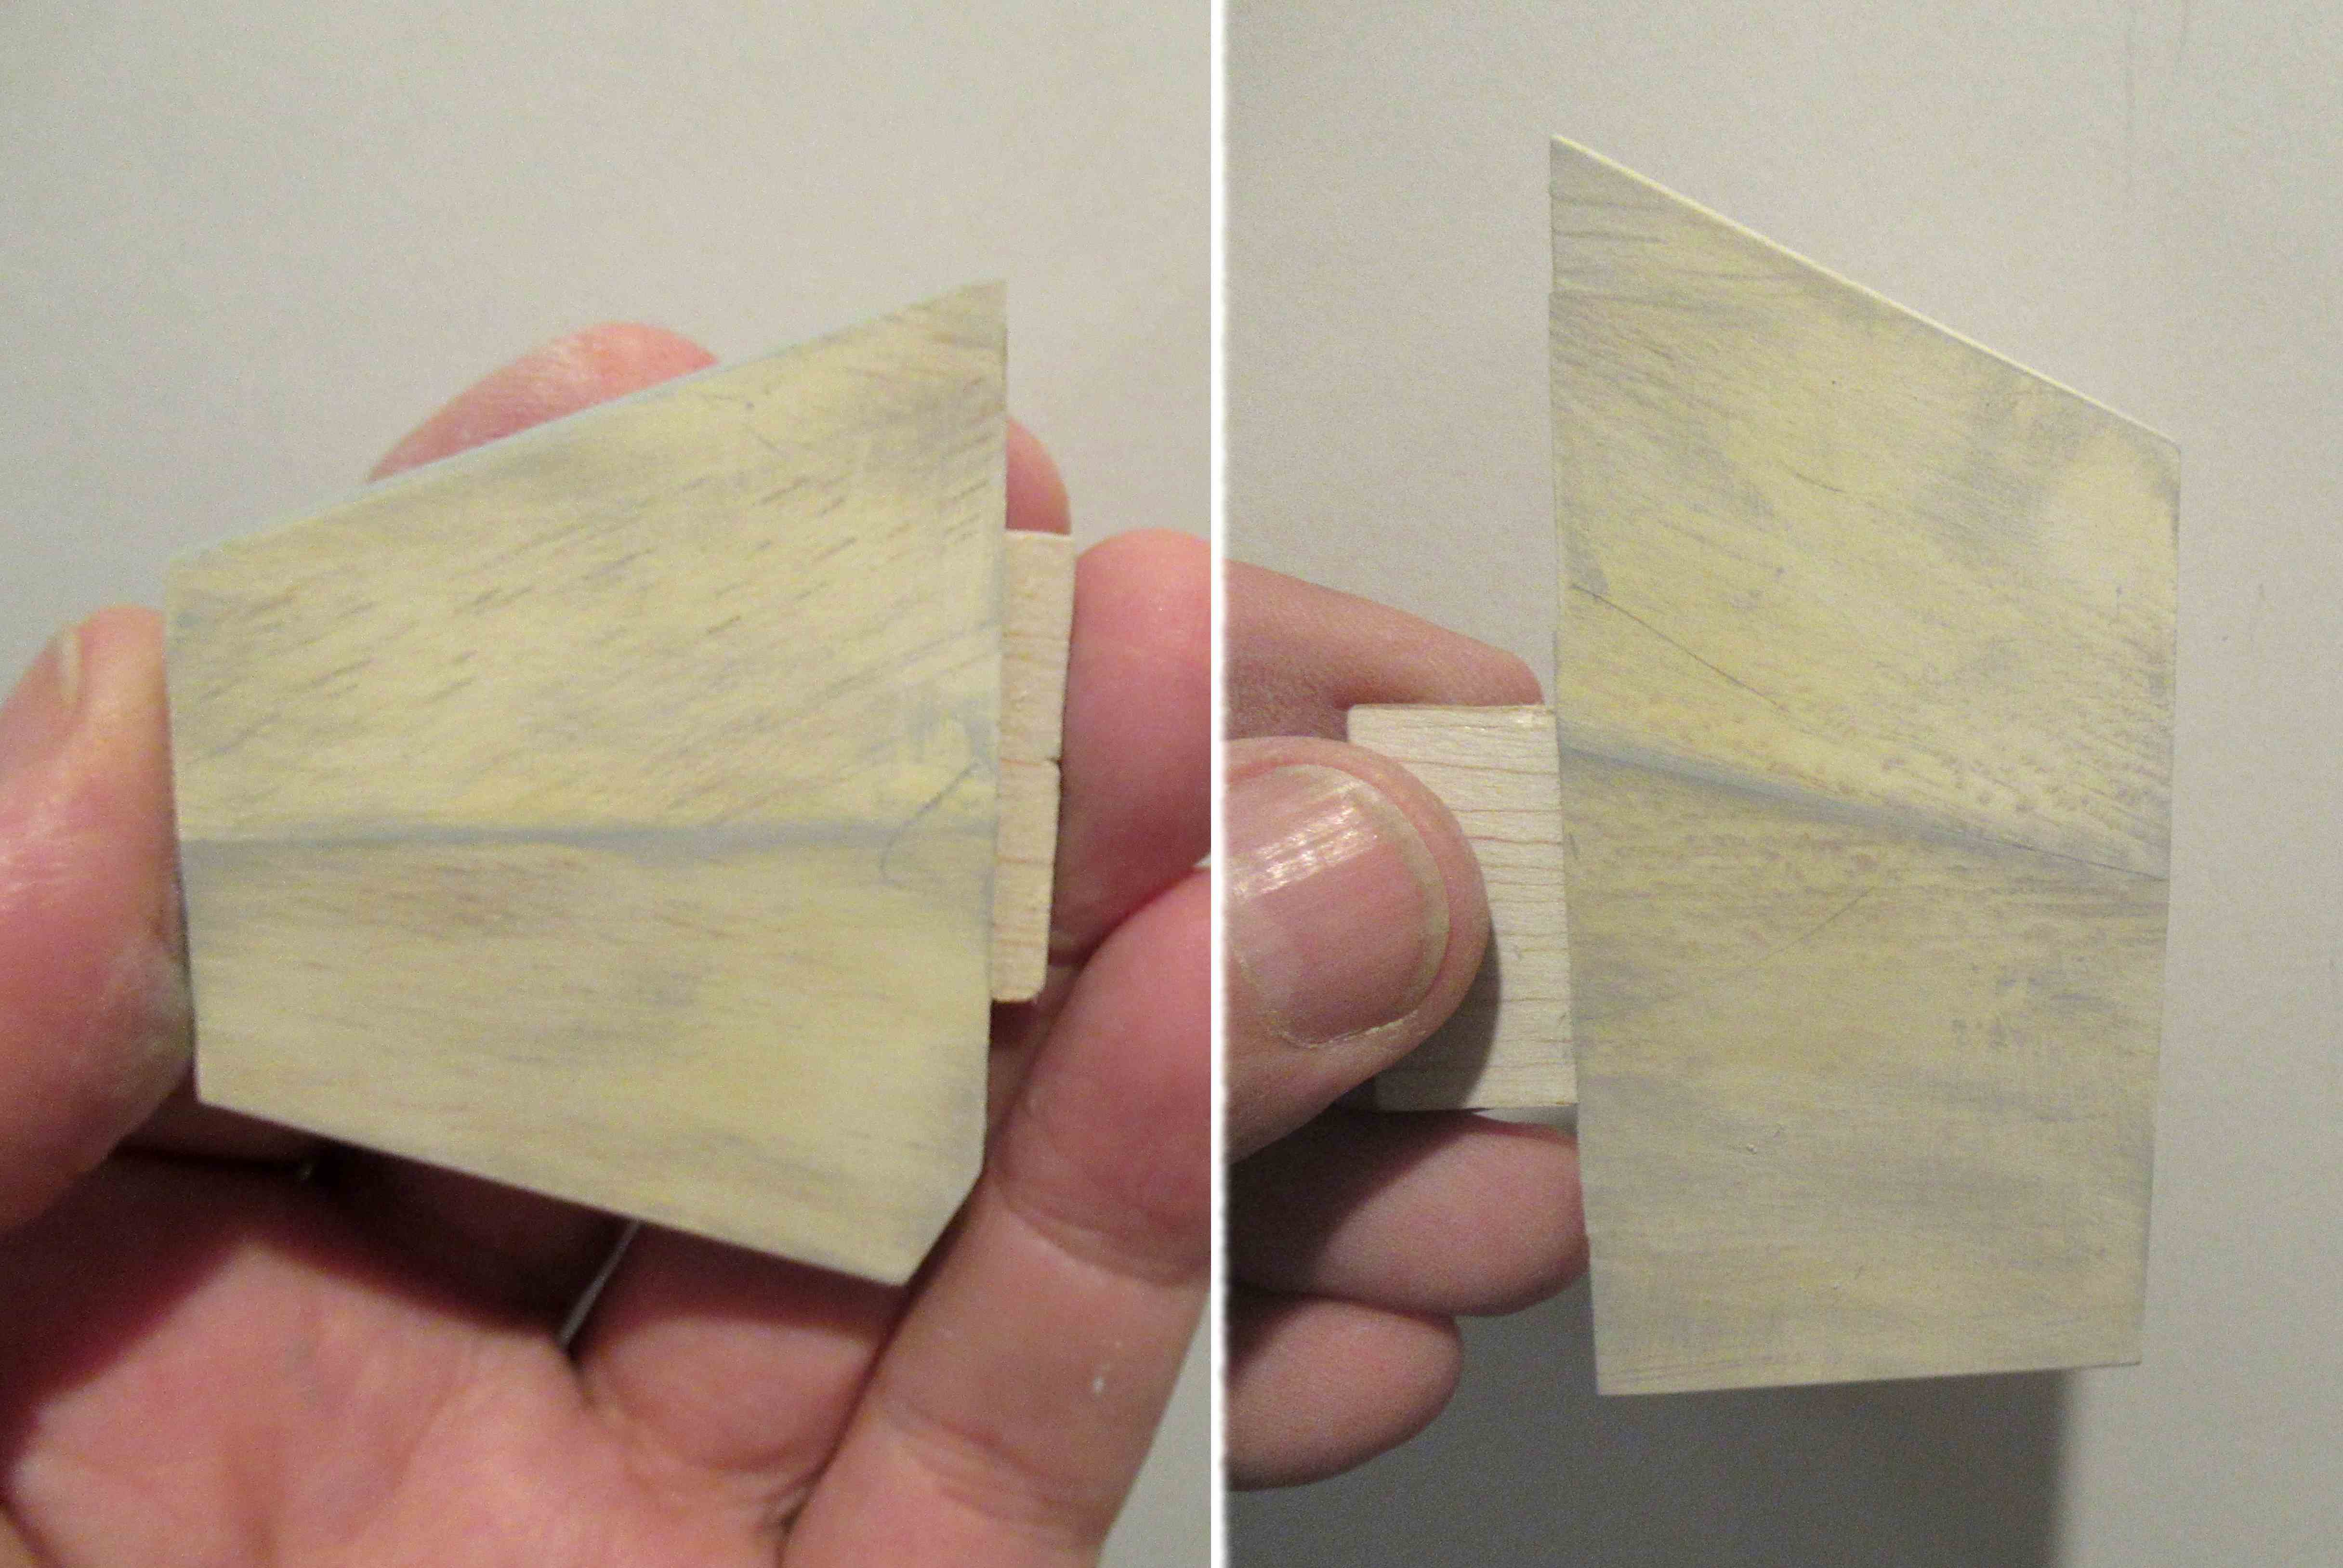
The picture shows the BT-60 tube lower tube. The seams are very tight and were easily filled with CWF,   

The upper tubes didn't need any CWF, I couldn't find the seam recess! Just a good shot of filler/primer and sanding should take care of anything remaining,
Here the shorter tubes are slid onto rolled cardstock handles for a filler/primer spray.


Above - the BT-60 shot with gray filler/primer.


After sanding with 400 grit.

Wednesday, April 30, 2025

New Way Letter - Go Build, Part 8, Sanding the CWF & Filler/Primer


Here's the tube fill after working the CWF into the seams.

I usually hit the filler with 400 grit on a sanding block to start.

Take a close look at the end of the launch lug. That edge is rough and needs same sanding with 400 grit on a block.

On the left, there is already sanded CWF filler in the lug.

After sanding the ends clean, use a sharpened dowel to round the lug and clean up the inside wall. 


Thin strips of masking tape kept the filler primer of the root edge gluing areas.

On the right is the tube after sanding the filler/primer and pulling of the masking tape strips.

Tuesday, April 29, 2025

New Way Letter - Go Build, Part 7, Tube Seam Fill


I like to mark the tube spiral indents with a sharp pencil. It makes them easier to see when applying the CWF filler.


I dip just the tip of my X-Acto knife in the thinned CWF filler.

You won't need much, so wipe the excess off the back of the knife tip.


Run the tip into the seam recess with a back and forth motion. The blade directs the filler into the seam.

I dip and fill about one inch at a time.


I had hoped the plywood fins would only require some filler/primer to fill the very shallow grain.
There were a few "splinters" that needed some CWF and sanding.

Monday, April 28, 2025

New Way Letter - Go Build, Part 6, Filler/Primer On The Fins

The fins are plywood and don't require CWF filling used with deeper balsa grain.

Here I've taped down the fins over the fin tabs, keeping he filler off the wood for a better glue bond.


Here's a fin after spraying with filler/primer.

Note the tab and root edges didn't get sprayed.


After sanding,
there is some filler/primer left and filling the slight wood recesses.


There were a few deeper slivers that needed a bit of CWF and sanding to smooth out.

Sunday, October 13, 2024

Estes Star Stryker Build, #3206, Part 5, Filler Primer Spraying


I slid the nose cone and adapter into the clear payload tube to spray on the filler/primer. 

The clear tube was masked off.


The body tube already had a seam fill of CWF and sanding.
A shot of filler/primer followed. Slide the engine mount into a painting dowel.
The fins were held down on scrap cardboard on tape with the sticky side up.

On the left is a fin after CWF and sanding. 
On the right is a fin side after spraying with filler/primer. 
Note the fin root edges are butted up against each other to keep the primer off the gluing surface.

Thursday, June 13, 2024

Semroc Wac Corporal Build, Part 11, Fitting The Fins


There was still some uneven areas around the tail cone/body tube joint.

Wedge shaped pieces of masking tape were cut to keep another shot of filler/primer of the root edge gluing areas.


The filler/primer was sanded down.

Each fin was individually fit to the tail cone and body tube.
Look close and you can see a small gap at the rear and just below the top of the tail cone.


Here's the same fin after fitting. The gaps are gone. 

For a reference I marked the fin at the shroud/body tube joint with pencil.

Monday, June 10, 2024

Semroc Wac Corporal Build, Part 8, Second Coat Of Primer/Filler


Normally, one coat of CWF then sanding - 
and a spray of primer/filler and sanding,
takes care of the balsa grain. Not today.

Before sanding the filler/primer I had to rub some CWF into the remaining visible grain.

Keep this CWF rubbed in filler thin and close to he surface.


After sanding down the filler/primer, you could see the remaining high spots left from the initial fin shaping. I wanted the surface to have a nice, rounded profile.

Sanding did take down the raised areas but also cut int the CWF underneath and into the balsa.

This will need another sealing shot of filler/primer and sanding.

The root edge was masked off again using tapered pieces of masking tape.

Onto some scrap cardboard to spray one side.
That long masking tape strip has the sticky side facing up to hold the fins for spraying.

Spray one side and let dry.
flip over the fins and spray the other side.

Tuesday, May 7, 2024

Estes Condor #0807 Build, Part 11, Canard Fit & Masks


I squared up the notches for the canard. 
I wanted a good friction fit.


Filing continued until the center front and rear of the canard could slip in.


The gluing edges were masked off with tape strips before shooting the filler/primer.


After spraying the filler/primer -
Here's the glider body after the tape strips were removed.

Monday, May 6, 2024

Estes Condor #0807 Build, Part 10, Balsa Filler/Primer


After one pass with CWF and sanding, 
the die-cut balsa still showed some crushed edges. I had to go back for more filler.


The balsa was sheet was pretty good. 
Here's a fin right after a shot of filler/primer. You can't see and grain pores.


Here's the tip fins with sprayed filler/primer - 


And a fin after sanding off most of the filler/primer.


The die-cut balsa tip fins have a rounded outside corner.

The instructions show a sharp corner.

Saturday, March 23, 2024

Estes Skytracer Clone #1361 Build, Part 8, Filler/Primer & Dowel Detail


After sanding smooth the CWF - 
The wing fins, standoffs, launch lug and standoffs were taped to scrap cardboard and sprayed with filler/primer.


After drying and before sanding - 
You can see some dulled areas of the balsa needed another shot of filler/primer.


The wing fins were glued onto the main airframe tube.

I thought the dowel went all the way from the engine tube to the outside edge of the fin rear. But - 

The dowel end is about 3/8" from the outside edge. I checked the instruction drawing this time.

Thursday, February 22, 2024

New Way Nike Ajax Build, Part 7, Filler/Primer


Note the edges at the top and bottom of the balsa adapter. You'll see a raised ridge of CWF.

I brush on CWF a little over the shoulder lip. While the filler is still wet, the adapter is slid into the tube and turned. This makes a raised bead of filler. 

When this is sanded with a block, it makes a more defined shoulder edge on the finished model.


All the sanded balsa pieces then got a fairly heavy shot of filler/primer.
The forward fin shows the filler left in the remaining balsa grain after sanding with 400 grit.

This is a two-step fill, CWF and sand then filler/primer and sand. There shouldn't be any grain left. Like anything else, a new technique takes practice.


Here's the booster BT-55 tube.

CWF was used first on the tube seams, followed by sanding.

On the right, the picture shows how much of the filler/primer is sanded off leaving the gray primer filling any remaining tube seams.

Wednesday, February 21, 2024

New Way Nike Ajax Build, Part 6, Wood Prep & Fills


The laser cut inter stage supports should have the edges trued up with a sanding block. If they aren't squared up the cap strips (cardstock) won't glue on straight. Without sanding square the sides, no pieces will be true when glued to the body tube.


Here's all the balsa pieces that got CWF fill. 
It's quite a bit of sanding.


After the CWF is sanded down, the pieces were stuck down to some cardboard for a shot of filler/primer and more sanding.

Notice the root edges are pressed against each other to keep the filler/primer off an area that will be glued later.

Monday, January 15, 2024

Fillers Results, Part 2

The final results were somewhat predictable with a few surprises.
After light sanding the "fillers" all pieces got a white undercoat and light sanding. This was followed up by gloss red enamel.
   

On the left is the sprayed raw balsa, no sealer or filler.
The paint soaked in and dried with a dull flat finish. The balsa grain is very obvious.

On the right is the wood glue coat balsa. 
The grain is still evident, not filled. But - 
The wood glue did "seal" the wood. The paint didn't soak into the wood and dried to a decent gloss sheen. 


On the left side is the CWF filled balsa. There is still some grain and the pores are raised slightly. The final gloss is not as shiny as the wood glue test piece above.

On the right is the piece hit with filler/primer only. There is still some slight grain seen. The filler/primer does seal the wood and the gloss red is a little shinier than the wood glue coated piece.


The clear winner is this final piece using one coat of CWF and sanding, followed by filler/primer and sanding. 

The CWF fills 80% of the wood grain. A single follow up spraying of filler/primer and sanding fills any remaining grain.
This test piece is the smoothest with the best gloss.

This is how I normally fill balsa pieces. It's a simple two step process. One brushed coat of CWF and sanding, one spray of filler/primer and sanding.  
Everyone has their own methods, do what works for you. I doubt I will change, I've used and developed my practice of CWF and F/P for years now.

Sunday, January 14, 2024

Fillers Results, Part 1

On occasion I see a forum post where a newbie recommends his method for filling balsa.
Some use white or wood glue claiming it fills the balsa. Others have used the Brodak sanding sealers.
In the late 1960s Estes recommended Sanding Sealer. Centuri said to use Balsa Fillercoat. I used sanding sealer and occasionally balsa fillercoat. You can't find sanding sealer in hobby shops anymore. If you do find it, the cost seems prohibitive. Pactra and Midwest has discontinued their sanding sealers and balsa fillercoats. Brodak sealer seems to be out of production.

I've read about CA )Super Glues being used to seal and fill balsa grain. I've yet to use CA for this. I tend to fill the balsa wood grain off the model. A CA fill would seal the root edges preventing wood glue from soaking into the balsa, compromising the glue bond.

When I got back into the hobby in 2009, sanding sealer was difficult to find. Elmer's Fill N' Finish (now named Carpenter's Wood Filler or CWF) was the talk of the forums. I adopted this filler on my rocket builds. 

In these two posts I took some scrap balsa and tried various methods to seal and fill balsa grain. This is not a complete test, I've not included the Brodak, Erockets sealer or CA methods. Papering fins is a discussion for another day. 
     
Five pieces of balsa were tested. I tried to pick out wood pieces that had some consistent density and grain depth. After filling, all pieces will get white undercoats and a final red color.


The first piece (not shown here) will be raw balsa, no filler. 
The second piece (not shown here) got a coat of wood glue and light sanding.

Third piece was raw balsa piece that only got one spray of Duplicolor Filler/Primer. After it dried it got a light sanding with 400 grit.


The fourth piece (not shown here) got one coat of brushed, thinned CWF and sanding.

This fifth balsa piece got a coat of thinned CWF and sanding.
This was followed by a spray of filler/primer and sanding.

Sunday, December 24, 2023

Estes Great Goblin, #9724 Build, Part 10, Filler/Primer

On the left is the tube after the CWF seam filler was sanded. The pencil line below the fin slot shows an additional seam that showed after sanding. It's one of those seams where the glassine layer has shrunken into the Kraft paper seam. More CWF and sanding.

On the right - This shows some masking where I don't want the gray Filler/Primer to cover. Down the root edge, the masking tape strip was removed after spraying.


Here's how the fins were masked before the Filler/Primer was sprayed.

The TTW tab and the root edge is masked.
I cut a thin strip of masking tape for the root edge above and below the TTW tab.

Those three black dots tell me this fin is from the third kit build.


Look close at the picture on the left side.
There are still some open grain pores after the sanded CWF and filler/primer coats.

On the right I have rubbed in some additional CWF with a fingertip.


A refilling like this is rare.

This shows an area of the fin after sanding down the second application of CWF.

Sunday, October 1, 2023

Estes Black Brant XII, Kit # 9723 Build, Part 17, Filling & Filler/Primer


I'm brushing on a single coat of CWF or Carpenter's Wood Filler.

Be careful to keep the filler off the root edge. I brush on the CWF but stop at the edge without lapping over on the root.


Use a fingernail to remove any filler and square up the edges.

The CWF was sanded to surface. 
A follow up spray of filler/primer followed.


After sanding down the filler/primer - 

Notice the high point at the center of the fins. If carefully sanded, the filler/primer can help define that line one last time.


Here's how I taped the pieces down for the filler/primer and white undercoats. 

If you spray from the angle in the picture, you shouldn't get any spray paint on the fin root edges.