Showing posts with label Raceway. Show all posts

Thursday, July 17, 2025

Estes Mini Bomarc Clone, Kit #TK-5, Part 11, Gluing On The Raceway

The upper picture is s a dry fit of the raceway checking the fit over the wing and stabilizer.

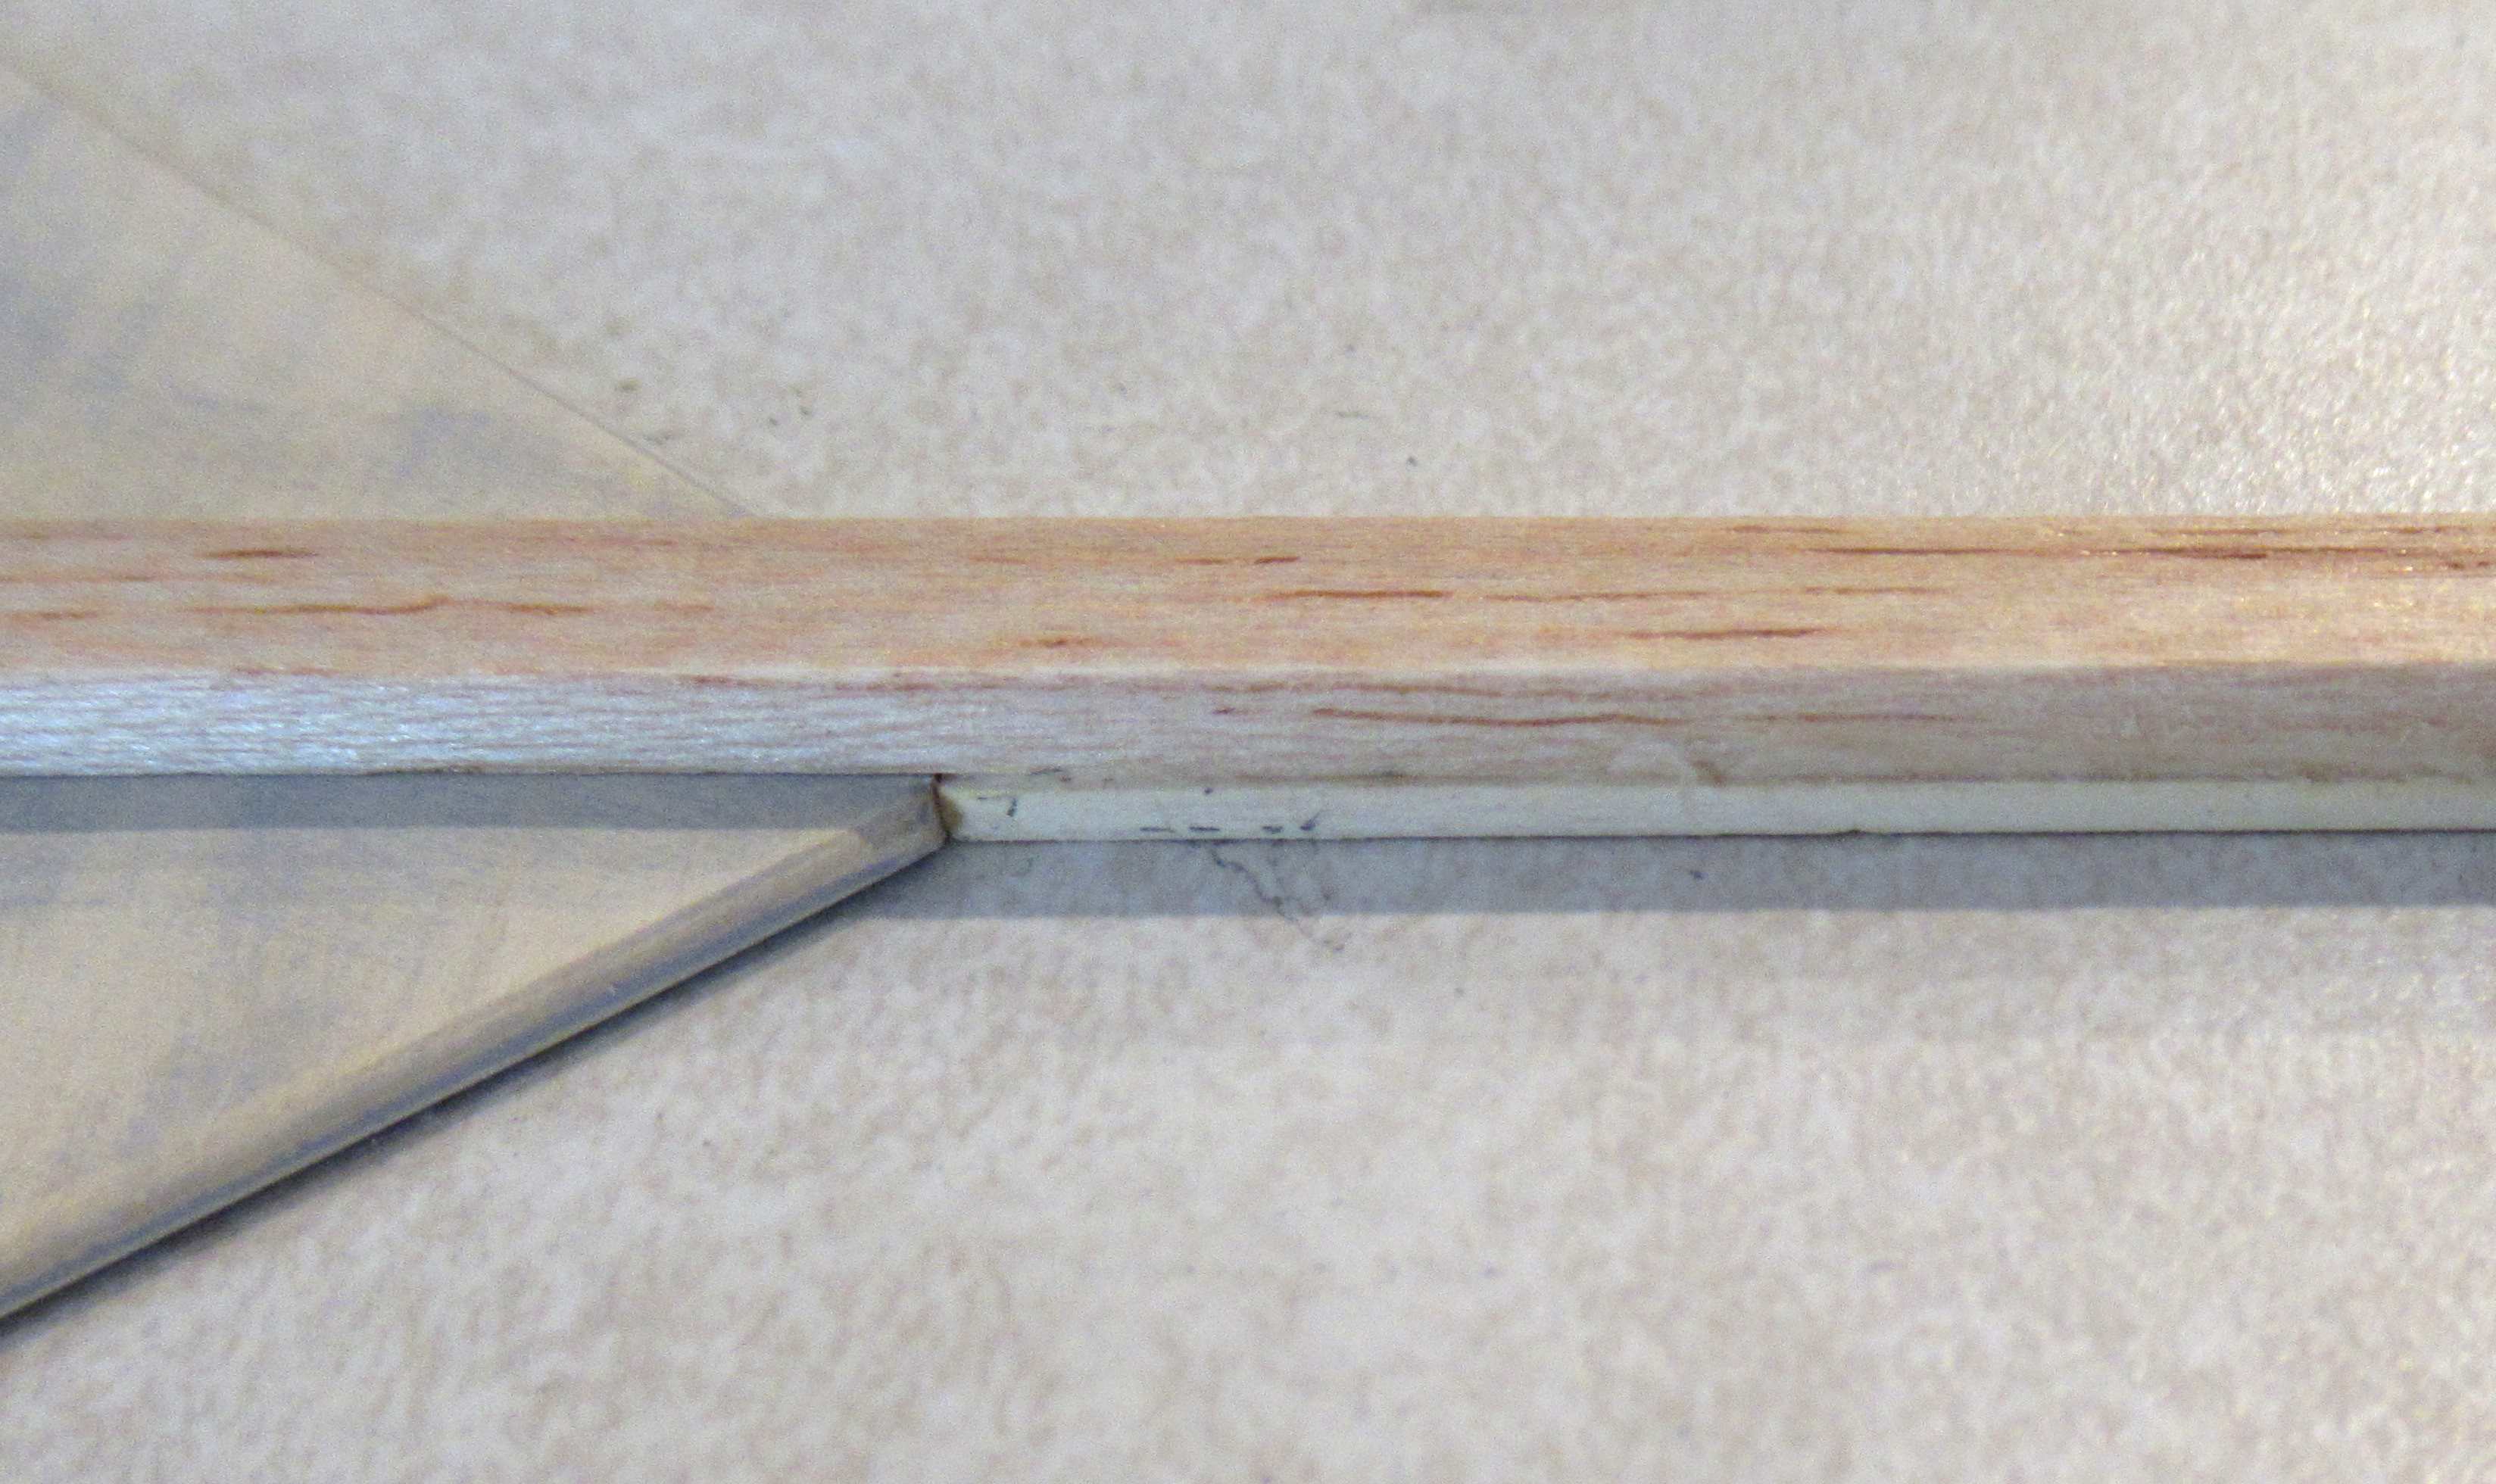
The inset picture shows the line of glue just down the centerline on the underside of the raceway. The side edges won't be making contact with the round tube. I also didn't want squeeze out of glue. Any gaps will be filled with a glue fillet.

I didn't initially cut the curve to fit over the low end of the raceway. 
Set the rudder over the back and trace over the raceway curve end with a pencil.
On the right is the rough cut.


After more forming with sandpaper rolled over a dowel, I got a good fit.


Follow up with some glue fillets to fill any gaps.

Monday, July 14, 2025

Estes Mini Bomarc Clone, Kit #TK-5, Part 8, Raceway Buildup


The stabilizer is even with the end of the body tube.
The raceway sits on top, 1" from the end.

These are still dry fittings, don't glue the raceway on yet.


The front of the raceway overhangs the front end of the body tube.

Cut it off even and sand flat.


With the raceway off the body, it's easier to form the ends.

With a sanding block, shape the side profiles first.
then round down the top.


Then round the sides.

Smooth things out with 400 grit over your fingers.
For a better fit over the round tube, I sanded a slight dip into the underside.
400 grit was wrapped around a BT-5 tube and the underside was sanded. Don't sand to a perfect fit, the raceway still needs to fit over the wing and stab.

I used a smaller tube than what it will be glued to. This can make for a better fit.

Sunday, July 13, 2025

Estes Mini Bomarc Clone, Kit #TK-5, Part 7, Raceway Buildup


Step 7 in the instructions have you build up the raceway on the model, then sand the ends "to a point". This is when I steered away from the instructions. I couldn't see how you could sand and form the raceway ends after they were glued to the body.


I taped the pieces down to a countertop keeping all in line.

See the next #8 post to understand why. 


This is the rear R1 piece pressed in between the wing and rudder. Don't glue the ends to the wing and rudder yet.

Butt the forward R2 piece against the front of the wing, no glue.


Just the top of the raceway (the original kit included a rounded raceway top) is glued to the R1 and R2 pieces. Don't glue the top raceway piece to the wing and rudder, glue only to the R1 and R2 pieces underneath.


Do your best to line up the sides of the R1 and R2 even with the sides of the long upper raceway piece.