Showing posts with label Aerotech. Show all posts

Thursday, July 3, 2025

Aerotech Mega Initiator #89541, Part 20, Installing The Rail Buttons


Mix up a small amount of epoxy.

I wanted some of the epoxy to be on the inside of the body tube, directly around the screw - sort of an interior fillet.

A toothpick was dipped into the epoxy and set into the drilled hole. With an in and out motion, a ring of epoxy was left on the inside and outside. 


Slide the rail button onto the screw.
Dip the tip of the screw in the left over epoxy.


Screw the rail button into place. Tighten until the back of the button is flat against the body tube. 

Don't overtighten, you don't want to strip what threads you are making in the body tube.


In the above picture,
Notice the squeeze out of the epoxy.

Wipe off the excess. Depending on the drying time of your epoxy, it might run! I use 30 minute epoxy and a drip could form.

Wednesday, July 2, 2025

Aerotech Mega Initiator #89541, Part 19, Drilling The Rail Buttons

The rail buttons are centered between two fins, on the other side of the INITIATOR name sticker.


It's difficult to find the center on a round tube.
I used a piece of paper pressed into the root edge fillets.

Mark the two fold sides with pencil.
With your ruler, find the center and mark.
    
The lower hole is to be placed about 1/2" above the lower engine mount centering ring. That puts the hole position at about 1 1/2" from the rear of the body tube.

The upper hole is 8" above that.

Drill a pilot hole using a 1/16" drill bit.
Sight from the rear and make adjustments using the larger 1/8" drill.


Using the pilot hole as a guide,
Enlarge the rail button hole to 1/8".

Tuesday, July 1, 2025

Aerotech Mega Initiator #89541, Part 18, Setting The Name Sticker


From the last Mega Initiator post - 

With the O and R "cut" directly over the tube joint, sight down the body to make sure the orange line and type are straight. Tape down the sticker.  

Use your aluminum angle to check the orange stripe is straight.
The placement illustration says to overlap by 1/8", but I wanted to end up with a clean cut between the O and the R.
A 1/4" overlap puts the cut between the letters.

Double check the 1/4" overlay of the orange stripe joint before peeling off the backing.
I peeled the backing on the orange strip and lightly held the  vinyl. The backing was cut off up to the R. 

The orange stripe was set over the upper stripe matching the edges.
With the ends matched up, the backing is pulled under the name. Carefully set down the name checking the straightness as you go.
Add the "C" tail sticker at the low end of the orange stripe.

GOTCHA: The illustration drawing shows the "I" even with the top of the fins. The provided sticker lengths end up with the name higher up on the model.

Wednesday, June 25, 2025

Aerotech Mega Initiator #89541, Part 17, Setting The Name Sticker


Take it from an old typesetter - 
"Os" are typically taller and extend beyond the baselines of the other letters.
Be careful when trimming close so you don't cut off the top and bottom of the O.

You have to decide if the vertical orange line or the name INITIATOR will be centered between two fins.

The INITIATOR name is bolder so I decided to center that vertically.

Don't peel the backing off yet. With tape on the back to hold it onto the tube, measure and center the name. 
I am holding the name low, between the fins to find the center.


Rotate the to upper tube to line up the lower vertical orange line with the upper line trailing down. I used my aluminum angle to position the lines.


When both the orange ends are joined and touching, tape the body tube to keep everything in line.


With the vertical orange line overlapping about 1/4" at the top, it puts the break line between the O and the R.

Wait until the next post before peeling off the backing.

Tuesday, June 24, 2025

Aerotech Mega Initiator #89541, Part 16, Pulling The Mask - Sucess!


The nose cone was slipped in and the upper end was sprayed with Rusto 2X Apple red. 

I would normally prefer using Ace Hardware Premium Enamel, but their "Banner Red" is darker and I wanted to get close to the red color on the model stickers. In the end, if the top roll sticker and bottom fin red colors are a close match. You can't tell a difference with the visual distance between them.


After about 30 minutes the paint dried quick enough to pull the masks.

The color mask lines were clean and sharp.


I had a small bit of red that got under the tape.

This was easily scraped off the clear area using a knife blade.

Monday, June 23, 2025

Aerotech Mega Initiator #89541, Part 15, Matching The Nose Cone Color

The question has come up on the forums: 
"Which Red spray paint color will match the red sticker on the Initiator? 

Some considerations:
1. The nose cone is molded in black plastic so it would require a good white undercoat. Otherwise, you'll get a darker red on the sprayed nose cone.
2. The Aerotech printed stickers are translucent. The white paint under the sticker makes the red in the sticker almost a brighter red "candy" color. 

I've been to a few hardware stores with my kit stickers in hand, trying to match with any red spray paint available. Sure, they look close side by side, but on the model it's a different story.

Model building is a little like a puzzle. Sometimes I ponder assembly questions awhile until I can come up with a good solution. This one took longer than expected.
I decided to mask and spray the red on the wrap and nose cone at the same time. This will require masking the area at the top of the upper wrap.


Before spraying the model, I tested to see if the paint might bubble up on a scrap piece of leftover sticker material.

No bubbles and a good adhesion.
I marked a thin strip of Scotch tape with a Sharpie. After marking the tape, wipe off any excess ink with a paper towel.

I had to use a thin strip so I could flex the tape around the curve without raised folds.

On the right is the full border mask. The rest of the area underneath must be masked off.
Widen the mask below with a single strip of brown masking tape. Note there are many fold bulges. The upper edge covers about half of the Scotch tape mask.

On the right side is the full mask. The nose cone will be slid in and both will be shot with the same red color.

I know - Why not just use Tamiya tape? 
I'm cheap and I get just as good a result using inexpensive Scotch tape.

Sunday, June 22, 2025

Aerotech Mega Initiator #89541, Part 14, Applying The Upper Roll Stickers

A great thing about this design, the separate upper section allows you to center the vertical name and red stripes after the large roll sticker is in place. Simply rotate the upper section and center the remaining vertical name stickers between two fins.


To start, don't peel off the entire backing,
Peel back an inch and fold back the backing paper.

This gives you control as you line up the left edge onto the faint pencil line you drew with the aluminum angle.


With the top and left side edges lined up - 
peel back the backing paper as you go.

Smooth the sticker removing any bubbles.
Peel back more of the backing paper and smooth again.

Continue around the tube to the starting point.


With any luck, you'll get a good match of the orange and red prints.

I had to carefully lift the sticker edges to erase the pencil line which showed up under the clear areas. Whew!

Mentioned earlier - these stickers go on without using water as a lubricant. They did go on easier than I thought they would.

Saturday, June 21, 2025

Aerotech Mega Initiator #89541, Part 13, Prepping More Stickers


Here's the upper body wrap. 
The curves were cut with scissors. Notice I cut a little away from the orange arcs, just playing it safe on the clear border.

Cut the straight lines with a knife and straightedge.


In addition to lining up the top edge with the tube end,
you'll need to line up the wrap left side down the tube.

Use your aluminum angle to draw a light pencil line down the tube, as long as the left edge of the wrap.


Before peeling off the backing, do a dry fit.

When the lower arcs were lined up, I noticed one side of the wrap was a bit tall. I went back with a straightedge and cut a long sliver to even up both sides.

Next post we'll attach the roll wrap. It's easier than I thought it would be.

Friday, June 20, 2025

Aerotech Mega Initiator #89541, Part 12, Applying The Stickers

I know - I postponed some posts on this build. There are good reasons why. 
I'm not very experienced making epoxy fillets. Sure I've done them, but I'm not enough to show you a best method. 
Another reason - It's difficult to get an even, gloss paint finish on large rockets using store bought spray cans. If you've ever tried to get a good gloss on a 4" diameter model you know what I mean. You really need a spray gun and maybe an auto body spray booth! 

 I do have experience with stickers, this kit has peel and stick decor. But, there are some concerns. Some kit stickers are now printed at Aero tech and require different considerations. 
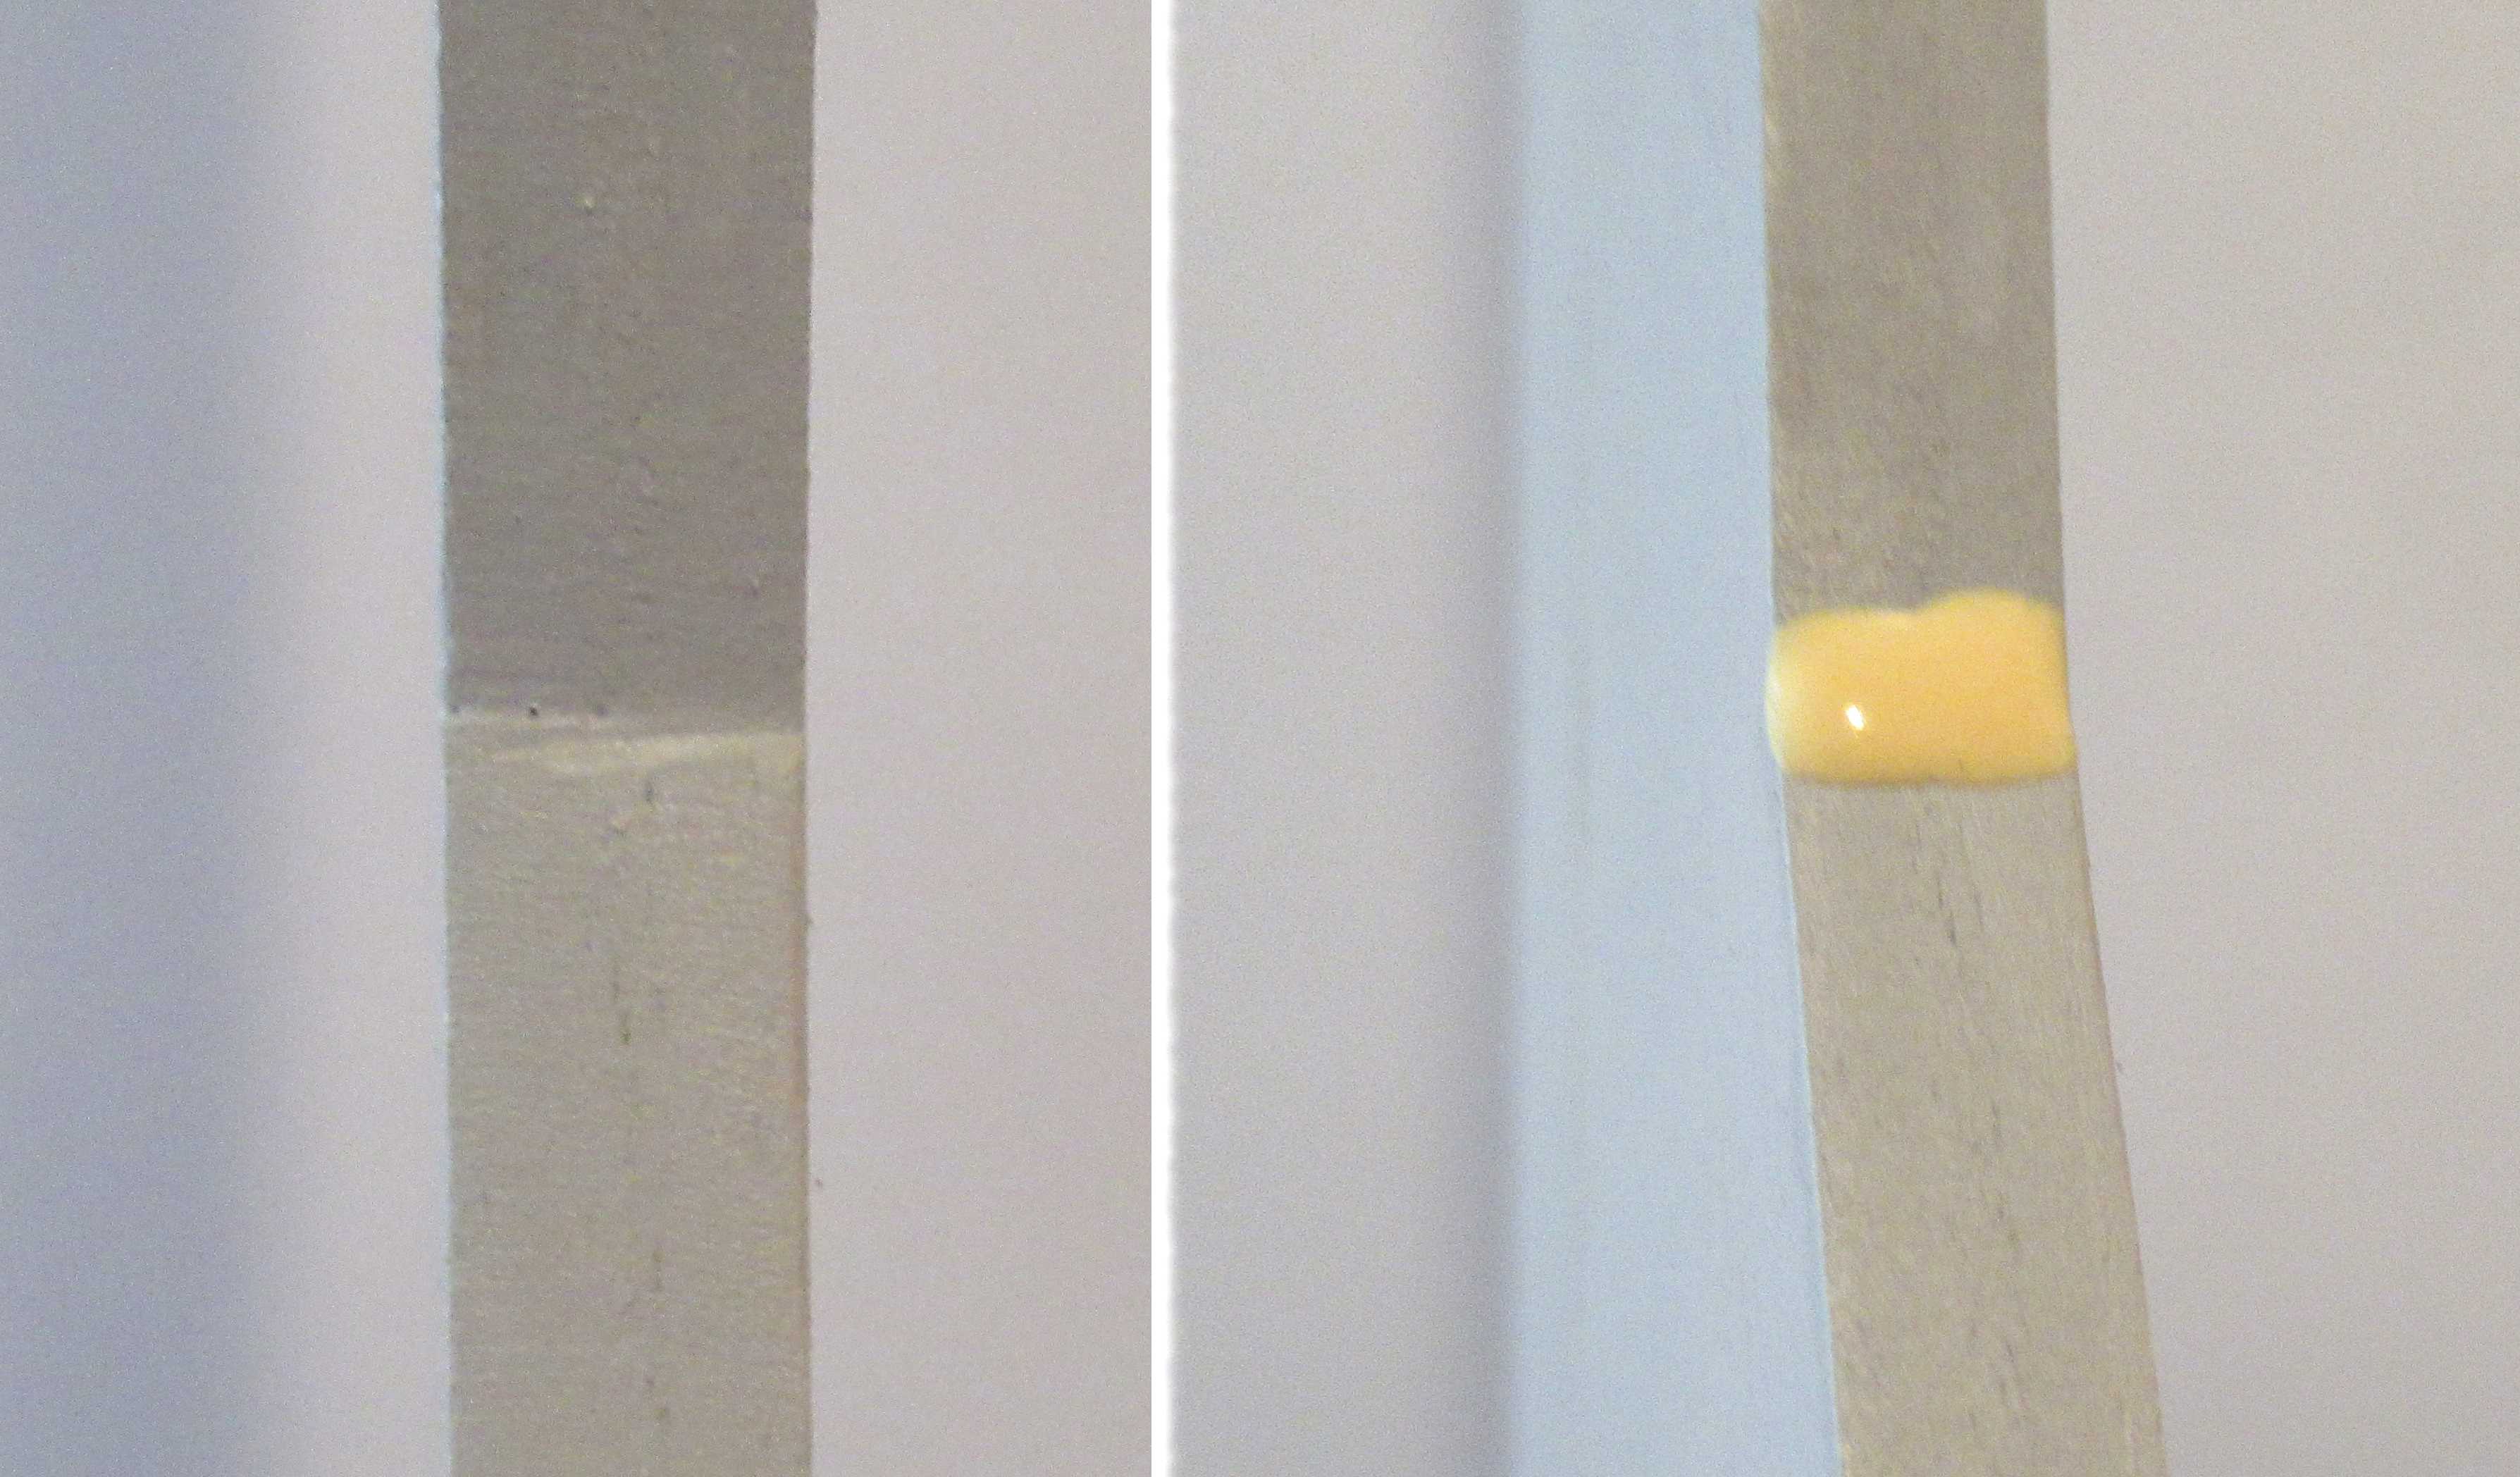
In the past I've wet the surface of the model and dipped the sticker in a dish of water. The water allows repositioning. It's rare when a sticker is perfectly positioned on the first try. 
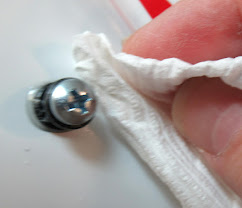
I tried the water dip but it loosened the adhesive on the back of the sticker! Pulling up the sticker to reposition it lifted off the adhesive making the surface lumpy and unacceptable. 
Something different about these stickers - Using no water allowed for some lifting and repositioning! 
They still grab so be careful when initially setting them on the model surface.

You may have an older Aerotech kit, the stickers might work fine when dipped in water. 
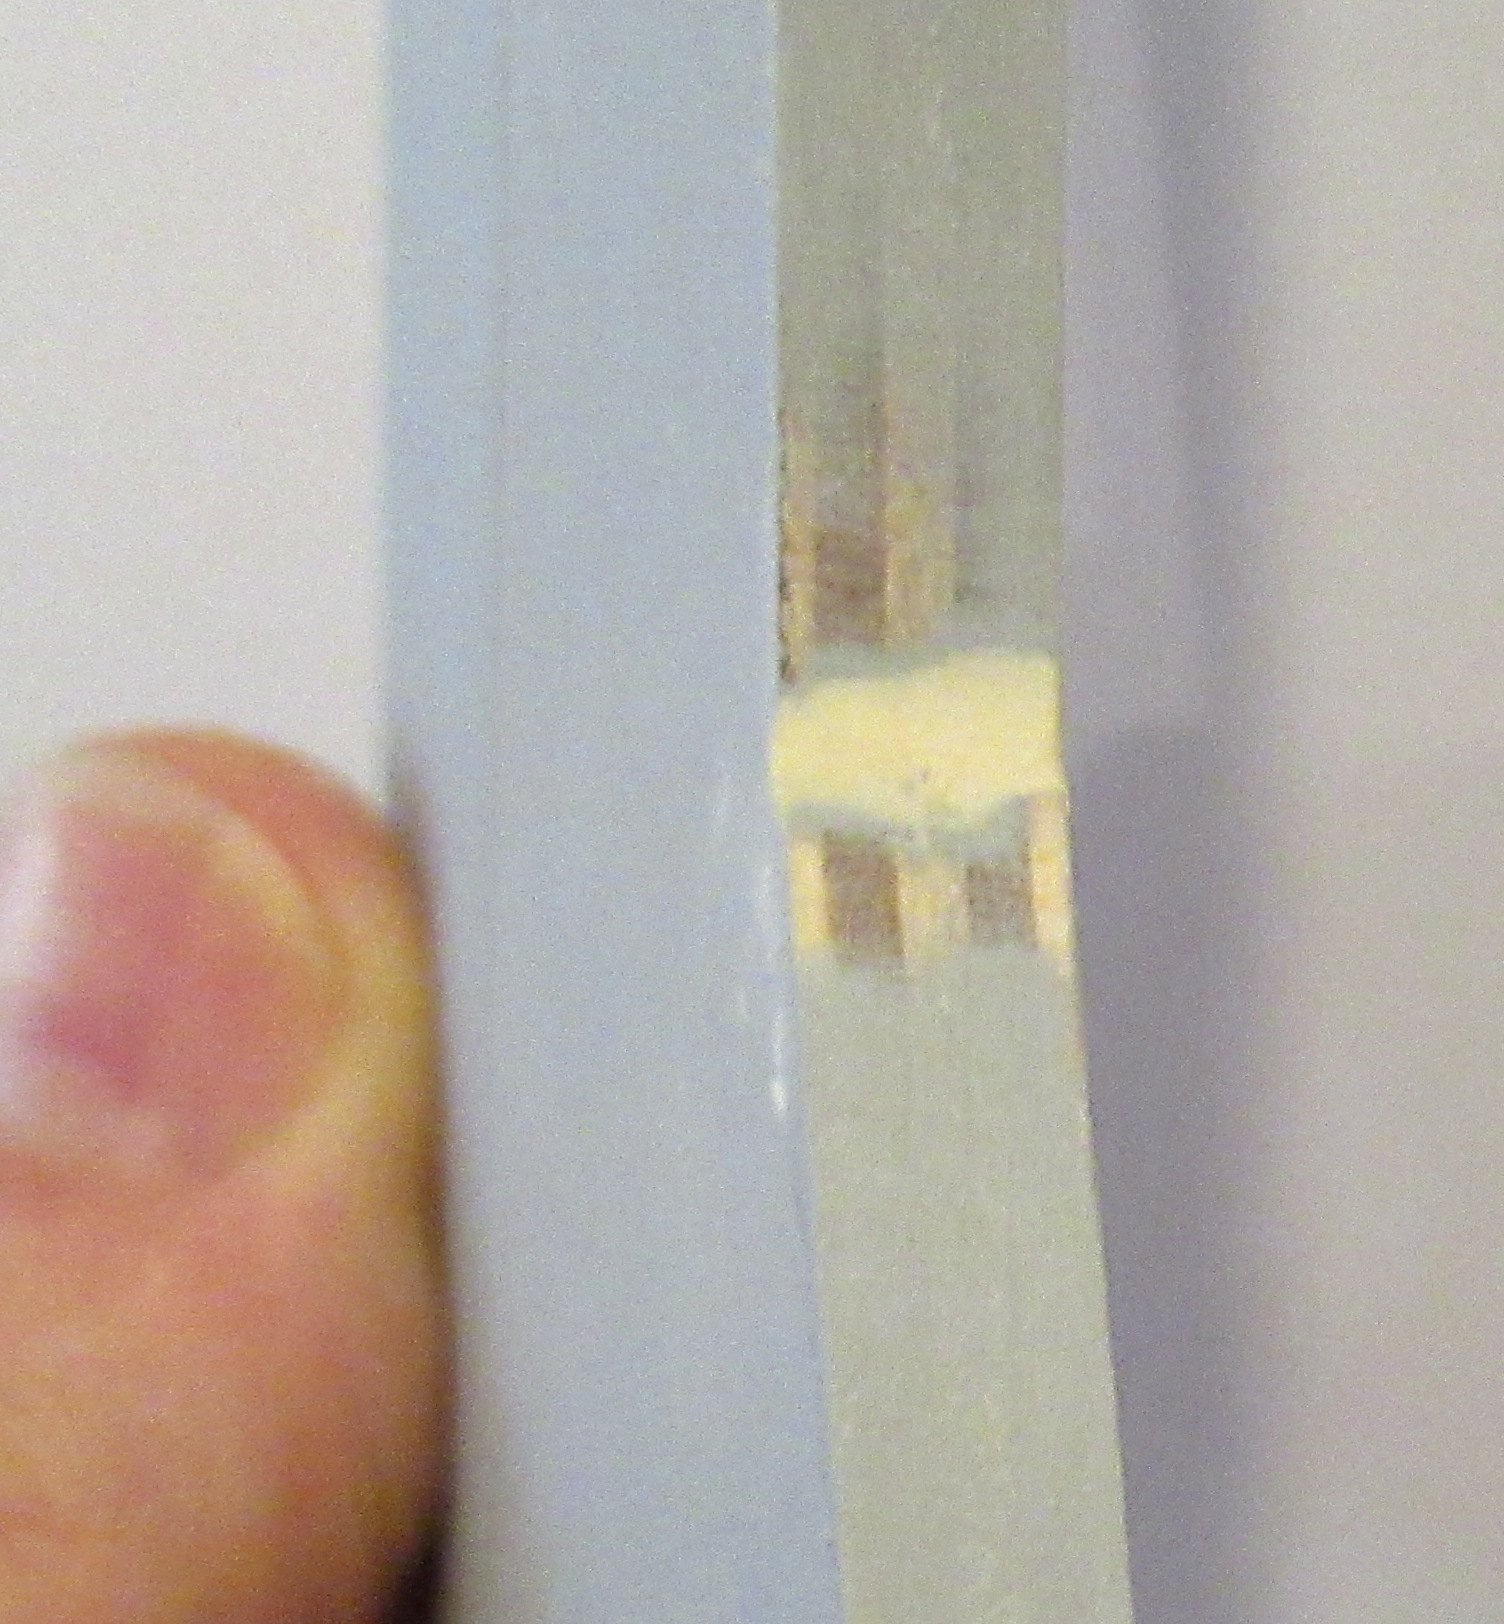
TIP: Test using water on some of the blank scrap material between the print images.


It helps to dry position the fin stickers.

Don't peel off the backing yet!
Here is a roll of masking tape on the back of a fin panel.
The decal is dry positioned on the fin and the tape pressed to hold it in place.

With the sticker set on the fin - 
Use some small pieces of masking tape to "frame" the sticker centered on the fin.

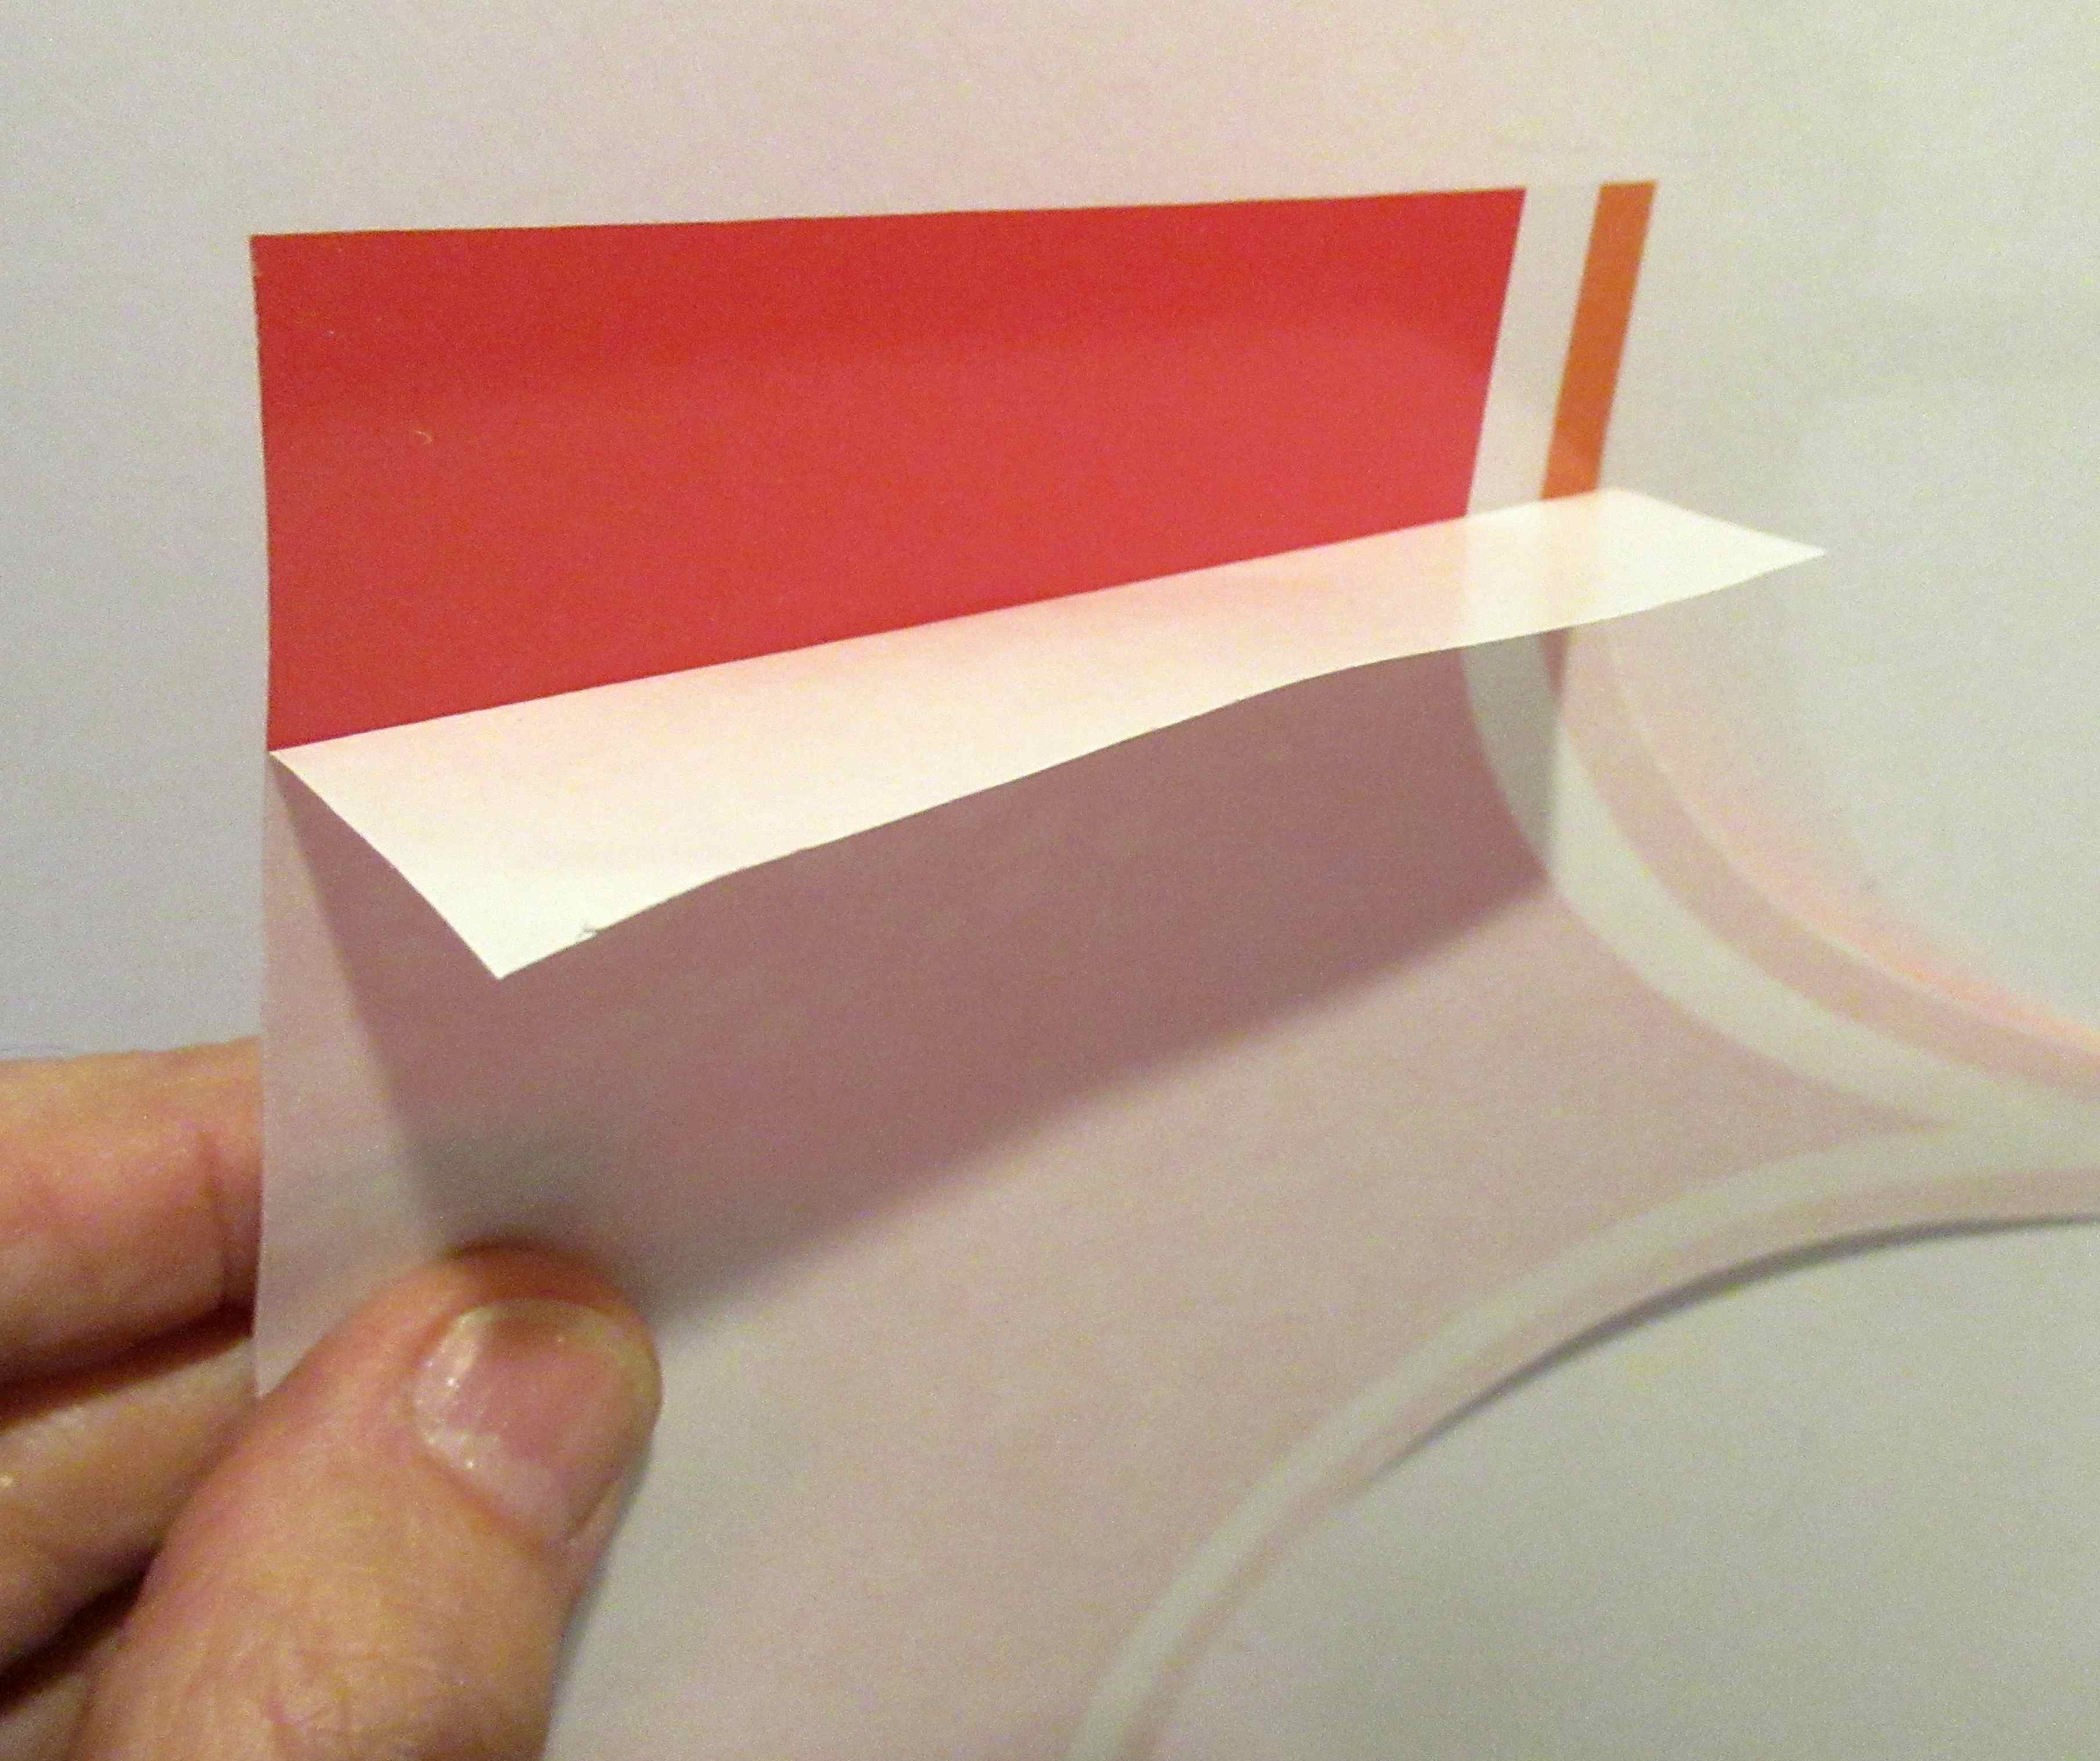
Lift the sticker panel leaving the tape frame in place.
Peel off the backing and set the sticker on the fin using the masking tape frame to position the sticker.


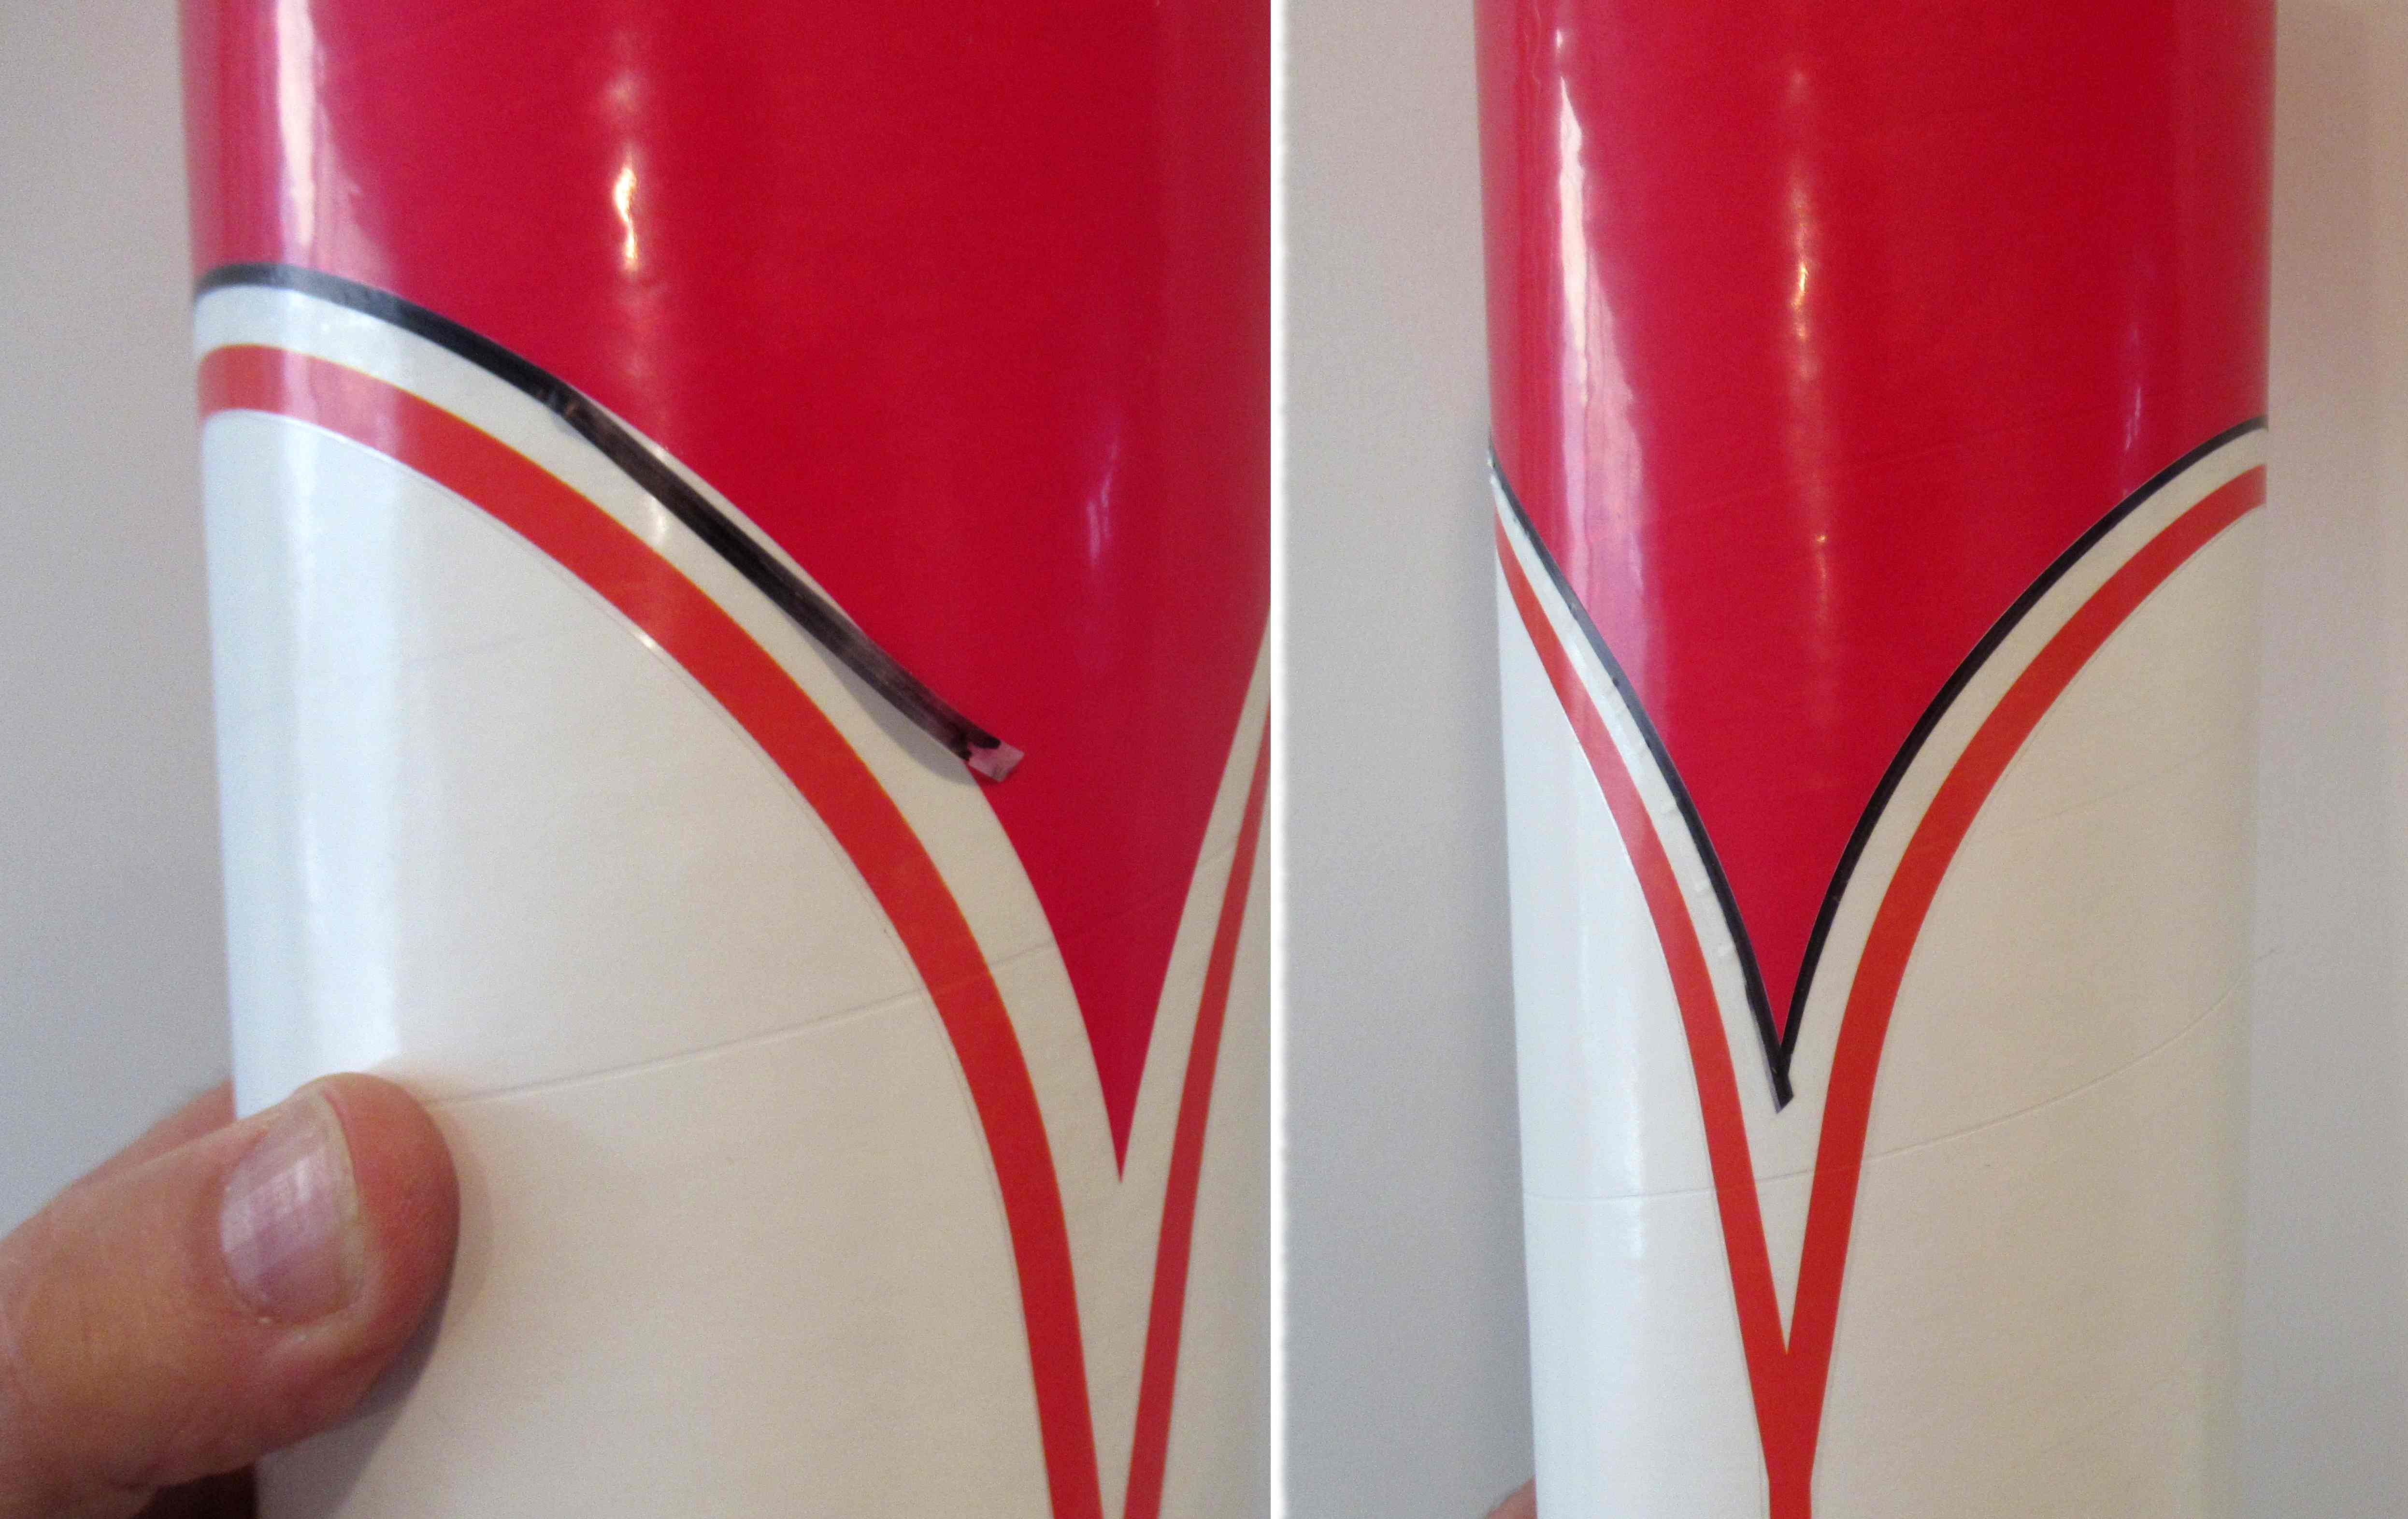
Smooth out the sticker from the center to the outside edges.

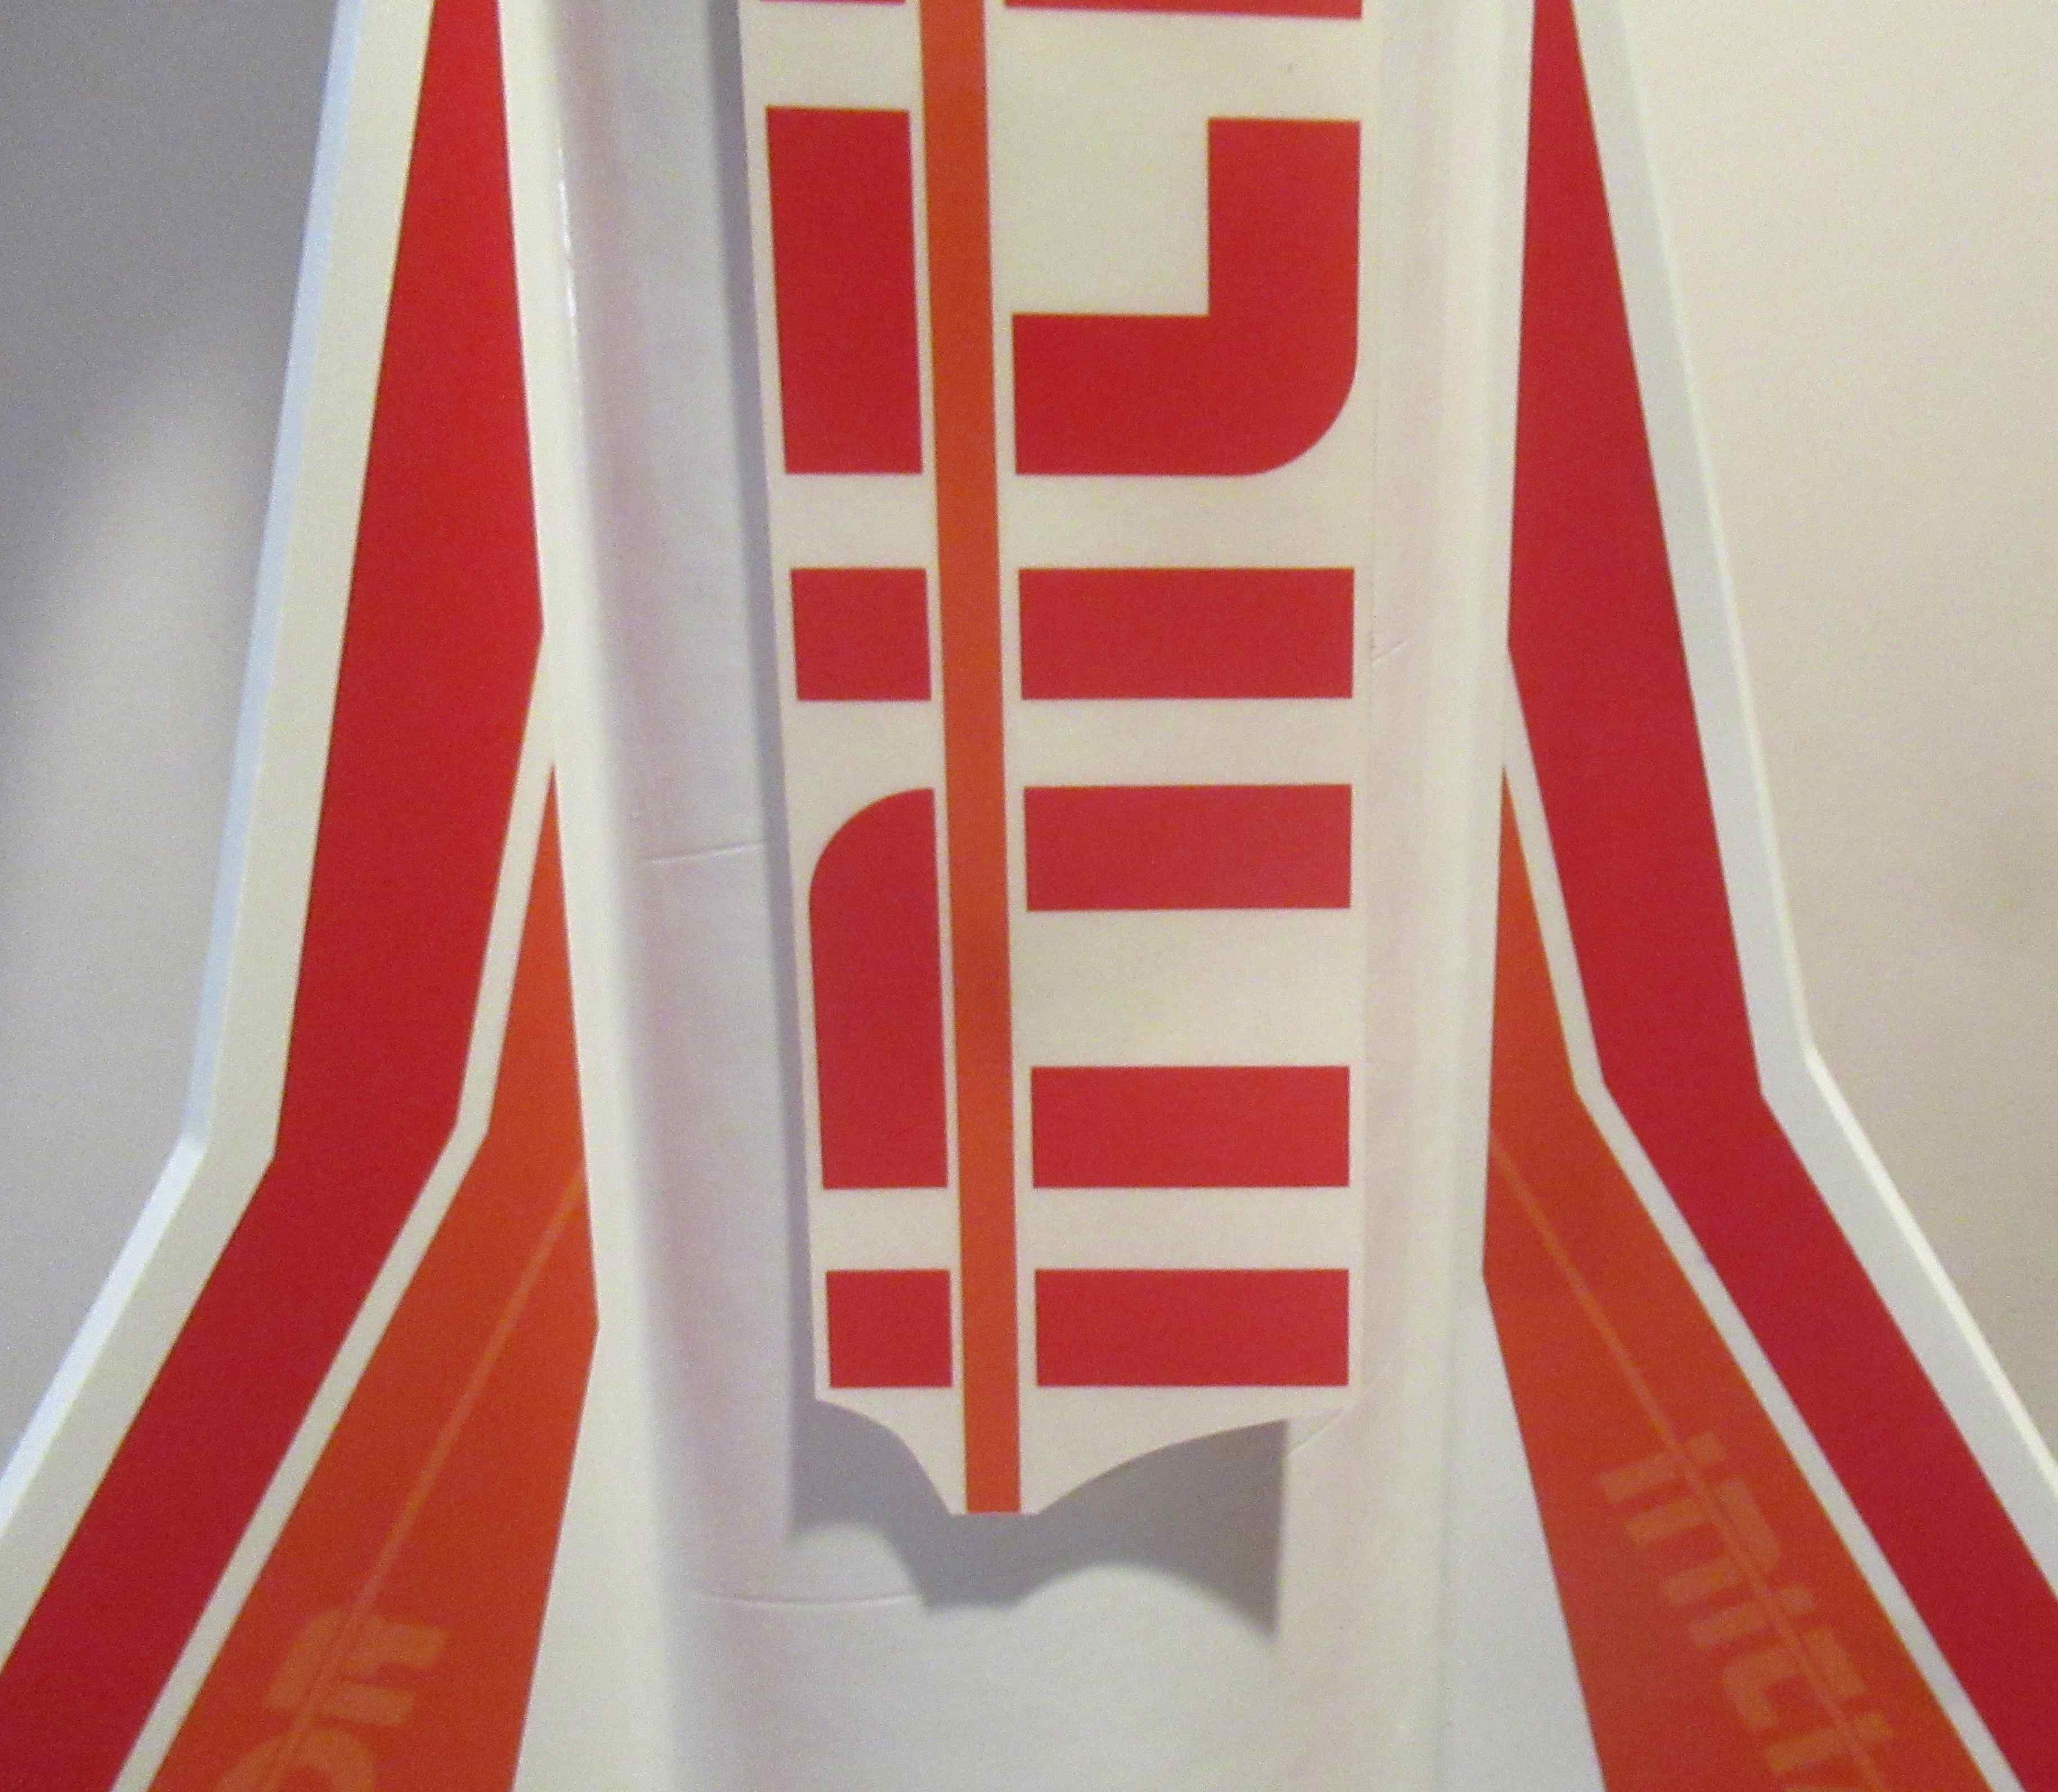
With any luck the other fins should be centered (even white borders) and mirror each other.

Wednesday, March 26, 2025

Aerotech Mega Initiator #89541, Part 11, Gluing In The Engine Mount

Test fit, test fit, test fit -  before gluing on the centering rings.

The mount is slid into the airframe tube and the fin tabs slipped into the fin slots into the centering ring notches.

Here I've marked the position of the bottom edge of the ring with masking tape.
This allows me to apply the epoxy to the upper side of the ring. After that dries, the tape is pulled and an epoxy fillet is applied to the underside joint. Repeat the epoxy fillets on the other centering rings.

You are given the choice of gluing in the mount then attaching the fins or - 
Extend and cut the fin slots down through the bottom of the body tube. The fins are glued onto the mount then the entire assembly is slid into the tube thru the extended fin slots.

I decided to not extend the fin slots. Sometimes this extended cut allows the tube end to flare out.


Before you use epoxy - 
Some people are allegic to epoxy. Use a gloved finger to smooth out epoxy fillets.

With the fins dry fitted in their slots, 
this puts the low centering ring just under 7/8" from the end of the airframe tube.


To glue the upper ring in place,

Slide the mount down, about 1/4" below the final position. 
This lowers the mount and upper ring. Epoxy can be applied from above, then the mount slid up into the epoxy glue ring.


I used a dowel to reach and apply a ring of epoxy glue.

With the upper ring in the lowered position, the dowel was marked to be used as a depth guide.


To reach in with the epoxy,
Roll just the end of the dowel in the glue. This is set into the tube up to the mark and rolled around the tube wall. 
Continued next post -

Tuesday, March 25, 2025

Aerotech Mega Initiator #89541, Part 10, Final Fin Fill & Dry Fits


The fins on the flight version were left square.

That inside leading edge angle still wouldn't match up. I added some CWF for a better flow.


Here's the same fill after sanding. Some 400 grit was wrapped around a pencil to sand the angle.


Another dry fit of the fins showed the ring slots were too tight.

The sides were shaved down, widening the slots.


Here's how far the engine mount is recessed, the ring face is just under 7/8" from the end of the tube.

With the fins in the slots set the placement depth of the  engine mount.

Monday, March 24, 2025

Aerotech Mega Initiator #89541, Part 9, Assembling The Engine Mount Adapters


In the last post, I did some dry fits until the rings were tight on the tube, but still moveable.

Here I'm using the flat face of my sanding block to get the lower ring flush and square with the end of the motor mount tube.


Here's the engine mount ready with the upper ring 1" from the top of the tube.

A dry fit ready for the epoxy fillets.
Epoxy fillets were applied with a gloved finger and smoothed with alcohol.

In the picture, I've applied a fillet and am removing most of it with a Q-tip. This is the ring that "sockets" into the larger engine mount tube. You don't want excess glue to hinder the fit.


The finished adapter.

The other two mount assemble and glue up the same.

Sunday, March 23, 2025

Aerotech Mega Initiator #89541, Part 8, Ring Diameter Sizing


Both the inside and the outside edges of most rings need to be sized to slide into or over the tubes.

I used a combination of a sharp knife and a half round diamond file to slightly increase or decrease the diameters. I found that removing the laser ash brought them to almost the correct size.


The additional motor mounts need some sizing.

That smaller (inside) ring should slide into and almost "lock" into the largest mount tube.


That required a slight angle sand.

Sand a little, test the fit and continue until it friction fits into the larger motor mount tube.


This is the adapter bulkhead.

The instructions don't mention it, but put a washer on both sides of the ring. The screw eye and threaded bolt are locked in place with some epoxy.  

Saturday, March 22, 2025

Aerotech Mega Initiator #89541, Part 7, Prepping More Parts!

I know there is a LOT of parts prepping - 
Ask any wood worker. The secret to a great finish is good surface preparation.
   
Here's that inside corner on the leading edge of the fins.

On the top picture - 
With the primer shot, you can see the mismatch of the rounded leading edge at the center of the angle. Some corrective sanding was done.
Here's the same corner after a directed shot of filler/primer. More careful sanding should get things in line.

The fin after the second coat of filler/primer - 

There were some small lines that needed some CWF and more sanding.


It seems every slot was a hair too narrow.
The root edge notches and the fin slots in the body tubes were widened for a better fit.

I could slide my sanding block into the slots using 220 grit.


The fins were test fitted. 
The joint of the body tube and root edge was very good now, tight enough with no distorion of the tube..