Showing posts with label Downscale. Show all posts

Thursday, July 22, 2021

Piglet-sus! Build Part 6 Body Wrap

The BT-5 body wrap was printed on 24 lb. premium inkjet paper. 
I had to print out eight different body wraps in different shades of pink to find a spray paint match. The nose cone color is Rustoleum Painter's Touch 2X Candy Pink spray.
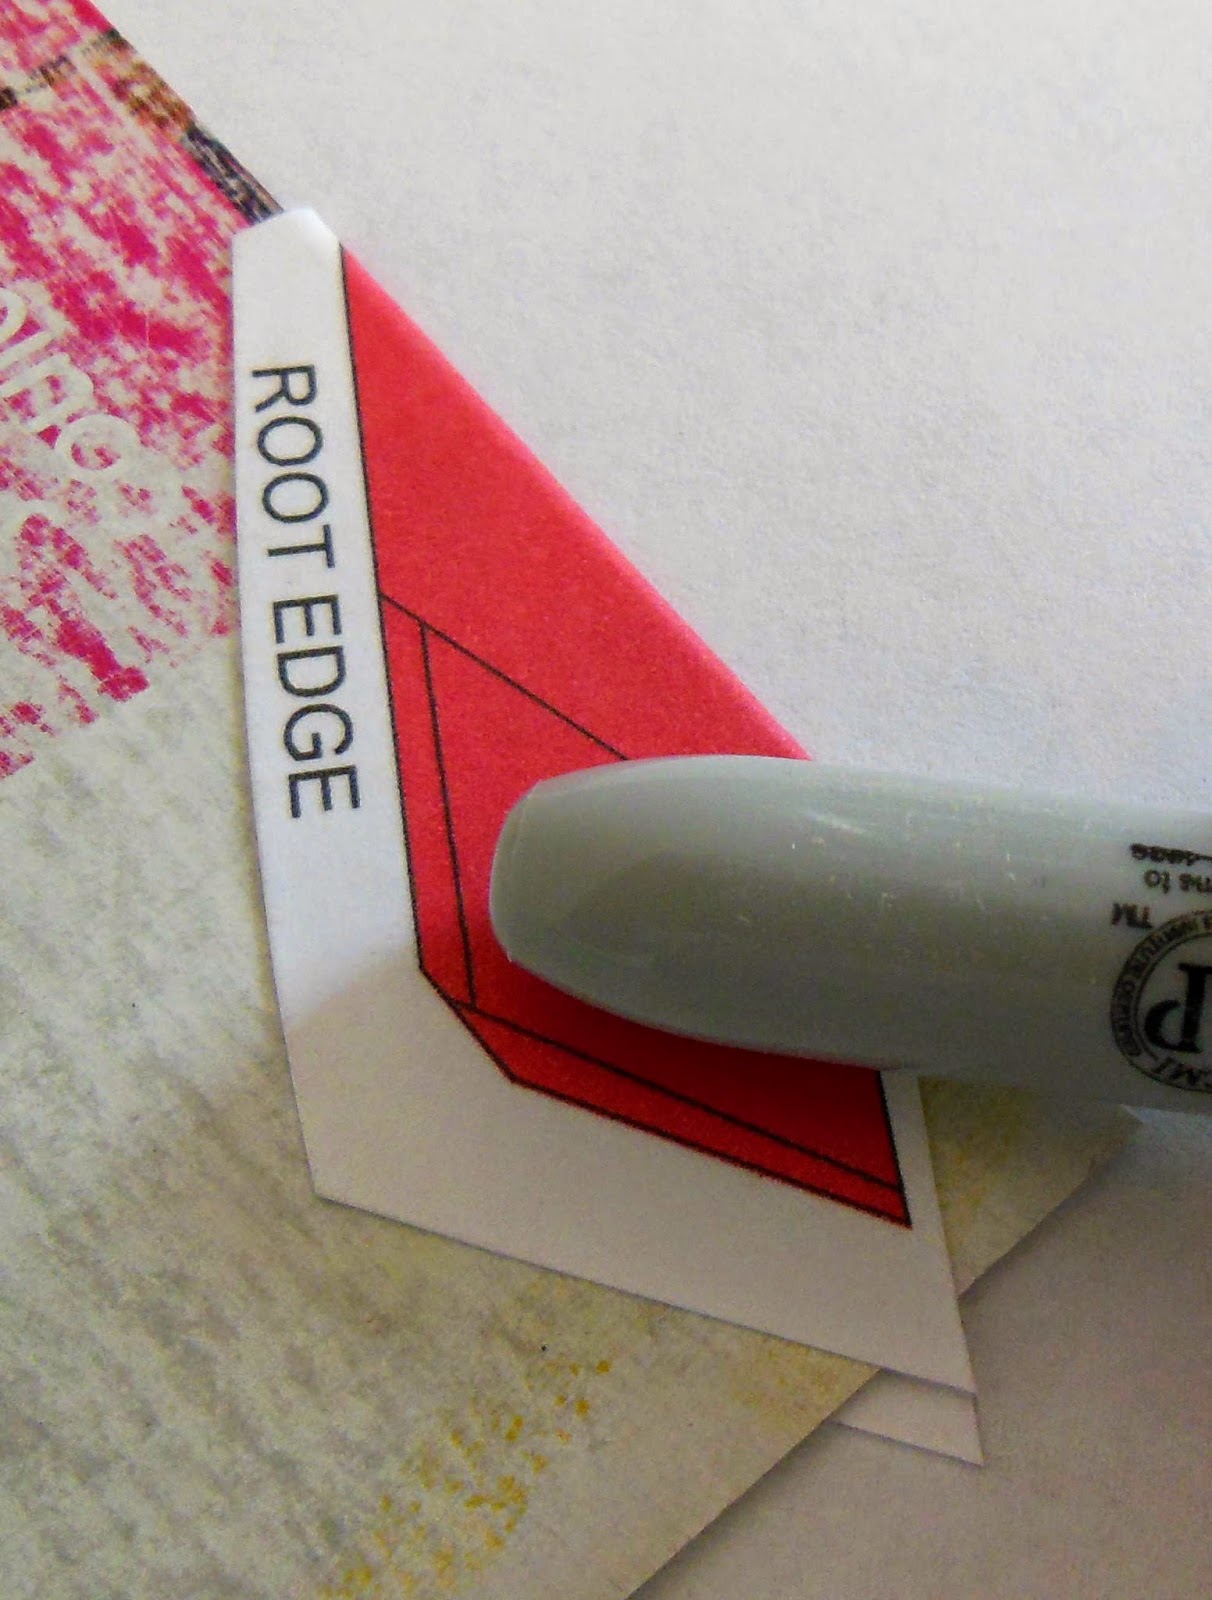
Here's a glue stick being applied to the back of the body tube wrap.


The pigs front hooves will go over the body tube edge and onto the lower end of the nose cone.
The wrap is shown in place on the body tube.

This picture is from the first build. On your print, the front legs and hooves are a little larger now and the lines thicker.


The engine mount is glued in place, slightly recessed in the end of the BT-5 tube. This is to allow room for a glue fillet. 

TIP: Where I can, I slide an engine mount in place without glue. After I'm sure the positioning is correct, I'll add glue fillets to lock it into place. This "dry position, then glue" idea doesn't work in all cases. If the main frame diameter isn't much bigger than the engine mount diameter, you can add glue afterwards. 

Wednesday, August 12, 2020

Centuri Alien Scoutship Flying Saucer #5325, Build Background

"The first flying kit of a flying saucer ever produced!"
A well engineered design. Stable (but labored) boost. At apogee, the model flips over and descends landing on three wire antenna legs. Glow in the dark accents were included, "Perfect for display in your room!"

Above is the first catalog page showing off the Centuri Alien Scoutship Flying Saucer. This catalog was the second printed in a large newspaper style. I remember being disappointed by the new catalog format. This page is from Ninfinger's: CLICK HERE

The model I'll be building was posted on YORF.
'The Mole" took the time to do a 75% size downscale. Here's his first post from November, 2015:

"This is a cardstock / downscale combined model.
The Centuri Alien Scoutship Flying Saucer has always been one of my favorite kits. I had a couple when they came out years ago. The design to me was so well thought-out. Centuri gave us the basic flying saucer that most flying saucers have been designed on since.
So I set out to clone the Centuri UFO. I know, others have done this. I decided to take a different approach to my clone.

"First, I decided to draw the elements that had originally been embossed.
Second, I down-sized the scale to fit on a 8.50 X 11.00 sheet of card stock for printing.
Third, I wanted to share this design with anyone who would like to build their own.
At the end of this build thread I will send the PDFs to Scott so he can post them for sharing. It's all right with me if anyone wants to recolor or add their own touch to the drawing. All I ask is share it here.
The size of the craft is around 75% the size of the original Centuri UFO. (7 inch in diameter)
I used the BT-20 engine tube. If you want to fly on a smaller engine use an adapter.
Some parts are printed on 110 cardstock, and some parts are printed on adhesive-backed shipping label paper as noted in the thread.

Here are a couple shots of my UFO sighting."


To get the PDFs, CLICK HERE and go to post #21. 
This smaller version can be printed on standard 8 1/2" X 11" 110 lb.card stock. Two of the four sheets are printed on self adhesive paper. 
I've downsized the antenna landing legs and drawn 75% reduced  "wire form retainers" if you'd like to add them to your build. This printout PDF is available to Patreon members.
Email me at oddlrockets@bellsouth.net and ask for the Centuri Flying Saucer PDF.
NOTE: If you want to add the antenna/legs you will have to trim the outside edges of the "C" and "L" internal fins to clear the extra width of the wire and card stock retainers. The re-fit of the internal brace fins took some extra time. 

The original kit diameter was a little over 9". This version is about 7" round.
On Frank's build, the 2 3/4" long engine mount tube was even with the fin tops and extended out the back. Mine will be even with the rear of the fins with the mount over the top by 3/8".

Sunday, May 28, 2017

Carded Red Max Build, Part 7, Ends & Edges


A small notch was cut into an engine block and some 65 lb. Kevlar tied on with a square knot.


A 13mm engine casing was marked at 1/8". Normally an engine could extend 1/4" out the back, but on some models that could set the engine lower than the tips of the fins.


A great thing about a pre-printed carded rocket, the only thing to paint is the nose cone!
The shoulder was masked off and spray painted gloss black.

Thursday, May 5, 2016

Thrustline Arapahoe C, Part 2, Background and Sizing


Go to the right under EDIT, go down to SCALE.


At the SCALE FROM line,
change the 1.637" (BT-60 dia.) to 1.325" (BT-55 dia.)
Hit the SCALE button.


Here's the model in BT-55 size, Open Rocket does the work for you.
The model looks bigger in the window, I just adjusted the percentage in the View Type lower window.

Wednesday, May 4, 2016

Thrustline Arapahoe C, Part 1, Background and Sizing

I've always liked the OOP Thrustline Arapahoe E design.
This picture is from Rocket Reviews: CLICK HERE
John McClure did the build and review.

The original kit was made for D and E engines. The main body tube was a BT-60.


I picked up a few Estes Monarch kits in the recent clearance sales.
I'm not too hot on the Monarch design, it reminds me of a three fin Big Bertha or the Quest Big Betty in a BT-55 body.
This was one of those kits where the face card advertises: "Water Slide Decals!" The only decal included is the MONARCH name in a smaller size than shown on the face card. Masking and placement of all those silver pinstripes wouldn't be easy.

I bought the kits for parts or a possible kitbash. A down scaled Arapahoe C might put the Monarch parts to better use. This will end up with a BT-55 body tube and 18mm power.

I downloaded the original (BT-60)RockSim file:
http://www.rocketreviews.com/unknown-arapahoe-e.html
and loaded it into Open Rocket:


Some changes were made and component materials fixed. When you use online RockSim files you do have to double check the parts. This file was missing a launch lug, among other slight things.
Continued in Part 2 . . .

Saturday, December 5, 2015

Yellow Jacket Downscale PDF is Available!


A NEW carded downscale of the Estes YELLOW JACKET is finished!
This was drawn up from Kit # 2008.

This BT-5 downscale stands 10" tall and flys with a 1/2A3-4t or A3-4t engines.


If you are a Patreon supporter, email me at: oddlrockets@bellsouth.net
and request the Yellow Jacket PDF. It's FREE!

Don't use the art at the right to make your model!
Email me and get the higher resolution PDF.

Sunday, August 30, 2015

Estes Yellow Jacket #2008 Carded Downscale Finished


An 1/8" wide elastic shock cord was tied to the Kevlar line. The end of the elastic was tied to the nose cone lug. A streamer is tied to the elastic shock cord.

Next time I would use a darker, more opaque setting on my printer. The yellow looks fine but you can see a difference between the sprayed plastic nose cone and the tube wrap print. Oh well, done!
It will fly with a 1/2A3-4t and scream with A3-4t engines.

The PDF is available for Patreon supporters. Just print, glue and fly.
Contact me at oddlrockets@bellsouth.net and request the Yellow Jacket PDF.
All my past carded down scales are also available at Wayne Hill's Rocketry Blog - CLICK HERE

Friday, August 28, 2015

Estes Yellow Jacket #2008 Carded Downscale, Part 3, Body and Lug Wrap

Trace a straight line down the length of the BT-5 tube.

Use glue stick over the entire printed skin. Work quickly before the glue stick coat dries.
Set the cut edge down the pencil line and wrap around the tube.
Wrap an inch, then smooth with your fingers. Then continue wrapping another inch. This helps prevent any gaps or wrinkles in the applied skin.


Burnish down the overlap seam edge.
If you didn't get the seam to close, sneak some glue stick under the overlap seam on the tip of your knife.


The 1" long launch lug is covered like the body tube using the glue stick.

Wednesday, August 26, 2015

Estes Yellow Jacket #2008 Carded Downscale, Part 1, Parts

On the last cruise I worked on a new carded downscale.
This time it's the Estes Yellow Jacket, Kit #2008, available from 1989 - 1998.
Originally a BT-50 based model, it had a great fin design and decals.

The downscale will be made around a BT-5 tube and uses 13mm engines. No painting except for the nose cone.

You'll need the Quark style long nose cone from the BT-5 plastic nose cone package, BT-5 tubing just over 7" long, 1/8" launch lug, some cereal box cardboard, engine block, Kevlar, elastic shock cord and a streamer.

The fin and body tube skins are available if you are a Patreon supporter. 
Email me at oddlrockets@bellsouth.net and request the Yellow Jacket PDF.
Print, glue and fly!


Here's the fins being cut out in my ship cabin. No white glue, a small straightedge and a glue stick.
The break-off blade knife was packed in my boots, not in my carry on luggage.


My cutting board is the back cover of the HAL Compass book.
The book is basically a sales tool for future cruises. They are replaced every year.
I wonder if the next cabin guest wonders about all the cut marks in the back cover.

Saturday, May 9, 2015

Downscale Carded A.S.P. Part 6, Fin and Lug Gluing


Using white glue, glue the fins on even with the back end of the body tube.

Simply match the fin color to the facing body tube color.

White glue dries clear, don't use yellow glue on the outside surfaces of printed carded models!

The fillets were smoothed with finger then a Q-tip.


The 1 1/4" long x 1/8" diameter launch lug was covered with the orange skin square from the 24 lb. printed sheet.

Rub on a thin coat of glue stick and roll the skin around the lug.


Glue the lug at the base of a red/orange fin side.

Friday, May 8, 2015

Downscale Carded A.S.P. Part 5, Body Tube Wrap


The body wrap skin is wide on the left side.
The pencil mark in the picture shows the extended side.

Cut it to just the outside of the ink where the pencil mark is.
This slight extension of the left side is the first side you glue down and ends up as the underlap.

Make a straight pencil line down the 9" long BT-5 tube.

Apply glue stick to the underside of the entire body skin.

Start the wrap down the line and even with the tube ends.

By the time you get to the end of the wrap the glue might be too dry to adhere to the tube.
Apply more glue and close up the end seam.
The top still needed a little more glue applied under the skin with a knife tip.


Sand the ends even with some 400 girt on a sanding block.

Thursday, May 7, 2015

Downscale Carded A.S.P. Part 4, Fin Fold and Skin Gluing


The through cut was made on the other side. The other side of the fin (shown here) is oversize to insure there is color coverage when the fin is cut out.

Here's the (larger printed area) back side of the fin. You can see how the cut is inside the ink bleed area.
Cut the root edge first.

Turn over the fin to cut the trailing edge.
Cut lightly only through the top skin and card stock center, leaving the spin tab still attached on the other side.
This is not as hard as it sounds.
Start the cut using a straightedge. Finish with light cuts.
You'll feel when the center layer is being cut off.


Apply a glue fillet on the spinneron edge.

Wednesday, May 6, 2015

Downscale Carded A.S.P. Part 3, Fin Fold and Skin Gluing

NOTE: Your printed fins and location of the spin tabs won't be the same as pictured below.
This is the first build before corrections were made to the PDF. Your model fin color and spin tab position will be correct. The following posts can still be used to make the model.


Cut and separate the fins.
Leave a 1/4" wide border around all sides.
For now, notice only the spinneron side trailing edge is cut out on the ink border.


After making the embossed leading edge from the last post -
Lightly fold down the embossed leading edge line.


Burnish the fold flat and sharp with the back end of a Sharpie or other smooth, round dowel.


Apply glue stick to both inner sides of the fin skin.

Don't apply any glue to the tab in the area shown.


Set the skins over the cereal cardboard straight edge cut earlier.

Be sure the skin fold leading edge is all the way down onto the cardboard edge.

Place the fins in a heavy book to dry.


Tuesday, May 5, 2015

Downscale Carded A.S.P. Part 2, Fin Prep

NOTE: Your printed fins and location of the spin tabs won't be the same as pictured below. This is the first build before corrections were made to the PDF. Your model fin color and spin tab position will be correct. The following posts can still be used to help make the model.

Patreon members can email me at:
oddlrockets@bellsouth.net and ask for the A.S.P. PDF.


The fins are three-ply.
The outside skins are printed on 110 lb. cardstock.
The interior layer is cereal box cardboard.
The outer print skin will "butterfly" fold over and glue to the card stock interior.

Sand the glossy print side of the cereal box sheet for better glue adhesion.


The inside leading edge has to be straight.
Cut a straight line with a sharp blade and straight edge.

Lightly sand the edge round for an easier fold of the outside skin.

These fins are different, they have a spin tab (spinneron) on the left side of all four fins.
Pre-cut just the tab trailing edge before cutting out the whole fin or folding the leading edge.
Cut only the fin tab trailing edge side for now.


Use a dull butter knife, no serrations on the tip (or the rounded back side of a single edge razor blade - put a few layers of masking tape over the sharp edge now facing up) to emboss a fold down the "fold line".
TIP: Don't cut into or through card stock to make a fold line.
Try making a long shallow embossed "trough". Practice on some scrap to get it right.

Monday, May 4, 2015

Downscale Carded A.S.P. Part 1, Background

I've always wanted to build the A.S.P or
Atmospheric Sounding Projectile
since the first time I saw the Estes Plan #37.

Check out the instructions at JimZs - CLICK HERE

Estes did come out with an ASP kit years later but it didn't have this paint pattern.


I drew up a carded BT-5 based version.
No painting, except for the silver tip of the nose cone.
The body tube and fins get printed wraps.

This was a tough design to get correct!
You couldn't simply draw a fin, copy and flip it over.
From left to right, the first and third fins are the same. Fins two and four are opposites.


On the left is the first set I drew up. These were wrong.
By the time I was ready to glue the fins on, I realized my mistake. The red and black sides didn't match up with the body tube patterns.
Checking Peter Alway's book, Rockets Of The World, I noticed the spinnerons (spin tabs) were also on the wrong side.
On the right are the corrected fins.

Sunday, August 24, 2014

Carded Downscale Black Brant VB - Part 7 Laminated Fins C


The tip was cut off (above the "R" in ROOT) and some of the excess off the outside edge.
Cutting off some excess lets you to see where the rolled over leading edge contacts  the interior cardboard.


Do a dry fit over the straight edge of the cereal box cardboard before gluing.
On the left the top of the leading edge fold isn't all the way down onto the interior cardboard edge.
The right side inset picture shows contact at both the top and bottom of the leading edge.

Set a clean piece of paper on your work area to glue coat the fin covering.
Glue stick is applied to one half of the inside surfaces.
(Doing this on a piece of paper allows you to glue up to and over the edges of the overlay)
Use a stick to hold down the side you just glue coated and coat the other side.
(Don't use your fingers to hold down the overlay. They'll just get glue on them and could stain the printed surfaces.)


Press the leading edge over the cardboard edge first -
This insures good contact at the leading edge and the interior "V" fold.
Then press down the sides working from the leading edge down.

Burnish the skins down.
Don't let the black print on the Sharpie rub onto the fins!

Set the fins into a heavy book and let dry for a few hours.

TIP: How do you know if the glue is still wet?
Set the glued piece on your cheek. If it feels cool, it's still wet.
Don't set the card stock fin on your cheek if your skin is oily. the oil will stain the print.