Showing posts with label Lawn Dart Rocketry. Show all posts

Thursday, December 5, 2019

Lawn Dart Rocketry SLAT/S Build, Finished


I did add two more chrome stripes around the body. With only two decals on each side it needed more. I probably could have gave the Stars and Bars decal some white underneath it.

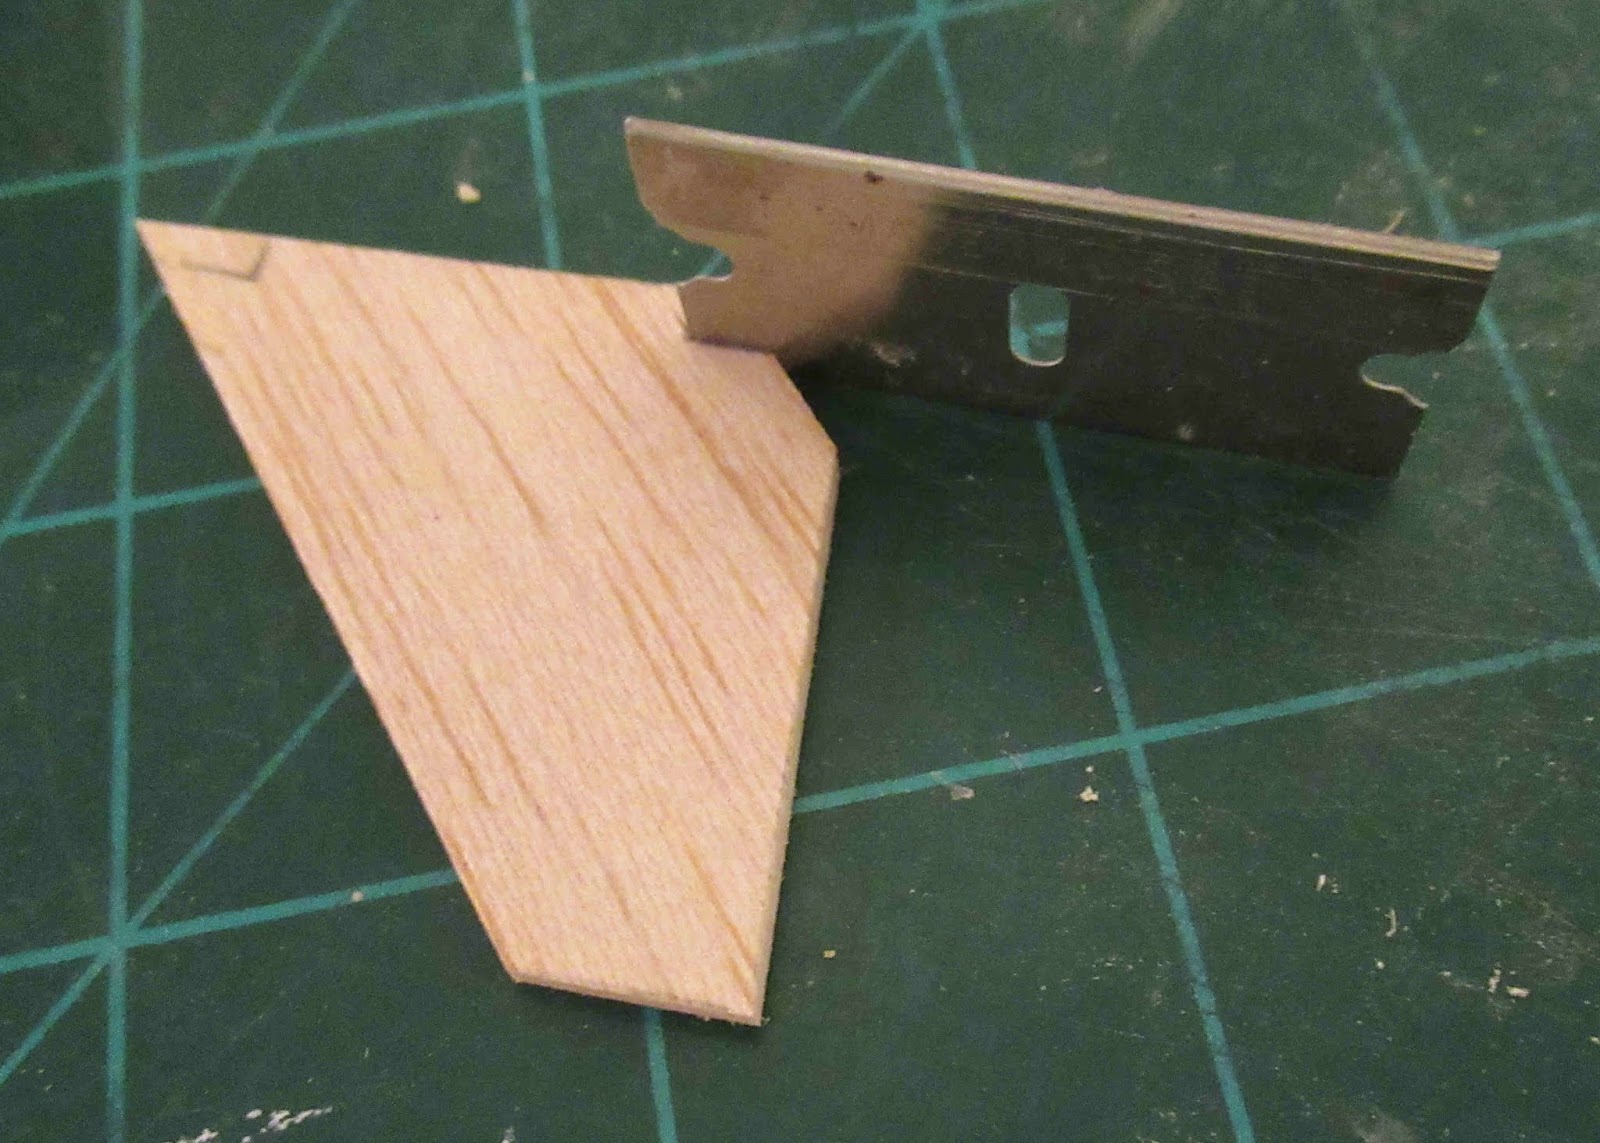
The Seattle Rocket Works kit had 1/16" thick balsa vanes at the front end of the intake. I left them off, they'd be very hard to smooth out once glued inside the tube.

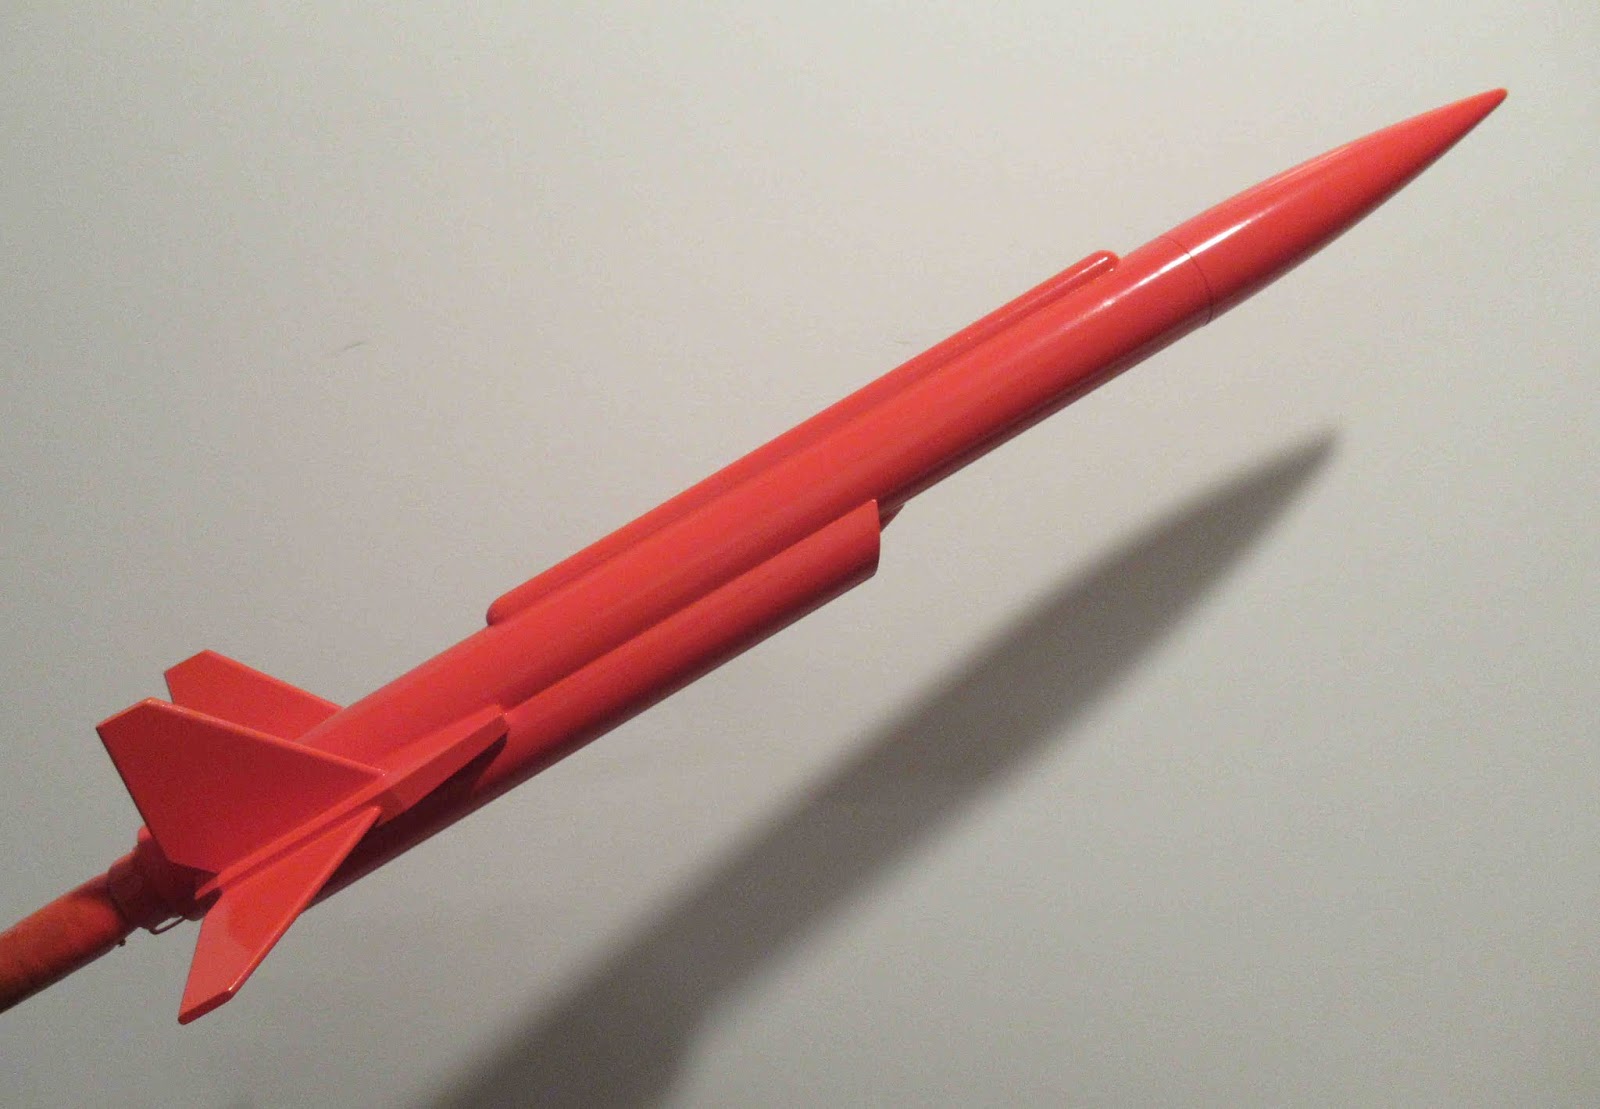
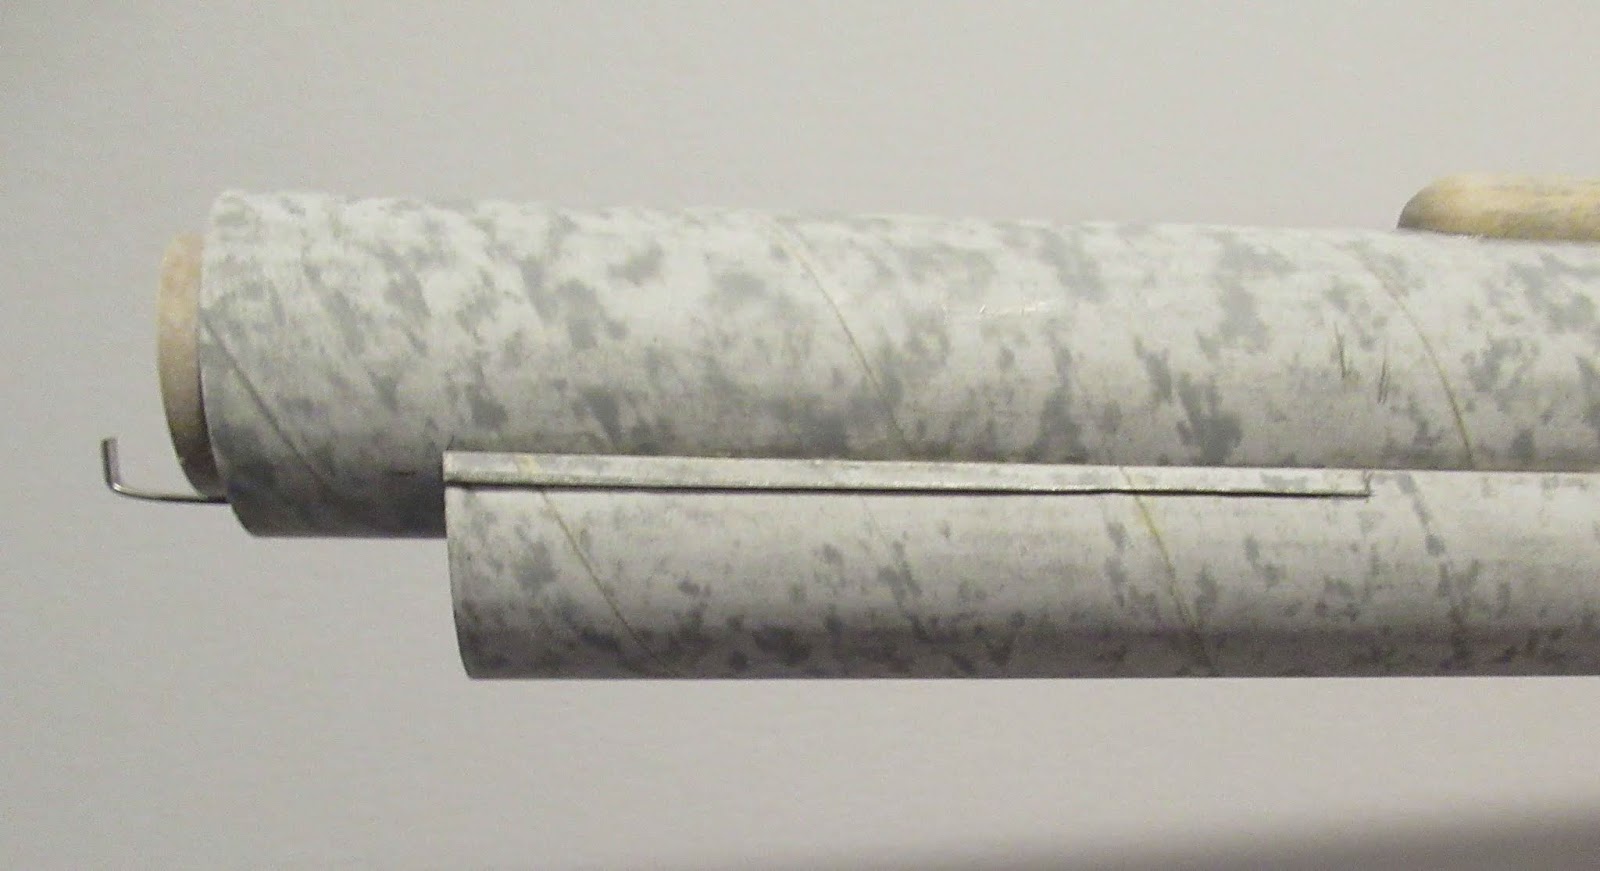
I tried to give the back end some more interest. The original kit had everything flush (even) with the back end. On this build, the engine mount extends beyond the end of the main air frame tube and has the chrome trim. The fin fairings are a little forward and the end of the intake is even farther up.

The fins seem small, I did add .25 oz of clay to insure stability.
This will get a first flight on Saturday, December 7 at the monthly Orlando R.O.C.K. launch.

Wednesday, December 4, 2019

Lawn Dart Rocketry SLAT/S Build, Part 10, Paint and Chrome Trim


The model did get a gloss white undercoat before the overall gloss orange.


I wanted to add some chrome trim like on the Odd'l Fighter Fleet models. This isn't necessary, but paint on the hook will just bubble up after the first flight. On the finished model it just looks cleaner.

TIP: First I scraped off the orange paint on the engine hook. I use the backside of the blade. No sense dulling up the sharp side.


A strip of Monokote chrome trim was started under the engine hook and rolled around the exposed end of the engine mount tube.


The overhang is cut off with a sharp blade, even with the tube edge.

Tuesday, December 3, 2019

Lawn Dart Rocketry SLAT/S Build, Part 9, Gluing It Together


The intake half nose cone was set on the intake center line and traced. The filler/primer was scraped down to the body tube. The half nose was glued down.

Notice in the left picture, the scraped line for the intake tube. I used very little glue to set the intake onto the body tube..


Here's where we are now.


This was a loose build. I did follow the directions but didn't use the intake template. I just cut something out.
The fin assembly angle wasn't steep enough when set against the edge of the intake.


I had to go back and cut a slot out of the intake edge. The fairing was set next to the intake and marked to see how long the slot would be.


This is what I wanted, more downward angle on the fin assemblies.

Monday, December 2, 2019

Lawn Dart Rocketry SLAT/S Build, Part 8, Parts Fitting

The fin fairing pieces had the balsa grain filled with CWF and sanded smooth.
I wanted to shoot the pieces with filler/primer before gluing the fins in the slots.

A strip of masking tape was cut a little wider than the slot widths. This was pressed into place, the overhand kept the filler/primer off the sides of the slot.


The Starlight nose cones are now available from Apogee. The shoulder lip is a hair wider than normal, but fits the BT-50H (heavy wall BT-50) tubes perfectly.
Sometimes you find a slight flare at the lip. This was sanded down slightly to fit the body tube diameter even better.

The intake tube was slid over the bottom of the main tube. Lines were drawn along the sides.
The primer was scraped along the line for a better glue bond.

Sandpaper was wrapped around an engine casing and the bottom curve sanded. As I mentioned before, I use a smaller diameter piece to wrap the sandpaper around.


And, here's the fit.
Set against the intake, it didn't go as planned -
More in the next post.

Sunday, December 1, 2019

Lawn Dart Rocketry SLAT/S Build, Part 7, Engine Mount

I used an Odd'l Rockets heavy wall BT-20 tube for the engine mount. These tubes are thicker than a standard BT-20 and only available from JonRocket.com
The inside diameter is the same as a standard BT-20. The outside diameter is a bit wider. To fit a standard 20/50 ring, the inside is slightly peeled to fit the tube. This is easier than you'd think. The inset picture shows a good friction fit.
The rings are then notched to clear the engine hook.
The 150 lb. Kevlar shock cord line is tied in a loop and slips under the upper bend of the engine hook.

The upper ring is slid over the top bend of the engine hook for a stronger mount.


The rest of the construction is standard. The lower ring is glued 3/4" from the end of the BT-20H tube to allow the hook to flex.
An engine block is glued on top of the upper bend of the hook.

Saturday, November 30, 2019

Lawn Dart Rocketry SLAT/S Build, Part 6, Fitting the Ramjet Pieces

I didn't use the PDF pattern to cut the ramjet tube. I just guessed the angle, drew a line and cut off a wedge. The angle was smoothed with a sanding block.

Down the length of the the tube, a 3/4" width strip was cut out using the aluminum angle.
The inside edge was sanded smooth and flat.

The ramjet half nose cone was taken from my Odd'l Rockets F-104 kit parts.

Wrap some 220 grit around a smaller tube (than it will fit) and sand the concave curve on the underside.
The picture on the right shows a good fit on the BT-50H main tube.

Friday, November 29, 2019

Lawn Dart Rocketry SLAT/S Build, Part 5, Tunnel and Fairing End Shaping


The ends of the tunnel are rounded off.
On the left the sides of the tunnel are rounded with a sanding block.

Draw a pencil line around the end to show the shaping depth.
Carve off some of the excess.


Finish rounding above the pencil line with 220 grit, followed by 400.


The fairings are taped off where the edge of the taper starts.


Draw a pencil line at the first layer to sand to.


The ends are sanded down the the first layer of the laminate.


The tape is removed. and the fairings are ready for CWF filler.


Here's a test fit of the fins in the fairing slots.

Thursday, November 28, 2019

Lawn Dart Rocketry SLAT/S Build, Part 4, Conduit Tunnel Shaping


While the balsa fairings dry, I worked on the Conduit Tunnel.
I don't have any half rounds, we'll carve one from a full dowel.

Draw a center line down both (opposite) sides of the dowel.


Carve off the back half of the dowel.

Notice on the right, I didn't carve all the way to the half center lines.
By the time you sand a curve into the flat back, you'll end up close to that center line.


On the left is the dowel before shaping the underside. You can see gaps on the side where it should fit the body tube curve.

On the right is the dowel after shaping the flat underside.


You could wrap sandpaper around the body tube but chances are the concave curve arc would be too shallow leaving a gap.

TIP: When shaping a part to fit a body tube, use a tube (or engine casing) that is smaller than the tube it has to fit on. You'll usually  sand the inside curve wider than you intend to. Using a smaller tube or casing will give you a tighter fitting part.

Tuesday, November 26, 2019

Lawn Dart Rocketry SLAT/S Build, Part 3, Fins

The original kit had 1/16" thick fins, the fairings were cut from 3/32". I made my fins from 3/32" stock.

The fin root edges fit into the slots in the fairings. I cut the notches after the fin was cut out using the end of a single edge razor blade. If your blade is new you should be able to simple press the blade down and through the balsa.


Here's how the larger, upper fin will fit into the slot. The right side of the picture is the forward end of the model.
I used thicker balsa so the slot had to be wider than the patterns showed.


For some reason the tab on the smaller fin was too long for the slot.
The three fairing pieces aren't glued together yet. I made the slot longer on the forward end so the back end of the fin would be even with the taper on the rear of the fairing.


Here's how the three fairing pieces are glued together. It's a little confusing so double check before using any glue.


The upcoming bevel shaping is shown at the bottom.


I used my flipped clothespin clamps to hold the assembly together while the glue dried.

Monday, November 25, 2019

Lawn Dart Rocketry SLAT/S Build, Part 2, Fin Fairings


Here's a cross section drawing of the model. The instructions call the assemblies "Fin Pods".


The fin fairings are interesting, made up of a three piece laminate.

There are three pieces on each side so cut out six in total. In the top picture is all six stacked up for uniform sanding.

Two of the three pieces on each side are cut for the fin tab fitting.


The sides of the middle notch is easily cut out using a single edge razor blade. Cut down to the long , straight bottom of the notch.


The longer center line is cut with a knife and straightedge.
The top piece notch is a bit trickier. This is one of the few times I'll use an X-Acto #11 blade instead of the break-off blade knife.

Cut the short sides first, then the longer middle cuts.

Sunday, November 24, 2019

Lawn Dart Rocketry SLAT/S Build, Part 1, Parts


The last page of the online instructions is a detailed parts list.
The body tubes are "ST" or Centuri style tubing. I'll be using heavy walled BT-50H and my Odd'l Rockets heavy wall BT-20H for the engine mount.
The OOP kit used a balsa nose cone with four washer weights to move the C/G forward. I'm using an Apogee plastic nose cone that has plenty of room for clay weight if needed. My main body tube will be 1 1/2" longer to help with stability.
The shorter white tube is another length of BT-50H for the bottom intake.
The long dowel will end up as the conduit tunnel. The short dowel was to be used for the front of the intake. I ended up using a split nose cone like on the Odd'l F-104 kit intakes.
All the 3/32" thick balsa are scraps, leftover pieces from laser cut sheets from kits. The picture on the left are the printed paper templates. The three piece laminate fairing is on the top, notice the cutouts for the fin tabs. The 1/16" thick fins are on the bottom. All the balsa pieces (fins and fairings) will be 3/32" thick.

Saturday, November 23, 2019

Lawn Dart Rocketry SLAT/S Background

I found this kit listed on Ebay:


I won't be bidding on this one, I can pretty much clone it from spare parts.
The instructions and full size templates are available at oldrocketplans.com: CLICK HERE
I searched some other websites and found a build by Nick Esselman on rocketreviews.com: CLICK HERE


I'm not very familiar with Seattle Rocket Works. Apparently the design rights were transferred to Lawn Dart Rocketry.

This is an interesting design, like a strange offspring from the Jayhawk family.
The back end has built up fairings around the fins. On the underside is a ramjet intake. Along the top is a half round conduit tunnel.

There is lots of pieces to form, the details are out of the ordinary.
The upcoming build won't be a direct clone, I'm making a few changes while keeping the feel of the original kit.