Showing posts with label E Nike Smoke. Show all posts

Tuesday, April 11, 2017

Nike Smoke Auction finishes Tonight


The Ebay Auction for the finished Estes Nike Smoke finishes tonight (Tuesday) at around 9:30 p.m., EST.
To see the model and bid, CLICK HERE

Good Luck and thanks for supporting the blog!

Thursday, April 6, 2017

Finished Nike Smoke on EBAY


The new Estes Nike Smoke is up for auction on EBAY -
This is the standard 18mm build with the fully tapered scale fins.
To see the auction or make a bid, CLICK HERE
Make a bid, win a great model and support the blog!

Saturday, April 1, 2017

Estes Nike Smoke #7247 Build, Finished


The rubber shock cord was switched out with a longer elastic cord. It was joined to the replaceable Kevlar line from the engine mount. The parachute shroud lines broke with an easy tug. These were replaced with cotton embroidery thread. The chute got a snap swivel attachment.

The picture with the two nose cones has the kit nose cone on top and the Enerjet "Smoking" nose cone on the bottom. To see that catalog page: CLICK HERE
I'm looking forward to trying the smoking nose cone with a D12 engine.
Considering the Enerjet Nike Smoke was launched with E24 engines it should reach enough speed to blow the talcum powder out the side vent. The other 18mm standard Nike Smoke build will be sold on Ebay.

Some personal rocket history -
The original Enerjet Nike Smoke was my first (and only) composite engine flight. That had to be in 1973 at the local school yard in my hometown of Watsonville, California. I launched it with the Enerjet E24-7 engine. The catalog page says it can reach 2,100 feet, that would mean the highest altitude I've ever reached!
I can remember most of the "smoke" was released pretty close to the ground. It had a silk parachute, pretty high tech back then. Of course it drifted and the field wasn't big enough. It came down and draped over a power line. I went home and called up PG&E, our power company. Half an hour later a truck showed up. The operator got it down! I was surprised to get it back - considering it was Easter Sunday!

Friday, March 31, 2017

Estes Nike Smoke #7247 Build, Part 16, Decals


The Estes instructions show the bottom of the UNITED STATES at 6 1/4" from the rear of the body tube. I did a dry fit and that sets the decal too far forward.
Looking at the Peter Alway's Rockets Of The World, the UNITED STATES is centered on the body tube. The old Centuri instructions also show the decal to be centered.

I made a very light pencil center mark on the body tube just outside the final decal position. Another pencil mark was made at the center of the UNITED STATES decal.

When the decal is being transferred simply set the decal center mark on the body tube center mark.

I did a test soak of the Estes logo decal. I let it sit in the water for 30 seconds and the decal was already coming off the backing while still in the water. I decided to do a 20 second soak of the other decals.

TIP: Notice how the UNITED STATES decals read from either side of the rocket. Again this has to do with how the stencil was painted when the real Nike Smoke sat horizontally in the ground cradle. Estes didn't include the cradle marks left on the main body. You can see them in the Alway drawing in the first picture.

Wednesday, March 29, 2017

Estes Nike Smoke #7247 Build, Part 14, Fluorescent Paint


Well, Estes did get the position of the one fluorescent yellow fin correct. With the real rocket horizontal in the cradle, the UNITED STATES is positioned below and to the right of the yellow fin, centered between two fins. 
TIP: Before you mask the fins you should plan ahead for the launch lug and UNITED STATES decal positions. And the obvious - the ESTES logo decal is not scale.


After pulling the tape masks here's how the red/yellow came out. It's actually more red than the picture shows.


The drag with masking this model is you have to go back and re-mask for the single yellow fin.

Notice the positioning of the yellow fin in relation to the launch lug. that effects the UNITED STATES decal position in the next post.

Tuesday, March 28, 2017

Estes Nike Smoke #7247 Build, Part 13, Fluorescent Paint

The entire model - fins, tube and nose cone - got an overall coat of gloss white.
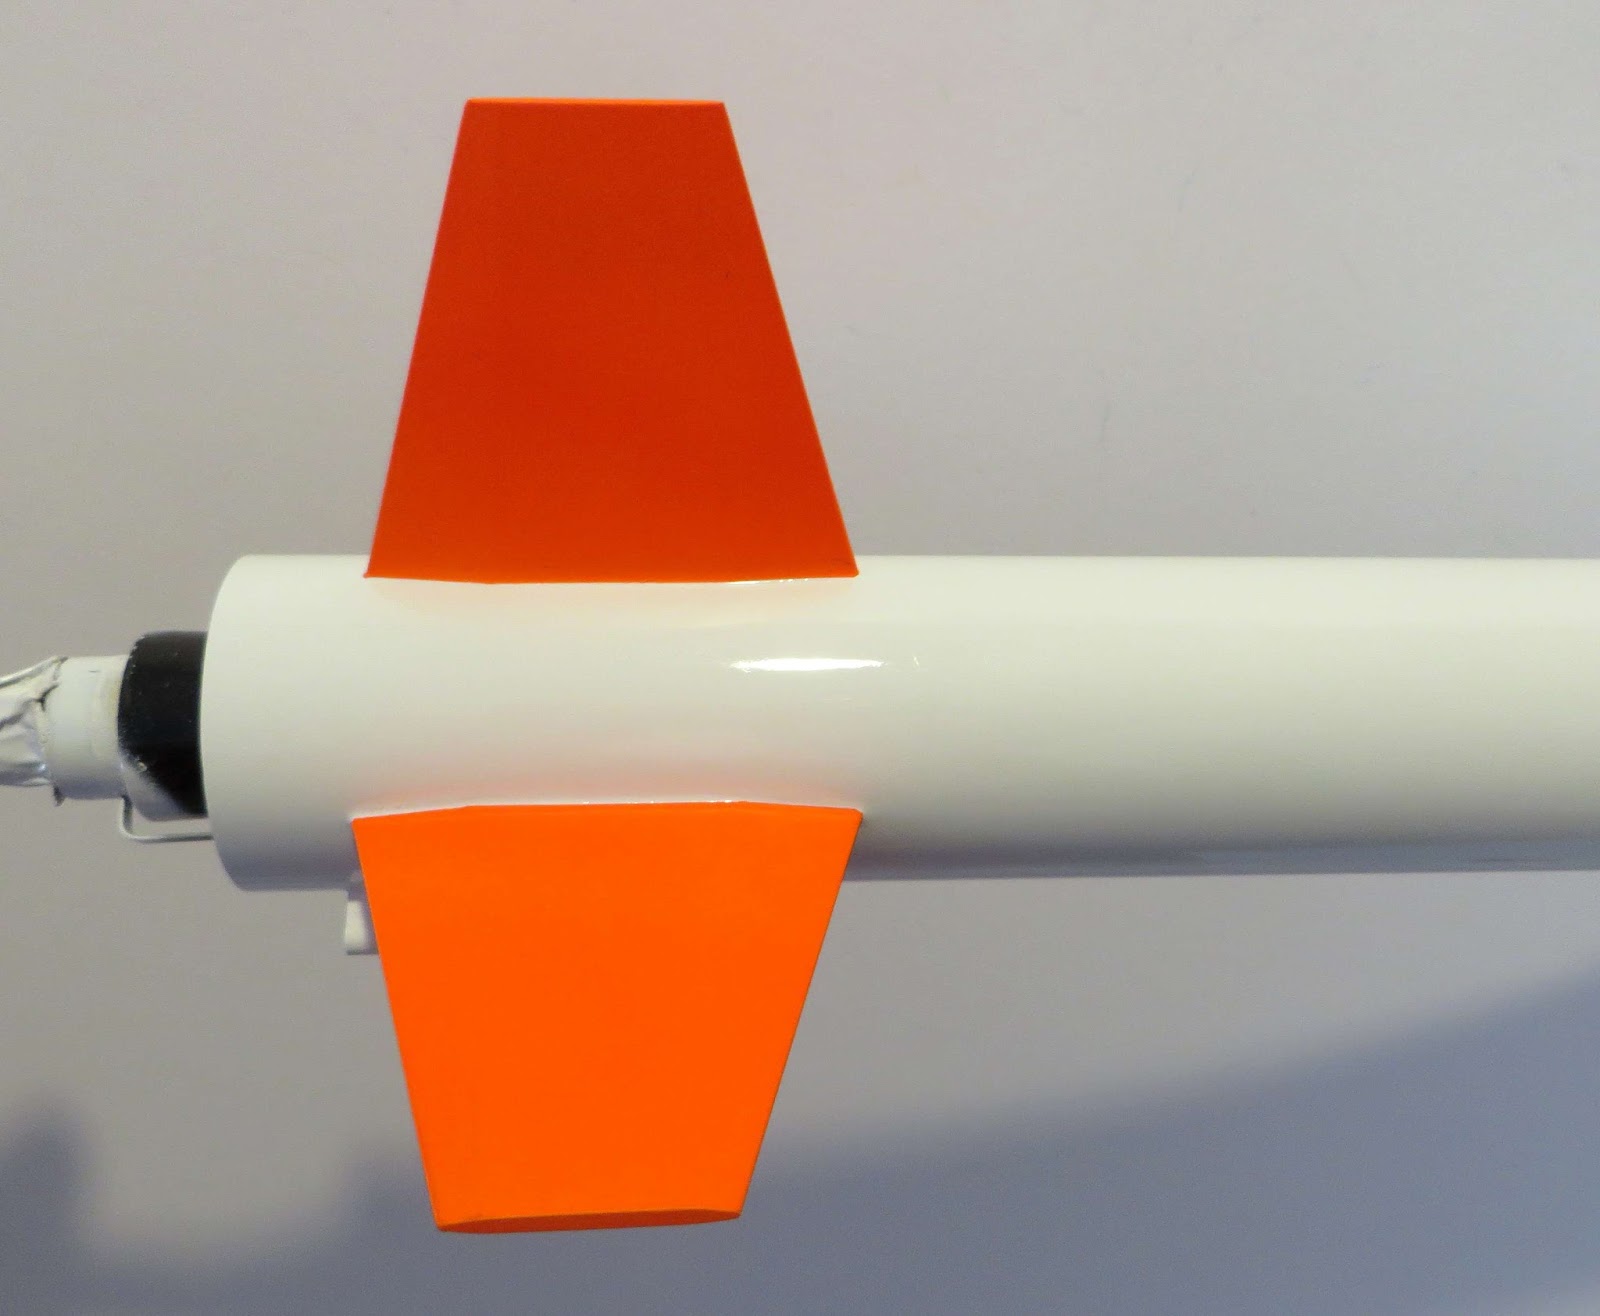
Next up are the fins. three are fluorescent red-orange the fourth fin is fluorescent yellow.


These diamond shaped fins take a little time to mask. You have six flat side surfaces to mask. After that, three smaller pieces of Scotch tape go around the top and bottom edges.
In total, I used 12 pieces of tape to mask one fin.


A 1" piece of masking tape easily fit between two adjacent fins. More masking tape was place around the body tube and held the plastic grocery bag covering the top of the body tube.

Masking the three red/orange fins took twenty minutes.


TIP: I use a Q-tip to seal down the tape edges. It's better than a sharpened dowel or a fingernail that might scar a fin.

TIP: Fluorescent paints look best over a bright white undercoat. "Glow" paints are almost translucent and require an even white base.

Sunday, March 26, 2017

Estes Nike Smoke #7247 Build, Part 11, Ends and Edges


On the left is the longer Estes nose cone shoulder. The pencil mark shows how long the Centuri nose cone shoulder was.

The inset picture shows the original slot cut at 1" above the tube end. The new slot marking is at the desired 1 7/8" mark from the bottom.

Before painting with primer/filler I had to fill the seam in the short BT-5 body tube extending out the top of the nose cone.

The entire nose cone was shot with primer/filler. I didn't sand the entire surface staying away from the raised hatch and bolts. The bolts got a rubbing with a soft cloth to smooth out some of the rough surface.

The fins got a primer/filler shot and careful sanding.
This filler is your last step in getting a sharp edge on the tapered fins. Notice how the filler on the raised edges is not sanded off but helps define the sharp high edge.

Estes Nike Smoke #7247 Build, Part 10, Chute Lines and Launch Lugs


Here we go again!

I gave the shroud lines a light, quick tug and they broke too easily.
I've seen broken shroud lines at club launches.
These will be replaced, along with the paper reinforcement rings.


The short 1/8 diameter lugs are glued onto balsa standoffs.

Look on them from the side to be sure they are straight.

TIP: I did cut new standoffs that were just a hair longer than the supplied lugs.
This way I could sand the ends even with the launch lugs after the glue dries.

Saturday, March 25, 2017

Estes Nike Smoke #7247 Build, Part 9, 18mm Engine Mount


The lower centering ring is recessed inside the body tube.

I can go ahead and give the inside edge a coat of CA glue. The glue fillet around the lower ring will be above the CA glue ring.


TIP: When you mark the engine mount tube for the centering rings and engine hook slit, mark the tube in more than one location.
If all marks are in the same line, your centering ring marks will be covered by the engine hook.


I punched a small recess in the upper ring where the engine hook will sit.
The inset picture shows the lower centering ring and hook recess.

The instructions show the upper ring glued almost even with the top of the engine tube. I glued mine lower and over the upper bend of the engine hook. This make a stronger hold over the top of the engine hook in the thin BT-20 tubing.

This mount got the replaceable Kevlar treatment. Black electrical tape holds the Q-tip guide tube in place.

Friday, March 24, 2017

Estes Nike Smoke #7247 Build, Part 8, 24mm Engine Mount


I saved the ring centers from the previous step. This will become the engine block for the 24mm engine mount.

These were glued together, back to back. The notches were not lined up.


Here's the laminated engine block set and filleted with wood glue.
It fit well and is very strong.


Here's both engine mounts.
The engine hook and Kevlar feed tubes got a wrap of black electrical tape.

Thursday, March 23, 2017

Estes Nike Smoke #7247 Build, Part 7, 24mm Engine Mount

I'm making two Nike Smoke kits, one with the standard 18mm engine mount, the other with a 24mm mount with the Enerjet smoking nose cone.
First up is the 24mm engine mount.

I used the kits 18mm centering rings to make 24mm rings.
A D engine casing was set in the center and traced with a sharp pencil. The new larger centers were carefully cut out.


220 grit sandpaper was wrapped around the expended 24 mm casing and light sanding brought it to the correct fit around a BT-50H engine tube.


The tubes were punched for an engine hook relief (at the bottom)
The upper smaller holes are for a cotton swab plastic tube. The mount will have a replaceable Kevlar line feature. The small tube will guide the Kevlar through from the bottom centering ring tie.

Wednesday, March 22, 2017

Estes Nike Smoke #7247 Build, Part 6, New, Harder Fins

I've described how to shape this style fin in the past on the blog:
http://modelrocketbuilding.blogspot.com/2016/06/shaping-estes-nike-smoke-fins-part-1.html
http://modelrocketbuilding.blogspot.com/2016/06/shaping-estes-nike-smoke-fins-part-2.html
http://modelrocketbuilding.blogspot.com/2016/06/shaping-estes-nike-smoke-fins-part-3.html
http://modelrocketbuilding.blogspot.com/2016/06/shaping-estes-nike-smoke-fins-part-4.html

And in the Apogee Peak of Flight newsletter:
https://www.apogeerockets.com/education/downloads/Newsletter357.pdf

Just what you wanted - HOMEWORK!
I won't be going into detail on how to shape the fins here on the blog. Use the addresses above to see one way to do it.

I'm building two Nike Smoke kits at the same time. While one kit had dense hard balsa, the other kit balsa was too soft. Press a fingernail in a border area to see if your balsa is soft. If it gives too easily to pressure you might want to buy some stiffer wood and cut out your own fins.
Shaping Nike style diamond tapered fin requires harder wood. The final fin shape will be thin.

There is so much extra wood on some laser cut sheets I cut more fins from what was left from the harder kit sheet.

With the edges glued back to back I had enough area in the center to cut four more fins.


Sand the edges flat and glue them back to back. The pencil tracing shows how the new fins were drawn.

Tuesday, March 21, 2017

Estes Nike Smoke #7247 Build, Part 5, Fin Observations


Look at the low end of the fin and you can see the lighter wood tip.
Some kit wood is pieced together from smaller strips. The problem is the differences in the different wood densities. It becomes a concern when you are shaping the fins.


The fins are set over the full size instruction sheet drawing and the bevel lines are drawn in pencil with a straightedge.


You'll never get a sharp diamond fin profile by using little squares of sandpaper shown here in the instructions.


I've used the Great Planes sanding block many times before on the blog. The block is perfectly flat and the sandpaper is self adhesive. If you don't have one yet - trust me and buy one!

Monday, March 20, 2017

Estes Nike Smoke #7247 Build, Part 4, The Enerjet Smoking Nose Cone

Two holes are drilled into the nose cone base for a shock cord loop tie.

Start the hole by spinning the tip of a #11 blade in the plastic. Use an older blade, this really dulls a new one.
The hole is widened by spinning a small diamond file in the holes.
One of the raised plates is cut for a smoke release hole.

Trace around the raised plate with a pencil so you can better see it.
This plastic is harder and a bit more brittle than the old blow molded nose cones. It takes quite a few passes with the knife to cut through it. Leave the top 1/3 of the hatch still attached to make a "hinge".

The port is bent open and upwards making a pressure "hinge" in the plastic. Be careful, this plastic is not as flexible as what Centuri used on their Nike nose cones. It can crack at the hinge.
It has to be opened wide enough to allow the talcum powder to easily blow out.

Sunday, March 19, 2017

Estes Nike Smoke #7247 Build, Part 3, The Enerjet Smoking Nose Cone


I used my aluminum angle to get side slot sides straight.

The short end cuts were made by punching the tops and bottoms with a sharp blade tip. Punch the top corner with the sharp side down. Turn over the blade and punch cut the bottom with the sharp side up.
The shock cord attachment lug will be in the way of the internal BT-5 tube.
A hobby saw cut it close to the surface. The remaining nubs were sanded off. A small sliver was opened up after sanding smooth.

The hole was continually widened until I could get a dowel in. 220 grit was wrapped around the dowel and the hole widened.
Sand a little and check the tube fit.


The tube was slid in from the bottom and can be seen inside the cone end.

Shave off little by little until the tube slides through.


Here's the BT-5 fit at the bottom and top.

On the left I've pencil marked two holes that will be drilled out for the shock cord tie.

Saturday, March 18, 2017

Estes Nike Smoke #7247 Build, Part 2, The Enerjet Smoking Nose Cone

The original Enerjet Nike Smoke had a smoking nose cone. To see how it was done - CLICK HERE

The tip of the nose cone was cut off and a BT-5 was slipped in acting as a ram-jet. During boost, the forced air pushed talcum powder out of a vent at the base of the nose cone.

At this point I don't know if a B6 or C6 engine would get the model to the velocity speed needed to make the nose cone work properly.
I'm building two rockets, one will be a normal 18mm model, the other will be for 24mm engines with the ramjet nose cone.


All that is needed to make a smoking nose cone is the hollow blow molded nose cone, a length of BT-5 and a 5 sized plastic nose cone.

The tip of the nose cone is cut off.
Slide the BT-5 over the tip and mark around the tube base with a pencil.

The BT-5 on the right inset picture shows more tube than needed. I cut it larger than probably needed and will cut it to size after sizing.


Near the base of the inside tube are two slots, 1/8" wide by 1" long. The slots are marked and cut 1" up from the bottom of the tube.

NOTE: The new Estes Nike Smoke nose cone has a longer shoulder than the old Centuri nose cone. I wanted the rectangular vents directly opposite the open hatch on the nose cone. I had to re-cut a new tube with the slot bottom 1 7/8" up from the bottom of the BT-5 tube.

The picture shows the slots (at the earlier 1" mark) on the BT-5 ready for cutting. Draw the slots 1 7/8" up from the bottom of the tube edge.


Friday, March 17, 2017

Estes Nike Smoke #7247 Build, Part 1, Parts


This is one everybody should have in their fleet. Classic and pointy.

I've had different versions of the Nike Smoke over the years, first was the Enerjet Nike Smoke (essentially the Centuri Nike kit with a larger Enerjet engine mount) and a few of the Stine MPC Nike kits.

This is my third variant, all around the same size as those before it.


The parts are all good quality.
The nose cone is very clean with almost no mold seam. The pitot tube at the top is there, the Pro Series II Smoke doesn't have it. The three hatches are molded in and clean. Some versions of the Nike Smoke have decals for the hatches.
The balsa is hard, good thing for forming the wedge shaped fins.


The stenciled UNITED STATES decal is included.
Two Estes logos are there - why anybody would put this on a scale model is beyond me. The face card picture has the Estes decal on a fin side.