Showing posts with label Thor Able. Show all posts

Monday, March 7, 2016

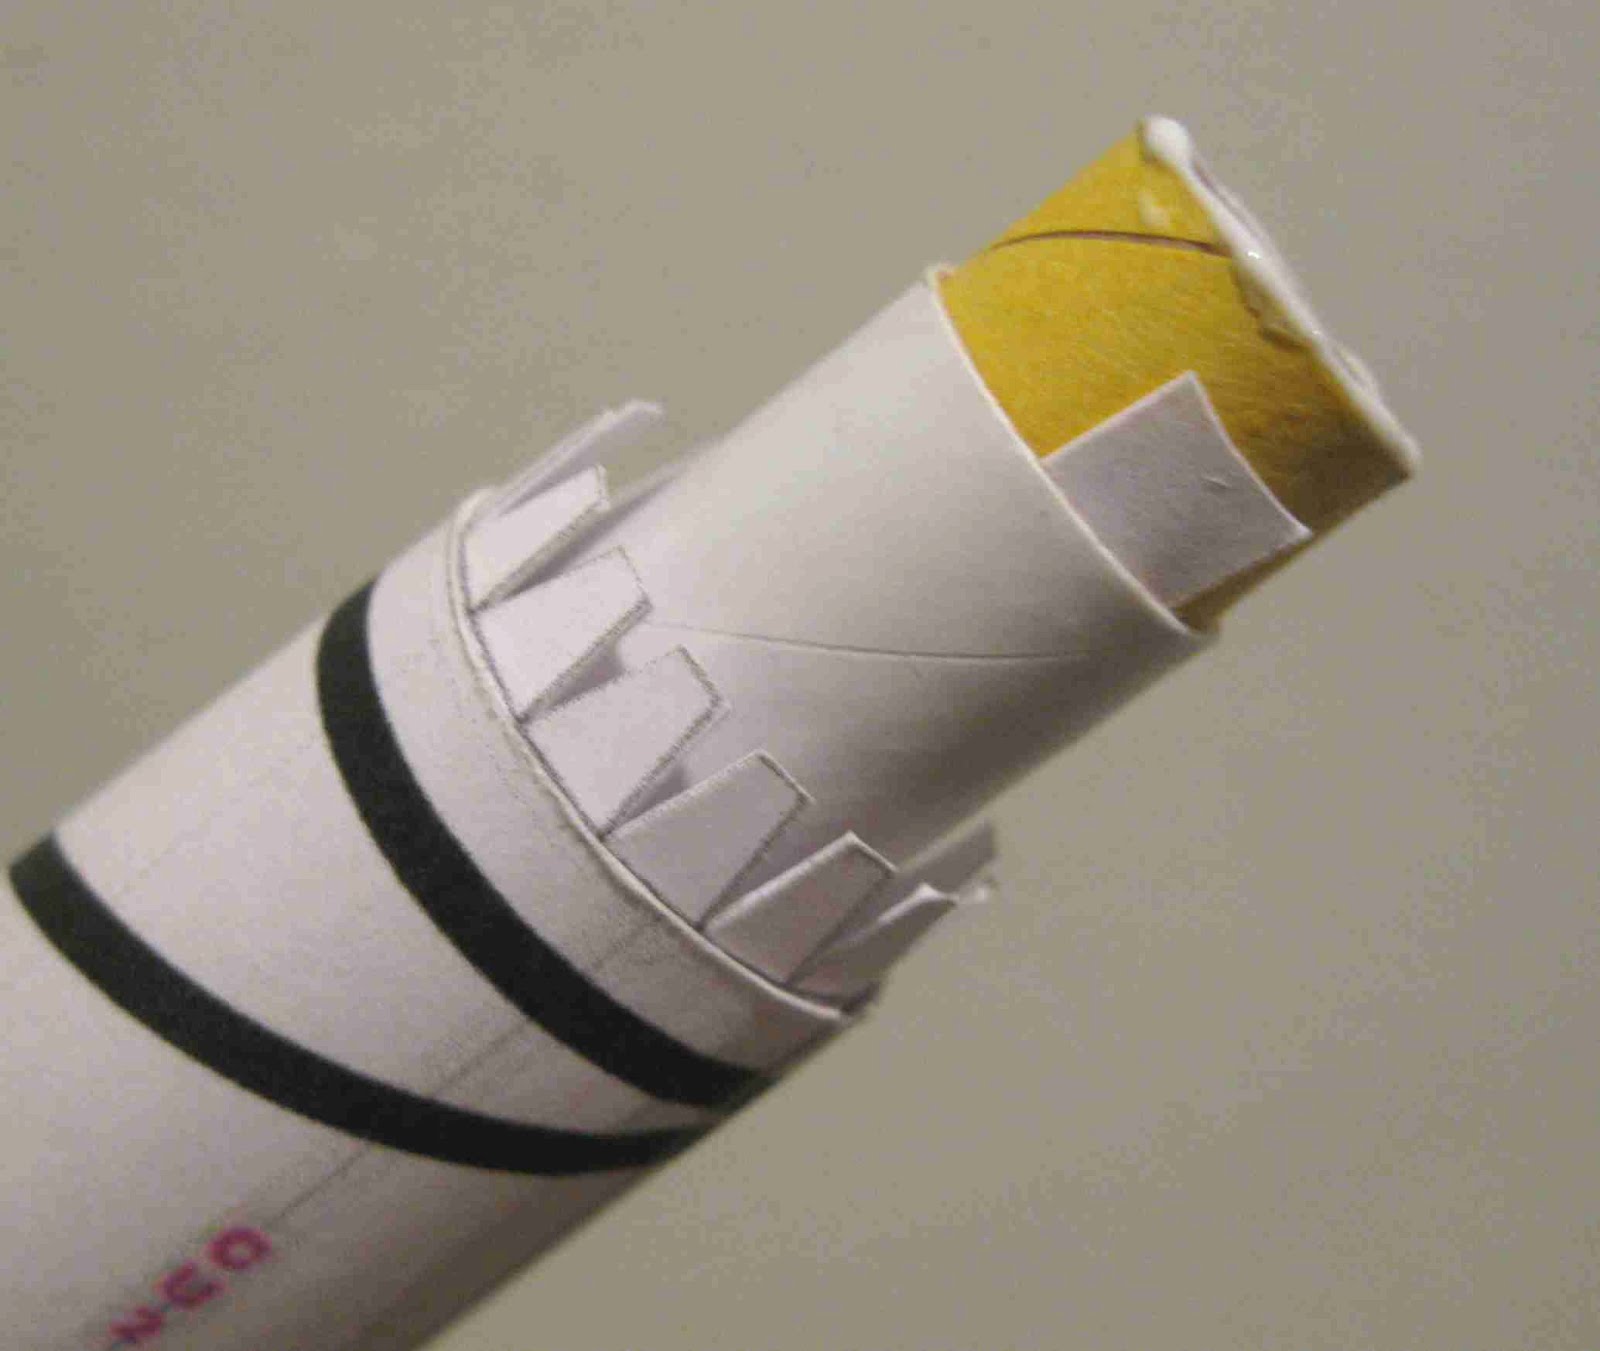
Thor Able Carded Build Finished


A simple crepe paper streamer was installed for recovery.
With a 1/2A3-2t engine installed, a small launch lug was glued onto the main body at the C/G location.

The model was flown at the Orlando R.O.C.K. launch on March 3, 2012.
Even with the nose weight and enlarged fins the rocket wasn't as stable as I would have liked. It didn't sky write and looked like it was trying to pull into a straight flight. If the enlarged fins were a little bigger and the engine recessed farther forward it would probably fly fine.

Still, it was a fun exercise and won't deter me from trying another carded conversion. I'm always surprised by how strong carded rockets are. If you haven't tried one before, they are cheap, very detailed and great practice for the next model that might need some paper shroud forming.

Friday, March 4, 2016

Thor Able Carded Build Part 17 Fins


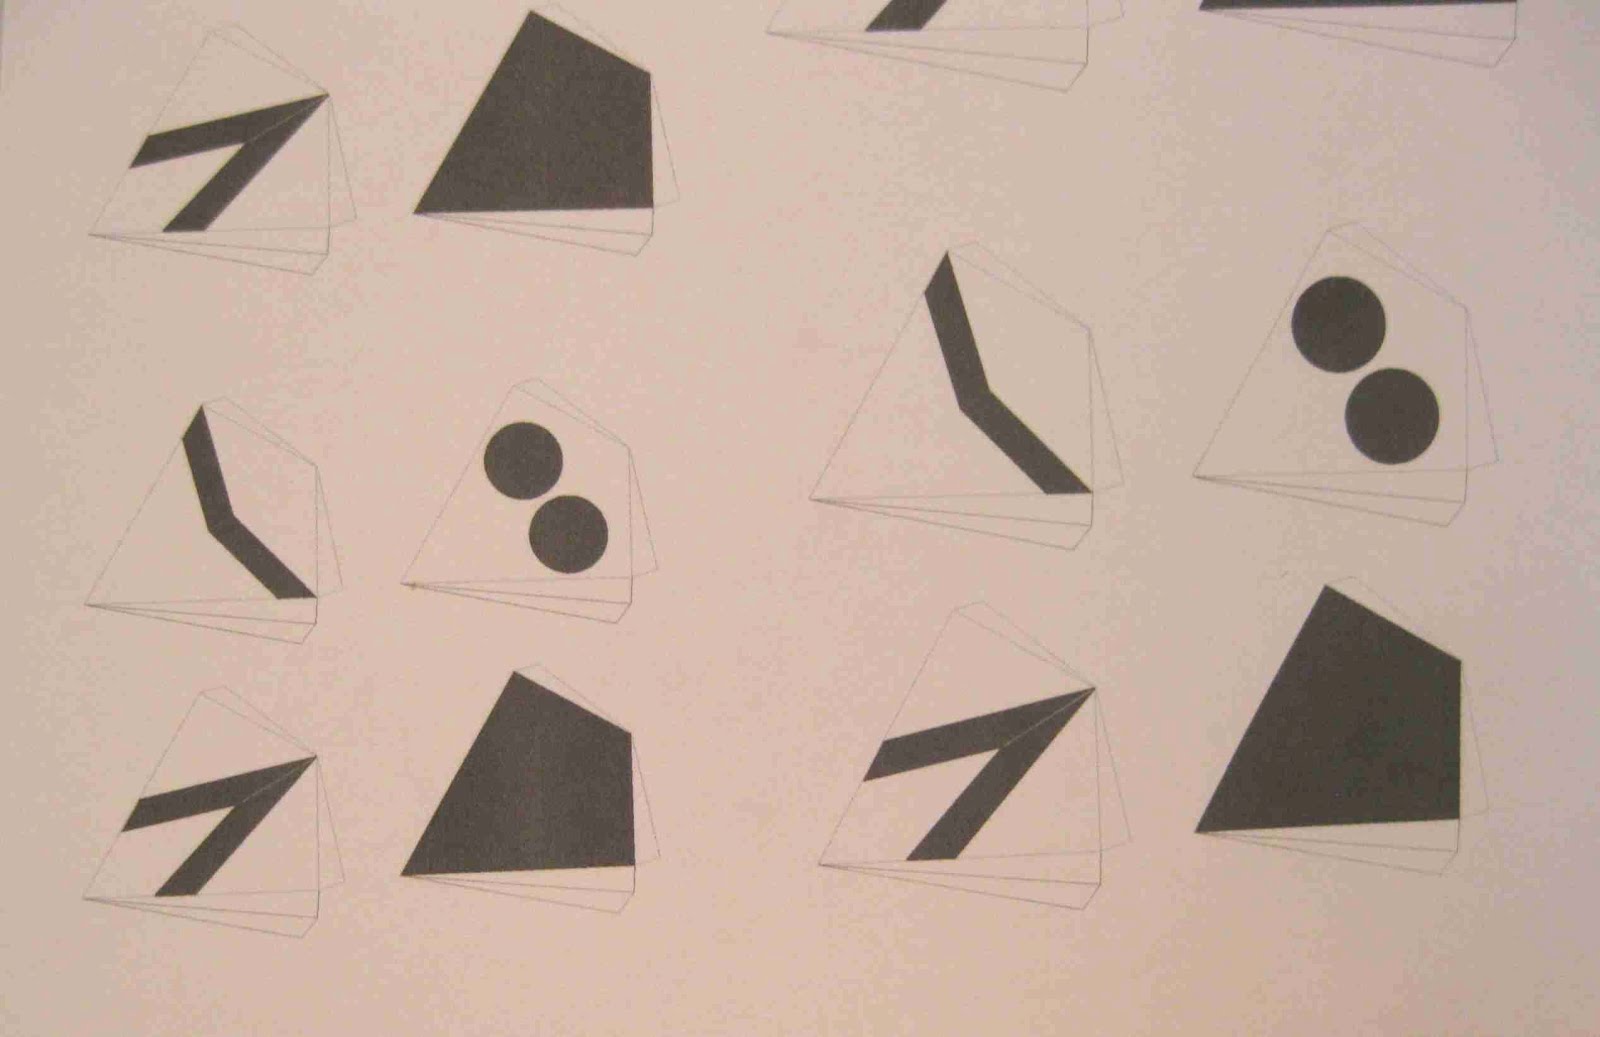
The fins were traced and redrawn in Corel Draw.
I knew for the rocket to be stable the fins would have to be larger.

Four different upsizes were made. I ended up using the next larger size.

The fins should be formed into a wedge shape.
I took the easy way out and simply "butterflied" them over cereal box cardboard.

The leading edge was scored. The underside got a thin coat of glue.
The leading edge was set over the straight edged of the cardboard.

All four fins dried in a heavy book.

Thursday, March 3, 2016

Thor Able Carded Build Part 16 TX Tube


The TX tube is a little hard to roll. This probably should have been printed on 65 lb. cardstock, I used 110 lb.
Here it is rolled around a small diamond file.


The TX tube is glued so it angles away from the base.
The outside of the rear angle cut is even with the side of the main body.


Two stringers were cut from thin wire.
The ends were dipped in a drop of white glue for placement on the TX tube and rear plate.


The stringer wires in place.
I didn't add the Gimbal motor nozzles. With the downsizing I had to do, the motor housings were too small to hold the nozzles.

Wednesday, March 2, 2016

Thor Able Carded Build Part 15 Nozzle Hat Bands

I used the small scissors on my Swiss Army knife to trim off the overhanging string.
The picture shows the cut overlap area of two nozzle bands.


Here's the finished nozzle with the smaller Gimbal motor pods attached.

Tuesday, March 1, 2016

Thor Able Carded Build Part 14 Nozzle Hat Bands

Using string for "hat bands" has been used on carded models for some time. Many of the Dr. Zooch kit nozzles get the same treatment. When properly done it looks very good and adds some strength to the nozzles.

I don't have straight printed lines to glue the string on.
To get them straight around the nozzle -
Tack just the end down and let it dry.

Here I tried to attach two strings at the same time. You'll be better off just doing one at a time.


Dry wind the string all the way around until it lays right over the end already glued in place. With glue applied with a toothpick, glue the loose end down just to the other side of the end already in place.

If you are lightly pulling the string around the nozzle it'll be held in a straight line. Hold the string in place until it stays down by itself.
Right now the is only glue holding down the ends of the string.


After the overlapped string dries, go around and apply white glue all around the string.
You might have to nudge the string here and there to get it in line before gluing.

You should end up with a tight, straight string line all the way around.
Next post we'll trim off the overhanging string.

Monday, February 29, 2016

Thor Able Carded Build Part 13 Main Nozzle Detail


Now that the internal BT-5 upper length has been established, fillet the tube where it exits the lower ind of the BP plate.


The BT-5 going out the back will end up being the nozzle. It's not the true tapered nozzle, but in a conversion you have to make compromises.

It still needed the gray color though.
I set the cardstock nozzle on the printed instructions and found the gray background of the pictures to be a close match.
Two rectangular bands were cut, the same width as the two cardstock nozzle pieces.


These gray strips were glued around the BT-5.

Friday, February 26, 2016

Thor Able Carded Build Part 12 Separation Point


A rolled clay weight "snake" was pressed into the Bic pen tube inside the top section.

I used the plastic pen barrel so the clay wouldn't discolor the white cardstock over time.

The model will separate between the B1 and B2 sections.


The B1 section was glued to the A2 already glued to the uppermost A1.

To smooth out the seam, a clean dowel is rolled over the edges. Whatever wet glue is in the edges makes the cardstock pliable. You can roll over any edges that stick out.


The (longer than needed) BT-5 is pushed through the lower body centering rings and out the top. Don't glue the internal BT-5 tube in place yet.
I don't know what the cut length will be yet.

A coupler needs to be glued into the upper section so the BT-5 will join to it.
A 1/2' long section of an Estes engine spacing tube was cut and friction fit with cardstock into the BT-5 extending out the top of the lower section.
(I'll need to pull the BT-5 out after the coupler is glued in place.)
You can see the glue ring at just the top of the yellow coupler.

The upper and lower halves were pressed together. When the yellow coupler made contact with the support ring inside the upper section, the BT-5 slid down through the lower half until both halves of the model were joined.

When the glue was set up, the lower half was removed leaving the yellow coupler glued to the upper half.

Out the back end, the long BT-5 will be made into the nozzle. For the time being, the extended tube is used for a handle to help when building the low end of the model.

Thursday, February 25, 2016

Thor Able Carded Build Part 11 Upper Stage


These boxes are small!
Score the fold lines before cutting them out.


One box is shown, glued in place below the antenna.


The finished upper stage.

It's pretty clean - for now.
I can't stress enough, keep your hands clean!
After all the handling, my model was a little dirty in the end.

Wednesday, February 24, 2016

Thor Able Carded Build Part 10 Antenna


From the back end of the A1 tube you can see the Bic pen barrel inside.

Because this is a hard plastic, the antenna holes will have to be drilled.


I used my small pin vise drill to make the antenna holes.


The antenna wires would bump into each other at the center of the A1 tube.

The wire on my work table shows the bend in the wires so both will fit around each other inside the A1 tube.
The center of one wire will be above, the other below.


Once the wires are place and sticking straight out of the tube, glue was applied with the tip of a toothpick.

Sunday, February 21, 2016

Thor Able Carded Build Part 9 Upper Stages


Forming the nose cone takes just a few minutes.
A clean dowel was used to start rolling over the nose points.

After they start holding the rounded shape, apply some white glue and continue rolling and molding the points into a rounded nose.


The finished nose.
Don't use your fingers to roll it, use a clean dowel or it will come out a dirty gray.


A2 is rolled into a cone.
You can see the internal glue tab overhanging the left side edge.

Friday, February 19, 2016

Thor Able Carded Build Part 8 Upper Stages

The A1 section was pre-shaped and rolled around a dowel.
This model will need nose weight and clay would probably be used.
A plastic Bic pen barrel was just about the right diameter to glue the A1 section around. The internal plastic pen barrel will also protect the white cardstock from oil stains from the clay.


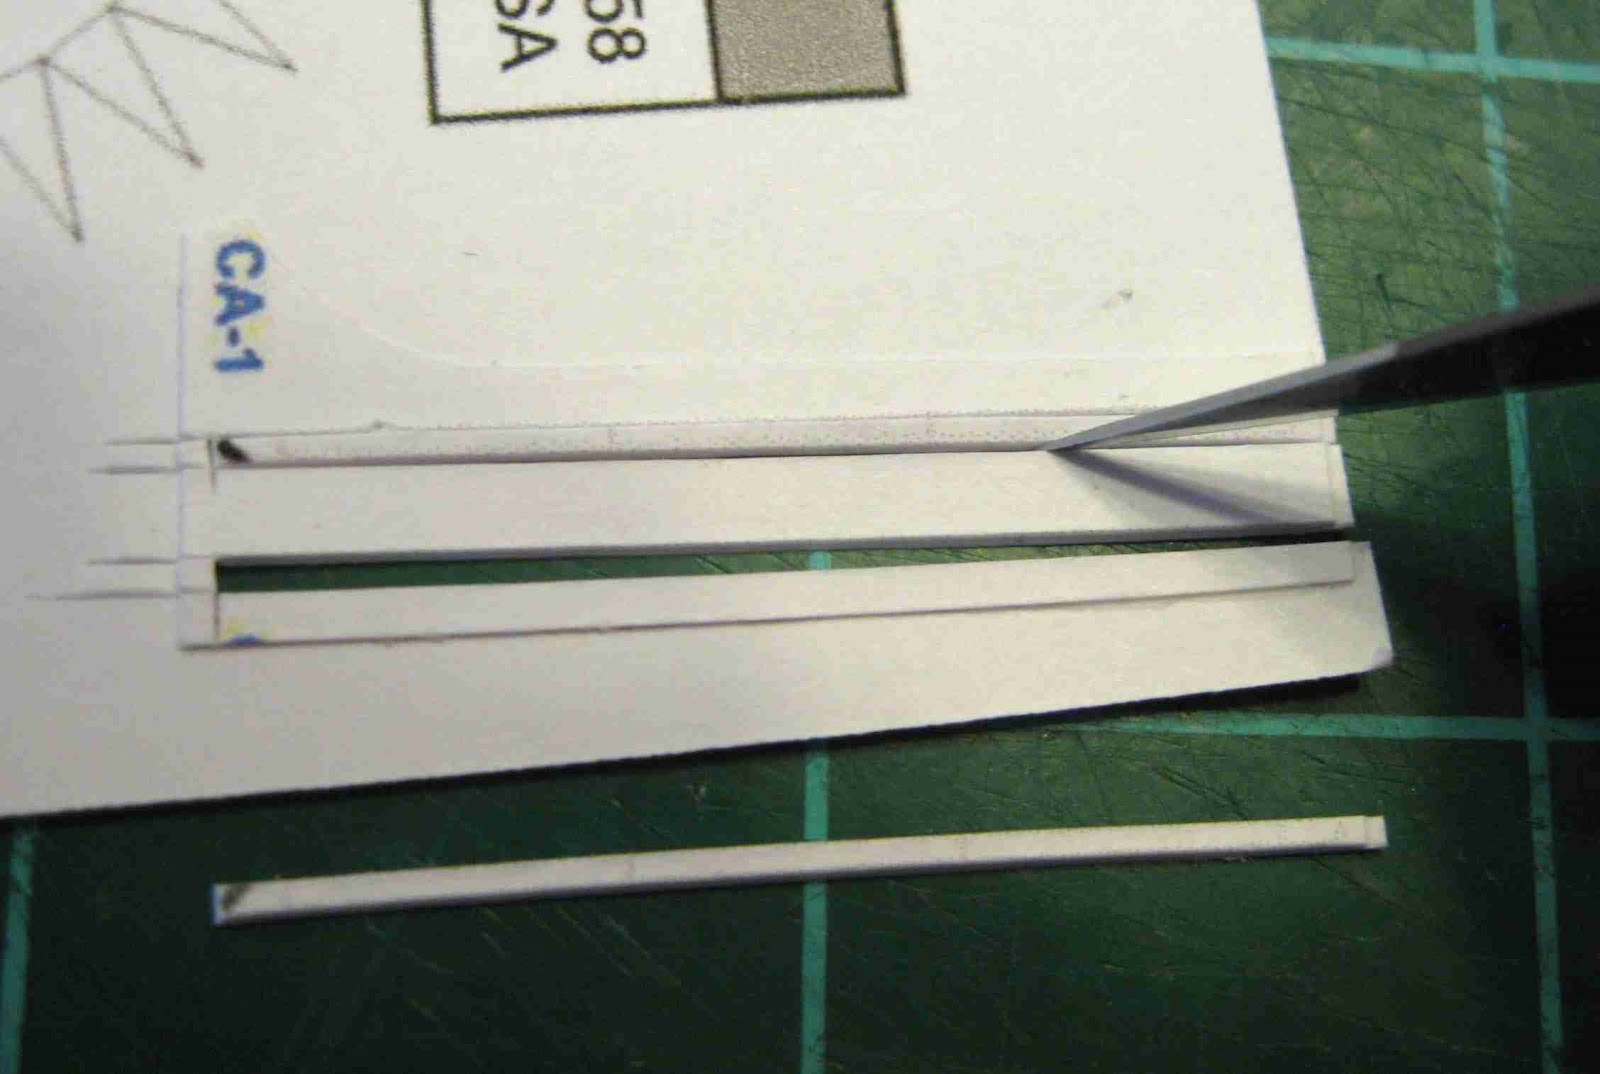
The CA-1 conduits were cut from the cardstock.

These are very thin, be sure your straitedge doesn't slip.


The backside of a very dull razor blade was used to help straighten out the glued strip.

Thursday, February 18, 2016

Thor Able Carded Build Part 7 Upper Body and Conduits


The upper body separation point is above the B2 section.
Here's the pre-shaping the B1 shroud for gluing.


All the shrouds in this "kit" have internal tabs so the shroud seams edges butt up against each other.
You can roll a clean dowel over the seam to flatten it out.
This is the same method I used on the largest Estes Saturn V shrouds.


The conduit parts are formed to a semi circle down their length.
I ended up coaxing them around the small end of my diamond file.
The inset picture shows the cross section.

Wednesday, February 17, 2016

Thor Able Carded Build Part 6 Upper Internal Support Rings


Disk 1 and Disk 2 are glued to the star shaped 1A and 2A.


While those dry, the connectors B1 and B2 are glued into the upper two transition pieces.


Here's the internal support "star" ring being glued inside the larger transition.

Don't press these in too far, you don't want to see the star shape through the card stock body.

Tuesday, February 16, 2016

Thor Able Carded Build Part 5 End BP Plate


I had to cut a circle in the center of the BP end piece to fit the BT-5.
As before, the tube was centered and a line drawn around the end. Cut and sand round to fit the tube.


This is the notched BP connector ring in place.
It is slightly recessed down to the printed blue line so when the BP end piece will end up flush with the end of the main body.


As expected, I had to cut off the gimbal motor pods and make new ones that were lightly smaller.
These pods butt up against the engine bell. My engine bell will end up being the BT-5 tube.

Monday, February 15, 2016

Thor Able Carded Build Part 4 Internal Rings


The Support Strips were already glued inside the B3 Lower Body.
The rings you made will sit against these rings.

TIP: I found I had to sand away a little of the edge to fit better against the B# Connector Tab.


The rings were pressed into the tubes until they rested against the support Rings.
Glue was applied with a toothpick tip once I was sure the rings were seated against the support rings.

In the picture, a Q-Tip was used to smooth out the glue and remove excess.

Saturday, February 13, 2016

Thor Able Carded Build Part 3 Internal Rings

You are given the choice of leaving on or cutting off the Gimbal Motors from the bottom of the B3 Lower Body piece.
Here I'm scoring the fold lines with the rounded back edge of a razor blade.

I decided to leave them one - for now. Later in the construction I found they got in the way of the BT-5 tube extending out the back.
The Gimbal Motors were very hard to fold when left attached to the cardstock tube.
I ended up cutting them off later in the construction.


The internal support rings were dry now.
A BT-5 was centered on the rings and drawn around with a sharp pencil.

Cut our the center rings first leaving the rings on the cardboard backing sheet.


Sandpaper was wrapped around a dowel and the center diameter widened to friction fit a BT-5.


As you sand, some of the cardstock will roll out and make a ridge.
TIP: I decided to keep the rough ridge for a larger gluing edge on the BT-5.
The rough ridge won't be seen inside the finished model.

Friday, February 12, 2016

Thor Able Carded Build Part 2 Internal Supports


The internal strengthening rings were glued onto cereal box cardboard.
I'm rolling a clean dowel over the glued rings to smooth out and remove excess glue.

The circles in the middle will be enlarged for the central BT-5 tube later.


This is the B3 (or lower main body) piece.
On the cardstock print are some small red tick marks. Those ticks are the positioning marks for the internal ring support strips.
Turn over the cut B3 on the printed sheet and mark the strip lines on the inside, unprinted side.


I'm smoothing out the glue coat with the backside of a very dull razor blade.
Throughout the build, remind yourself not to use much white glue. TIP: Carded models (shroud tabs too) take less glue than you might think.


The B3 Connector Tab (and all tabs in the build) are separate pieces so the joint seams are smoother.
The B3 Tab is being smoothed out by rolling a clean dowel over it.