Showing posts with label E Lunar Scout. Show all posts

Monday, April 6, 2020

Estes Lunar Scout #7290 Build, Finished


This was a fun build and something outside the norm. It would be a great first flight of the day model.
I thought it was smart to integrate the launch rod holes into the center rings.
I wonder if the landing pads slow down the featherweight descent?

Sunday, April 5, 2020

Estes Lunar Scout #7290 Build, Part 10, Decals

GOTCHA: There are no extras so set a small decal first. After you set the first decal, make a judgement call about beefing them up.
These decals were very thin, the final clear coat could have been thicker. I'd recommend giving the decal sheet a coat of Micro Liquid Decal Film or a shot of clear acrylic before attempting a transfer onto the model.


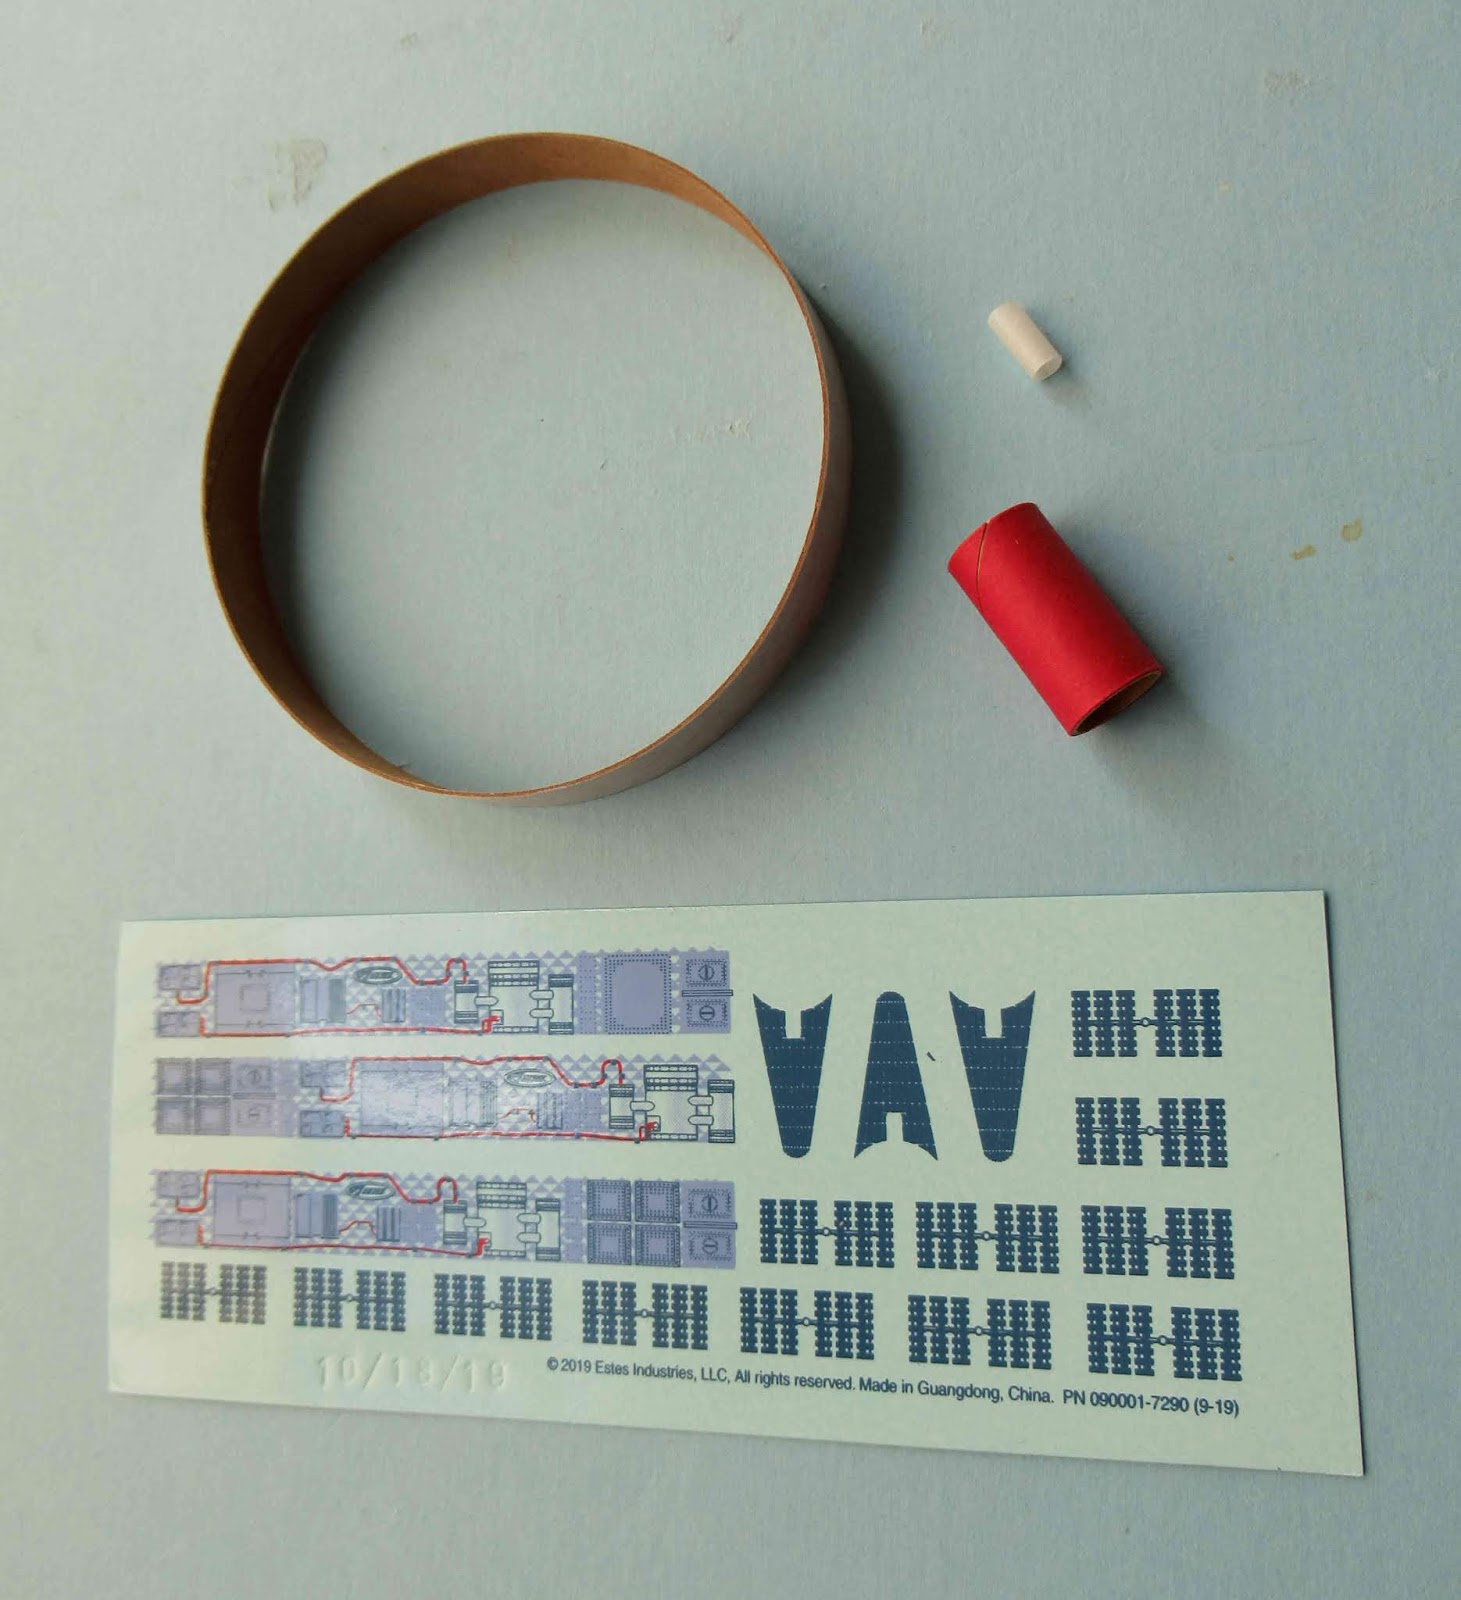
These three decals should be cut close to the printed image.
Note the center slot on the decal is wider than the vertical piece it fits around. I had to cut the bottom of the "U" notch a bit deeper to fit correctly.
The ring wrap decals are tricky.
TIP: Look close to find a small Estes logo. That tells you which side should be facing up.

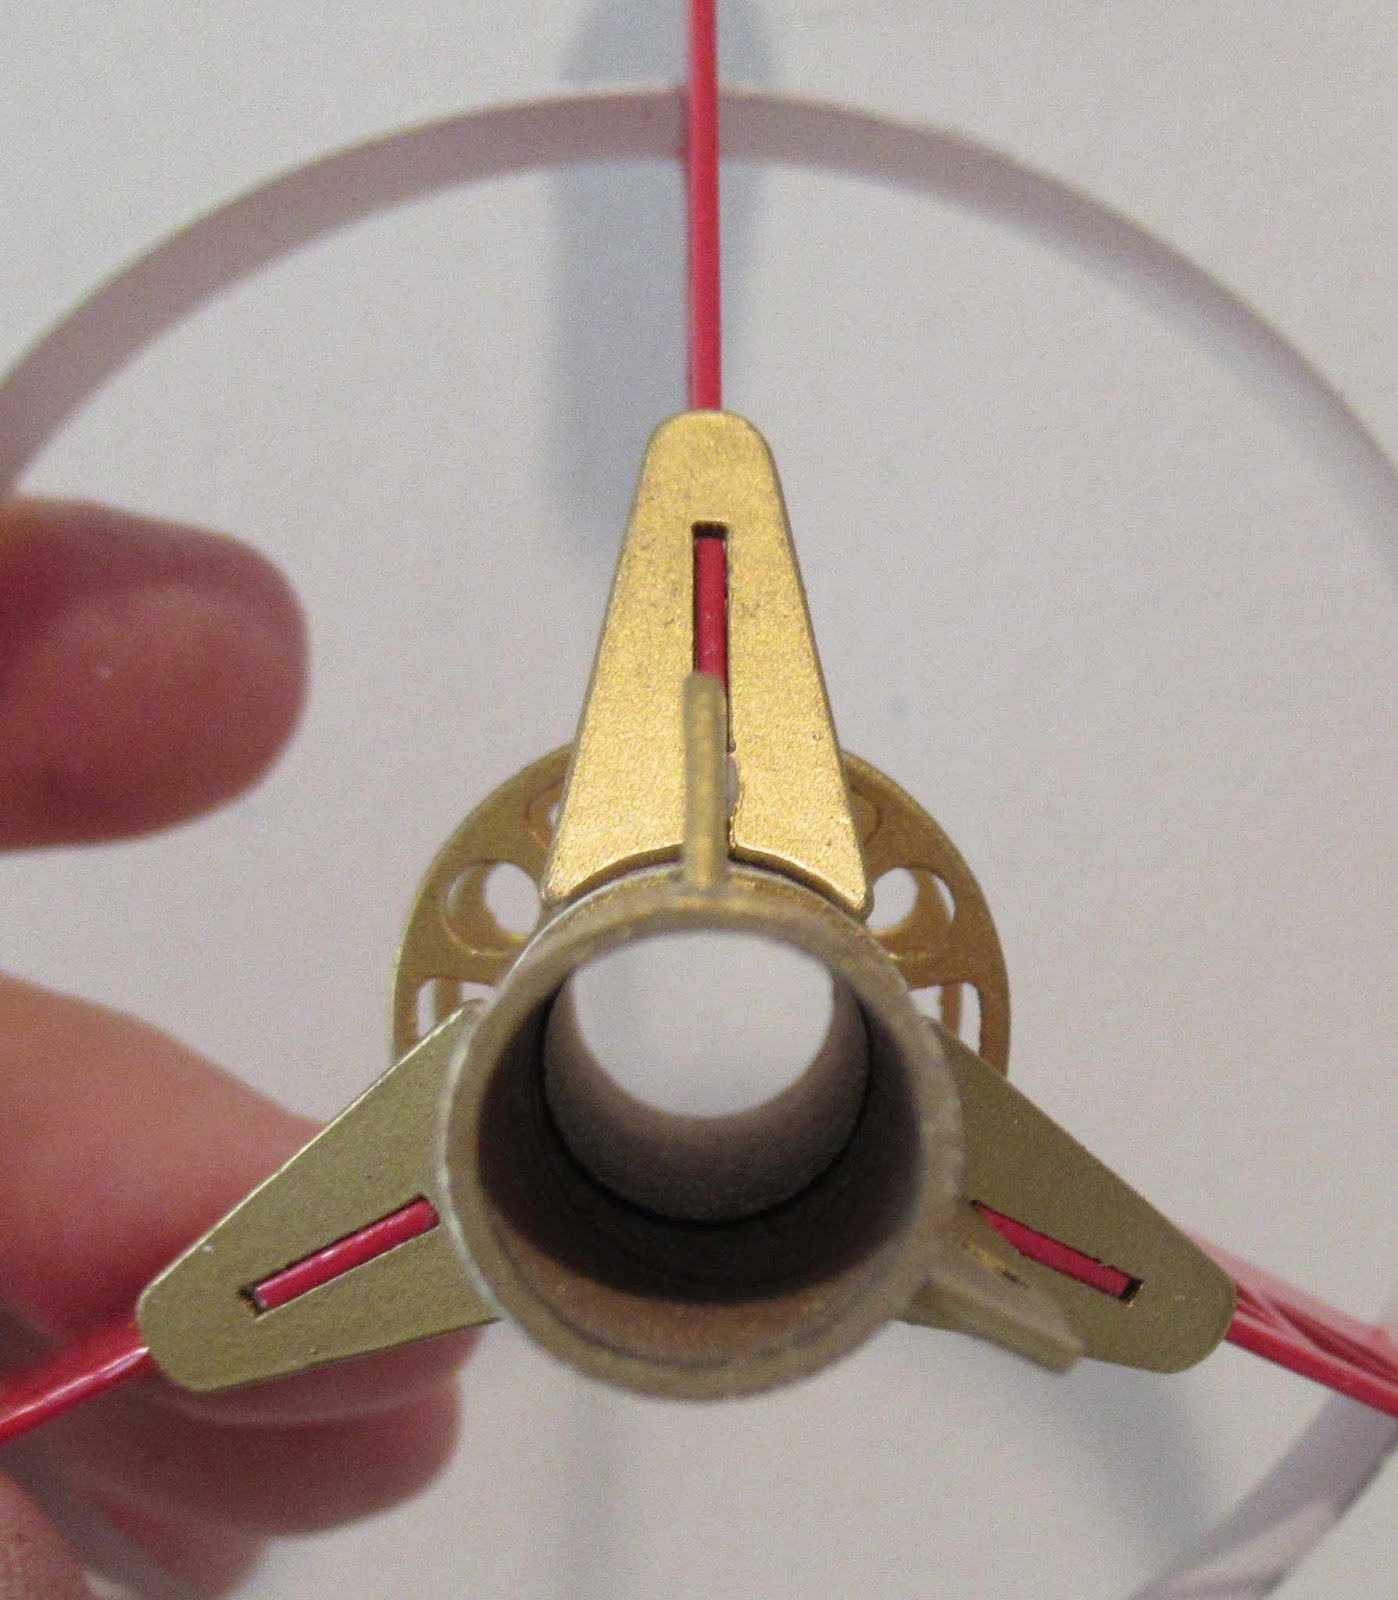
Mentioned earlier, spacing of the red legs over the ring is critical to the fit and spacing of the wrap decals. Do a dry fit (above picture) to see the open spacing at the right and left sides.

The wrap decal on the above right is bluer than the current gray kit decal. This decal was from a pre-production kit.


The many grid decals could be difficult to space evenly.
I made a placement template out of card stock to be sure all the decals were in the same position.
The card stock template is flipped over to set the grid decal on the other side. There are 12 grid decals to set!


This shows the finished template placement used for the inside grids.

Friday, April 3, 2020

Estes Lunar Scout #7290 Build, Part 9, Lining It Up & Radar Dish


The original face card picture shows the upper red rib of the fin through the gold triangle piece. This isn't necessary as the decal will cover up the red line.
If I knew at the time, I would have filled this slot and the indentation wouldn't have shown through the decal.


The radar dish and short launch lug antenna are glued onto the widest "I" piece with the tab at the bottom.

Previously, I filled the seams in the launch lug.


The rocket looks good even without the decals.
Those will be placed in the next post.

Thursday, April 2, 2020

Estes Lunar Scout #7290 Build, Part 8, Details, Details, Details


Set the ring on the full size template in the instructions. Mark the leg/fin locations. The correct marking is important for the decal placement coming up.
Lightly mark with a pencil.


The top of the leg glue points were scraped. The inside of the triangle (Part G) pieces were scraped for better gluing.

Use white glue to glue the pieces on. Yellow glue will leave yellow staining on the finished model.


The vertical "I" pieces needed a little trimming to fit over the shoulder of the white tube and against the upper gold coupler.


Before doing any scraping, draw a pencil line for a guide.
These scraped lines are narrow!

It isn't necessary to pre-paint to assemble this model. I was trying to match the face card. Masking this small rocket after it is glued together would be very difficult.

Wednesday, April 1, 2020

Estes Lunar Scout #7290 Build, Part 7, Assembly


I was building two kits, here's two of the large rings stuck down for spraying with gloss white.


This is the motor mount tube with the coupler/engine block glued in.

Both parts had the final colors sprayed separately, then the gold tube was glued halfway in, up to the marked 3/8" line.


Any paint in the support ring center holes was removed.
Wrap a piece of 400 grit around a dowel or pen barrel and sand up and down. Again, I was building two kits, there are four rings shown here.
The center support rings are glued on. used the notched in the red leg fins to set the spacing between them. the low ring is set so the bottom of the legs are even with the end of the center tube.

TIP: Use the Full Size Top View Template to set the even angles of the leg/fins. Thisis critical for placement and even visual spacing of the decals on the large ring later on.

Tuesday, March 31, 2020

Estes Lunar Scout #7290 Build, Part 6, Gold Parts


Here's the gold parts on a piece of cardboard. They have already been spray painted gloss white.
The pieces are held down to masking tap with the sticky side up.


The landing pads needed some sanding after the first coat of gold.


On the red legs, the raised center cross was sanded to remove the paint for a better glue bond.


Here's a finished leg all red and gold parts glued together.

Monday, March 30, 2020

Estes Lunar Scout #7290 Build, Part 5, Fill, Primer & Paint


The engine mount tube seam was filled with CWF and sanded smooth. The red engine block seam was also filled.
TIP: Don't glue the red coupler in yet, it'll be painted gold later. No gluing it in now will save you from masking it off.

The red coupler was slipped in dry to get a shot of gray filler/primer.
This picture shows the tubes after sanding the filler/primer leaving some in the seams and low areas.


I had to spray the landing legs one side at a time.

The narrow root edges were taped off. Here two landing leg assemblies are joined by a single piece of tape.


The legs were stuck down to a scrap piece of cardboard for the red spray. Let dry, flip over and spray the other side.

The tail ring has a wrap seam on the inside and outside. Both seams could be seen on the finished model, so both were filled.


The ring got a follow-up spray of filler/primer and sanding.
After that, gloss white.

Sunday, March 29, 2020

Estes Lunar Scout #7290 Build, Part 4, Rounding Off The Edges


This is the three legs with the end cross pieces glued on. The legs are all to be painted gloss red.

I like to seal the edges with a small bead of white glue. Carefully lay a narrow bead of glue down the outside edges.
I won't be doing a glue bead on the inside girder lines. There is just too many edges to do. Most will only notice the outside surfaces.


While the glue line is still wet, roll a fingertip down the side of the bead to even it out.


After the glue dries, lightly sand smooth with 400 grit wrapped around a finger.

Saturday, March 28, 2020

Estes Lunar Scout #7290 Build, Part 3, Laser Cut Details

This is a build for Estes so it has to match the face card illustration.
I'll have to prep all the parts and spray paint them before gluing it all together. This took some planning, the tube parts are white, the girder fins red and the small detail pieces are gold.


Take a close look at the center support rings. There are many hold down tics that should be cleaned up.

With the two center rings lined up, the round holes will slide down the launch rod and act as a launch lug.


I didn't want any tics to bind on the launch rod. These were removed with a small diamond file. All the others were carefully trimmed off with a sharp knife.


I dry fitted the landing leg cross pieces to check the fit of the  landing pads with the center "X" cut out. It took more trimming for a good fit. Don't glue this on until after painting.


The landing pads are two layers, the small circle covers up the "X" when glued onto the bottom. These pads are spray painted gold before gluing onto the red girder legs.

Friday, March 27, 2020

Estes Lunar Scout #7290 Build, Part 2, Parts Prep


There are a lot of laser cut hold down tabs to clear. Take your time and use a sharp knife.

I chose to sand off and clear the burnt edges.
The upper is the before,

The lower picture is after lightly sanding.
I didn't sand every inside edge, just the outside, leading and trailing edges and sides that would be easily seen.


Look at all the left overs!
I'm not keeping these, I just wanted to show how much trimming is done before any glue is used.

Thursday, March 26, 2020

Estes Lunar Scout #7290 Build, Part 1, Parts

Here's another new kit from Estes, part of their Space Corps series - the Lunar Scout.


It's a Intermediate Level build, a small featherweight recovery model using 13mm motors. The engine does not eject at recovery. A friction fit is recommended for the engine retention.


All the parts:
When you first see the kit in the bag it doesn't look like there is much there. Most all the detail parts are on one laser cut fiber sheet.

The decals shown here are pre-production. The decals are now more of a gray color.


Parts of interest - 
The large ring was slightly out of round, not a problem, it was easily formed back into a circle.
The small launch lug isn't used for sliding down the launch rod, it is part of the "radar dish" detail.
The red coupler adds strength to the top of the model and also acts as the engine block.
18 decals to be applied!