Showing posts with label Tunnels. Show all posts

Friday, June 19, 2026

Estes Sandpiper, Kit #1389, Part 10, Sanding The White Undercoats


After the first white undercoat,
fine sanding with 400 grit showed there was still some uneven fillets.

The inside fillets are a little hard to reach.
This one showed a bubble after sanding. More glue - 


This had to be the best fitting shroud I've ever done!
It was surprising, I didn't have a shroud tool, the one at payloadbay.com wasn't available. Those tools are now at jonrocket.com.
Smooth, with very little filling.
The 3D printed nose cone turned out very smooth!
Initially, there were very subtle ridges, but those sanded out. One shot of filler/primer and sanding got it ready for color.

Thursday, June 18, 2026

Estes Sandpiper, Kit #1389, Part 9, Fillets Down The Long Launch Lug

Sometimes I don't bother with launch lug fillets, it's a pain dealing with the air bubbles when the glue dries.

To the left is the first glue fillet still wet, just smoothed with a finger. Let the glue totally dry.

Here's the same fillet, dried with air pockets. Another glue fillet will fill some of the open holes.

It'll take three or four fillets to fill and smooth the glue line.


After three fillets the inside fill is looks smooth. 
You can lightly sand the fillet to further smooth before paint.


This launch lug/tunnel reminds me of the old Estes Wac Corporal kit. The long lug on the Wac Corporal is concealed with balsa strip sides.

Monday, March 9, 2026

Estes Shark #1111, Build, Part 5, Raceway or Tunnel


On the Shark, the raceway is cut to 6.25" long. On the Stiletto kit, the raceway tunnel was 7 3/4" long. I'll cut mine to 6.25" out of basswood.

The Shark instructions showed a long rectangle, rounded on both ends. The upper edges stay square.

You might find it easier to judge the end shape by viewing the underside as you sand. The picture on the right shows the underside.


After the side ends are shaped,

The tips are tapered. 
On the right is the finished tunnel.

Sunday, February 1, 2026

Estes Semi-Scale Saturn V, Kit #K-39, Part 27, Tunnels, Fairings & Ullage Motors


Paint was scraped off where the glue would contact the body.


Tape held the tunnel in place while the glue dried.
Use white glue which dries clear. Yellow glue would dry yellow.


The short ullage motors can be glued directly onto the cardstock wrap. The masking tape strip is a lower alignment line guide.

The longer feed line fairings need the cut out recesses like the longest system tunnels.


Interesting - 
The original rubber shock cord showed no deterioration! It is still stretchy.

I would have liked to use it, but I wanted a longer shock cord.
I did use the kit shock cord mount. Note the old shape.

Saturday, January 31, 2026

Estes Semi-Scale Saturn V, Kit #K-39, Part 26, The Long Tunnels

The instructions show tunnel recesses cut into the wraps. Notice the top and bottom of the cut outs - they are square, the dowel tunnel ends are tapered.
I'll cut the section ends the same shape as the dowel ends.

The 5" long tunnels were taped to the body and carefully cut around the dowels.
The tape was placed between the wraps.


Here is a closeup.

I used a new, sharp blade tracing around the tunnels.

Wednesday, January 21, 2026

Estes Semi-Scale Saturn V, Kit #K-39, Part 16, Tunnels, Feed Lines & Ullage Motors


After shaping one end, 
The shorter ullage motor pieces were cut to length using a single edge razor blade.
The Ullage motors are tapered on the front only. The backs are left square.


The longer feed line fairings are tapered on both ends. 
Eight ullage motors and eight feed line fairings!

The pieces are small - Store them until needed in a zip lock bag.

Also cut two 5" lengths for the system tunnels and taper both ends.

Tuesday, January 20, 2026

Estes Semi-Scale Saturn V, Kit #K-39, Part 15, Tunnels, Feed Lines & Ullage Motors


Here's the mid section of my Dr. Zooch Saturn V build.

You can see the half dowel feed lines and ullage motors.
The older Estes kit also includes most of these details.
Three 1/12" diameter dowels are included. 
All are warped, one much worse than the others.

The straighter dowels will be used for the longer 5" tunnels. The badly warped dowel will be cut up for the short ullage motors and feed  line fairings. 

 
You'll find it easier to shape the tips before cutting the dowels to length. You have something to hold onto while the ends are tapered.

Shape the profile while viewing the flattened back of the dowel.
Turn the dowel over and round off the end in a teardrop shape.

Saturday, January 10, 2026

Estes Semi-Scale Saturn V, Kit #K-39, Part 8, Prepping The Tunnel Dowels


The back side of the WD-2 dowels need to be sanded flat to glue onto the body tube. This can be difficult, the dowel will want to roll.

Mark a straight line down the length of the dowel using the side of the pencil point. Facing up, this will be your straight line reference as you sand off then re-draw the pencil line until the dowel length is half.

Using 220 grit on a block - 

As you sand back and forth, the pencil line will be removed. Remark the line and continue to sand until you have a crescent half circle.

TIP: It's easier to sand from the mid point to the end. Redraw the pencil line. Flip the dowel (still pencil line up) and sand the pencil line on the other side.


Here's the before and after. 

This operation is tricky - the dowel is only 1/12" diameter.

Wednesday, September 17, 2025

Estes LTV Scout, Build, Part 13, Tunnel Gluing


Much like the tunnels on the Saturn V build - 

The tunnel ends fit better when sanded to a small angle. 


The tunnel ends on the adapters aren't molded at a 90 degree angle.

This shows a good fit. Not all the conduit ends were as tight!
The tunnel at the bottom has been glued and taped in place.

The upper tunnel position shows had the filler/primer scraped off just inside the pencil lines.


The wood used to make the tunnels is prone to split. I had it happen a few times when cutting to size.


Tuesday, September 16, 2025

Estes LTV Scout, Build, Part 12, Tunnel Marking


GOTCHA: The three tube marking guides didn't meet up when wrapped around the tubes.


The tunnels were taped down to scrap cardboard and sprayed with filler/primer. It's much easier to seal and fill these off the model.

The instructions have you cut the tunnels to length before gluing them on the model.

I'd recommend cutting the length 1/8" oversize and sanding the ends to size. You'll get a tighter, cleaner fit.

Also - Apply the glue to the underside of the tunnel, not glue on the body tube. Apply a glue line, wipe off excess and press in place. You'll have more control and less squeeze out of the glue on the sides of the tunnels.

Marking the payload tube is a bit confusing.
The tunnels are to the right of and just below the raised triangle shape in the upper adapter.

Enlarge the picture to see the pencil lines.

Wednesday, September 10, 2025

Estes LTV Scout, Build, Part 6, Those Conduits (Tunnels)


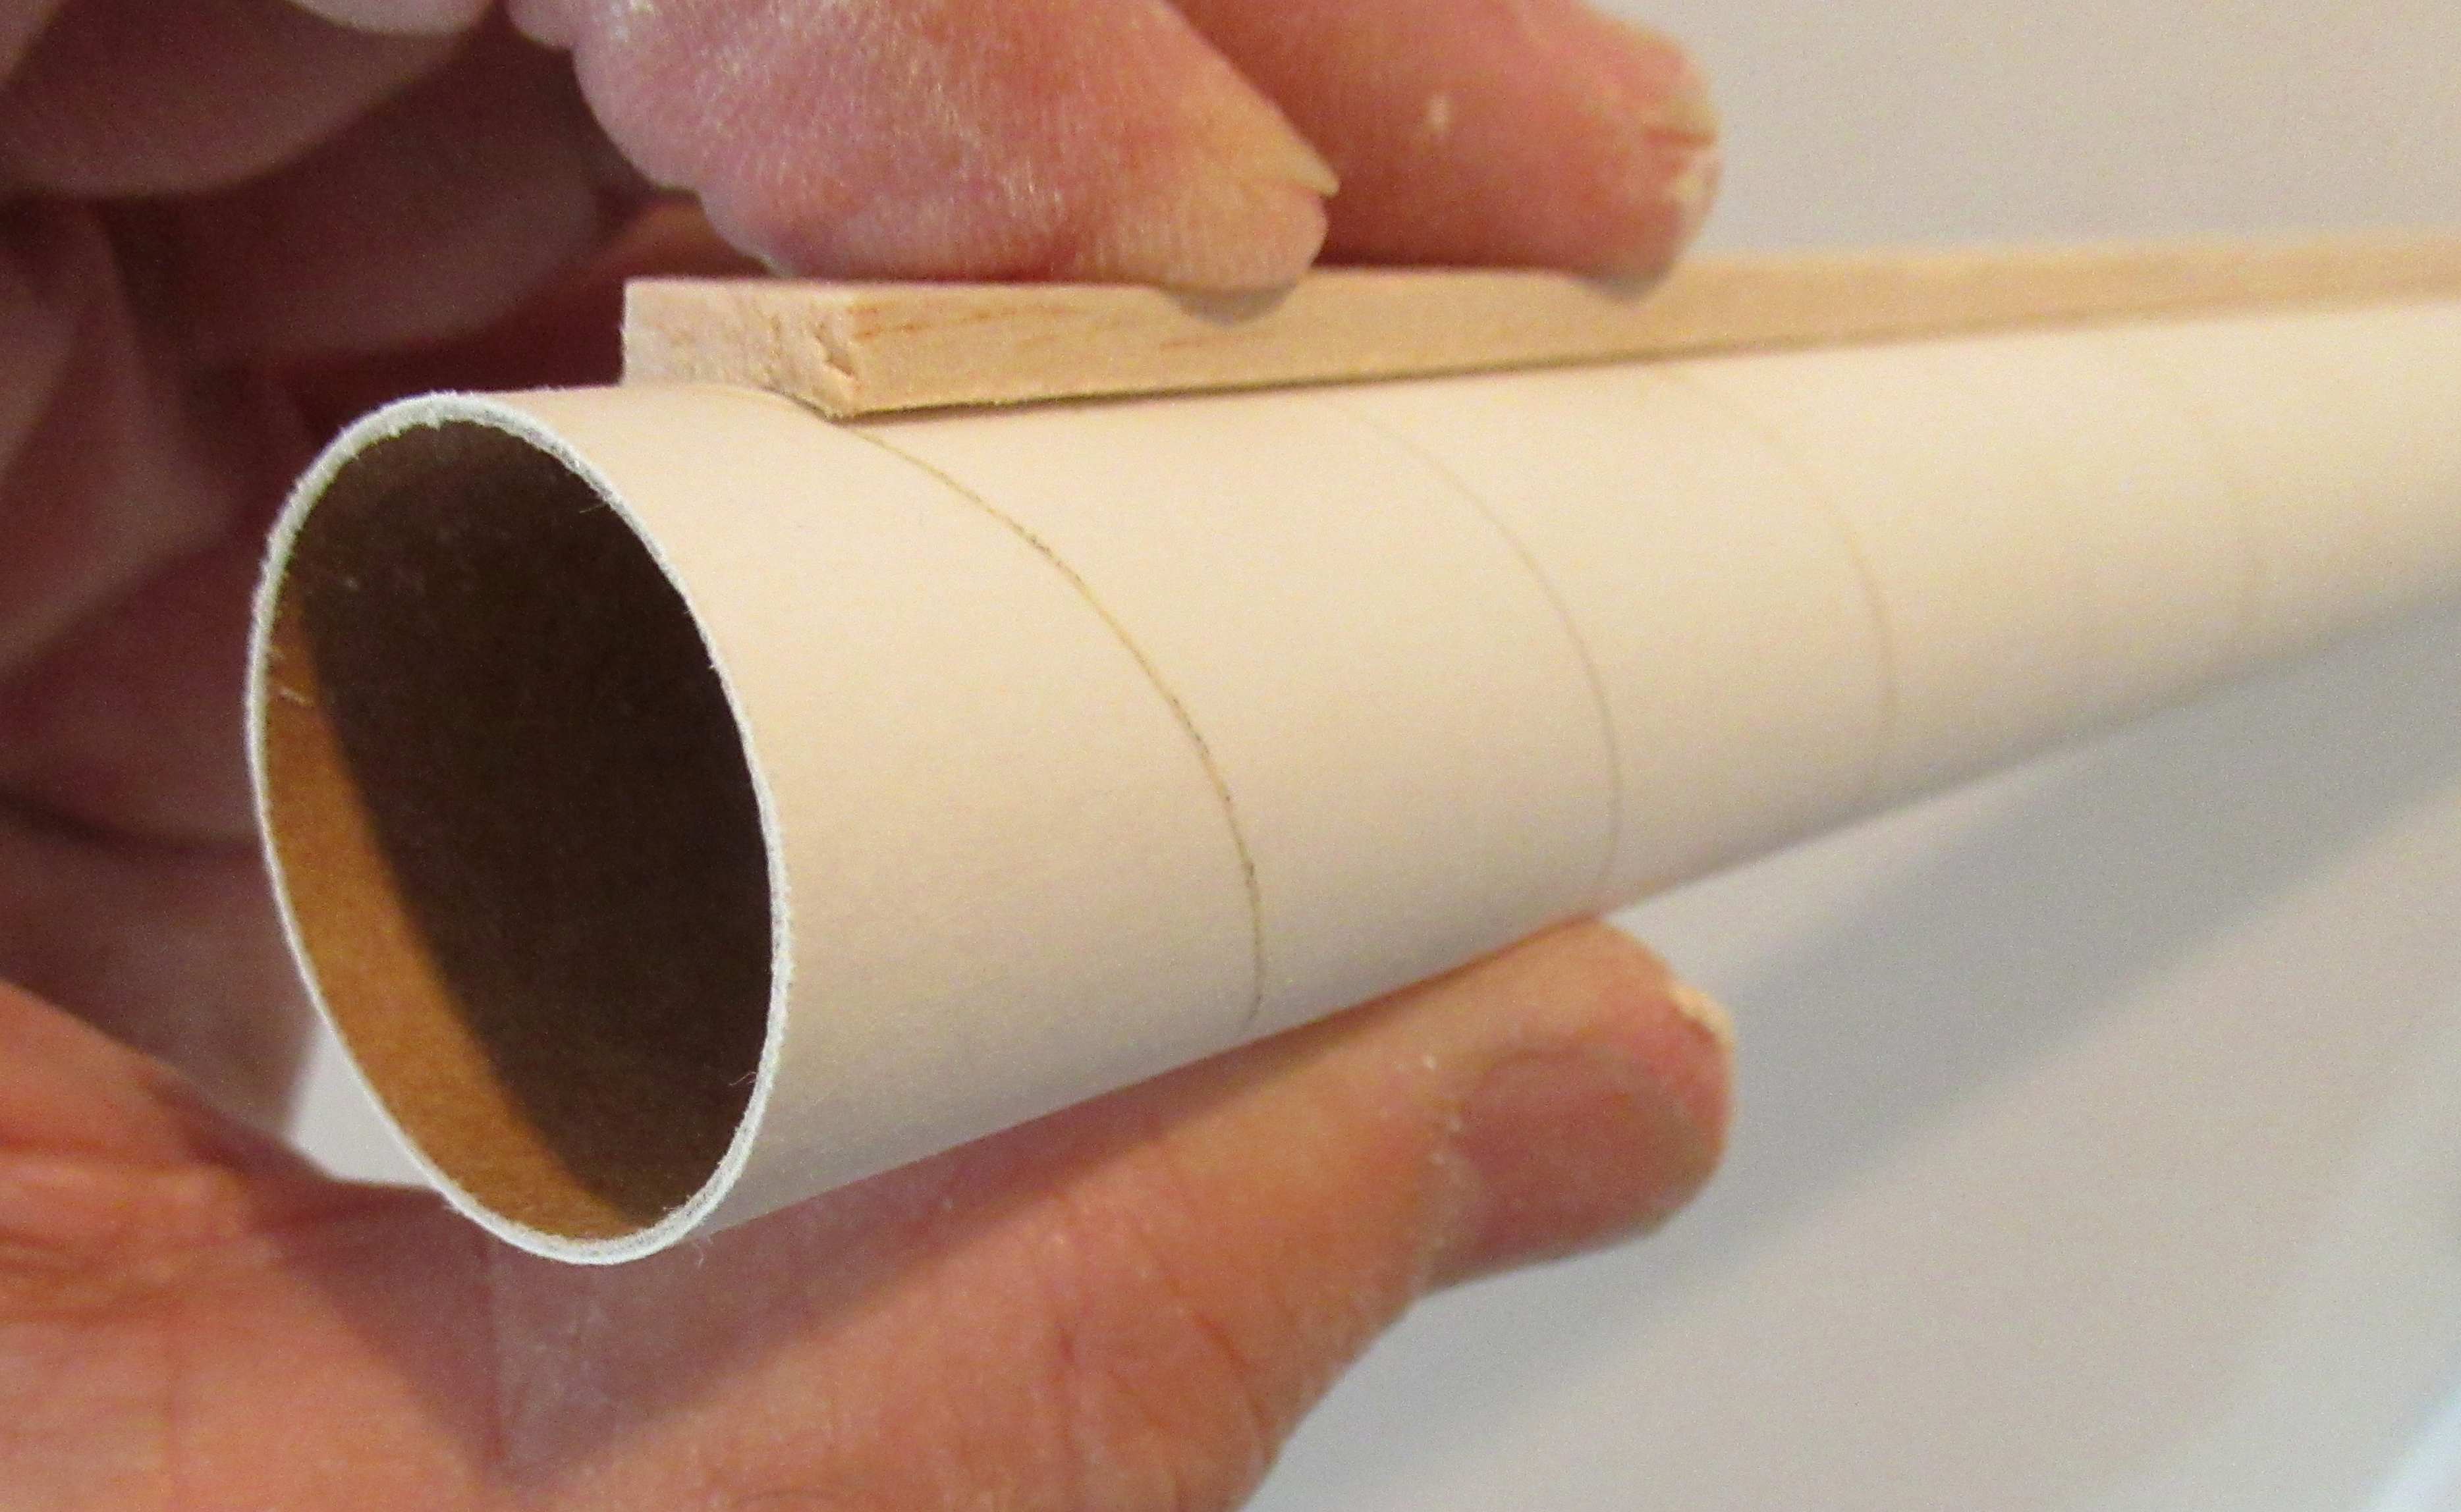
I did a dry fit (no glue) to see how the wood tunnels fit against the molded ends.
They were a little higher than the top of the adapter plastic.

The top was take down with 220 grit on a block.
I still left it a hair high to follow up with the next step.

These tunnels are about 1/4" wide, that could leave a gap against the curvature of the tube.


I wrapped some 220 grit around a 3/4" wide dowel and sanded a slight curve into the flat bottom of the tunnel.

This dip running along the bottom will fit the tube better and also lower the top so it will better match the molded tunnel ends in the adapters.

Tuesday, September 9, 2025

Estes LTV Scout, Build, Part 5, Those Conduits (Tunnels)


Here's how the instructions have you cut and separate the wood conduits.
A difficult task, cutting at an angle using a strait edge and knife.

I cut the first tunnel out, then changed my method.


After trying to sand the sides at an angle, the first conduit didn't seem wide enough for smooth transition meeting against the molded plastic conduit ends.

I ran a pencil down the trenches. I cut the tunnels apart setting the blade centered between the two pencil lines.


On the left is the tunnel end showing the sides extension.

On the left is the before and after. A sanding block with 220 grit smoothed out the sides. Follow with 400 grit.

Thursday, August 21, 2025

Centuri Skylab Build, #KB-4, Part 17, The Shroud Tunnel

The shroud seam was scraped and sanded to lower the tab area.

TIP: Plan ahead where the shroud seam will be. You should consider where and how the tall UNITED STATES decal will be placed. I tried to follow the instruction illustrations but with where my shroud seam is, the decals won't end up like the face card picture.
Line up the shroud seam, in line with one of the large, square fins.

The instructions are vague regarding the shroud seam. The instructions do say to cover the shroud seam with a wood tunnel. 


It's a little tricky getting the angled tunnel joint to match up.


I'd recommend using a sanding block to keep the tunnel end tapers consistent.


After a few tries, the tunnel joint is about as close as I could get.

I'll still add some CWF filler to the joint crack.

Sunday, June 15, 2025

Estes AMRAAM AIM-120 Downscale, Build, Part 5, Making The Conduit


Here's a blow-up of the front of the tunnel.

The tunnel shape is flatter than I thought, not just a half circle.


Here's what I came up with, as close to the front taper as I could make it.


This is the back end and will be even with the end of the tube.

The small inset picture shows the cross section shape.

Saturday, June 14, 2025

Estes AMRAAM AIM-120 Downscale, Build, Part 4, Making The Conduit

Blowing up the Alway drawing in Corel Draw - I came up with the dimensions for the long conduit tunnel.

Tunnel dimensions:
11.75" long
.130” high x x .40 wide

I used the online picture to get a better idea of the shape.


The tunnel is wide and won't have a good fit over the round tube.


I rolled some 320 grit sandpaper around the tube.
Using straight back and forth movements, a curvature was sanded into the bottom.


Here's a better fit.
Any gap will be filled with a glue fillet.

Thursday, October 3, 2024

Enerjet by Aerotech, Arreauxbee-Hi, Part 12, Upper Channel Tunnels


The upper channels pieces are cut to 10" long. 
Again, I cut mine a little longer to 10 1/16".


The upper end was set down 10" from the bottom of the upper tube. This left 1/16" overhanging the bottom of the tube.

The extended tunnel ends were sanded to the bottom of the upper tube as before.
This leaves a tight butt joint of the two tunnel pieces.

The tops and sides were sanded to match the sides of the lower tunnels.


The tunnel ends got a shot of filler/primer, directing it at the tunnel ends.

After sanding a bit, I was left with a good joint.