Showing posts with label Templates. Show all posts

Sunday, December 1, 2024

Enerjet by Aerotech Strong Arm Build, Part 23, Final Stickers


I'm building three of the Strong Arm kits for Aerotech and wanted consistency in the models.

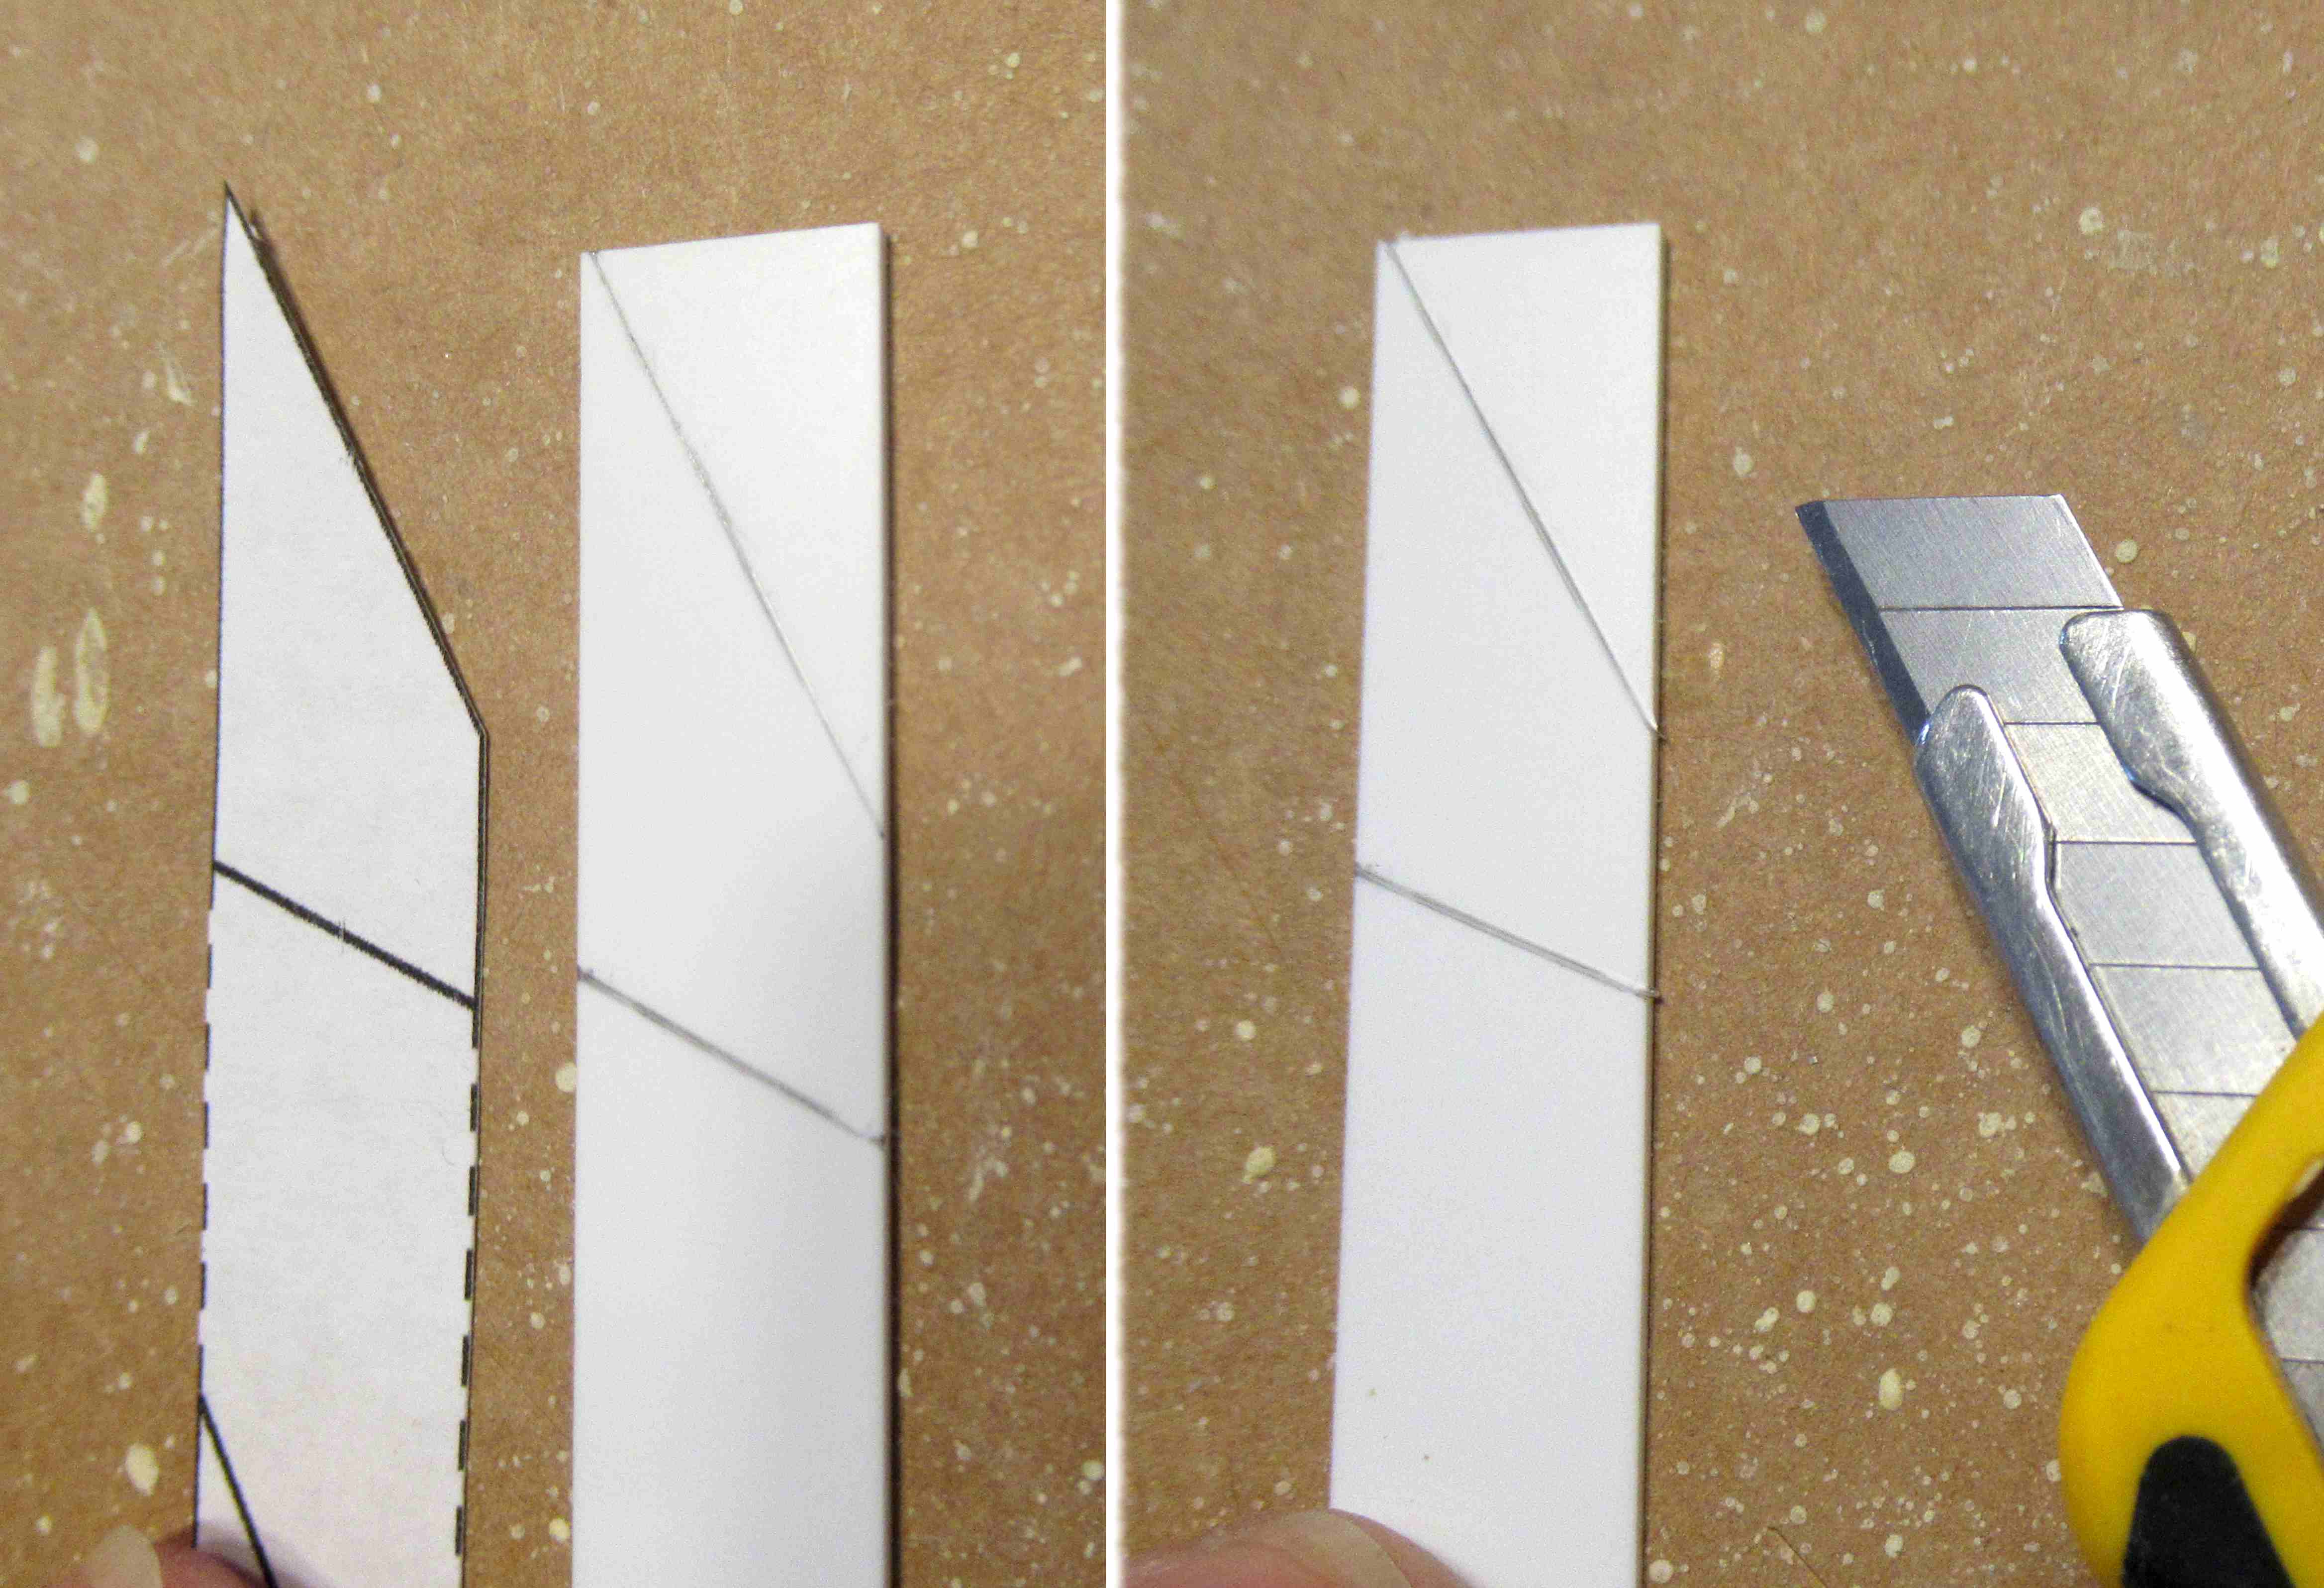
I made a template out of cardstock.
Trace around one of the fins.

With the backing still on, set the sticker on the cardstock in a good placement.
Draw around the sticker border and cut out the square.


This is another wet sticker placement.
Set the sticker on the fin, lay the template over the fin and check the sticker position.

Lift and replace until it is centered in the cut out "window".
These dots or screw stickers were included but there is no reference of the placement. I decided to leave them off the rocket.

Placing the stickers takes time!
I counted 66 stickers on each model!

Saturday, November 30, 2024

Enerjet by Aerotech Strong Arm Build, Part 22, Small Stickers


There are a LOT of small stickers
Thin strips can slide while cutting using a metal ruler. Make the cuts carefully.


I'd recommend keeping the small stickers in zip lock bags. 
I was being careful and one fell off the workbench. I had to scour the floor to find it.


The RADOME stickers are spaced 90 degrees around the top of the tube.
I reused the placement guide to evenly place these stickers.

Thursday, November 28, 2024

Enerjet by Aerotech Strong Arm Build, Part 21, Body Stripes

I wrapped a piece of cardstock around the body tube to use as an edge guide for the body wrap strips.
If you've ever tried to get a stripe to meet up after wrapping it around a body tube, you'll appreciate a cardstock guide.

For a cleaner look, start and finish the strip over the launch lugs.

I read these colored stripes designate if a missile is a dummy or armed. 


Tape the guide edge in place, 
Wet the body tube where the stripe will go,

Peel off the backing, dip the strip in some water and leave wet.

As I rolled the stripe around the the tube, I would dip my finger in some water and wipe it under the thin sticker.


Here's the lowest stripe.

Notice the overlap, again centered over the launch lug side. Hiding the overlap joint makes for better pictures on the launcher.

The longer yellow and black stripes go all the way around the tube.
The shorter red, gray and black stripes fit between the dorsal vanes.

These are a little tougher to place, you'll want all separate four segments in line.
For a guide, I placed strips of masking tape on all four sides. I could visually align the stickers against the masking tape strips. 
The red and gray strips are longer than needed. Set one end against a vane side, trim the overhang off the other side with a razor blade.

Wednesday, November 27, 2024

Enerjet by Aerotech Strong Arm Build, Part 20, Placing The Fin Stripes


Cut a strip of cardstock 15/16" tall.

Set the strip edge into the fin/tube root edge joint.

The strip side is set against the top edge of the cardstock. 

Notice the rear edge overhangs the trailing edge. 
While the front edge of the sticker matches the angle of the leading edge, the trailing doesn't quite match. 

Leave some overhang and it can be trimmed off after the set sticker dries.


Recess the from edge of the sticker very slightly.
No reason to let it overhang. You want good adhesion without rolling it over the leading edge.

Wednesday, October 30, 2024

Enerjet by Aerotech, Arreauxbee-Hi, Part 20, Fin Sticker Placement

If you can, try not to touch the adhesive side of the stickers.
Fingerprints can show under the sticker. I pick up and position them while stuck to the tip of my knife blade.

Before using your knife for this, wipe off and clean the blade. You want to keep the sticky side clean. 


After the backing is peeled off, 
Dip the sticker in water. This allows re-positioning on the fins. Before setting the sticker onto the fin, wet the fin where the sticker will go.


The sticker on the fin. The template window is used to check the position, centering and horizontal alignment.

This is the same method I used when placing decals on the Saturn V fins.


Here's another AT-022 sticker on the other side of the fin.

Work out the excess water using a Q-tip, rolling out the water and air from the center out to the sides.

Tuesday, October 29, 2024

Enerjet by Aerotech, Arreauxbee-Hi, Part 19, Fin Sticker Template


The AT-022 fin stickers go on both sides of the three fins. Make a template out of cardstock so all the stickers will be aligned.

It's hard to see with the white on white - 
There is some cardstock behind the fin. Set the left straight side of the cardstock into the root edge.

Trace around the fin with a pencil


Here's that cardstock tracing with a sticker window cut out.
The cut out window position is approximate using the box photos.

Lay a piece of clear Scotch tape over the window and cut out the window. You can see it if the pic is enlarged.
The sticker will be dipped in water to allow repositioning. The Scotch tape window border will prevent the excess water from soaking into the cardstock.


Here's how the window fits the AT-022 sticker. 

The bottom trailing edge has been cut off the template for easier alignment on the trailing edge of the fin.

The template can be flipped over and used on both sides of the fins.

Friday, September 6, 2024

Enerjet by Aerotech, Astrobee D Build, Part 28, Main Body Decals


Where you can, cut the decals close to the ink like on the "B" Aerojet General and "C" S/G stickers. 
The sticker thickness and clear border won't be as noticeable after spraying on the dull coat.

The long name decal is cut just outside the top and bottom ink.

The long ASTROBEE D ADD 010 decal is not at scale length. You can't set it at the 21.5" measurement from the rear and be able to cut it through the center of the B in Astrobee.
I set mine to be cut down the clear stencil line opening.

Wet the decal after peeling off the backing. Wet the body tube where the decal will sit for easier repositioning.


The C/G decal is set directly below the vertical line on the "D".

Thursday, September 5, 2024

Enerjet by Aerotech, Astrobee D Build, Part 27, Setting The Screw Stickers

Note: These are not water slide decals but peel and stick. 
I rub some water onto the body tube while the sticker sits on my knife edge in a bowl of water. The water doesn't let the sticker initially grab and allows for repositioning.  

The start / finish joint of the screw strips didn't end up perfectly spaced. The start / finish of the strip is in line with the launch lug and on the back side of the model whether on display or on the launcher.


The screw lines are in place,
Now tackle the screw plates and valve sticker.

The template is slid down while still lined up with fin "A".

The piece of tape has pencil marks for alignment of the sides. The low edge of the tape is the top of the sticker position.


Here's all the upper stickers in place.

When the glossy stickers are all in position, the shiny paint and stickers will get a shot of clear dull coat.

Wednesday, September 4, 2024

Enerjet by Aerotech, Astrobee D Build, Part 26, Ready For The Screw Stickers

There is a choice of the "Flight" version with screw heads around the upper section or
The "Launch" version has the self adhesive aluminum band and forward lug.

These pictures will show the Flight version with the three bands of screws. The Launch version will follow. 

You are supplied with a wrap around sticker placement guide for the Flight version.


Note the spacing, how close the screws are to the color separation line. Refer the guide and cut the clear border spacing closer or farther from the outside edge of the printed screws. 

The wrap around placement template almost made it around the tube. Not a perfect match.

Pick one of the fins as the "A" alignment fin, opposite the launch lug. It won't be exactly opposite the launch lug because the "ASTROBEE D ADD 010" sticker is directly above the leading edge of the "A" reference fin, not centered between two fins. There is a "A" line on the upper screw placement template. Be sure the launch lugs aren't in line with the upper antenna housings.
Getting ready to place the line of screws towards the top right.

I slid the template up or down to set the screw strips while being sure the "A" fin is in alignment with the placement guide.

Thursday, October 6, 2022

Estes Solar Sailer II, Kit # 2044, Step 1, Drawing Up Templates & Decals


There are templates and decals on the oldrocketplanss.com  website: CLICK HERE 
But, there is no size reference to check your finished prints.

So, this leads to some detective work.
The lower BT-50 tube is 6.5" long. The low end of the fin is glued 3/4" from the back end of the tube. The front end of the dowel is even with the front of the tube. That leaves the assembled lower fin root edge at 5.75" long.

The online drawing was adjusted and double checked to be 5.75" long.
The online decals didn't have sharp edges. There was light blue background from the decal sheet.

Home print decals on a white painted body don't always work. Black printer ink isn't a full opaque black. Black decals sometimes end up looking a very dark gray.

I looked through a hundred online fonts but couldn't find an exact match for the Solar Sailer II logo decal. One font called Arista was close. I made some adjustments to the lower case "e". 

This shows the first decal drawing. Adjustments were made after transferring some decals onto the model.

The templates and decal PDFs are available to Patreon supporters. 
Email me at oddlrockets@bellsouth.net and ask for the Solar Sailer II decal.

PARTS LIST: Note the Estes kits didn't include an engine block
BT-20  18” long
BT-50  12.7” long
BT-50   6.5” long
BNC-50J   Nose Cone
1/16" thick Balsa stock
1/8” Dowel    18” long
(2) Two 1/8” x 1.25” Launch Lugs 
(4) Four 20/50 Centering Rings
2.75” long Engine Hook
Parachute pack 18” diameter
36" long elastic Shock Cord
(Add) 18mm Engine Block

Thursday, September 29, 2022

Estes Space Shuttle Columbia Build #1385, Part 18, A Trim Decal Try


I knew this nose cone curve could be a problem.
Well, let's fix it.

On the left you can see the overspray.
Some light knife scraping and some white touch up paint gave me a sharper edge.


The rudder mask was okay. This picture was before I did some brush touchups.

That gray discoloration smudge is some Sharpie ink that was rubbed onto the white paint. A few passes with a Magic Eraser Sponge cleaned it up.

There is some gray trim underneath the wing leading edge. 
I did not want to go through an entire mask again!

I tried a cheat which didn't work out this time. I sprayed some gray paint on a white decal sheet to make a trimmable water slide. 


Paper was set under the wing edge to get a good pencil tracing.


I added onto the width, made some straight cuts and a curve on the back end. 

This will be the template for cutting out the decals.

Saturday, September 3, 2022

ASP Micro Sandia Sandhawk Build, Part 2, Cutting Out The Fins


Here's a page of the instructions. 
I held the page up to a window to allow sunlight to show through both sides of the page.
Note how ASP has no print on the backside of the paper of the fin template and body tube marking guide. 

Thanks ASP! You can cut out the guides without cutting up the instruction copy. 


The fin template is set over the flat plastic fin material.


Here's the first tracing.
You don't need space between the fins as drawn on the template.

Check the next blog post to see what I mean.

Friday, May 13, 2022

New Way Mars Snooper II, Build, Part 17, Decals


These decals are different - all white ink.

The MARS SNOOPER name decal is shown in the pictures reading "down". I prefer name decals to be reading up.

The diagonal lines are tricky to center.

For consistency from fin to fin, I made a tracing template and drew a center line. Holes were punched at the ends to see the line decals underneath.

While I did use my eyes for alignment, I could double check the lines with the punched template.


Look down the centerline of the fins to be sure the lines are straight.


Smaller lines go up on the outside fins.

Friday, February 11, 2022

Quest/Enerjet Minotaur Q5015 Build, Part 7, SRB Sticker Placement


I wish this instruction sticker placement drawing was full size. You don't have any measurements to place the ring wraps. 
I enlarged the instruction drawing to fit the length of the BT-20 SRB tube. The inset picture shows a full-size drawing I made so I could place the bands consistently through all the six SRB tubes. Set the SRBs over the upper line drawing, use the extended lines to set the wrap around sticker lines. 

PATREON: If you are a blog supporter through Patreon, I can send you this PDF to make your Minotaur build easier. A new revision now includes the SRB number positions. 
Email me at oddlrockets@bellsouth.net and ask for the Minotaur SRB Template.


Here's how some of the horizontal bands lay using the template. 
That masking tape strip marks the main airframe glue line later on.


At the bottom of the PDF is a tube wrap so you can center the box on the top of the body tube.
Center on side of the wrap over the tape strip, the mark on the other side of the wrap gives you a center for the top box or low number sticker. The center wrap shown here is rough because of water from the sticker placement.

Saturday, October 2, 2021

Estes Super Mars Snooper #7309, Build Part 21, Decals


I made a decal positioning template for the number decals that center on the fins.
Using a cut-out template like this assures all the decal placements are consistent. 


Somebody on a forum made a comment about this being an "ugly" decal. It's actually an original  design from the old Estes #2 Kit Name Decal sheet. 
You can almost make out the image on page 65 of the 1966 catalog: CLICK HERE

The decals are thin - 
Transfer and spread out the left side, the widest part of the decal - then continue on to the right.


You have a choice of the newer Estes logo decal or the older generic ESTES name decal.


As I was using the older "Mars Snooper" decal, I went with the older Estes logo.

Here's how I set the three decals.
A simple rectangle set the height at 7/8" from the top of the uppermost shroud.