Showing posts with label Rebuild. Show all posts

Sunday, January 24, 2016

The BIG FIX, Alway Saturn IV, Part 2


When exposed to the elements, you can see how the BT-5 tubes re-shaped the BT-60 lower fin can tube.
Wood glue was dripped down the sides where the tube cluster would make contact.
More glue was added to the bottoms of the BT-5 tubes before it was slid together.


Good thing I remembered there were two launch lugs!
A launch rod was slid between the upper and lower sections to insure all was lined up.


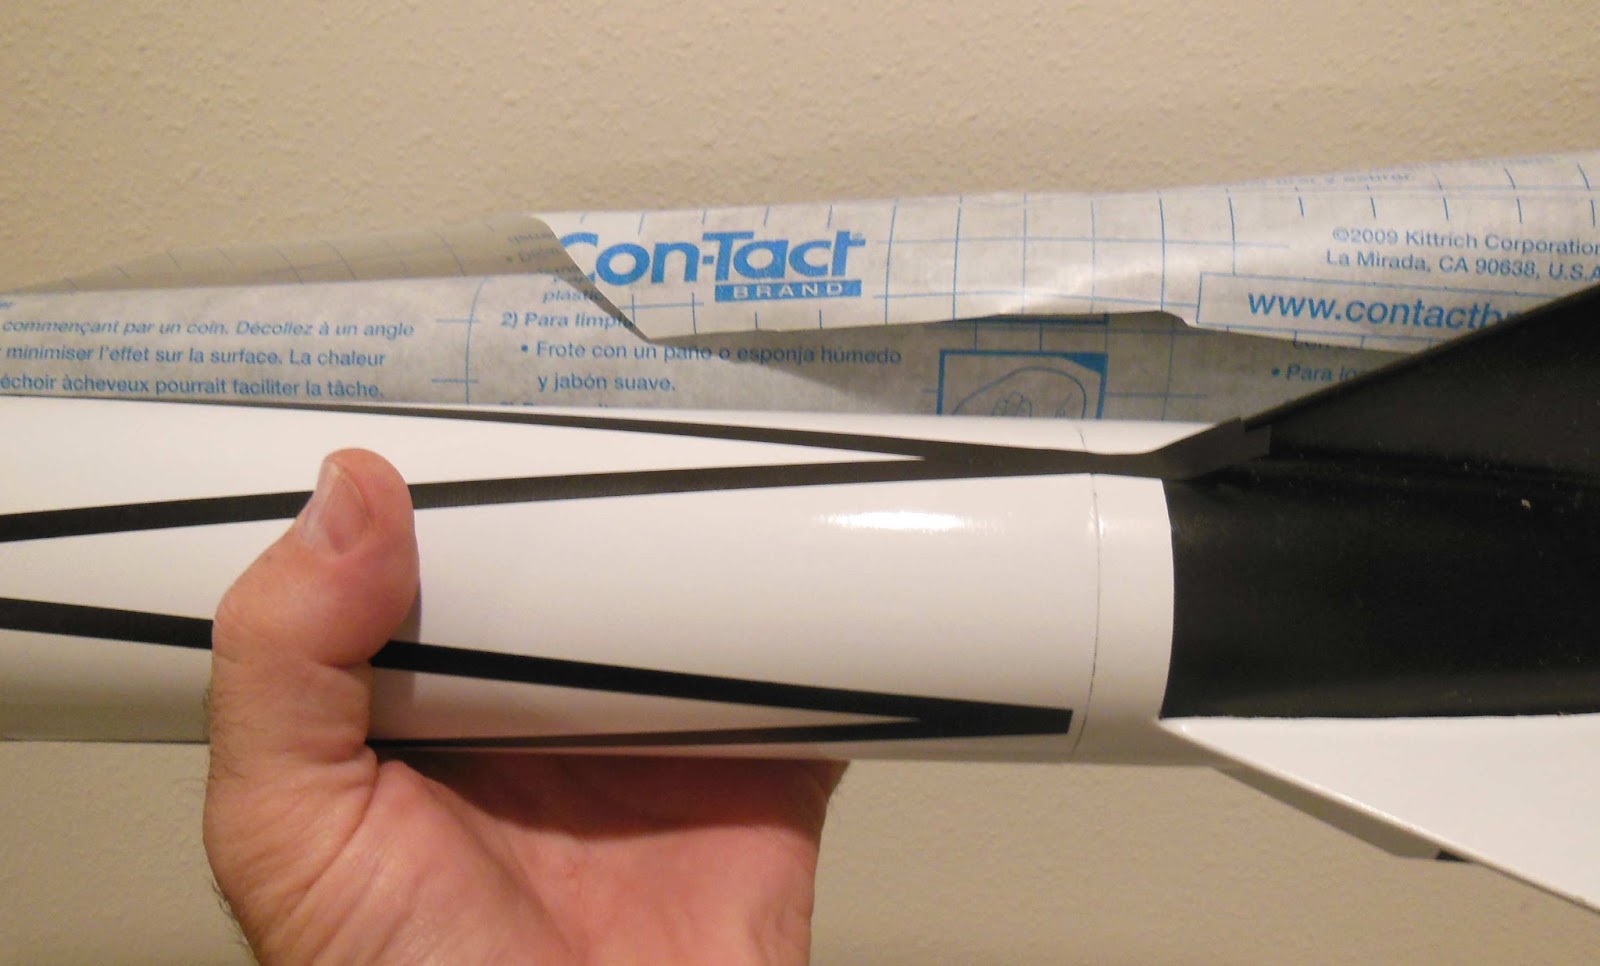
Here's the rebuilt model.
I didn't re-install an engine hook. The tube extends out the back enough for a tape wrap extension.

Replacement decals were printed but I haven't decided if they will be added. I probably won't add all the nose cone details.

Sometimes a rebuild requires re-finishing to look brand new.
Sometimes a rebuilt model has deserved its scars.

Saturday, May 16, 2015

The Big Fix, Estes V2 Fix Part 6, Fin Fill, Level Mask

A little right and up from the center of the fin is a white Squadron Putty fill.
There were two small, shallow dents in the fin. I knew that regular water-based wood filler wouldn't stay in the shallow area when sanded down.
The solvent in the Squadron Putty cut into the white paint and held!
I'm now a big fan of this filler putty.


The flaps were slightly longer than the trailing edge of the fins.
This was on purpose so they could be sanded down to the fins already on the model.

The four sided fingernail file is perfect for shaping like this.


The lower section got another coat of white and some final fine sanding.
Here's the mask using Scotch tape, tan masking tape and grocery bags for the large areas.


The V2 low end got two coats of black paint.

TIP: The BT-70 tube fits perfectly over the top of the Rusto 2x paint can making it a good stand for drying.

Friday, May 15, 2015

The Big Fix, Estes V2 Fix Part 5, Rudder Replacement


Two of the rudders were still on the model after it was taken down from the tree. This told me they weren't glued on as well as I thought.

Two more were cut out, filled sanded and painted.


I still needed a small space around the joint. A card stock strip was cut and glued in place so the rudder would be raised away from the recess.

A small hole was drilled for a cut off pin.
Half the pin is glued into the rudder and the other half into the fin.

Be sure to drill straight. I got off center and punched a hole through the side of a fin.


Here you can see the holes drilled in the fin and rudder.

Each fin and rudder were marked for best fit.
It's easy to get the mixed up.


The cut off pin was glued into the fin and the rudder set over then pin.

A few adjustments had to be made so the rudder fit straight in the recess.

Thursday, May 14, 2015

The Big Fix, Estes V2 Fix Part 4 Fin Repair


The leading edge of one fin was chipped out.
(I probably should have fixed this before I did the black stripes in the last post.)
You could use CWF to fill the void if it were smaller.
I have to replace the leading edge with hard balsa.

You could never fill the chipped area with an exact shaped piece.
I removed a full rectangle of wood.
A replacement piece was cut just a little taller than needed so the leading edge could be sanded even after the glued dried.


The fill piece was sanded to the leading edge, filled and primed.
It's ready for a shot of black.

Wednesday, May 13, 2015

The Big Fix, Estes V2 Fix Part 3, Lug Replacement


A filled and finished white launch lug was cut in two.
A razor blade was rolled over the lug while it was slipped over a dowel for support.


The paint was scraped off at the lug locations.
With the paint removed down to the tube you'll get better adhesion.

Tuesday, May 12, 2015

The Big Fix, Estes V2 Fix Part 2 New Tube and Roll Pattern Stripes


The replacement BT-80 tube was cut to size.
The seams were filled, the tube primed and sanded.
White paint followed.


The tube was epoxied to the engine mount and fin can assembly.


Stripes were cut from the Contact paper blackboard covering.
In the picture the lower stripes were trimmed, the upper strips meeting the black fin have yet to be trimmed.

Monday, May 11, 2015

The Big Fix, Estes V2 Fix Part 1 Removing the Body Tube

My V2 sat in a tree for weeks after a Orlando R.O.C.K. in November, 2012 .
While I gave it up for lost, some club members came back and somehow got it down from the tree!
The fins, tail cone and nose cone were in pretty good shape. The body tube needed replacement and other repairs were needed.


The BT-80 tube is 7 5/8" long.
I picked up some BT-80 tube from JonRocket.com

The lower vinyl strip was peeled off showing the top shoulder of the tail cone.

I have to remove the tube section between the tail cone, keeping the centering rings intact.
Go slow - on a repair like this sometimes you forget what's under the body tube.

I made light cuts and carefully peeled away the tube.


I forgot where the upper centering ring was.
The epoxy fillets had held pretty well.

The tube was easily peeled away from the tail cone shoulder.


Here's the engine mount and tail cone ready for a new body tube.

Tuesday, June 4, 2013

Big Girtha Rebuild Part 9 Engine Mount


Cut out the circles as best you can with a sharp knife.


You can sand to the edges of the inside engine blocks using 220 grit on a dowel or back end of a Sharpie.

Here's the finished mount - no chance of the ejection charge blowing out the back.

The two engine mount tubes fit close to the inside walls of the Quest 40mm tubing. Ideally you should have a second lower centering ring but the fit is close enough it might not be needed.

Big Girtha Rebuild Part 8 Engine Mount


On of the Big Betty 18mm centering rings was glued to the top of the two engine tubes. The engine blocks and tube ends were sanded flat for a better glue bond.
Those holes in the top center will have to be filled or the ejection charge would exit out the rear.
Using the second centering ring, a circle was drawn on scrap mat board.
The two crescent shaped cuts were made using an engine block.

I had to cut two filler pieces before I got it right.
To fit, the outside circle ended up cut outside the pencil line.
The filler piece was glued in place.


Use the inside of the engine block to mark a pencil circle.

The rest of the circles are cut out to allow more of the ejection to pass through.

Monday, June 3, 2013

Big Girtha Rebuild Part 7 Engine Mount


I rarely use the yellow or blue engine mount tubes supplied in kits. They are usually too thin.

The two substituted ST-7 engine mount tubes fit pretty well, side by side in the Big Betty's 40mm tube.
Test fit both to check the engine hook movement. I turned them in to the center a bit for more clearance.

A line was drawn down the engine tubes to make sure the hooks were in the right alignment.

Draw the lines over the top and bottom for easier reference when glued together.

The tubes wouldn't sit close with the electrical tape wraps.
Strips of card stock were glued down the lines to make the sides even for better gluing.

Big Girtha Build Part 6 Papering Fins


If the edges don't sand easily and fold over, chances are they aren't  glued down. Slip a little white glue underneath the raised paper and spread with a blade.
Before filling the edges be sure the bottom trailing tips are square.
When the model is finished you'll want all four fins to sit flat on the table.

To check the bottom edge I used a CD case, it's square and handy.
Here the root edge is facing up flush with the CD case side. The trailing tip is to the right against a sanding block.

Enlarge the picture and you can see one side of the trailing edge is higher than the other side.
Sand down the high side until all is square against the sanding block.

After the trailing tip was sanded square, the exposed balsa edges were filled with CWF.

Brush just the open balsa grain.
If any CWF gets on the flat sides, wipe it off before it dries. (See inset)

Don't sand the paper covered surfaces. That'll just "fuzz" up the paper and make for more sanding after priming.

Sunday, June 2, 2013

Big Girtha Rebuild Part 5 Papering Fins


Cut the fin covering paper closer to the fins but don't get too close to the balsa edges.
Let the fins dry overnight in a heavy book before trimming.

You could use a sharp knife to trim the fins but I used scissors.
Careful - It's easy to cut too close and take off some balsa.


On the top is a trimmed new Big Girtha fin.
After trimming close, CA was applied with a Q-tip. This hardens up the edges and makes the last of the paper overlap easier to sand off.
Don't put CA on the root edge! A CA sealed edge won't accept white glue as well.


The bottom inset picture is one of the older Big Girtha fins.
I didn't fill the balsa grain before covering on the first build. You can see some of the grain showing through on the reflected area.

In the end, the leading edge is rounded, all the other edges are square.
The exposed balsa edges will need to be filled and sanded smooth.

Big Girtha Rebuild Part 4 Papering Fins


Work on the rounded edge first without letting the flat sides down on the balsa surface yet.

Pinch and pull the paper down over the rounded edge. Concentrate on the leading edge first or you could get a wrinkle you can't smooth out later.


The smooth barrel of a Sharpie pen was used to be sure the leading edge is adhered well.


Now smooth down the sides working from the leading edge down to the trailing edge.

Saturday, June 1, 2013

Big Girtha Rebuild Part 3 Papering Fins

The first Big Girtha had paper covered fins. You could see some of the balsa grain through the paper cover.
On this rebuild one coat of CWF was brushed on and sanded off before paper was applied.


Only the leading edge of the fins was rounded.
The 20 lb. copy paper covering was cut so it would lay and "roll over" the leading edge.
The leading edge of the fin is at the center.


A rounded fold was pressed into the paper in the heel of my hand.

The goal is to make a very smooth wrap over the leading edge. Don't make a sharp fold, use the rounded edge of the fin to make a gentle crease.
 I adhered the paper on the first Girtha with white glue.
The paper got wrinkled and was hard to work with.

Lately I've been using glue sticks with great results.
Lay down an even coat. If there are any blobs of glue it will show as a lump later on.
One great thing about the glue sticks, you can lay down an even coat and have some working time before it sets up.

Friday, May 31, 2013

Big Girtha Rebuild Part 2 Fins


The Big Girtha fins were more of a Big Bertha shape.
The kit fins were used but needed a little more on the leading edge to match the shape of the original Girtha.


There was enough kit balsa to add to the leading edge.
A fourth fin was cut out.

The Big Bertha has four 1/8" thick fins, the Big Betty's three fins are 3/32" thick.


All four fins were pinned together and sanded to the same size on a block with 220 grit.

These fins will be covered with copy paper like my first Girtha.

Thursday, May 30, 2013

Big Girtha Rebuild Part 1 Parts


To rebuild the Big Girtha I'll be using parts from a Quest Big Betty kit bought on Ebay.

This kit is older, most all the parts are great quality.
The die-cut fins were a bit rough, typical of most cut fins when the blades get dull.
The nose cone has minor seams and the white plastic has some streaks in it.
Parts of interest, clockwise from the top:
The stick-on "decal" name is HUGE! I'm not a big fan of the type font.

The shroud lines are pre-cut and very thick.
The "Gripper" shroud line fasteners are die cut Tyvek.
The engine hook is interesting. The upper bend goes over the top of the yellow engine mount tube hooking over the top of the engine block. The engine hook is spring steel and doesn't easily bend.

Big Girtha Autopsy

If you missed the earlier post about my "lost" Big Girtha -
The Big Girtha is a 2 engine cluster Big Bertha built from a Quest Big Betty kit.
At the February Tampa TTRA launch it drifted away after a great boost on two Estes C6-5 engines. I had a video camera taped on and hoped to get a good video. It was found and stored in the TTRA trailer until I made it back to a launch. The camera was gone! I found out Brian U. pulled the camera for safe keeping. I hope to get the camera back soon!
The model was ruined by water, there is some water in the field.
This model is a favorite and I have two Big Betty kits upstairs. Time for a re-build - with as few improvements!

I'm salvaging as much  as I can from the weather worn Big Girtha for the re-build.

The plastic nose cone is fine and will be re-used.

The body tube was cut open.
This is the upper side of the baffle. After four flights you can see what little of the ejection charge got through on the tube walls. While I probably could have used the old baffle, I'll make a new one.


The piece of body tube used for a shock cord mount is still in place and well glued.

The nylon parachute and shock cord are in great shape and will be used again.
The two engine cluster mount had some water damage and the centering rings were de-laminating.
The black electrical tape wraps look like new. If these wraps were brown masking tape they would probably be coming off.

The only thing I can use again are the engine hooks.