Showing posts with label Trim Tape. Show all posts

Sunday, August 24, 2025

Centuri Skylab Build, #KB-4, Part 20, White Trim


I couldn't find 1/16" wide pinstriping tape at the auto supply stores.
I could find it online, but I didn't want to wait.

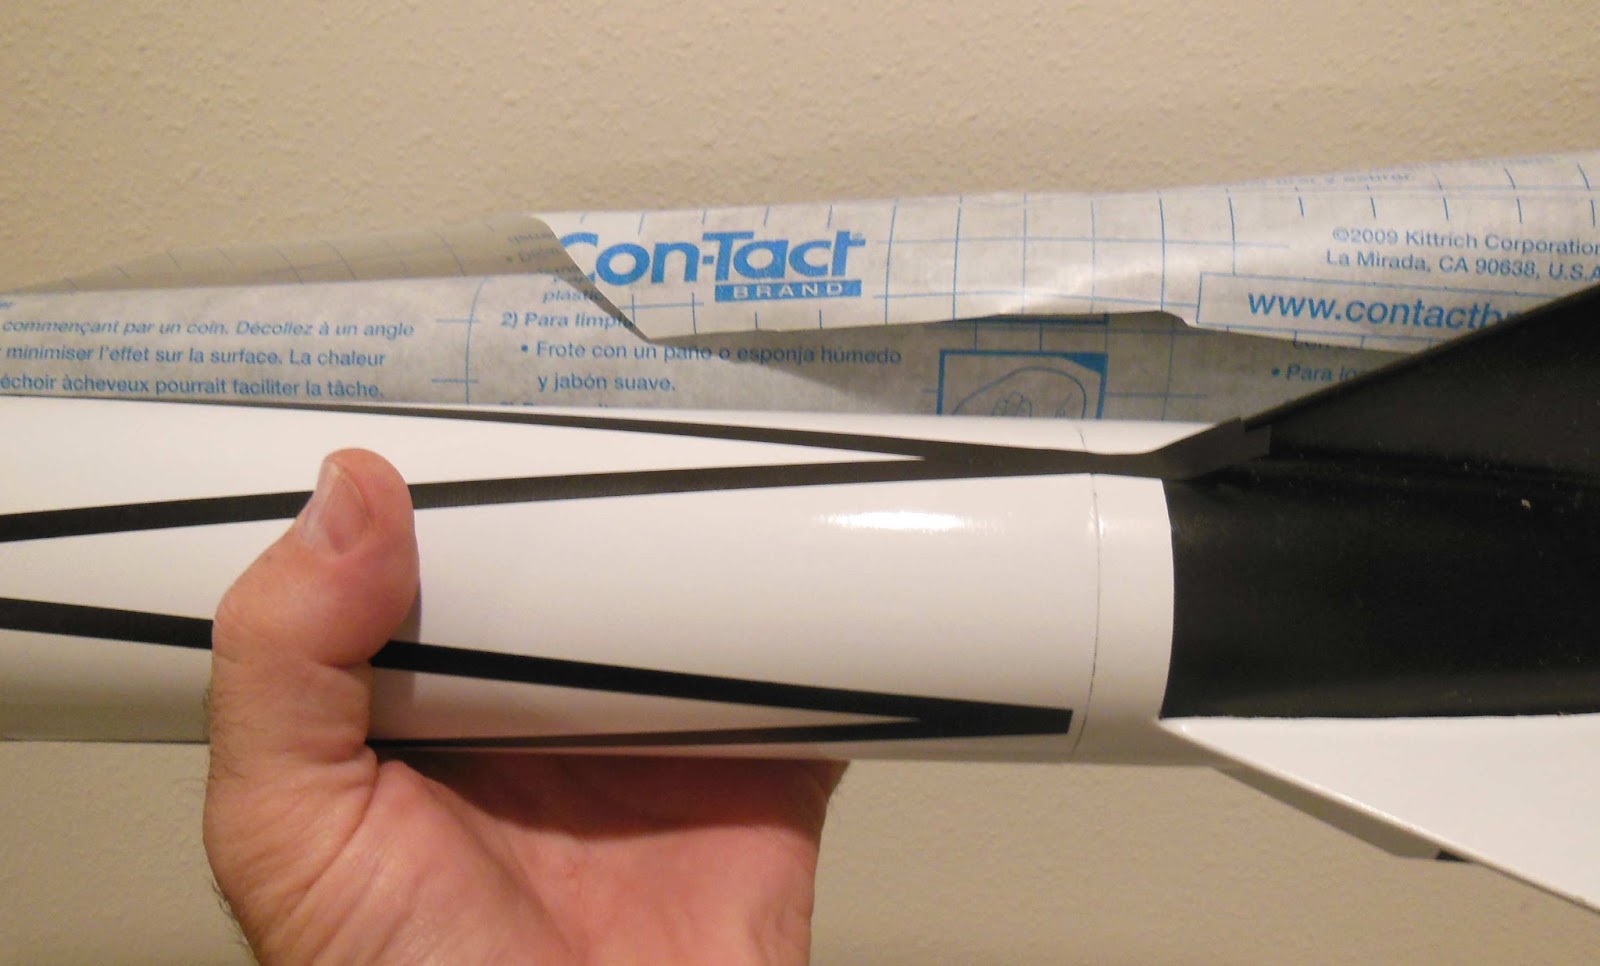
Michael's craft store had peel and stick vinyl in small rolls.


On the left is a closeup of the pod nose cone. You could smooth it out with sandpaper, but I like the extra detail.

The main nose cone picture shows the tie down lug. Whoever did the 3D work made it very strong.

The pods are centered when glued onto the smaller support fins. 
The glue line was scraped and the centers marked for easier placement.


The instructions show 1/16" wide tape strips added for extra details.
On the long upper body tube I'll wait until after the decals are applied. 

It would be difficult to apply decals over the raised tape lines.

Sunday, May 4, 2025

New Way Letter - Go Build, Part 13, Black Tape Strip Trim

The kit supplies some pre-cut black vinyl trim strips.
When applied on the model the black and white paint pattern reminds me of the Wac Corporal.

The black trim is 1/4" tall. Get an idea of the spacing by setting the strip with 1/4" of the white showing.

The instructions wisely suggest wrapping a strip of paper around the tube for an alignment guide.


Don't peel all of the backing off initially - 
peel back an inch or so, apply and repeat.

Notice the pencil mark. That's the stop and start point directly over the launch lug. I started the strip with a slight overlap in mind so the left end is placed to the side of the pencil mark. 
With the rocket on the launcher and the launch rod in the back, any misalignment of the wrap won't be seen when taking pre-launch pictures.


Here's a better look of the alignment paper and the start (center) of the tape strip.

There is a third wrap strip at the top of the body tube.

Friday, November 17, 2017

Odd'l Rockets F-104 Starfighter Build, Part 18, Canopy Gluing

Squeeze out a few drops of thin CA glue onto some scrap cardboard. Dip a toothpick tip into the glue puddle and let dry.
Center the canopy over the decal.
Dip the dried tip into the CA puddle again.
Run the glued toothpick tip around the edge of the canopy. Be sure there is a bead of glue all the way around the canopy.


Some of the first kits might have grey "Canopy Trim Decal" lines on the decal sheet. These turned out to be translucent over the clear plastic.

I ended up cutting some thin strips from electrical tape and placing them as shown here.

Saturday, September 9, 2017

Apogee Shrockets Skonk Wulf Build, Part 13, Nose Tip Mask

Some test cutting was done for the nose tip ring.
A black trim ring goes around the nose cone tip and over the edge of the silver. I didn't want to risk another small mask.

I cut some Contact Paper Blackboard Vinyl with a rigged up cutting compass. I know there are better circle cutters out there but this will do in a pinch. It took a few tries to get the arc width even.


On the left is one of the early tries. The cheap compass did wobble a bit.

On the right is the best ring I made.


On the left you can barely see the mask line between the two previous colors. This was lightly sanded between coats. The sanded paint helped fill what was left of the mask line.

I didn't do a real clean mask, the edge of the silver was going to be covered with the black ring.


The edge of the the silver paint was sanded with some 400 grit wrapped around the end of  a Q-tip.

Tuesday, May 12, 2015

The Big Fix, Estes V2 Fix Part 2 New Tube and Roll Pattern Stripes


The replacement BT-80 tube was cut to size.
The seams were filled, the tube primed and sanded.
White paint followed.


The tube was epoxied to the engine mount and fin can assembly.


Stripes were cut from the Contact paper blackboard covering.
In the picture the lower stripes were trimmed, the upper strips meeting the black fin have yet to be trimmed.

Wednesday, April 29, 2015

Peter Alway Saturn IV Build, Part 25, Decals Part D

Two small triangles go beneath the angled launch lug details.
On the white side the triangle is black, on the black side it is white.

The black decal was simply cut off an extra black decal block.


The white triangle was cut from some extra self-adhesive vinyl I had in the spare parts box.
Hang on to old, left over decals and trim material. you never know when it might come in handy.


Tuesday, April 28, 2015

Peter Alway Saturn IV Build, Part 23, Decals Part B


The instructions say to: 
"Cut double grooves in the nose cone to represent recessed landing legs. Paint silver."
It'd be pretty difficult to cut grooves into a thin plastic nose cone. You'd only have one chance to get it right.
I had to come up with something different.

I made a template and centered it over the disks already in place.
Light pencil marks were made.


It's much easier to do the trim with chrome trim Monokote.
Thin strips were cut with a straightedge and sharp blade.


Here's how it looked after placing the trim strips.

Friday, April 24, 2015

Peter Alway Saturn IV Build, Part 18, Upper Body Trim, Part B


The cut tape wouldn't fit tight under the small dowel details.
I used my center punch to cut small relief areas to go around the base of the dowels.


Here's how the vinyl looked after punching. There is only two small recesses along the top.


The front and back views with the black vinyl applied.
It took a lot of small trimming to get everything to fit well.


A dry fit of all three sections.

This is an impressive design and the decals aren't even applied yet.

Thursday, April 23, 2015

Peter Alway Saturn IV Build, Part 17, Upper Body Trim, Part A


The upper black squares were easy enough.
I could have masked and black sprayed but went the easy route with my favorite trim material, the Contact Paper blackboard covering.


To make the trim pieces for the shroud, another print was made on 110 lb. card stock. I needed it thicker so I could trace around it.
The pieces would have to match the curvature of the shroud.

A center line was drawn using my middle finger as a pencil depth gauge.


The black areas were marked.

The inset shows the black pieces traced onto the covering material.

Thursday, April 9, 2015

TLP Pershing #K046 Build, Part 50, Upper Section Orange Bands


The horizontal orange nose bands were scaled and traced earlier.

This template was simply taped to more of the orange sprayed label paper and cut out. Three were made.


Directly below the left side of a black vertical stripe, the low olive drab section was marked for the left edge of the orange bands.
Once one was set down, the remaining two bands were placed. Setting them directly below the black stripes made an automatic spacing between them.


The upper section colors are complete!
I'm very happy with the look, sharp and distinct.

Wednesday, April 8, 2015

TLP Pershing #K046 Build, Part 49, Upper Section Black Bands


When I printed up the nose cone marking guides from JimZs, it ended up too large.
I tried to use it anyway, extending the marks to the center. Using a knife and straight edge, wedge cuts were made.

This was slipped over the nose section to give an idea how the back vertical strips will be placed.

A master template piece was cut from the old standby - Con-Tact Blackboard Covering Material.
This is the greatest, cheapest black trim material out there!
Find one source HERE


After the first two vertical black strips were set down on opposite sides. A strip of paper was wrapped halfway around and marked at the the two black strip centers.
The area between was divided into thirds. These pencil marks are the center of the two strips, between the first two set down.
The remaining vertical black wedge strips were set down centering and spacing them visually.

I can't recommend the Con-Tact Blackboard trim enough!
The Estes instructions say to mask and paint the black strips. The Contact paper is so much easier and about as thick as a layer of paint. It lays down like thin, re-positional vinyl.
The vertical black bands also help hide any slight depression left from the shroud tab gluing areas underneath.

Monday, March 30, 2015

TLP Pershing #K046 Build, Part 42, More Paint Progress


Here's the lower body after spray painting with the Testor's olive drab.
That little three ounce can covered the entire lower body and there should be enough left for the lower nose section.


The orange strips are next. I'll use the Estes Pershing instructions for guidance.
Decals could be used but they won't stick well over the flat paint.
That and they would have to be printed over a white background.
I'll be trying something new this build.


I picked up some full sheet shipping labels.
These are Avery brand, #15265.

The only disadvantage I could see, the package advertises "UltraHold Adhesive". This might not allow much re-positioning.

A full sheet will be sprayed orange then the horizontal bands will be cut.


The closest orange I could find was Rusto 2X Real orange.
It's probably a little darker than the Estes kit orange, but I'm to the point where I just want to get this one finished!

Monday, December 1, 2014

Estes Equinox Build Part 14, Nose Cone Mask

The nose cone is red with the top half silver.
The instructions say to paint an overall silver first, mask then paint the red.
I'm going to do the opposite, first red then the silver.
I've never had good luck putting any tape over a silver or metallic paint. The adhesive on the tape can dull the silver paint.
Doing the red first leave you setting the tape down over the dried red paint.

These masks are never easy.

Here's the Scotch tape arc cut on my patio door glass.
The masking strip was removed so you can see the cut arc.
The arc will fit flat on the curve of the nose cone better than a straight piece of tape.


When the tape mask arc is set around the nose cone curve you should end up with a straight line mask.
The tape strip is cut thin. More masking tape is applied below the Scotch tape strip.


On the left is after the tape was pulled up. This wasn't my best nose cone mask.

To cover it up I used a thin strip of the Contact paper blackboard covering material.
Sure there's a ridge, but it looks better than the rough line.

Monday, November 3, 2014

Estes Patriot Build #2056, Part 13, Roll Patterns


Taken from the cut lines on the stick-on sheet, all the roll pattern bars are 5/8" wide.

The black roll pattern will be cut from my roll of Contact paper blackboard material.

The thin bar closest to the launch lug is there for front placement only and will be removed.
You can see a center pencil line on it.

The horizontal bars go on first, then the lower wrap around the body tube right above the leading edge of the fins. It covers the earlier sanded red paint edge.


The finished lower end with the thin guide bar removed.

Even without the U.S. ARMY decals in place, the model looks pretty good.

Build time: 
Cut and Set Roll Patterns = 30 minutes
Total build time so far = 6 hours 20 minutes

Saturday, September 21, 2013

Semroc SPEV Build Part 11, Trim Lines

I used my favorite trim material for the thin lines at the segment joints.
This is the Contact Paper Blackboard Covering Material available at Michael's Crafts.

At the bottom of the picture is the kit instructions face card. Blow up the picture and you'll see the thin black lines.


1/16" wide strips were cut and placed using the tube edges for a guide.


The hardest line to place is at the middle of the long adapter.
It'll take a few tries to get it to line up when you get all the way around.

Wednesday, September 11, 2013

Honest Goon - Refinish Part 3, Nose Cone Black Trim


I had to divide the nose cone in 12 equal spacings.
A strip of paper was wrapped an marked.
This was folded in two, those two halves folded in thirds and sixths.
Pencil ticks were made at all the folds.

The marked strip was taped around the nose cone.
I didn't make decals of the nose section roll pattern. I thought I'd wing-it with my favorite trim material, Contact Paper blackboard covering material.

This is an interesting roll pattern, four sets of bold "U" shapes.
A few guesses were made as too how wide these should be.
I'm not that concerned with any accuracy, it's not a scale model but a Goony.


The longer lower bottom of the "U" wouldn't sit flat on the adapter curve.
It had to be re-cut in more of a inverted trapazoid shape.
The top and bottom of the trapazoid were cut in an arc.

You can draw pencil reference lines on the Contact paper. It erases easily.


This turned out to be a set down, mark, lift and trim operation.
Getting roll patterns to meet up accurately is always hard.

That temporary thin black strip on top helped with alignment.