Showing posts with label Clear Coat. Show all posts

Wednesday, October 28, 2020

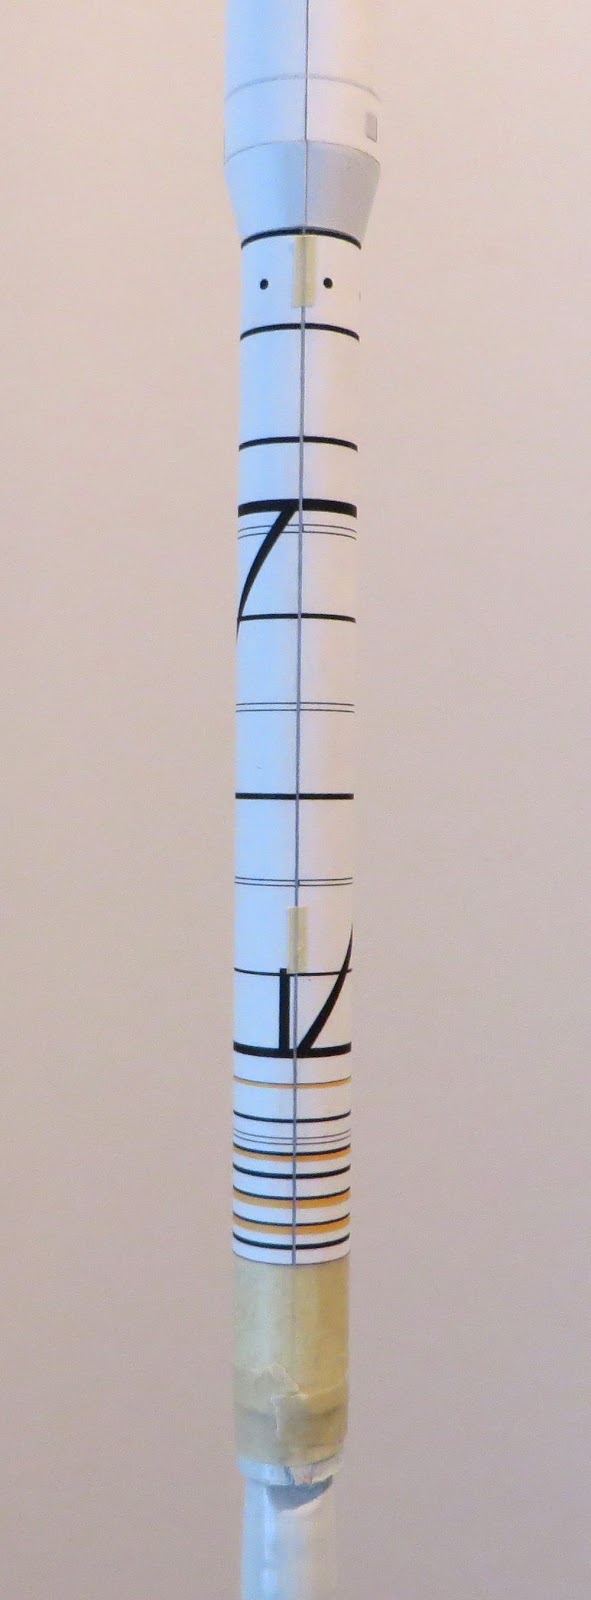
Estes Starliner #0863 Build, Part 11, Decal Placement


The elevon decals should retain the same spacing from top to bottom.


Before setting down the long window decals, set the canopy decal on the nose cone.


The stripe decals start and center at the nose cone tip. Bear in mind, the second longer strip end is set into the open intake. 

Notice how the ends of the front door strip and longer rear window strip but up against each other at the nose cone / body tube end.


Here's how the end of the window strip slips into the front of the intake.


I don't usually use a clear coating, but will use some Future to seal the open end edges.


The clear edge overlaps were trimmed off with a razor blade. 

I also used some Future on the edges of the elevon decals. The ends might lift without the extra adhesion.

Tuesday, July 21, 2020

Sticky Sprayed Clear Coats? TIP

On YORF, Erik 442 wrote:
"Steve, please be careful not to leave anything coated with that clear out in direct sunlight for an extended period. I learned the hard way when I left my new Redstone on the sidelines while I was flying other models.
The heat made it very sticky and all the dust and black powder on my fingers left big marks all over it when I finally picked it up.Now I make sure to keep it in the shade until I'm ready to fly it." 


Yep, everybody seems to recommend sprayed acrylic clear coats after the decals are applied. I also learned the hard way - 
When I got back into the hobby I did a fairly heavy sprayed clear coat on my Red Max. The clear was thick enough that it made everything very glossy, almost wet looking.
Then came the Florida August club launch.
The heat and humidity softened the clear coats making it sticky. Fingerprints and dirt stuck to the body anywhere it was touched. 
Never again!

I only use Future clear coat where decal edges could peel, lightly applied with a Q-Tip. For example, when two trim decals meet going over the top of a rounded fin leading edge. Or, when a roll pattern decal (wrapped around a body tube) is right on the end of the body tube. 

If your surfaces are really smooth and glossy, a (well-produced) decal should stick and stay down without a sticky clear coat.

When I lived on the coast of Northern California, I would occasionally clear coat a rocket with no problems. But, the Monterey Bay has cooler temperatures and very low humidity.

Sunday, September 30, 2018

Home Print Decal Clear Coat TIPS, Part 2


When you are spraying a lot of decals for different kits, it's easy to lose track of how many coats have been sprayed.

I keep a Sharpie handy. Each small dot designates the sheet got one coat.

Spray the second coat with the sheet in the "landscape" position. Turning the sheet helps with complete coverage.

Again, let the second coat dry for a minimum of five minutes.


Flip the sheet back to the portrait position for the third coat.

Wait a few hours before transferring onto the model to be sure the clear coats are dry.

Saturday, September 29, 2018

Home Print Decal Clear Coat TIPS, Part 1


No - this aint' no ugly puppet show.
When spraying decals you should be wearing a mask and find some sort of cover for your hand. The UV clear gloss acrylic paint is sticky and is hard to remove from your skin. I save and re-use grocery bags.


Three coats of Krylon UV Resistant Clear is about right. The clear coat will be thick enough for easy transfer, still thin enough so the decal isn't raised above the surface.

The first coat is sprayed with the sheet in the "portrait" position.

Acrylic dries pretty quick, you can do the second coat after five minutes.

Keep a cheap brush handy. Before the second and third coat, brush off any dust that could be caught under the next spraying.

Tuesday, November 22, 2016

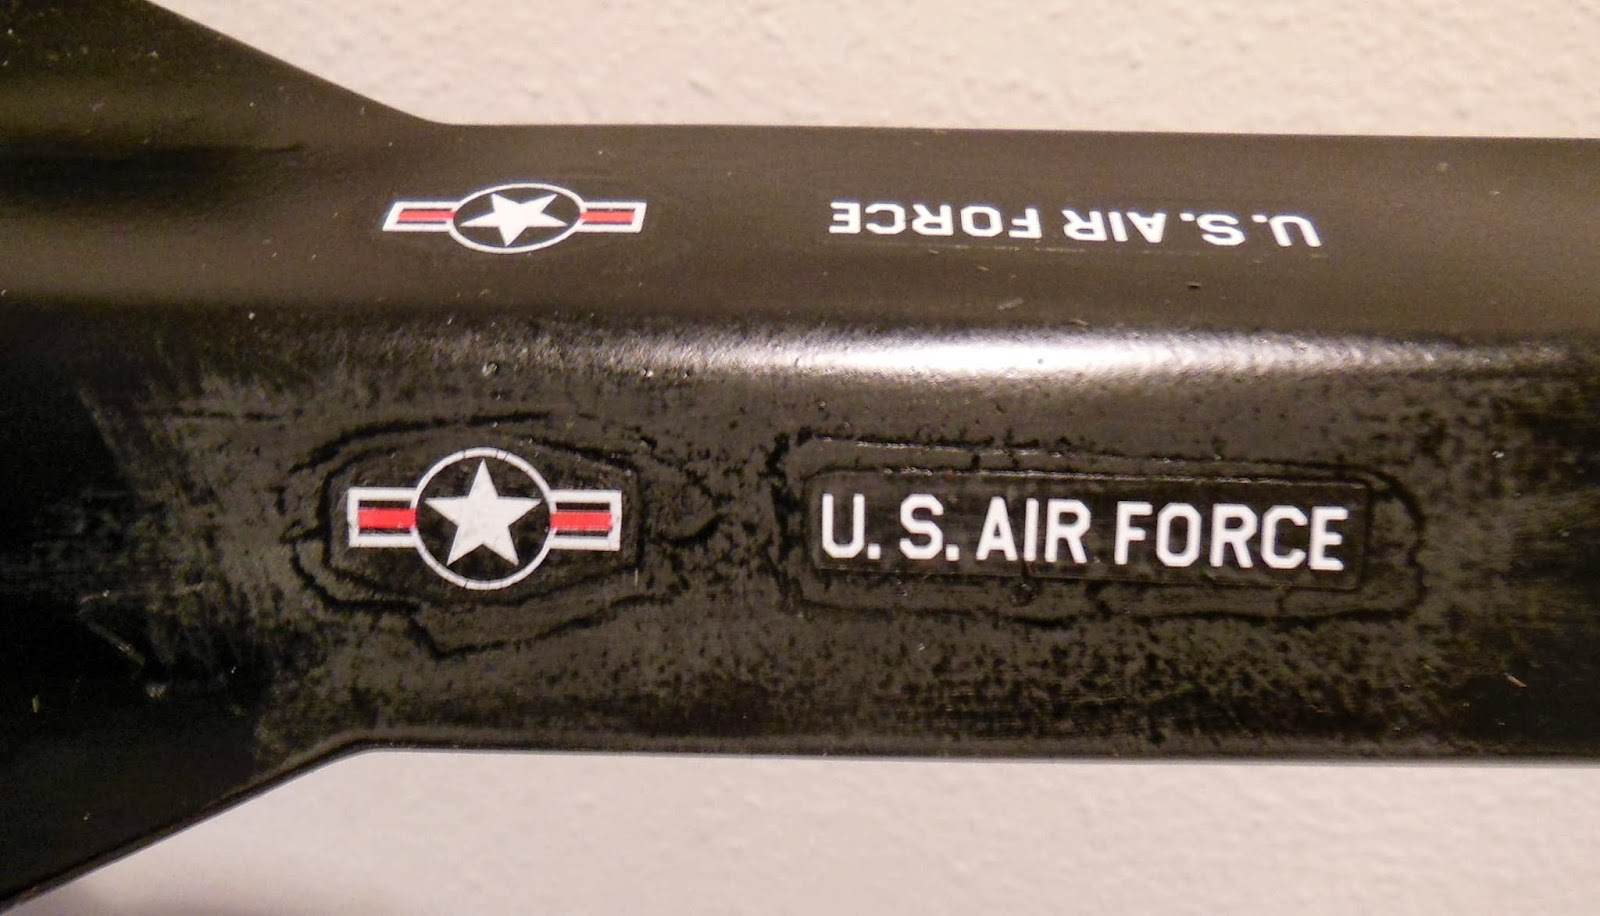
Estes Alien Invader Paint Fix - Part 2, TIP


Here's the front and back after the flat clear was shot.
The light spraying of acrylic dries almost instantly. If you enlarge the pciture the black might look splotchy. That's just the low pixel resolution. The black actually looks very even now.


This is the angled mask over the transition decal wrap.
Look close and you can see a little of the gum residue from the edge of the tape.
I sprayed a little glass cleaner on a paper towel, some light rubbing removed it. I used Glass Plus cleaner, not Windex with ammonia. Windex could remove the clear acrylic spray. I just needed a light solvent cleaner.


Gloss paint shows everything! Spraying flat clear acrylic is a great way to cover up some light finishing inconsistencies.
I don't recommend applying a matte finish to lighter colors like white, yellow pink or orange. Light flat finish colors pick up dirt and finger oils quickly! Flat finishes are also harder to clean. On this model the flat finish sprayed over the black won't show any discoloration from handling.

The instructions do say to use gloss black paint, but it looks so much better with the back end in a flat finish.

Monday, November 21, 2016

Estes Alien Invader Paint Fix - Part 1, TIP

A few years back I was talking to a local guitar repairman. Early on he had worked for Tobias guitars, learning the finer points of lutherie.
He drilled the screw holes for a tailpiece install. After drilling he realized one hole was in the wrong place, off by a good half inch.
Expecting the guitar body would have to be thrown away, he went to his boss expecting the worse.
His boss didn't bat an eye and simply said: "Put an inlay there. Make it look like you meant to do that."
This rocket fix is a little like that. Sometimes you can cover things and make them better than before.

I didn't like the looks of the gloss black paint on the rear half of the recent Alien Invader build. Too many inside surfaces were hard to get smooth and reach with the black spray paint.
Some areas got more paint than others. The gloss finish showed every unreachable glue line and rough area.

This was one of those finished projects I let sit for a few months while I figured out a solution.
I'll attempt to paint over the gloss black fin areas with a dusting of flat clear acrylic.

The picture shows me brushing off any dust from the gloss black. Black seems to attract dust. A soft brush got most of it off before spraying the flat clear.

One problem was the upper decal. The low end of the wrap isn't in a straight line. I decided to mask it off, half gloss and half flat - like it was meant to be that way!

I didn't use Scotch tape, this clear line isn't critical. Before setting the masking tape down I stuck and lifted the sticky side on my jeans pant leg a few times. Some jeans fibers will stay on the sticky tape and diminish its tackiness. I don't want to risk lifting the decal edges.

Only one piece of masking tape was used for the edge mask. The tape was gently set on an angle and bunched over itself over the curve. The upper yellow body was covered with a wrap of printer paper and a small piece of tape to hold it down.

Friday, March 11, 2016

Krylon Crystal Clear?

Krylon spray paints are not what they were in the mid 1970s.
There's different formulations now, some colors are not compatible with other colors.  
Some clear acrylics will yellow with age after exposure to sunlight or other UV light.
Krylon Acrylic Clear Coats are still good though - if you get the right can.

You'll want to get the gloss UV-Resistant Clear, #1305

The UV resistant clear matte finish is #1309.

You probably won't find it in the plastic model section of the hobby store. Go to the art supply aisle. Be sure to check the product number before buying!


I rarely use clear acrylics as a final gloss coat. If it is a hot, humid day the clear coat can soften and feel sticky in your hands. But, there are times when you need a clear coat.

Monday, October 5, 2015

Dr. Zooch Ares I-X Build, Part 9, Clear Coats


The SRB (longer, lower wrap) is applied. Be sure to line up the seams.
Something I didn't mention earlier,
Before the glue sets you can mold the shroud edges into the larger body tube. Roll a burnisher over the edge for a smoother seam transition.
The laminated lug standoffs are thick. I sanded a slight contour on the root edge for a better gluing area on the BT-20 tube.

Wrap some 400 grit around an engine casing and sand a curve into the bottom.
TIP: Why use an engine casing? You'll get a better fit sanding over something with a slightly smaller diameter.


You should really give the wraps a good coat of clear. The paper wraps pick up dirt and oils pretty easily.
The lug gluing locations and exposed bottom tube are masked off .
After the clear coat dried and tape removed, the lugs were glued in place.

Tuesday, March 10, 2015

Estes Payloader II #3022 Build, Part 17, Future Shine Over Metallic Paint

I was actually excited to find the Rustoleum Metallic Red at a nearby Ace Hardware Store. This was the same brand of paint that gave me such great results on the Quest Stiletto. On that model I used the metallic black and silver paints.

This paint is very forgiving. Apply with light coats and no heavier finish coat.
I wish the paint dried and shined like the cap on the paint can.Because of all the tiny metal flakes in the paint you don't end up with a glossy finish. But under sunlight the paint shimmers.
I rarely use Pledge with Future Shine (or whatever they call it this month).
Some builder's brush it on thick and let it drip dry. That just didn't work for me.

The white paint on the body tube of the Payloader II was very glossy. The metallic red fins and nose cone weren't as shiny. I tried the Pledge on the red. I used a Q-tip dipped in the Pledge. Before "brushing" the excess Pledge was touched onto a paper towel. The Pledge is water thin, I didn't want to apply too much and get drips.
The nose cones were slightly pulled out of the tube so the Pledge wouldn't "glue" the nose cone in.

On the left is the red paint as sprayed and dried.
On the right is another Payloader II with the Pledge applied. Enlarge the picture and you can see the finish looks deeper and more glossy. The metallic specks show off even more.

I do use the Pledge on decals to seal the edges onto the surface. For me the trick is to apply enough to get a smooth gloss but not enough to drip.

Friday, June 27, 2014

Even More Kit Decal Problems

Cl(VII) on TRF -
Did a beautiful build of the Red River Rocketry Stratus.
A catalog quality build. Check out the pictures at post #23 CLICK HERE

"Now the first thing I was disappointed in with the kit, and admittedly this is entirely a matter of personal preference and could have been mitigated. The decals are really thin and fragile, at least compared to Estes or Quest Decals. I did not realize this in advance, so I went with them as is. If I were to do it again they would have gotten a few coats of something to toughen/thicken them up before applying. As I didn't do this and my skills are not refined with such delicate decals I have many small blemishes in the decals. That being said I am overall happy with how it came out, and there were a lot of those little buggers. I need to pick up some MicroSol and MicroSet on the way home. I hope that softening them will help with some of the wrinkles, and just let them lay down better."


My response:
Beautiful work, catalog quality build! Not a wood grain or tube seam to be found.


I wish the vendors would give you an extra "test" decal. 
(I think I'll add an test decal to my Odd'l kits.)
That way you could try the test one first to see if you need an additional clear coat of Micro Scale Decal Film.

I usually try and test with the smallest decal, usually the company logo.
(Why put those on the model, everybody at the club launch knows who made the kit anyway.)
That gives me an idea of the soak time and how it well transfers from the backing onto the model surface.


If the image runs or the decal tears, I don't cut or soak any more decals -
I'll add a coat of the Micro Scale Decal Film. That thickens up the clear film and protects the image.

This 1 oz. bottle is expensive! I wish I knew what they were pouring into these little bottles. (I'll have to do a test one day, maybe it's just Future clear acrylic?)

Wednesday, January 22, 2014

Estes SR-71 Blackbird Build Part 23, Engine Cone and Clear Coat Problems

The inlet cones had a loose fit in the tubes.
I added a wrap or two of tape but still left some plastic exposed on either side so the plastic cement would grab.

The instructions say to glue them in with 1 1/4" exposed.
I did a dry fit first and it seemed like the nose cone stuck out too far where it didn't even look like a ramjet cone.
I ended up gluing them so 1 1/8" of cone was exposed.

Oh boy! Here we go!

Sometimes I'll apply a light coat of the Future acrylic with a Q-tip, just enough to seal the decal edges. After a clear coat you shouldn't see the Future coat. NOT SO THIS TIME!
I sprayed some Krylon Flat Clear over the model.
The decals had a raised surface, almost like they were bubbled up!

After the flat clear coat was totally dry I very lightly sanded over the raised edges with some recycled 400 grit. "Recycled sandpaper" meaning an old piece with most of the grit smoothed off from a few wire brush cleanings.
I didn't want to sand through the decal ink, just knock down the surface so the edges weren't so obvious.
With any luck, the next clear coat will fill in any dips in the edge and not be so noticeable.

What caused this? Who knows.
I used the slow drying FixAll black gloss to start. After the top was sanded down, Rustoleum 2X gloss black was sprayed.
Decals followed then a light coat of Future.
The problems occurred when the Krylon dull coat was applied.
It's salvageable, but not my best work!

Wednesday, August 28, 2013

Cherokee Goon Build, Part 5, Wet Sanding


I did do some wet sanding on the Cherokee Goon.

Here's how the fin looked after the last heavier final coat of white.
The gloss is good but there is some slight pebbling on the surface.
Wet sanding should be called "damp sanding". You don't want any water to get in or on a unpainted, unsealed surface. Don't let water run down and inside the body tube!
Dip the sandpaper in water and shake off the excess. Sand lightly.

When I wet sand I don't take it completely down to the surface.
I sand with 400 grit just dulling the sheen.
I sand enough to rough up the surface knocking down the spray "pebbles".

I was careful not to sand off the final coat of color. Be careful near the edges,  you don't want to sand off the paint and primer down into the raw balsa.

TIP: If you have complete even color coverage you can use a clear coat right now!
I'm still having great success with the Americana Clear Sealer / Finisher.

Spray it on a little wet, not heavy enough to run.
When spraying try to get an even gloss cover. Hold it up to a bright light to check for an even coverage.

The only downside to the Americana Clear Sealer is heat and humidity. At an August launch the clear finish got a little tacky in the heat. But then again, I've had other paints do the same thing.

Thursday, May 16, 2013

Clear Coating Aluminum Paint - TIP


I've brought up this clear coat before - Americana Acrylic Sealer / Finisher - Gloss.
It's available at Michaels Crafts.

I've never had great success with Future floor finish.
This clear coat can be sprayed on thick (almost wet) and doesn't "craze" a finish.


Take a look at the two body tubes from the Quest Raptor build.
(I'm building two kits at a time.)

The upper body tube has been sprayed with the Americana clear coat.
The lower tube is just the Rustoleum 2X Aluminum without any clear acrylic coat.

The upper tube is shinier and almost looks wet.
You do have to spray the clear coat a little thicker than normal to get this result.

TIP: Always wait at least a day for paint to dry before masking for the second color.
Always wait at least a day for final color paint to dry before clear coating.

TIPS: If you ever unhappy with a gloss finish, a FLAT clear coat can hide many mistakes.

MORE TIPS: This Americana Acrylic Sealer Gloss coat helps hide mistakes on a gloss model.
If you have orange peel (roughness and bumps) on your final gloss color coats -
Let dry and LIGHTLY wet sand with 400 grit.
Don't sand to surface , just knock the tops off the orange peel bumps.
Respray with a (thick, but not enough to run) coat of the Gloss Clear Acrylic Americana.
Repeat wet sanding and re-spray if needed.
With every wet sand and re-spraying the surface will be smoother and shinier! 

Wednesday, March 14, 2012

Americana Spray Clear Acrylic

I tried the Future Acrylic clear coating a few times before.
Many rave about the results on forum posts. I was frustrated not able to get the finish others have written about.

I'm able to get a good gloss on a rocket by spraying a heavier final color coat.
You've got go be careful though, a little too heavy and runs can start.
Usually I'll do two light color coats and then the heavier final coat.

But after that - my decals were never protected. Never thinking a clear coat was necessary, the decals rarely lift or come off.

Still, I wanted to give clear coating a try.
I tried applying the Future with a spray bottle. After spraying the first time, there was bubbles and runs.
I was told to leave it alone and the bubbles would disappear when it dried. A paper towel was used to pick up the drips.
I probably tried too hard to get it smooth while it was still wet.
The Future dries quickly and my "dabbling" left an uneven surface on the ends and edges. I could see some glossy, smooth surfaces on the model though.

A foam brush was tried next with the same results.

On the Rocketry Forum, Jim Fustini posted about Americana spray acrylic:
"It is not exactly like Future, but it is an Acrylic clear coat. It gives you that "wet look" and it dries to a harder finish than Future. I bought mine at Michael's."

I figured I'd have better control with a spray clear acrylic.
Sure, Krylon has made a gloss spray acrylic for years but I've heard stories of the decals crinkling up when it is applied over them.

The Americana Acrylic was sprayed onto the recently refinished Red Max.
It was sprayed lightly first to test for any reaction on the decals. There was no reaction.
I finished up with a heavy spray of the clear like I would normally do on a final color coat. It didn't drip or run!

I ended up with the finish surface I'd been looking for - A smooth, clear wet look and protection for the decals.
The picture doesn't really show how shiny the surface is.

Many thanks to Mr. Fustini for this tip!

P.S. Don't blame me if this doesn't work for you, "crazes" the decals or ruins your model's finish. Test on scrap material before applying to your model. I'm just passing this on as a new clear coat product.

Sunday, February 26, 2012

Refinishing the Red Max Part 1 Future Clear Coat Test

This was the first clone I did when I got back into the hobby.
While the balsa grain was filled pretty well, I didn't fill the body tube seams.
The finish is rough and pebbled.

Another kit could be built, but I really wanted to restore this one properly.
Fill the seams, use epoxy for smoother fillets and paint it RED this time!


I hadn't had much luck with Future, or Pledge with Future shine, or whatever they have renamed it this month.

I applied two coats to one decaled fin to see if it really protects the decal.


You could simply sand off decals, but there would be decal dust and pieces everywhere.
It's much easier to use some tape. Press down the tape and remove. The decal will lift and be stuck to the sticky side of the tape.

This is the same fin that got two coats of Future.
The coated decals came off as easily as the other decals that didn't get clear coats.

This isn't a great test for clear coats and decal adhesion. I thought the decals coated with Future would be harder to remove. It was just an experiment.