Showing posts with label E Reflector. Show all posts

Tuesday, March 25, 2014

Estes Reflector Lil' Hustler Version Finished


I actually like this version better than the stock Estes Reflector! It reminds me more of the Centuri designs.
The payload section on the Reflector wasn't practical with the long shoulders. This payload section is a little long but will better fit an altimeter.

Estes Reflector Build Finished


This one is the Reflector design, the Lil' Hustler version will be posted tomorrow.
I like the looks of this one, there is certainly Centuri design influence here.

There were problems along the way:
The "Huge Payload Section" wasn't huge even with the adapter and nose cone shoulders cut back.
Placement of the lug and standoff doesn't allow enough room for the black decal band.
The supplied decals don't allow you to duplicate the fins shown on the face card. There were only four white stripe decals when eight were needed.

The big surprise was the Rustoleum Metallic spray paint!
The Black Night Metallic looks great on the payload section.

Monday, March 24, 2014

Estes Reflector Build, Part 15, Lil' Hustler Version Decals


On the Lil' Hustler version (made from the Reflector kit) I made some very slight changes in the decal placement.

As before, there isn't enough clearance for some white under the black band with the launch lug standoff in the way.
This time I just centered the black band right over the red/white mask line.


The upper roll pattern decal was set back from the end of the body tube to expose a band of white paint. The white strip is the same width as the black band on the top of the decal wrap.

On the trailing edge the overlap was cut off using a light back and forth "sawing" motion. Be careful not to cut through the paint or wood at the edge.

All decal edges got a light coat of clear Pledge brushed on with a Q-tip.

Sunday, March 23, 2014

Estes Reflector Build, Part 14, Decals


The only way to get the black stripe decal to fit is to cut away the clear border under the launch lug standoff.
Cut this before soaking the decal.
Even with the clear border cut back I still had to slice the black stripe on either side of the standoff to make it fit.

The face card and instruction picture show the white stripes on both sides of the four fins. You are only given four when you should have had eight double white stripes!
The vertical white stripes don't fit the face of the fin in the position shown on the face card. For the decal ends to reach the leading and trailing edges of the fins you have to slide them closer to the outside edge.
The top of the decal doesn't match the angle of the leading edge and lays over as shown in the inset picture.


Wait for the decals to dry so they will be a little stiffer for trimming.
Lightly score down the middle of the decal at the leading edge with a new razor blade. Use a light touch, cut just the decal skin and not into the fin paint. Remove the excess overhanging decal.

The clear border is shaved off the bottom of the trailing edge (inset).

Saturday, March 22, 2014

Estes Reflector Build, Part 13, Painting the Fins Red


The instructions are vague about how high to mask for the red paint:
"Apply masking tape and protective cover around main rocket body above fins."

The rear of the lug standoff was glued 2 3/4" from the end of the tube.
That doesn't leave any room for the white strip and the black band decal decal above it.


Here's the mask for the red right after the first light coat was applied.
Above the Scotch tape mask line is my "protective cover" or a piece of a plastic grocery bag.


After removing the Scotch tape, the mask line is clean and sharp.
No expensive Tamiya tape, just clear Scotch tape.

Notice the area between the end of the lug standoff and leading edge of the fin.
If I could have done it differently the lug would have been moved up about 1/4". That would allow enough room for the white strip and black band decal.
Before laying down the tape mask I looked at the face card illustration for spacing. With the lug placed as directed there isn't room for the black stripe decal!

Friday, March 21, 2014

Estes Reflector Build, Part 12, Cleaning Up Edges TIP

Here's the two payload sections, on top is the kit length.
Below is the extended payload section.

Enlarge the picture and you can easily see the joint seams on the smaller payload section.
The overall look of the longer section is smoother. The separation joints on the lower model were darkened and aren't as noticeable.

When the payload sections were spray painted the nose cone and adapter shoulders were all were pulled out slightly. I did this so paint coverage would go a little beyond and inside the joint seam.

Even with the paint overlap the edges were showing a little lighter.

The edges of the payload tube were blackened with a permanent marker.
Go fast with the marker and don't let the marker ink bleed over the edge and onto the paint the silver metallic specs.

The adapter shoulder got the same treatment. Again the marker pass was quick. The marker ink could spread if you let the tip sit on the balsa too long.

This edge coloring works best with black paint and black markers.
While you could do it with other colors (for example, a red nose cone shoulder and red tube edge) there are more variations in red paint and red ink.
Black is just black and will match up easier than red ink next to a different shade of red paint.

Thursday, March 20, 2014

Estes Reflector Build, Part 11, Great New Paint! I hope so - this time!


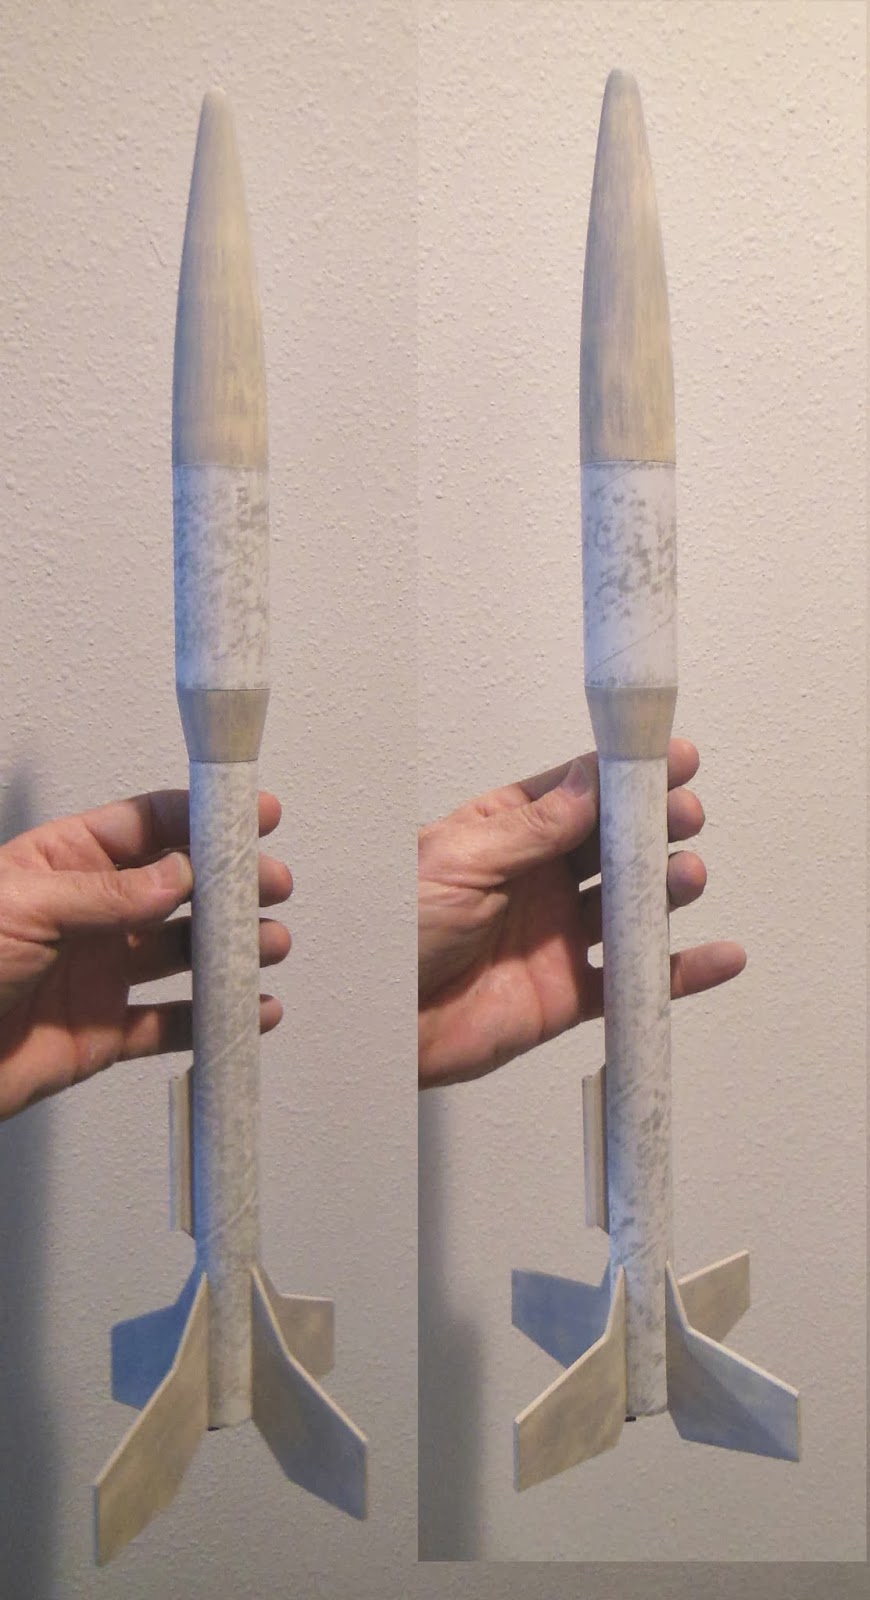
This is the payload section ready for paint.
To hold on to it for painting, copy paper got masking tape down one side. The tape strip was set on the paper edge half on, half off.
This was tightly wrapped around the shoulder making a thin round paper handle.


The instructions say to paint the entire payload section bright silver or platinum.
Looking at the face card I would assume the payload paint is the platinum.

I've seen some metallic paints used before but had been hesitant to try them.


This is Rustoleum #7250 Black Night Metallic. It was a few dollars more than my usual Rusto 2X paint.

The first light coat seemed to go on thin.
I checked it 10 minutes later and it felt fully dry!
When this build was done, Central Florida temps were below 60 degrees with low humidity.


The paint instructions said:
"For best appearance, apply one light coat followed by one wet coat."

Here is the dry payload section just 10 minutes after the wet coat.
You should see this one in the sunlight. It has just enough metallic bits in it to reflect the sunlight and still look black.
Compared to the face card it's very close.

I know, the last time I was excited about a new paint (the FixAll brand) I was disappointed. I still think the formulations got changed.
But so far - this Rusto Metallic is great!
I can see myself using this metallic paint for a lot of sport model finishes.

Wednesday, March 19, 2014

Estes Reflector Build, Part 10, Larger Payload Tube


The new Estes Altimeter is only 2.375" long and .7" in diameter.
Hard to believe something this small is still too big for the Reflector with the "Huge Payload Section!"


Even with the balsa shoulders cut back there is only 1 1/2" of height inside the payload section.


I cut a longer piece of BT-55 at 4 1/2".
This would give enough room for a Jolly Logic or Estes Altimeter.
This model would be a perfect carrier for either altimeter.

Here's how the Lil' Hustler version will look with the longer payload section.
The visual balance is still okay.

Tuesday, March 18, 2014

Estes Reflector Build, Part 9, Replaceable Kevlar Install Part 2


Cut off the excess but leave about 3/4" extending beyond the end of the tube for a tail .
You want some Kevlar to extend out the back so you have something to grab onto.


Tuck the excess tail between the two tubes.


Out the top tie a loop knot for an attachment point for the elastic.

The Kevlar does go beyond the tube edge so a square of doubled-up masking tape will go over the line to prevent zippering.

Monday, March 17, 2014

Estes Reflector Build, Part 8, Replaceable Kevlar Install

Earlier in the engine mount assembly a notch was cut in the long 20/50 centering ring. The notch allows a Kevlar line to be pulled out between flights to check it's condition or replacement if needed.
Making a replaceable Kevlar line in a 20/50 adapter is a little tight, but do-able.
The Replaceable Kevlar article is HERE 
in issue #338 of the Apogee Peak of Flight Newsletter.

(The engine mount has already been glued into the model. This picture just shows the loop knot, around the engine mount tube.)

Luckily no glue was blocking the top of the notch cut for the Kevlar line to pass through.
Cut some Kevlar 8" longer than the length of the lower tube. You'll need the longer length to easily tie the loop and elastic shock cord attachment out the top.
On a separate BT-20 size tube (I used another engine mount) loop and tie the Kevlar around the tube. Tie it tight but not too tight, the loop will need to slide down the tube.


Slide the loose end through the notch inside the centering ring.
The open end of the notch is about 1" inside. If your Kevlar is stiff you should be able to feed it through easily.


I'm using one side of long tweezers to slide the loop down onto the centering ring.
No glue is needed, you want to be able to pull the loop out later on to check it's condition. The knot and Kevlar loop butt up against the bottom of the centering ring.

Sunday, March 16, 2014

Estes Reflector Build, Part 7, Fin Gluing and Comparison

The fins were filled with CWF and sanded off the model.
The body tubes, nose cone and adapter got a coat of Primer/filler and sanding.

The lug and standoff were glued together, filled and primed off the model.
Is it necessary to gray prime and sand before gluing on the tube? No.
But, the final finish will be better.
Just be sure to sand off most the gray primer filler for good adhesion.


The provided fin marking guide was too wide when wrapped around the BT-50 tube. This was surprising after the outside diameter of the tube was probably a little bigger after primer spray and sanding.

I made my own marking guide and centered the engine hook between two fin lines.
The root edge was set against the line and the top marked.

The tube was roughed up using 220 grit on a block for better adhesion.
The pencil line was redrawn.


Here's both model variations.
The stock Reflector with kit fins is at the left.
On the right are the Lil' Hustler style fins.

The Reflector style fins stands up easier on the trailing edge tips.
I like the Lil' Hustler fin shape better but it isn't as steady when standing vertical on a table top. It stands on the inside tips of the trailing edge, much closer to the center tube.

Saturday, March 15, 2014

Estes Reflector Build, Part 6, Rounding the Leading Edge


As directed in the instructions:
The leading edge is rounded, all other edges are square.

Getting the inside angle on the leading edge strake can be hard to get smooth.
I wrapped some 220 grit tight around a small dowel and rounded the inside angle first.


With the angle already rounded I could sand outside the angle with a block.
Sand up to the rounded inside corner matching up the rounded edges.


The fins, launch lug and standoff got a coat of CWF and was sanded almost to surface.

At that inside edge the corner was sanded smooth with 400 grit wrapped around the Q-tip stick.

Estes Reflector Build, Part 5, Two Different Fin Patterns


I drew up some Lil' Huster style fins to go on one of the models.
The other will get the stock kit Reflector fins.

Check the older blog post for the back story on this build HERE
My Lil' Hustler style fin span is not as wide as the original.
Scaled down it looked too wide on this smaller model.
The Lil' Hustler fin span (width) is about the same as the Reflector kit fins.

Four Lil' Hustler style fins were cut out of 3/32" balsa stock.
This is a two piece fin with a small strake glued to the leading edge.

The fin grain on the upper Reflector one piece fin is at a slight angle down from the leading edge for both the strake and main fin strength.

Friday, March 14, 2014

Estes Reflector Build, Part 4, Payload Section and Adapter Fix


Here's the back ends of the nose cone and adapter after cutting down and sanding the shoulder edges round.


The exposed sides of the adapter were rounded.
(No older Estes or Centuri adapter were ever rounded, the sides should be straight!)

Using 220 grit on a block the sides were flattened out.


That's better!

Estes Reflector Build, Part 3, Payload Section Fix

WOW! The face card advertises - 

HUGE Payload Section!
Maybe not . . . 


Set the nose cone and adapter beside the BT-55 section of tubing and you can see how small the payload capacity is.


The shoulders on the nose cone and adapter are about 1" long, longer than needed.

They were marked for cutting to about 3/4" length.


I used a razor saw to remove the excess.

The saw chipped the edges a bit. It's okay, the corners will be rounded off later.

Thursday, March 13, 2014

Estes Reflector Build, Part 2, Engine Mount TIPS

This mount got some filing, cutting and notches for better fit and strength. These are some extra ideas you could add to your next build.

I'm installing replaceable Kevlar in these mounts.
There isn't much room between the outside wall of the 20 size engine tube and the main air frame BT-50 tube. Not enough room for a Q-tip guide tube.
The wide green centering ring will get a long slot for passage of the replaceable Kevlar shock cord.

Two narrow side-by-side lines were cut using the aluminum angle to keep them straight.
The middle slot was opened using the side of a square diamond file.


This step is never mentioned in kit instructions but should be done so the pressure of the engine hook won't distort the round blue tube. In the end, the engine installation will be smoother.
On the inside of the green ring, a recess was filed for the engine hook width clearance. This was made directly opposite the Kevlar slot on the outside of the ring.


The finger tab was cut off the engine hook.
The hook was flipped over, the finger tab side was set in the small slot in the tube. I flip over the engine hook so the cleaner square bend is at the bottom.

The engine block got a Bradycros notch to fit better against the upper bend of the engine hook.

Notice the bottom exposed end of the blue tube is dark. That's a ring on medium super glue on the inside and outside of the tube for strength.