Showing posts with label Launch Lugs. Show all posts

Saturday, April 25, 2026

Estes Mini Arcas, #2441, Part 18, Launch Lugs

I didn't glue on the lugs before painting the rocket body. 
I thought they would be in the way of the complex mask.
Sometimes I skip the launch lug fillets. Bubbles are a pain!  


I wish the lug placement were different. I would prefer the the ARCAS name decal not in line with the launch lugs. 

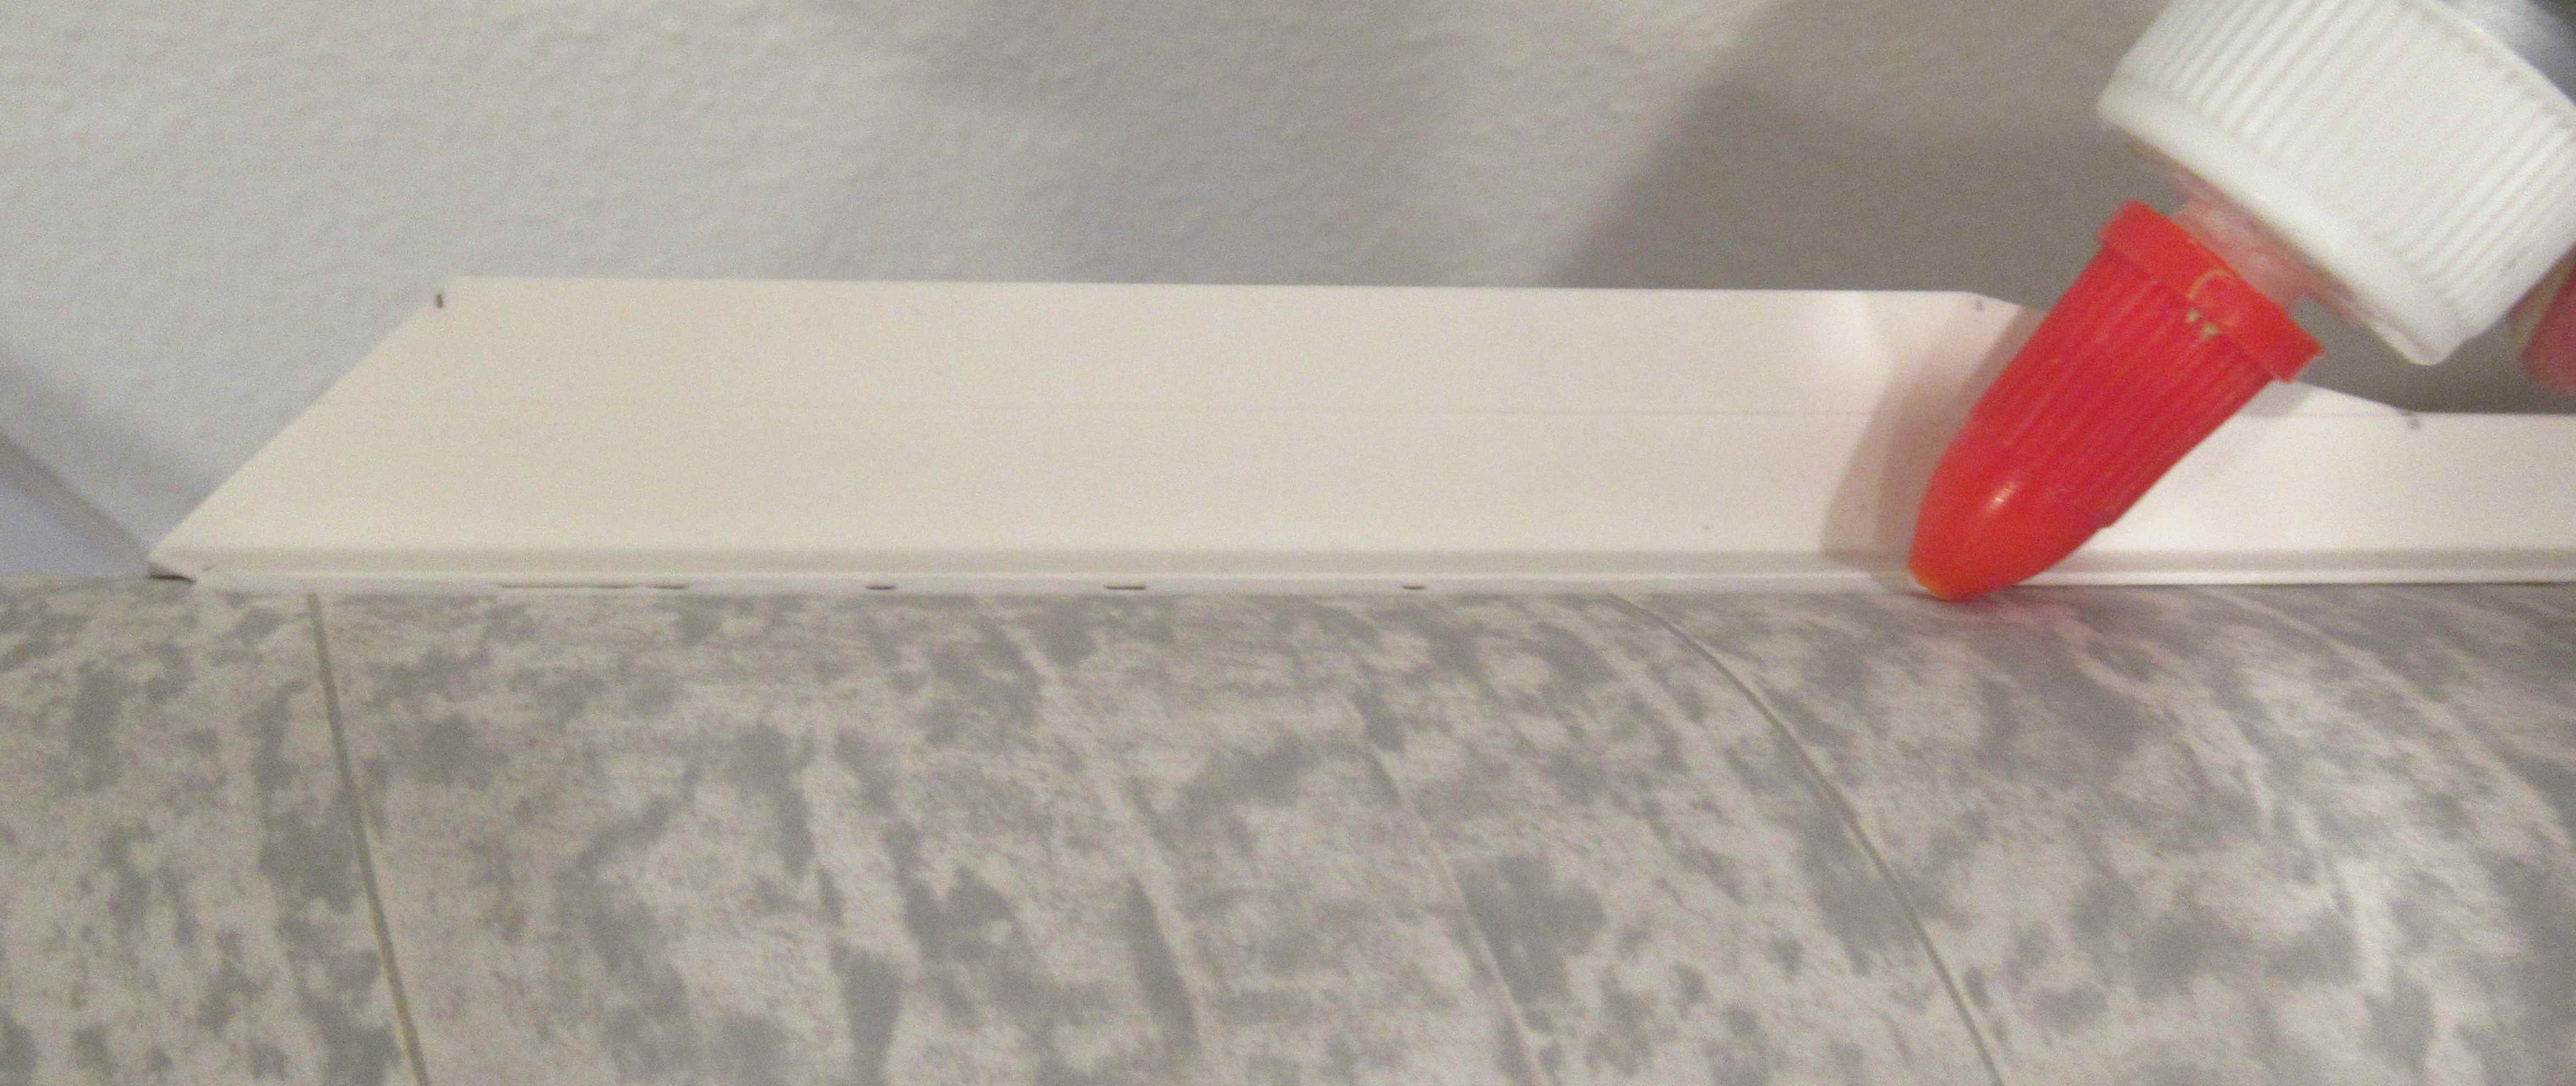
The lug glue areas were scraped down to the body tube. Don't scrape too wide, you'll want the lug to cover where the paint was taken off.

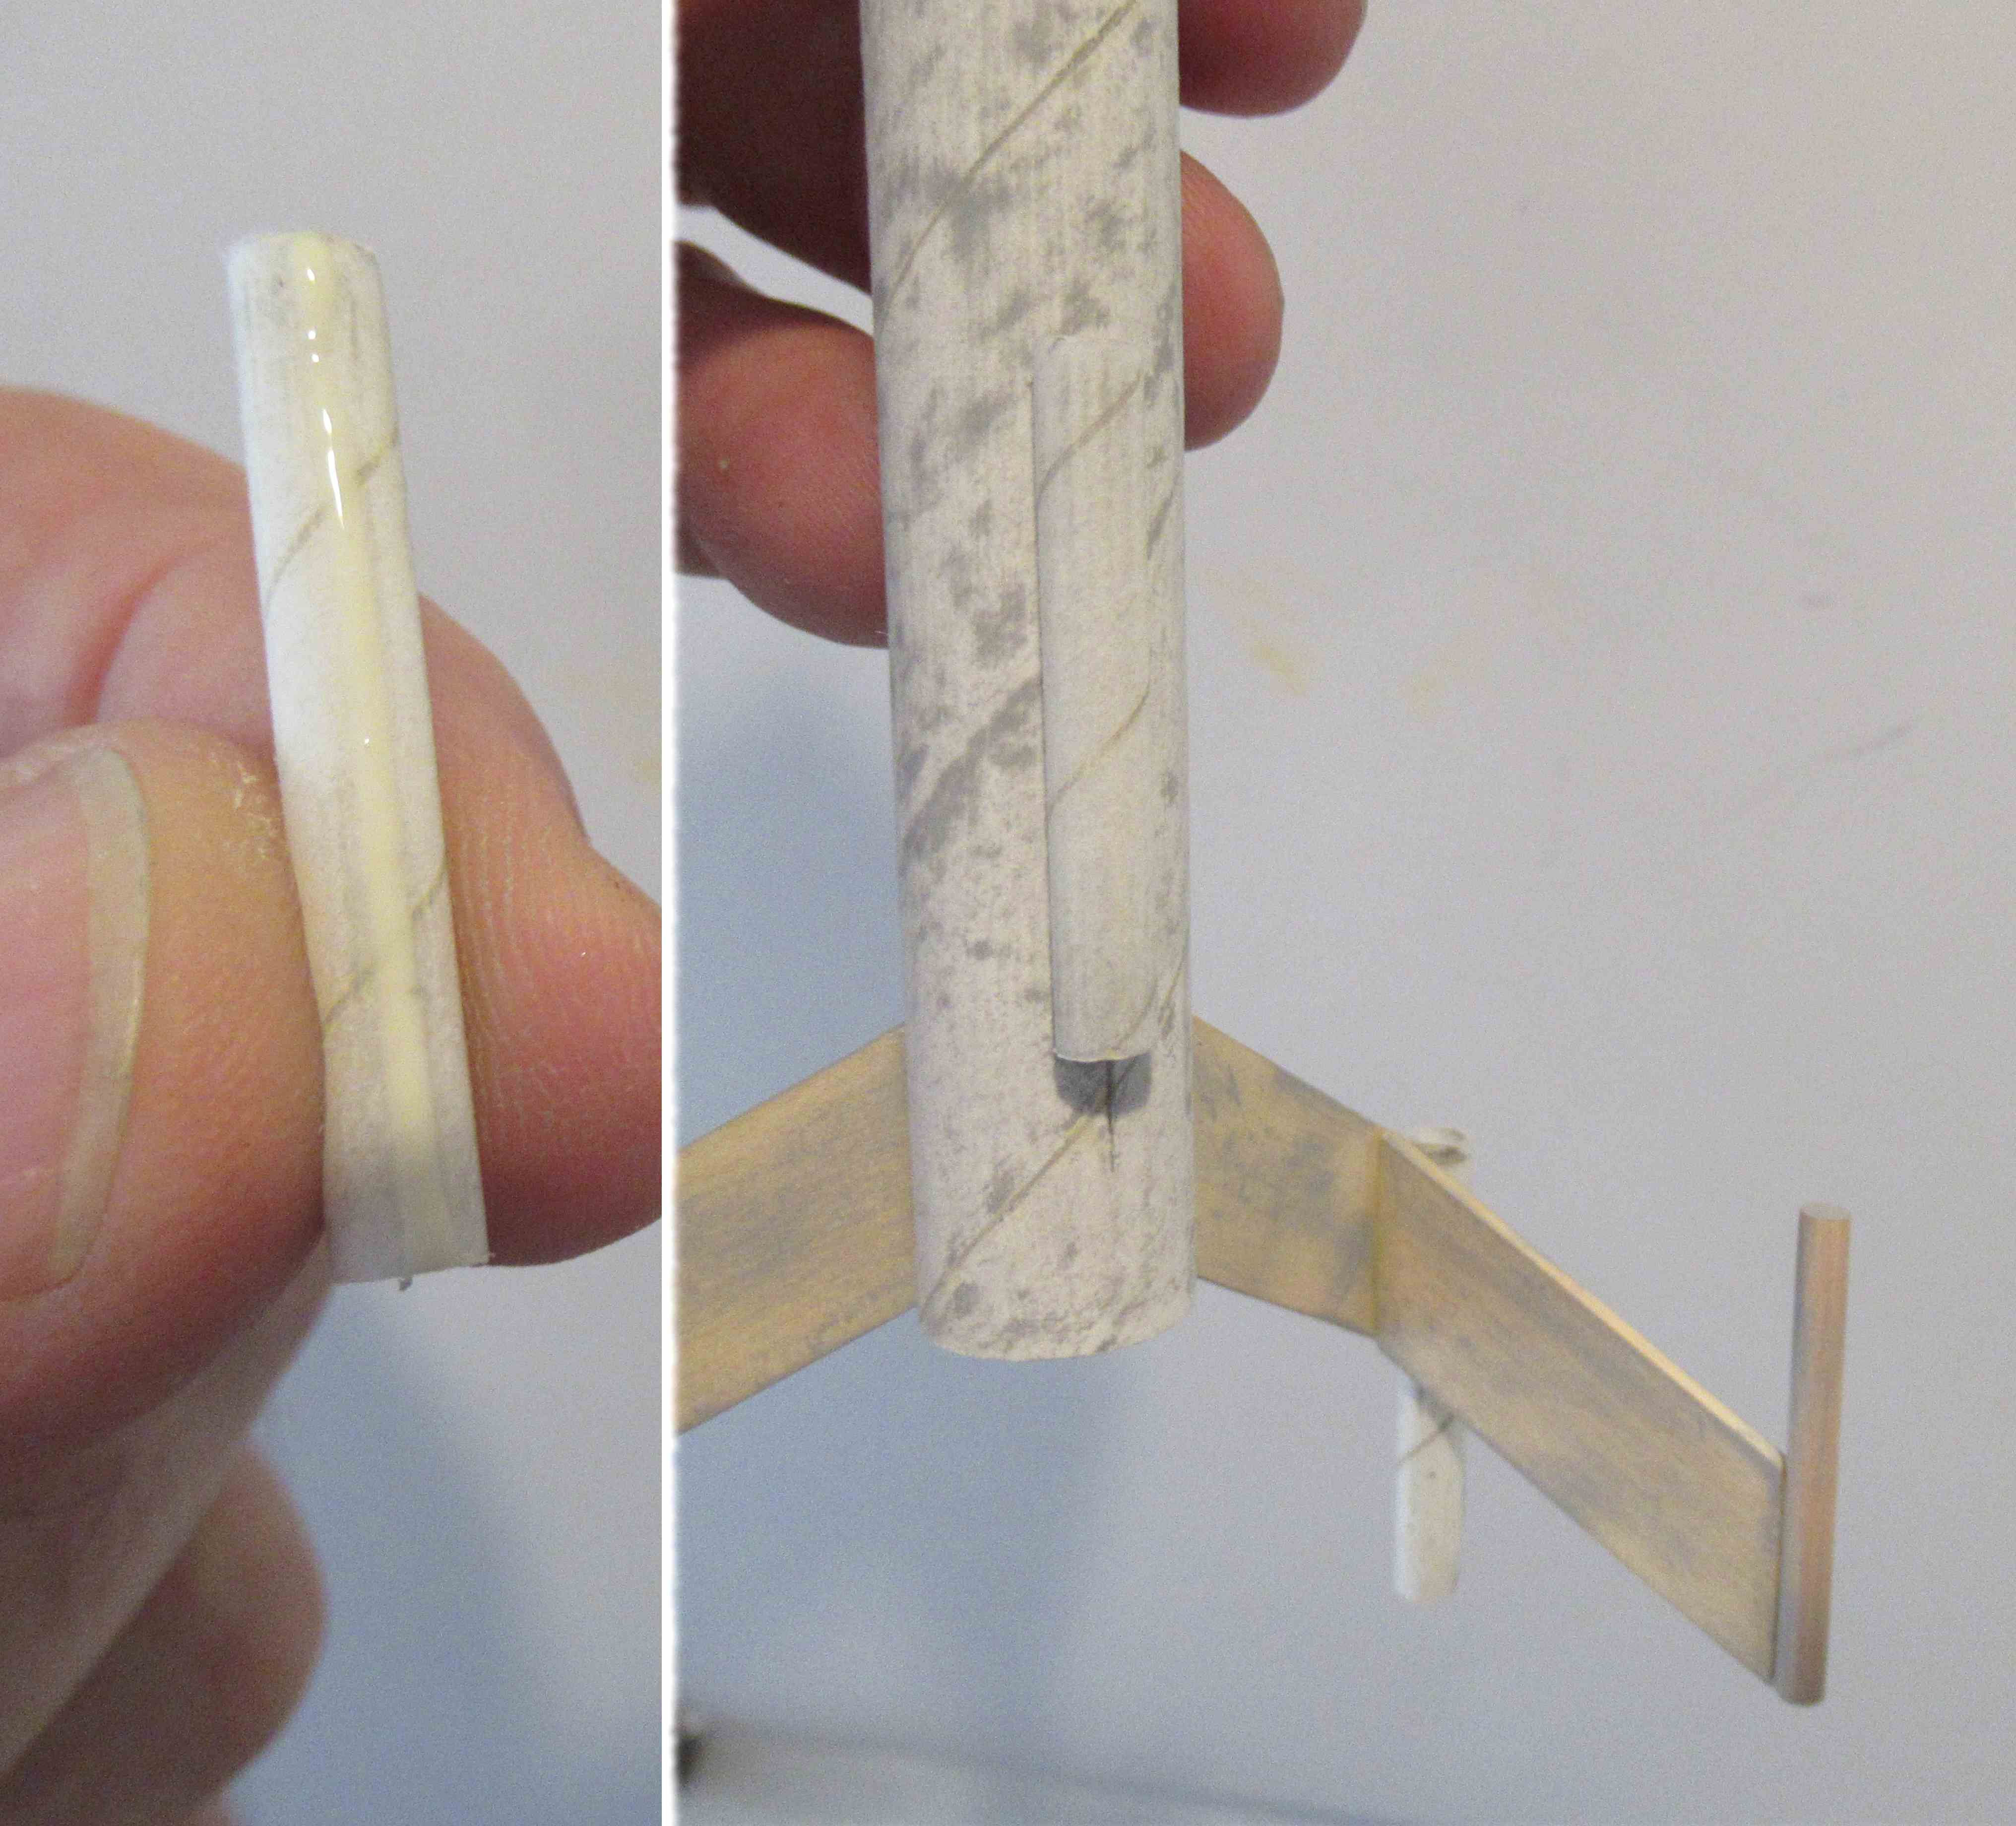
The glue line on the small lugs is narrow and even down its length.
Set down the glue line and even the line with a fingertip. Use white glue because it dries clear.


Both lugs are glued in place. 
Even without a glue fillet, they aren't going anywhere.

Monday, December 22, 2025

Estes Monarch Build, #7214, Part 9, Gluing On The Fins


Here's the build with the rear and forward fins in place. 
On this downscale, the smaller fins are 4 5/16" from the rear of the tube.

The rear lug is glued 1/4" from the end of the body tube.

The forward launch lug is glued 7 5/8" from the rear.

TIP: You can fill bubbles that form in dried lug fillets. It takes three applications of wood glue.
Apply and smooth the first fillet, let dry.
Apply second fillet, smooth and let dry.
Apply a third fillet, smooth and let dry.
Those bubbles should be gone -

Saturday, July 19, 2025

Estes Mini Bomarc Clone, Kit #TK-5, Part 12, Launch Lugs

The launch lugs are short, two LL-2AM at .37" long.
These were cut from scrap pieces and sanded to insure both were the same length.

Because these lugs are short - 
Hold on to the lug with the tweezers while applying two thin glue lines. While still holding with the tweezers, set the lug in place under the rudder and wing.
The rear lug is even with the low end of the tube.
The upper lug is tucked under the forward tip of the wing. 

I didn't apply glue fillets on the lugs. It's difficult to get a good fill in that tight corner with all the air bubbles that can form.

Thursday, March 6, 2025

Estes Star Seeker BT-50 Upscale (Tri-Pack) Kit #0866, Part 7, Motor Lug Details


The motors tubes were made from 1/4" diameter launch lugs. Like the dowels, the lugs were cut to 2 1/4" long.

Here I've sanded the glue lines using my sanding block with 400 grit.


Evening out a glue line - mentioned earlier
On the left is the initial glue bead right out of the bottle.

On the right, I've evened out the glue line by using the "V" formed by the pinched thumb and index finger. Run the "V" down the glue line. 


Both of the launch lugs are glued to each other, with the ends even. No need to glue fillet.
Make two sets of two lugs.
After the glue dried,
The ends were sanded even on a block.

With a sharpened dowel, the folded in "skin" was lifted out for fine sanding and a cleaner edge.

Monday, March 3, 2025

Estes Star Seeker BT-50 Upscale (Tri-Pack) Kit #0866, Part 4, Prepping Lug Details


The 1/8" launch lug and 1/4" decorative "engine" tube lugs got a CWF seam fill and sanding.

While being held by Q-tip handles, 
they were sprayed with filler/primer.


All were sanded with 400 grit.

The ends got a wipe with CA glue applied with a Q-tip.
This hardens the loose fibers and allows you to sand them off clean.


After sanding, 
The edges were pressed and rolled round using a sharpened dowel.

Saturday, February 22, 2025

Estes Star Seeker (Tri-Pack) Kit #0866, Part 7, Paint & More Sanding


Here's the launch lug that will slide over the launch rod.
The rear of the lug is 5/8" from the rear.


After spraying the the model with gloss white,
some fillet bubbles showed. These were filled with more glue.


After the paint dried, the launch lugs showed how rough they were. 
This required some 400 grit sanding before another coat of spray.


No masking!
Just a clean, glossy white finish, ready for decals.

Friday, February 21, 2025

Estes Star Seeker (Tri-Pack) Kit #0866, Part 6, Fin Assemblies


Keep your glue lines short - 

Set the lugs in place and make the fin edges with pencil. 
Apply some glue up to the pencil lines and place the lugs.


Here's how the lugs set when set against the fin joint.  

The wing fin assemblies are glued to a standard 120 degree three fin spacing, using just two of the pencil lines. This makes a wide "W" shape.

The "flight" launch lug is glued onto the third pencil line.

Thursday, February 20, 2025

Estes Star Seeker (Tri-Pack) Kit #0866, Part 5, Fin & Launch Lug Assemblies


The dowels are glued to the top of the upper (unmarked) fins.


Two launch lugs are glued side by side.
Make two sets. I found it easier to make glue fillets now.


On the left, I've lightly sanded the glue line for better glue adhesion. 
On the right, the dowel fins are glued with that spacing overhang on the outside.

Be sure to make two "mirrored" fins.  

Wednesday, February 5, 2025

Estes Black Star Voyager Build, Part 32, Launch Lugs


I didn't (really) forget the launch lugs.
I was concerned about being able to sand and smooth the fillet ridges where the lower fin half center tips are close. The lower lug would be in the way of the sanding.

I marked the lug positions with pencil and scraped away the black paint down to the body tube surface. The scraped area is slightly shorter than the length of the launch lugs. The width is wide enough to get a good glue bond.


This is the upper lug, set 10 1/2"from the edge of the engine mount tube.

I didn't fillet the launch lugs, that would lead to bubbles and more filling. I used enough glue, the lugs aren't going anywhere.

Wednesday, January 15, 2025

Estes Black Star Voyager Build, Part 15, The Upper Fins, Steps B


The T pieces are glued onto the leading edge.
Run your fingertips down the leading edge to make sure there is an even overhang on both sides.

Sand the sides so the T pieces are flat and even with the R piece sides. 


The instructions say to "trim the ends even".

Trim a little long, then use a sanding block to match the angle ends of the R pieces.


The single 3/16" diameter launch lug is cut in half.

Use a new single edge razor blade, Cut straight down.


Use a sharpened dowel to re-round the ends.

I set the two lug pieces on some Q-tips for a handle for brushing on a coat of CWF


Thursday, November 14, 2024

Enerjet by Aerotech Strong Arm Build, Part 14, Launch Lug Fit & Fillets

While the fit of the vane sides were pretty good, the edges could still use a fillet.
I used Titebond Quick and Thick with a smaller Elmer's glue bottle nozzle. 

TIP: On a long fillet like this, it's easier to glue and smooth about half of the length, then do the upper half. Too much excess glue can pool under your finger when smoothing out a long fillet. 


GOTCHA: The coupler end inside the upper slot prevents the front of the launch lug from fully seating.

I filed down the front half of the positioning tab to fit over the coupler.


Beacon Fabri-Tac was used to glue the launch lugs in position.

A piece of masking tape held it down while the glue sets up.


I'll be on vacation for the next five days, there may not be posts while I'm away.


Monday, September 30, 2024

Enerjet by Aerotech, Arreauxbee-Hi, Part 9, Engine Mount, Launch Lug & Screw Eye Fitting


With the lower body tube turned over - 

Here's how the engine mount sits, recessed into the body tube.
Note the centering ring is right at and even with top of the fin slot.

With the fin locks in line with the fin slots, test the position by sliding a fin or two in place. You don't have to snap the fin tabs in place yet, just be sure the fins project straight out.


It could be difficult to apply CA glue to the rear fin tab/fin lock joint.
TIP: As shown in the last build, set a toothpick tip into the joint. Drip the CA glue onto the toothpick, enough glue so the drop runs down the toothpick and into the joint.   
The paint was scraped off around the launch lug slot.
Notice the low end of the raised alignment tab stops at the bottom of the lug. 
DON'T SCRAPE the the paint past the bottom end of the slot. The raised lug base sits down to the bottom of the slot.

The picture to the right shows how the CA glue was applied. The glue is applied towards the center so it won't squeeze out beyond the edges of the lug base.


The screw eye is turned into the coupler bulkhead.

TIP: On the right, notice the screw eye isn't screwed in beyond the threads. If turned in past the threads, the screw eye will be loose. The threads help lock it in place. Apply glue on both sides of the screw eye.

Friday, August 30, 2024

Enerjet by Aerotech, Astrobee D Build, Part 21, Launch Lugs

The launch lug slots are precut. After painting the body tubes, the slots are cut out.
I wanted to scrape the paint for a strong adhesion of the medium CA glue.

Pencil in guidelines inside the width of the launch lug.
Notice the bottom line is a little short, above the bottom of the slot. The upper end is a bit longer.
Check the right side of the next picture. The molded slot is even with the bottom and below the top of the lug.

The paint is scraped off inside the pencil line.

The bottom of the lug is not curved but flat.
I scraped a little more near the slot to flatten out the body tube curve. This will make a stronger glue joint.

On the right, CA glue is applied more to the center and away from the edges. This will prevent any glue squeeze out when the lug is pressed in place.


The lug is pressed into the slot and held as the glue sets.

Notice the paper towel taped around the flat finish paint on the body tube. This keeps finger oil stains off the body tube. Flat finishes are a dirt and finger oil magnet.

Friday, July 19, 2024

Enerjet by Aerotech Initiator Build, Part 13A, Launch Lugs

A little backtracking to show the launch lug attachments in the body tube slots.
   
The kit includes (squared) plastic launch lugs and conformal rail guides. The client asked for the squared launch lugs.
Like the fins, there are pre-cut slots for the rectangular tab underneath the base of the lug.

The top of the plastic lug overhangs the top end of the body tube slot. The back end is even with the low ends of the slot.

When cutting out the die-cut slot, try to make the low end clean and square. Don't make vertical cuts below the base end of the launch lug. 

I had painted the tubes and launch lugs before assembly, the launch lugs were molded out of black plastic.

You should cut away the paint for better glue adhesion.
I used lines of masking tape to guide the knife blade line and score into the paint. 
On the right side picture, the tube is flipped over.


The paint was scraped. The paint should chip along the score lines.


Here's one of the two inline lugs glued in place.
The tab molded into the bottom face of the lug fits into the cut slot.