Showing posts with label E MAV. Show all posts

Sunday, June 28, 2020

Estes M.A.V. #7283, Finished


For a "Beginner" kit, this one has a lot of interesting features.
Lots of detail and enough assembly for a beginner to have a good feeling of accomplishment.
I installed the pre-assembled 18"parachute. Is that too large for a 12" tall rocket? Probably not - the fins could break on a hard landing.

Saturday, June 27, 2020

Estes M.A.V. #7283, Build Part 6, More Stickers!


The hatch stickers are clear, fingerprints will show if you touch the back sticky side.

Hold and position the stickers with the tip of your knife blade.
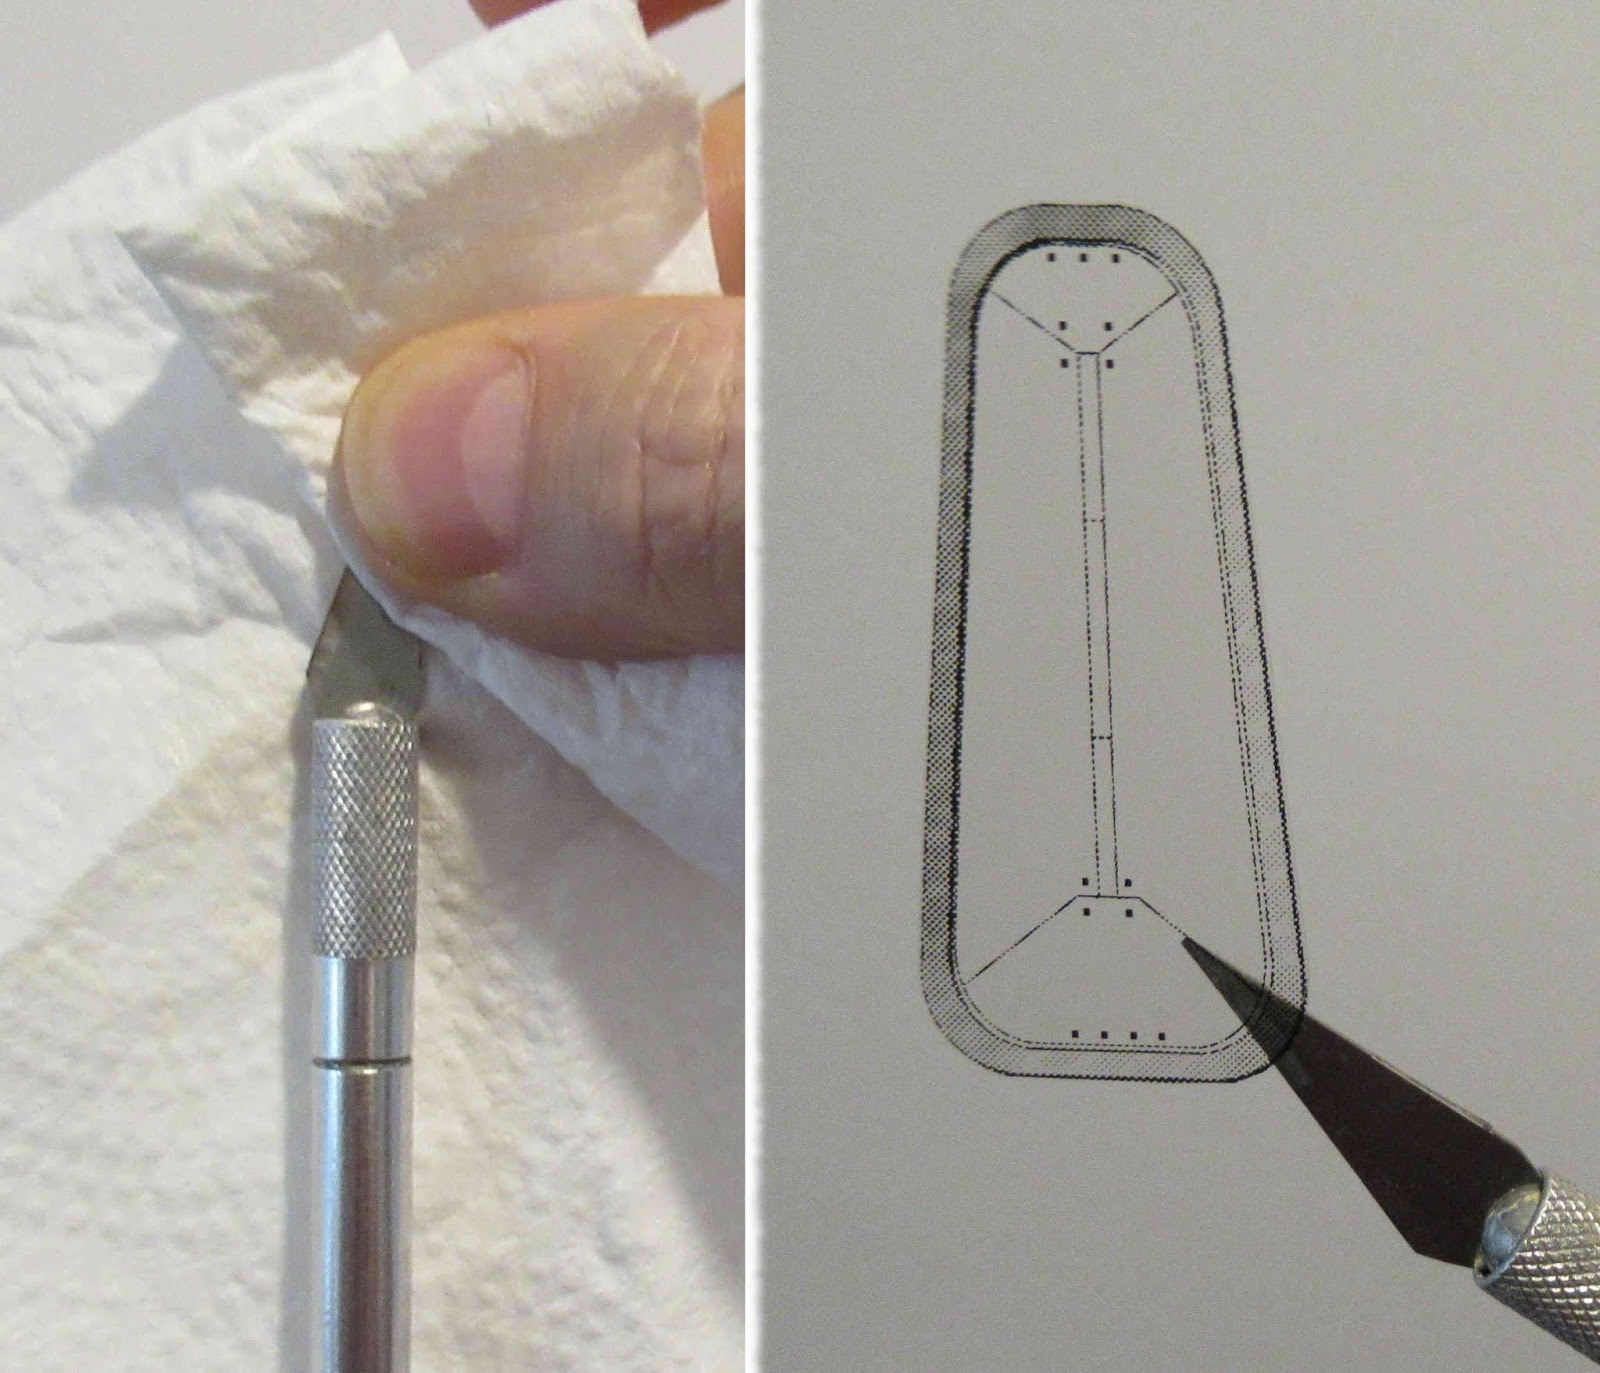
Before placing the sticker on the knife, wipe off the blade to be sure it is clean.


On the left, is a placed sticker using a wrap of masking tape for height and pencil marks for the centers.

On the right, the fins and retainer ring are in place. The hatch stickers centered pretty well.
Over the launch lug is a clear reinforcement sticker.
The plastic launch lug strip was glued in place and feels strong. It probably doesn't need the reinforcement, I went ahead and used it anyway.

I marked the center of the sticky square with some pencil tics. The pencil marks were centered over the lug strip and the sides pressed in place.


With the pencil marks rubbed off, you can't even see the clear sticker!
It's there -

Friday, June 26, 2020

Estes M.A.V. #7283, Build Part 5, Stickers!


GOTCHA: The instruction shows but doesn't say it - You've got to place the launch lug strip somewhere between two fins.
The illustration shows the launch lug strip set between two fins, but this is a beginner model kit and could be more explicit.


The hatch stickers are centered between the fins.
The die cutting is a little wide for me, the fold shows the separation cut.
I cut the hatch stickers out on the border lines.
I was concerned the stickers might grab before they could be centered. I needed some reference points.
I found the center by cutting a piece of paper the width of the area between the slots. Folded it in half and marked the center.
The center mark was transferred to the fin can at the top and bottom.

A strip of masking tape 7/16" tall was wrapped around the bottom for a bottom edge reference.

Thursday, June 25, 2020

Estes M.A.V. #7283, Build Part 4, Fin Can


The instructions show tube type plastic cement. I used brush-on liquid cement.

The fin can halves were pressed together dry.
The internal joints were brushed with the liquid cement while holding the joints closed and tight. Just the internal joints and at the top and bottom of the fin can got brushed on glue.


The fins slide into the bottom of the slot and are pressed up, locking them in place.
TIP: You really don't have to glue these fins in place. With the fins off you could easily fit this rocket in your range box. Slide in and lock the fins in place with the retaining ring at the flying field

On the left, the black ring isn't screwed all the way up yet. Notice the little bit of the slot still showing.

On the right, with the ring tight the fins are locked in place! They can't move up or down.
You could glue the fins in place but why? If a fin were to break, you've got a much easier fix.

Wednesday, June 24, 2020

Estes M.A.V. #7283, Build Part 3, More Interesting Things


Continued from the last post:

Here's the top of an engine sitting in the motor mount/fin can. Notice how it is centered, just inside the upper centering ring hole. The ejection charge would clear the plastic lip of the ring.


I did a dry fit of the fins.

Against a back light you can see the airfoil taper.

Here's the launch lug again.
The left side of the base is right down the seam of the wrap.
Usually on a factory installed wrap, the detail lines don't match. On this one - everything lines up!

It looks like the lug was glued on with a hot glue. There is a little clear glue squeezed out on each side.

Tuesday, June 23, 2020

Estes M.A.V. #7283, Build Part 2, Interesting Things


The shock cord is already installed!
This is a different attachment - the low end goes through a slit in the body tube, then folded up along the outside. The launch lug strip is glued over the shock cord holding it down against the tube.


The nose weight is already in place.
Under a bright light you can see the clay weight inside the nose cone.

The nose cone weighs just over one ounce.
The engine mount doesn't have a traditional motor mount tube.
On the left is 1/2 of the fin can/motor mount assembly. Notice the two central vertical ribs. There are two more ribsi n the opposite half of the fin can.
When the engine is slid in from the bottom - the wedge shaped ribs direct the top of the engine to fit and "lock" into that circular groove in the upper centering ring.

Monday, June 22, 2020

Estes M.A.V. #7283, Build Part 1, Parts


Here's probably the most interesting of the "Beginner" rockets, the new Estes Mars Ascent Vehicle or MAV.
It has a Space X Dragon style nose cone and fins that look a little like upside down landing legs from the old Mars Lander kit. The tube wrap is already applied.
In the center are the three stickers that go on the lower fin can, placed between the fins. 
The yellow square is a clear sticker that goes over and reinforces the installed launch lug strip.
This one is heavy at 3 ounces! Somehow I would expect it to get higher than 250 feet on a C6-3 engine. The parachute seems large at 18" diameter.
This same design will be available in the "Colonizer" Starter set with red fins and nose cone trim.
Why feature a "beginner" build? There are some new manufacturing twists that make it very interesting.