Showing posts with label SLS. Show all posts

Wednesday, March 28, 2012

Dr. Zooch SLS Finished


As far as I could tell, three NASA meatball logos are place 120 degrees from each other. You can see the small, vertical UNITED STATES decal set on either side of the upper core tube.
The kit provide you with a United States flag printed on cardstock. I found a flag online and added it to the decal sheet. My flag decal width is a little less than the cardstock flag provided.

This is really a great looking model when seen in person. I especially like the Saturn V decor. It's good to have the option of different finishes.

Lessons learned:
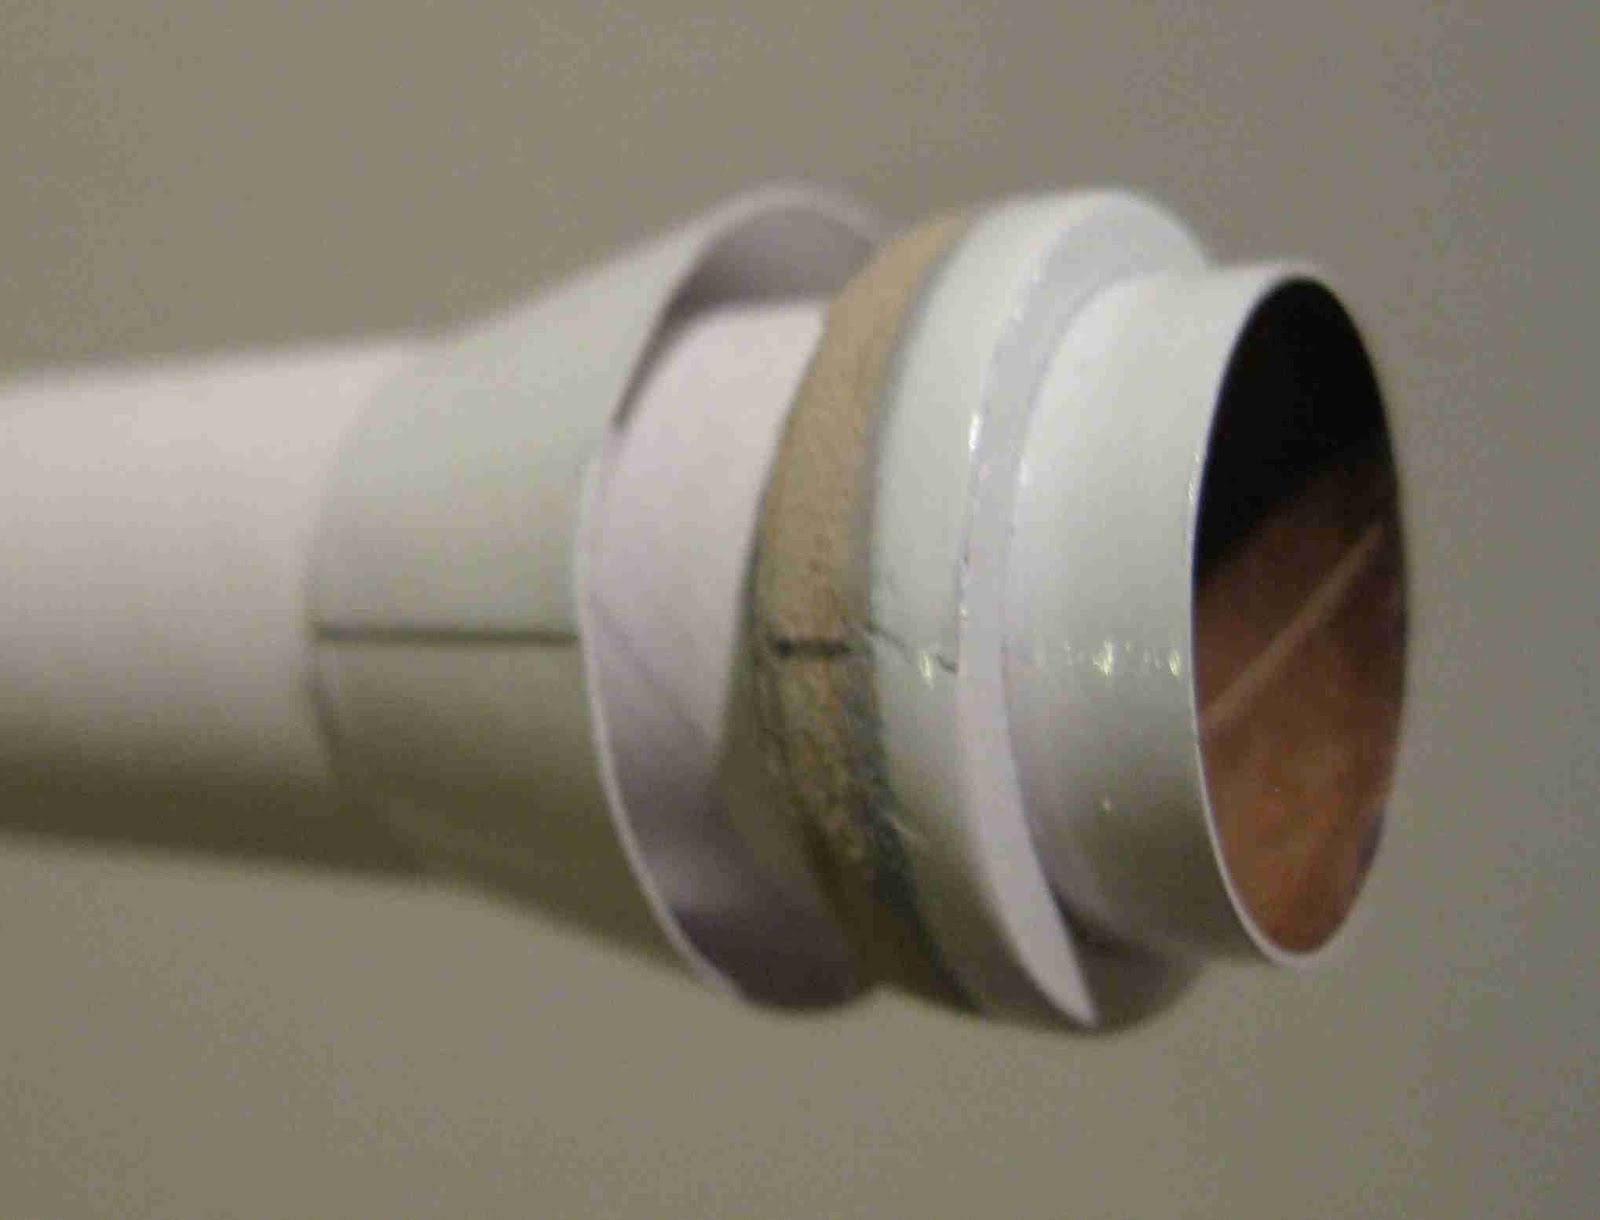
1. I usually read ahead and should have avoided gluing the launch lugs in the way of the support struts. It's a compromise I guess, the launch lugs aren't so obvious but the struts on the lug side are small.
2. If you want to use the supplied Saturn V wraps, you'll have to plan ahead and make adjustments to the order of construction.
3. I followed the Space.com artistic rendering for placement of the SRBs on the core body. On my model, the SRBs don't overhang the rear body as much as they probably should. I'm taking a chance here, but a model this length with six trailing fins should be stable.

The instructions recommend a B6-4, C6-3 and C6-5 engine. NO A ENGINES!

Saturday, March 24, 2012

Dr. Zooch SLS Build Part 31 Engine Bells & Decals


Instead of the recommended Testor's #1180 Steel I used Testor's #1145 Gunmetal Steel. It's not quite a full black and looked great on the nozzles.
For painting, the nozzles were stuck down to some masking tape, sticky side up. The small end of the nozzle was set on the tape. This kept the paint off the small end gluing edges.

The engine bells were tacked in place with white glue.
Center the bells evenly inside the fairings.

After the white glue set up, I went back in with some medium CA applied with a toothpick. I made sure I got a CA fillet along the inside edges of the bell.

The yellow trash bag parachute was assembled.
To make a tri-fold shock cord mount, the instructions say to: "cut a rectangular strip that is 1/2" wide and just over 1" long."
I've seen this in the Dr. Zooch instructions before. Considering the elastic shock cord is 1/4" wide, this piece of cardstock seems very small.
I cut my tri-fold piece from left over kit cardstock, it measured 1" wide by 2 1/2" long.

Looking back on the latest Space.com artistic rendering, the words UNITED STATES and a NASA "meatball" logo were added.
Up to this point, the upper section of the SLS is all white. I wanted to add the additional decals to make it more interesting.

Here's the decal sheet I made up.
I hate to waste most of a decal sheet for such a small set of decals, so I added a vertical "USA" and many upsizes of the SLS decals I needed. It's a full 8 1/2" X 11" decal sheet with plenty of NASA logos, Flags, USA and UNITED STATES decals for future use.

Patreon members: If you'd like a PDF of this art to make your own decals, email me at oddlrocket@bellsouth.net and ask for the NASA/USA decals PDF.

Friday, March 23, 2012

Dr. Zooch SLS Build Part 30 Feeder Line & Engine Bells

If using the Saturn V wraps, you have to wait to glue on the feeder line.
The shaped feeder line dowel was sealed and sanded with two coats of varnish.
It was painted before gluing on the core body.

Instead of cutting away the cardstock wrap to fit the ends of the feeder line dowel, I made recessed notches in the dowel to overlap the cardstock wraps.

Look close in the picture and you can see where the paint was scraped away for a better bond of the white glue. Be careful if you scrape away paint like this, sometimes the paint will want to chip. Keep the scraped line narrow until you see how the paint comes off. Then widen the line but keep it narrower than the width of the feeder tube.


Four engine bells are formed.
Here I'm sanding down the smaller end so the gluing edge is flat all the way around.


The edges will roll over a little bit from the sanding. Don't remove this rolled edge. The wider edge gives a bit more gluing surface.

Thursday, March 22, 2012

Dr. Zooch SLS Build Part 29 SRB Struts Oops!

My placement of the launch lugs was wrong!
I didn't want them down the middle of the core tube and thought a side placement wouldn't make them so obvious. I glued them to the side allowing for the launch rod clearance between the SRB skirts and engine fairings.

I didn't read ahead seeing the placement of the SRB struts.
The struts next to the lugs ended up being very small!
Read ahead and plan better than I did!


This is the back (end up until now) with the struts in place.
The flame fins are in place but not pushed all the way in.

Dr. Zooch SLS Build Part 28 SRB Struts

You will need the add the SRB struts for strength. These keep the SRBs on the core body when you slide in or pull out the flame fin assemblies.

I sealed and painted the dowel white before cutting into eight 1/2" long pieces.
The angle was sanded onto both ends of the dowel.

For a better seam and glue joint, a slight curve was added with a half round diamond file. This will better follow the curvature of the adjoining body tubes.


The ends of the struts got a drop of glue and they were set in place with long tweezers.


Any excess glue was picked up with a Q-tip.
TIP: Q-Tips are great for getting glue out of tight areas where your fingertip can't reach. The only downside, you can only use them once. The glue you just removed will quickly dry on the end of the Q-Tip. I always keep them close at hand.

Wednesday, March 21, 2012

Dr. Zooch SLS Build part 27 Launch Lug Gluing - Oops!

I didn't glue on the lugs back in Step 2A.
I waited for two reasons:


1. I fill the lug seams and knew the lugs would be painted white before gluing in place. Adding the Saturn V wraps changes the way you would paint the model. You mask, paint white and then add the wraps.
2. The instructions were al little vague about the lug placement, so early in the build. I waited so I could be sure of which side of the index line the lugs would be glued on.

The lugs onto the Saturn V cardstock wrap for better glue adhesion. White glue won't stick to the white paint.

I tucked the lugs closer into the joint between the core body and SRB. Not all the way into the joint, there would have to be launch rod clearance by the SRB skirt and engine fairings.

Here's where the lugs were glued.
A launch rod was set beside both lugs to be sure they were in line.

Again - don't glue the lugs this way!
They will be in the way of the SRB struts added later.

Dr. Zooch SLS Build Part 26 SRB Gluing

Use white glue to attach the SRBs!
White glue dries CLEAR, yellow glue dries YELLOW!

Glue was applied to the area of the SRB bands. There is a slight separation at the band seam which gives a little more gluing area.
I applied glue at all the points where the SRB wrap met the cardstock wraps on the core body.

I glued my SRBs a little higher on the core body than the instruction illustration showed. This reflects the newest artistic renditions from NASA. I hope it doesn't effect stability! With the extended flame fins out the back I should be okay with this modification.

Sight down the body from the front and rear to be sure the SRBs are straight!


With a toothpick more glue was applied to the contact points.

Tuesday, March 20, 2012

Dr. Zooch SLS Build Part 25 Saturn V Wraps


This picture better explains the longer cut of the lowest wrap.
This is another dry fit before the spray adhesive. You can see where the lower edge of the wrap will cover up the boat tail/body tube seam.


TIP: I've read where others have had problems with the spray adhesive getting everywhere.
If you lightly tape the printed side down an a scrap piece of cardboard there is little chance of the the adhesive getting on the print side.


Here you can see how the wrap is stuck down over the masked body tube section.
You could stick the adhesive down on a painted surface, I think you'll get a better hold on the bare body tube.
There is primer on the tube, but I tend to sand primer down to the surface for better adhesion of all glues used.

Dr. Zooch SLS Build Part 24 Saturn V Wrap Prep

This is the lower end of the core tank after sanding the primer down.
This lower end took a couple of primer coats and sanding to get it where all the seams were filled.

The Saturn V scheme will require some planning and masking.
All the wraps were dry set in position (no glue) and marked for positions around the tube.
Maksing tape was set down where the wraps would be adhered. The masking tape was set a little "inside" the pencil lines so the wrap would overlap the white paint between the wraps.


After the first coat of white I had to go back and fill some small dips in the lower boat tail shroud.
Another coat of primer and sanding followed.


This dry wrap of the lower shroud shows how I cut it oversize or longer at the bottom.
The shroud seam still wasn't consistant all the way around. By cutting this lower wrap long, the wrap edge will go all the way to the bottom of the tube. The edge of the wrap will give a sharp edge and cover any seam or dip in the boat tail joint.

Monday, March 19, 2012

Dr. Zooch SLS Build Part 23 LAS Nozzles


For just a slightly better glue joint, the angle cut side of the nozzle was contoured with a small rat tail diamond file.

This gives a better surface contact at the gluing surface.


A line was drawn around the LAS dowel at 7/8" from the tip.

The four LAS nozzles were glued just touching the line, evenly spaced around the dowel.

Saturday, March 17, 2012

Dr. Zooch SLS Build Part 22 LAS Nozzles

The small LAS nozzles are actually cut from the back end of fancy toothpicks.
These are small, and could be easily lost. Keep them in the bag!

I've already dipped them twice in varnish, wiped off the excess and sanded to surface.
It's a good idea to seal these nozzle pieces, they will look rough if just sprayed with white. You could spray them with primer and sand, but I prefer using clear varnish to seal and sand them before gluing to the model.

TIP: I used a four sided fingernail shaping file from the beauty supply store.
These are padded sanding sticks with four different grits from about 220 to 400 grit.
I'm sure they are a lot cheaper than the hobby store "boutique" sanding sticks. For something like these small nozzles, the padding under the sanding surface works very well.


They were cut to size after sealing.
These are small, for easier handling keep them long until you are ready to glue in place.

Pencil lines were drawn for a angle cutting guide. I wanted all four nozzles to come off the LAS dowel at the same angle.


All four nozzles were set on masking tape, sticky side up.
This was for two reasons -
You won't want to lose them,
You can check them side by side to make sure they were all the same length and angle of the cuts.

Dr. Zooch SLS Build Part 21 Engine Mount Gluing

The line at the top is your index line.
The corrugated or Saturn V style wraps start on this line.
The seam on your boattail shroud should also line up on the index line. This way the seam won't be noticed at the side, under the SRBs.

The lower line is the Feeder Line placement line. The engine hook lines up on this.

If you are wondering where the corrugated wraps went, I won't be using them. I decided to use the provided Saturn V wraps. They will be glued on after the core tube is painted white.


My boattail fit wasn't as good as I would have liked. This is a dry fit of the engine mount.
I ended up sanding the end of the tube a bit so the shroud would fit it all the way around.


After the mount was glued in place, a dowel was rolled over the edge to smooth out any raised card stock.
This works when the card stock is still wet and malleable.

Friday, March 16, 2012

Dr. Zooch SLS Build Part 20 SRB Bands


You can see the rough edge around the shoulder of the nose cone.
I cut the uppermost white strip a little wide so it would overlap the top and cover the rough lip of the nose cone.


This is the overlap strip in place, covering up the rough balsa lip.


Near the bottom, two of the band strips are a triple thickness.
I used the back end of a very dull razor blade to help evenly space out the strips while the glue was still wet.


Finally, one of the two the finished SRBs.
Adding all those wrap strips really adds a great dimension to the model.

Dr. Zooch SLS Build Part 19 SRB Bands

Be sure your hands are clean before applying the bands. Any dirt or oil on your skin will transfer to the white cardstock.

It's hard to cut the strip widths consistent. I cut out many strips any and threw away about half. Don't worry, there's plenty of area in the printed black blocks you cut the strips from.

Instead of applying white glue directly on the back of the strip, I set a drop of glue and ran the strip through it. The excess glue was wiped off before applying it to the SRB body.


Start a little to the side of the wrap seam. This will give you a gluing area that fits the contour of the core tube.
Here's what the finished strip wrap looks like at the seam.


Here's the finished strip, starting and finishing at either side of the seam.
The band and wrap seams will be covered when the SRBs are glued to the core tank.

Thursday, March 15, 2012

Dr. Zooch SLS Build Part 18 SRB Wraps

The Zooch instructions have you apply glue to the outside 1/2" of the back of the wrap. I didn't have much luck with this in the past so I use spray adhesive.
Using white glue on the back of the wrap gives you one chance to get it aligned. Using spray adhesive you have a couple tries to set and remove the wrap before burnishing it in place.

In the picture a line has been drawn down the SRB tube in line with the skirt seam.
Remember, the seams will be hidden when glued to the core body.


After the wrap was in place and lined up, I tightly wrapped bands of copy paper around the adhered cardstock wrap. Just the outside final wrap was taped down, there is no tape holding the start of the wrap.


These outside paper wraps hold down the cardstock edges that tend to lift while the adhesive is drying. Covering the wraps (while adhering) also keeps the outside white cardstock surface clean.

With the paper (over wrap) bands in place the seam was pressed and rolled down with a dowel.

Dr. Zooch SLS Build Part 17 SRB Skirt Glue and Paint


Here's the SRB white areas after painting.
Everything is still a dry fit, no glue. The nose cone was removed and set aside for later gluing.
The inside of the SRB tube has no paint in it so the flame fin assembly can slide in easily.


Take a look at your rings. If there is any roughness on the edge or the seam is still visible, plan ahead and hide it where it won't be seen.
The skirt seam will be on the inside where the SRB glues to the core tank.
I'll line up the skirt seam with the rough area left on the support ring.
The skirt seam will also be in line with the wrap seam, that's where the pencil line will now go.


With the support ring glued on, the skirt is slid down from the top (instead of the bottom) and onto ring.
You can see the glue lines in place before the skirt was slid onto the ring.

Why go through these extra steps?
I didn't want to brush paint the nose cone, support ring or the area below the ring. There was a bit of planning before doing Step 4. It could certainly be built as shown in the instructions, I just wanted smoother painted surfaces I couldn't get with a brush.

Tuesday, March 13, 2012

Dr. Zooch SLS Build Part 16 SRB Skirts and Paint


After all the shaping, the exposed edges of the skirt support ring are a little fuzzy.
I applied some medium CA with a Q-tip to harden up just the outside edges that will be seen, not over any areas that will get glued later.
These were both sanded smooth with 400 grit sandpaper.


I would have thought after all the shaping that the centering ring wrap seam would be gone.
The seam was filled with thinned CWF.
The ring on the left show the applied CWF.
The ring on the right is after sanding it to surface.


Most all the tube is covered by the wrap, except for the nose cone and SRB skirts.
I temporarally slid the nose cones into the rear of the tube to spray them white and to keep paint out of the inside of the tube.
The lowest exposed end of the tube, the smooth support ring and skirt were all dry fitted and sprayed gloss white.

Dr. Zooch SLS Build Part 15 SRB Skirts

In the instructions, the SRB skirt is slid on and glued after the SRB wraps are glued in place.
Because the SRB skirts are slid on the T-20 tube from the bottom, the smaller end of the skirt is larger than it normally would be. With the smaller hole a bit wide, you can slip it over the T-20 tube easier. But for that reason, the fit at the top of the skirt shroud seems too loose.

I'm going a different route. I'm making the skirt top hole a little smaller and sliding it over from the top before the wrap is glued on.
3/4" of the low end of the T-20 tube had the seams filled.


The CR2050P rings top edge is sanded to the side angle of the shroud.

In the picture I'm not sanding the skirt shroud, I'm just checking the angle of the skirt and matching that with the flat side of my sanding block.


On the left is the dry fit assembly before sanding the CR2050P ring.
On the right is how the ring and skirt fit after sanding.