Showing posts with label OR Carded Goblin. Show all posts

Friday, May 31, 2024

Carded Mini Goblin Build, Finished


For those building Goblin families, this is about as small as you can go. 
1/8" diameter launch lugs look big on these tiny models.

You could use MicroMaxx motors but I prefer a 1/2A-2t or 1/2 A3-4t motors. If made for MicroMaxx flights, you probably wouldn't need the clay nose weight.


Here's the mini model to the right of a standard BT-55 based Goblin.

Home print skins aren't as bright as a regular spray painted model, but the Goblin vibe is still there!

These little guys are great for first flight of the day or decorating the Christmas tree alongside the Estes plastic ornaments.

Thursday, May 30, 2024

Carded Mini Goblin Build, Part 8, Nose Cone Paint & Streamer

How can you hold onto a nose cone for spray paint?

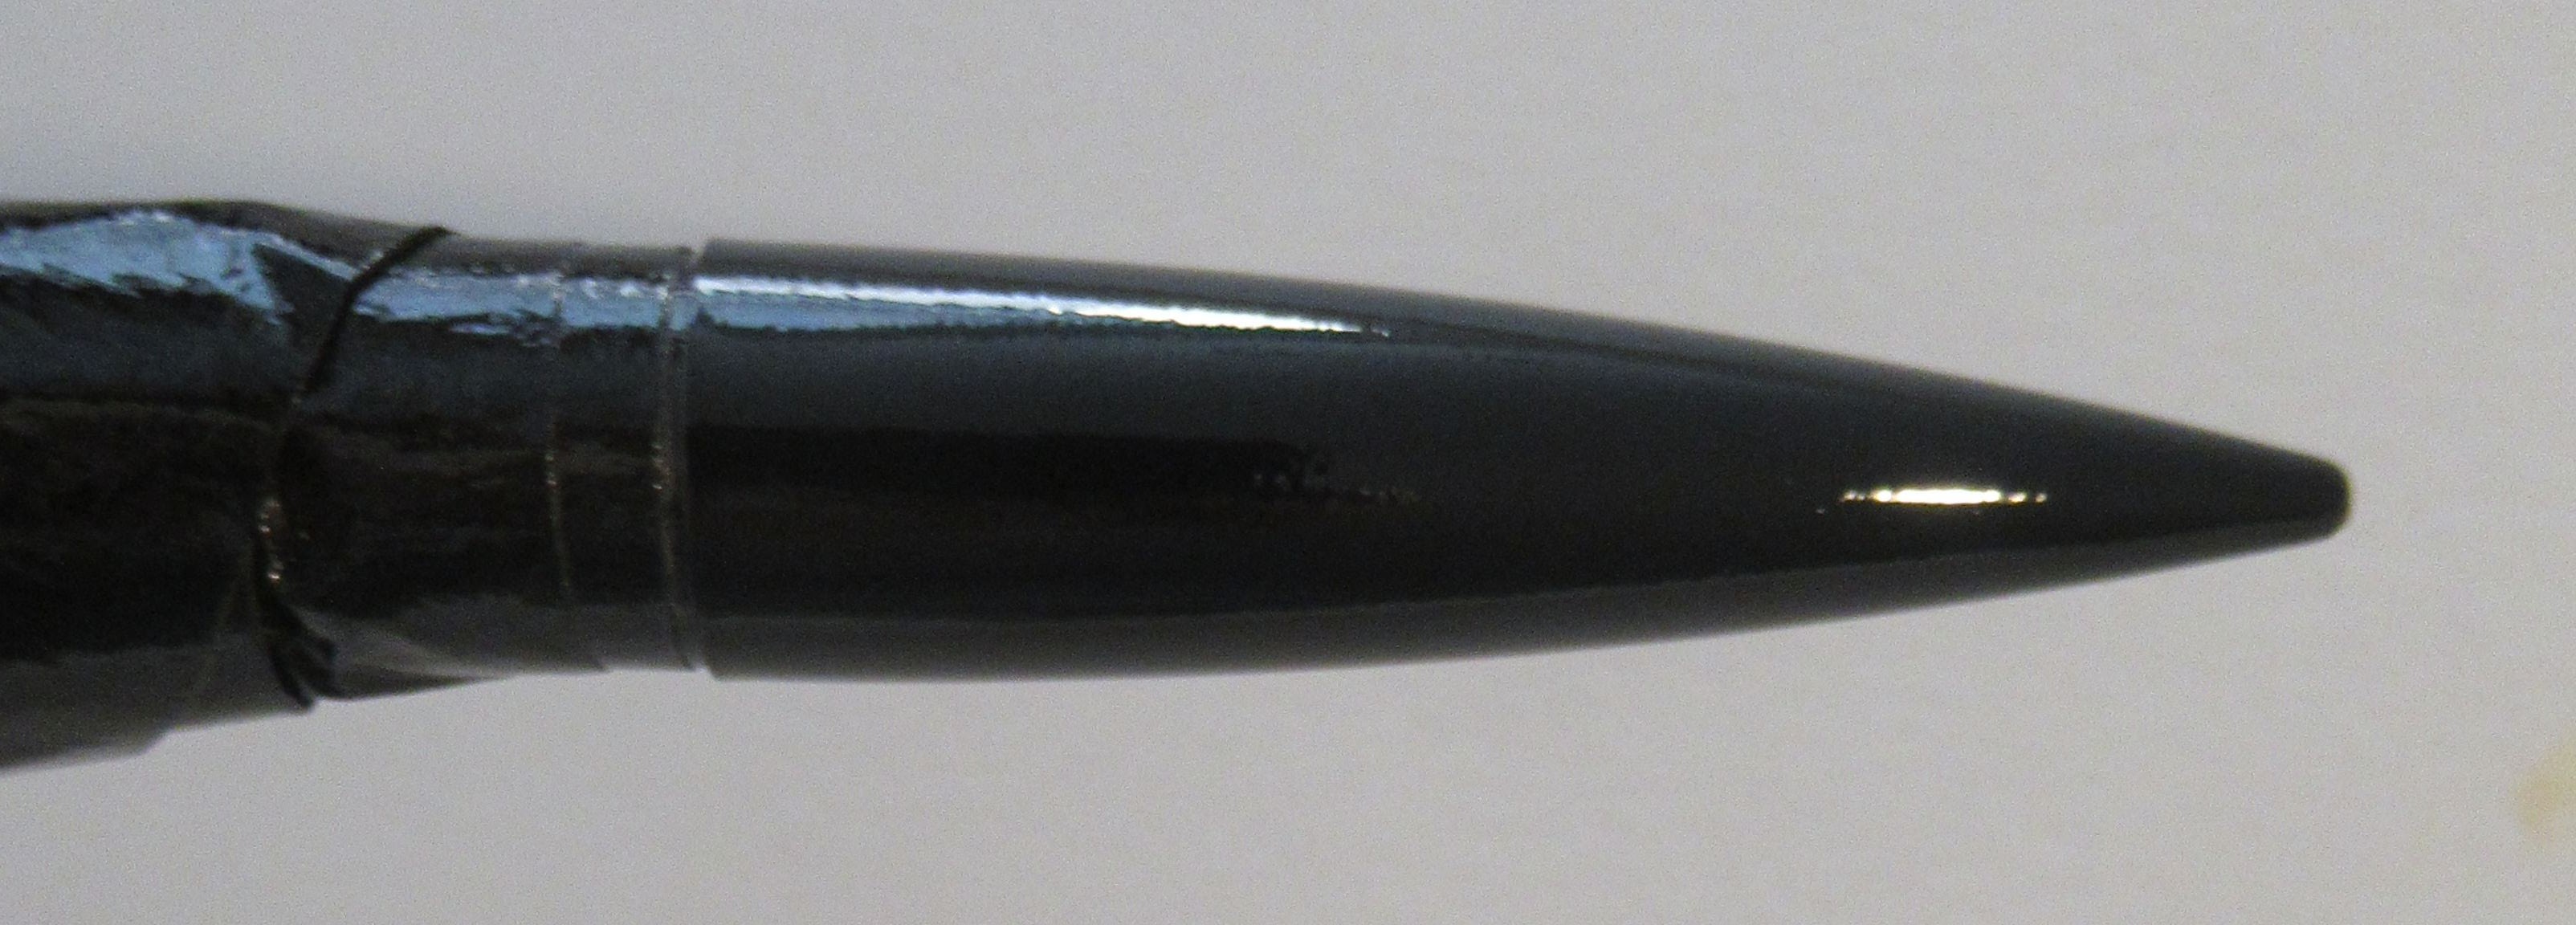
To start, one wrap of masking tape around the shoulder. Note the tape is set back about 1/32" from the lip of the nose cone. This gives you paint coverage if the nose cone isn't fully seated in the body tube.

Run a line of tape down some copy paper. Roll and stick this paper cone over the tape already in place. This gives you a "handle" for spray painting.


The nose cone was painted gloss black.


Tie the Kevlar line to the nose cone base. Leave a 1/2" long tail on the end and tuck it into the hole in the nose cone base.


TIP: On models this size and the smaller MicroMaxx rockets, use long tweezers to help pack the wadding, Kevlar line and streamer.

Carded Mini Goblin Build, Part 7, Launch Lug Skin


The launch lug skin gets the same glue stick coverage on the backside.


Burnish the skin onto the lug.

Note there is a slight gap where the two sides almost meet.
This is the gluing line.


I cut the BT-5 body tube a little long. It was sanded down until it was even with the body tube edge.


These nose cones have a slight shoulder lip that doesn't help with the fit in the body tube.

Round over the shoulder with 220 grit followed by 400 grit.

Fill half the nose cone with clay.
Glue the shoulder base into the nose cone.

Wednesday, May 29, 2024

Carded Mini Goblin Build, Part 6, Body Tube Skin


Using your aluminum angle - 

Draw a pencil line down the BT-5 tube. 
Pencil, not pen. Ink can bleed through the paper skin.


Apply an even glue stick coat.

Again working quickly before the glue dries,

Set the long edge down the pencil line and roll the skin around the tube.
By the time you get it aligned around the tube, some of the glue may have set up. Apply more glue to the lifted end and burnish.

The bottom photo shows a good seam end match.

Tuesday, May 28, 2024

Carded Mini Goblin Build, Part 5, Cutting The Fins To Size


After the fin skins have dried - 
Cut out the fins on the border lines using a straightedge and sharp knife. Only cut on the side that says "Root Edge" with the thin black border.

Cut through all three layers.


Here's the other side showing the cuts. Notice this flip side has the yellow ink outside the cut lines. Drawn and printed this way you get full ink coverage on both sides. 

After cutting, you may feel a wider swelled edge at the cut lines.

You can compress these sides down with a burnisher.

I'd recommend rubbing in a small bead of white glue down the cut edges to seal them. Keep the glue off flat sides of the fins. Remember - white glue dries clear, wood glue dries yellow. 

Four fins, ready for gluing onto the rocket body.
I used the decal placement from the 1970s original Goblin kit.

On my first carded model, I remember being surprised at how strong and stiff the fins were.


Monday, May 27, 2024

Carded Mini Goblin Build, Part 4, Fin Gluing


Fold the fin skin down the embossed line you made in the last step.

I'm using my favorite burnisher, the Sharpie barrel, to get a sharp crease.


I use the color changing glue sticks to adhere the fin and body tube skins.
You've got to work fairly fast - when the applied glue turns from purple to clear, the glue has almost dried.


Set the crease fold over the rounded cardstock edge then lay the the sides down.

Try to get the leading edge fold right down on the cardstock edge. Lay the fold on first, then follow adhering the sides.


On this fin, I probably could have got the left tip a little father down onto the cardstock center. It should be okay as is.

Sunday, May 26, 2024

Carded Mini Goblin Build, Part 3, Fin Prepping


One side of the cereal box (central core) has printing on it.
Sand down and rough up the inked side with some 400 grit.

Be ready, that dust can get everywhere.


Using a straightedge and sharp knife, cut one edge straight and square. This will end up being the leading edge of the fins.

Roll over the flat leading edge with some 400 grit sandpaper.
This rounding will give you a tighter fit of the folded 110 lb. printed skin cover.


Before cutting out the fin cover skins, 
Spray the printed side of both the 20 lb. and 110 lb. with clear acrylic. Paper skinned models can get dirty from handling.

Emboss a fold line down the leading edge with a straightedge and a non serrated tip of a butter knife. 


Here you can see the embossed line down the leading edge fold.
The emboss line helps get a sharper, straight fold.

Note one side of the fin skin is wider than the other. This guarantees full color coverage when the fin is cut out.
 

Saturday, May 25, 2024

Carded Mini Goblin Build, Part 2, Re-draws

Why bother redrawing the art?

The new model will be very small. Many details can disappear when reduced.

On the left, look close at the white lines where the arms overlap the body. When the art is small, those lines could  close up.

The new redraw is on the right. Note the white lines are thicker and overall the outside edges are cleaned up.

When drawing a downscale I probably spend too much time trying to match the fonts from the original decal sheet.
On the left is the original "3".
I found something close and played with the vector points to get the image on the right.

Most people wouldn't notice the difference. But, it gives me something to do.

Friday, May 24, 2024

Carded Mini Goblin, Part 1, Parts

Goblin rockets are hot right now. 
How about a smaller BT-5 version for 13mm engines? This one is tiny at just XXXX" tall! It performs like a BT-5 Mosquito. You can also adapt it for Micro Maxx motors.

This model has paper skinned "butterflied" fins where the center fold becomes a rounded leading edge. The center core is cereal box cardboard.

The decal art was taken from the online instructions at Jim Z's, cleaned up a bit and reduced.

Don't use the above illustration at the right to make the rocket. There was some corrections made from what you see here.
Patreon supporters can email me at: oddlrockets@bellsouth.net and I'll send the full size PDF.


Two home prints are made, one on 20 lb. paper a second on 110 lb. cardstock. This 20 lb. print gives you enough to make two rocket bodies and launch lug skins. The 110 lb. cardstock print makes two sets of fins.


PARTS: You'll also need some BT-5, a plastic Quark style nose cone, 1/8" diameter launch lug, 65 lb. Kevlar, a 13mm engine block and clay nose weight.
TOOLS: A sharp knife, a dull butter knife for scoring the fin leading edges, clear acrylic spray, white glue and a glue stick.


To give an idea how small these are - 

Here's a side by side of my BT-60 Red Maxx next to an older BT-5 downscale version. The Micro Maxx is only 5 1/4" tall.
Heck, if you make enough of these, you could decorate the Christmas tree.