Showing posts with label Fins. Show all posts

Friday, June 13, 2025

Estes AMRAAM AIM-120 Downscale, Build, Part 3, Cutting Out The Fins


This is a spare parts build.
The scrap 3/32" balsa sheet edge was a bit banged up.

Before cutting out the fins, 
The soon to be leading edges were sanded square using a sanding block.

Old school:
Tracing around a cardstock template using a pencil.

I don't like using a pen. Unless the ink is sanded off, it will bleed through the final paint.


On hand cut fins, gang sand them.
Stack and square them up using a sanding block with 220 grit.

On the left is the upper fins,
On the right are the lower fins.

Tuesday, March 25, 2025

Aerotech Mega Initiator #89541, Part 10, Final Fin Fill & Dry Fits


The fins on the flight version were left square.

That inside leading edge angle still wouldn't match up. I added some CWF for a better flow.


Here's the same fill after sanding. Some 400 grit was wrapped around a pencil to sand the angle.


Another dry fit of the fins showed the ring slots were too tight.

The sides were shaved down, widening the slots.


Here's how far the engine mount is recessed, the ring face is just under 7/8" from the end of the tube.

With the fins in the slots set the placement depth of the  engine mount.

Thursday, December 19, 2024

Estes Constellation Build Part 13, Fin Prep


Before spraying a white coat to check for flaws, a small bit of the root edge was masked off.
This was to keep some of the fillet area clear for a stronger glue joint.


After a light coat of gloss white the tape was removed.
You can see the fillet area is clear of white paint.


The pencil fin lines on the body tube were roughed up with 220 grit on a block.
After sanding off the lines they were drawn on again.

Monday, September 2, 2024

Enerjet by Aerotech, Astrobee D Build, Part 24, Gluing In The Fins


The fins are glued into the body tube slots and fin lock tabs.

Apply medium CA down the foot edges and onto the edge of the tab rood edge that will contact the engine mount tube. Keep the glue towards the middle of the fin lock tabs. This will prevent squeeze out when the fin is snapped into the fin lock tabs.


Here's the fin assembly all locked in place.


The instructions recommend applying glue into the rear root edge joint. But that's quite a reach -

TIP: You can get CA glue into the back of the fin lock by running a drip of CA onto and down a toothpick.

Place the toothpick tip into the root edge. Drip the glue down onto the toothpick and it will run down into the joint.

Wednesday, July 3, 2024

Enerjet by Aerotech Initiator Build, Part 9, Fin Locking & Engine Mount Gluing


The thru-the-wall fin tabs are masked off so the fins can be painted before being attached.
Notice the tabs are taped down to the backing cardboard for spraying.

Spray one side, let dry.
Flip over and spray the other side.


The pre-cut fin and launch lug slots are removed.

Now you can slide in the engine mount making sure the fin locks around the engine mount are visible through the slots.

The contact areas of the TTW root edges get a bead of CA glue. The fins are slid in with the TTW tabs snapped into the fin locks.


From the rear - CA glue is applied to all reachable joints locking the mount in place. 

Through the front - Apply a wood glue fillet around the outside of the front centering ring/body tube joint.


Monday, May 6, 2024

Estes Condor #0807 Build, Part 10, Balsa Filler/Primer


After one pass with CWF and sanding, 
the die-cut balsa still showed some crushed edges. I had to go back for more filler.


The balsa was sheet was pretty good. 
Here's a fin right after a shot of filler/primer. You can't see and grain pores.


Here's the tip fins with sprayed filler/primer - 


And a fin after sanding off most of the filler/primer.


The die-cut balsa tip fins have a rounded outside corner.

The instructions show a sharp corner.

Thursday, April 11, 2024

Estes Mini Bertha Clone, #TK-3, Part 6, Cutting Out The Fins

I had to search to find some 1/16" thick balsa. 1/16" thick balsa is rarely used in rocket kits anymore. You can still see the SIG logo in purple ink on one fin.
Cutting them out by hand makes some small inconsistencies. On the left the four fins are squared up. 
On the right side, the fins have been stacked and the sides sanded even. 
Current laser cut fins are uniform, you don't need to gang sand them. But, you should still sand off the black ash on the fin edges.


Here's another view next to the fin pattern from Jim Z's.


The fins got one coat of CWF and sanding.
Gray filler/primer followed.

On the right side of the picture the fin was sanded with 400 grit. I tend to sand most of the filler/primer off leaving some in any remaining balsa grain.


The printed fin marking guide didn't quite match up after rolling around the tube.

I went to payloadbay.com and printed out one of their fin marking guides: CLICK HERE

Thursday, March 21, 2024

Estes Skytracer Clone #1361 Build, Part 6, Cutting Out The Fins

The fin patterns were traced onto the 3/32" thick balsa with pencil. Pay attention to the grain directions.
NEWBIES: Never trace fin outlines or draw fin lines on a body tube using ink! The ink can bleed through paint and will be seen on the finished model.


Pay close attention to the corners. In this picture, the knife is started before the corner and is being drawn away to the right. That small corner (nearest the 7 1/2" mark on the ruler) can easily break off down the grain lines. 
Note the saw blade is perpendicular (at 90 degrees) to the balsa sheet.


The second cut is also drawn away from the corner.
NEWBIES: Don't try to cut in a single pass. Lighten up the pressure and make a few passes with the blade. Relax, slow down!
Again, the cut is started outside of the corner to prevent the balsa tip from breaking off down the grain.


Square up the inside lines with a sanding block.
That 220 grit on my block is an older piece of sandpaper - still usable though!


Here's the two wings, stabilizer fin and the smaller standoffs.

Monday, October 2, 2023

Estes Black Brant XII, Kit # 9723 Build, Part 18, Scattered Build Pics


This blog build probably hasn't followed the instructions order. Many of the parts were painted before gluing the model together.
Here's two of the first stage fins.

GOTCHA: The Finishing Picture on Page 10 of the instructions says to paint all four of the 1st stage fins yellow. Actually, there are three yellow fins and one red fin.
The second stage fins are three red and one yellow.
The single first stage red fin lines up with the single yellow fin on the second stage.


The area under the third stage fins is flattened for a better fit of the plastic fins.

The instructions show a sanding block being used. I used a flat diamond file for more control. The block is too big, with a file I could see what I was sanding.


Here's all the black parts ready for paint.


On the largest adapter shown at the right - 
The orange was sprayed first. A straight line mask went around the bottom of the orange. Another white under coat was sprayed before the silver was added.
Silver was sprayed and allowed to dry. 

Sometimes it's hard to get a clean mask line in a recessed area.
TIP: I used a ultra fine point Sharpie for an easier, sharper mask. The black pen ink filled the recess area. Masking followed, then spray black paint.

Friday, June 16, 2023

NewWay Angled Invader, Part 8, Gluing On The Pod Fins & Launch Lugs

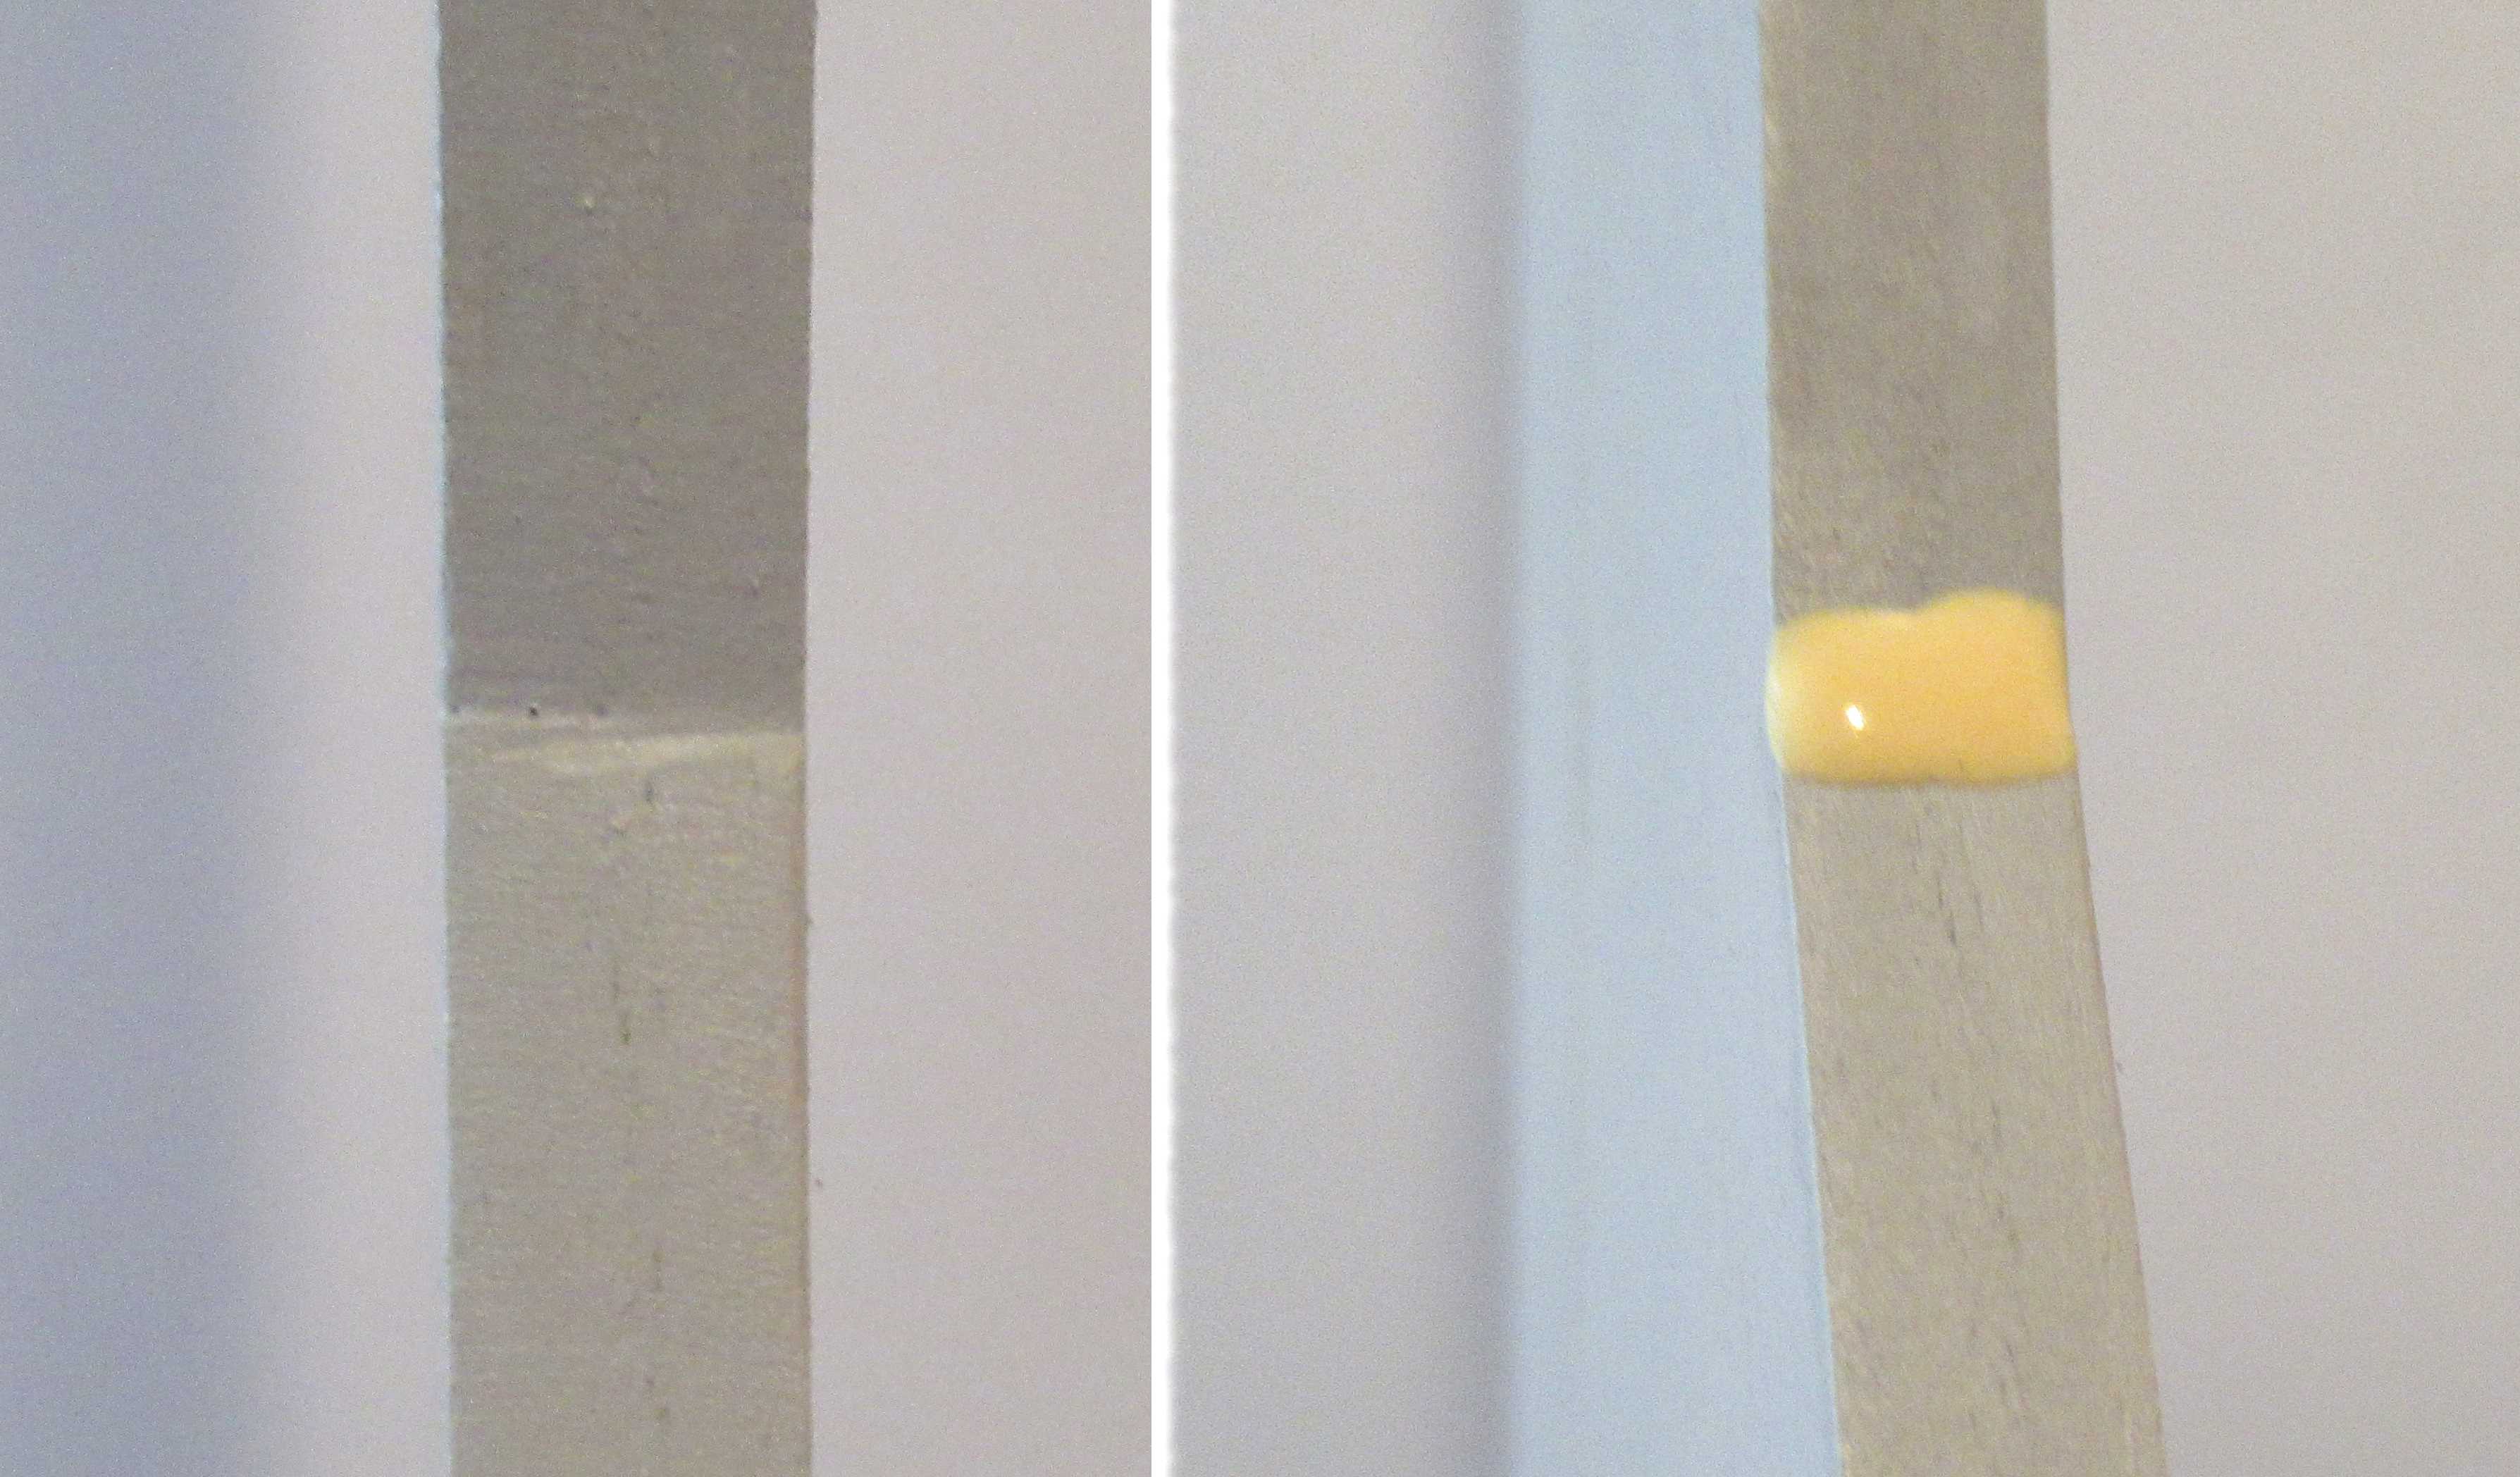
I don't use a lot of glue when initially setting on the fins.
Apply a glue line down the root edge, shown on the left.

Run a fingertip down the side edges of the fin leaving a line of glue in the center.
Wipe off your finger and repeat the finger line down the other side.
This refines the glue to the center and evens out the glue line.

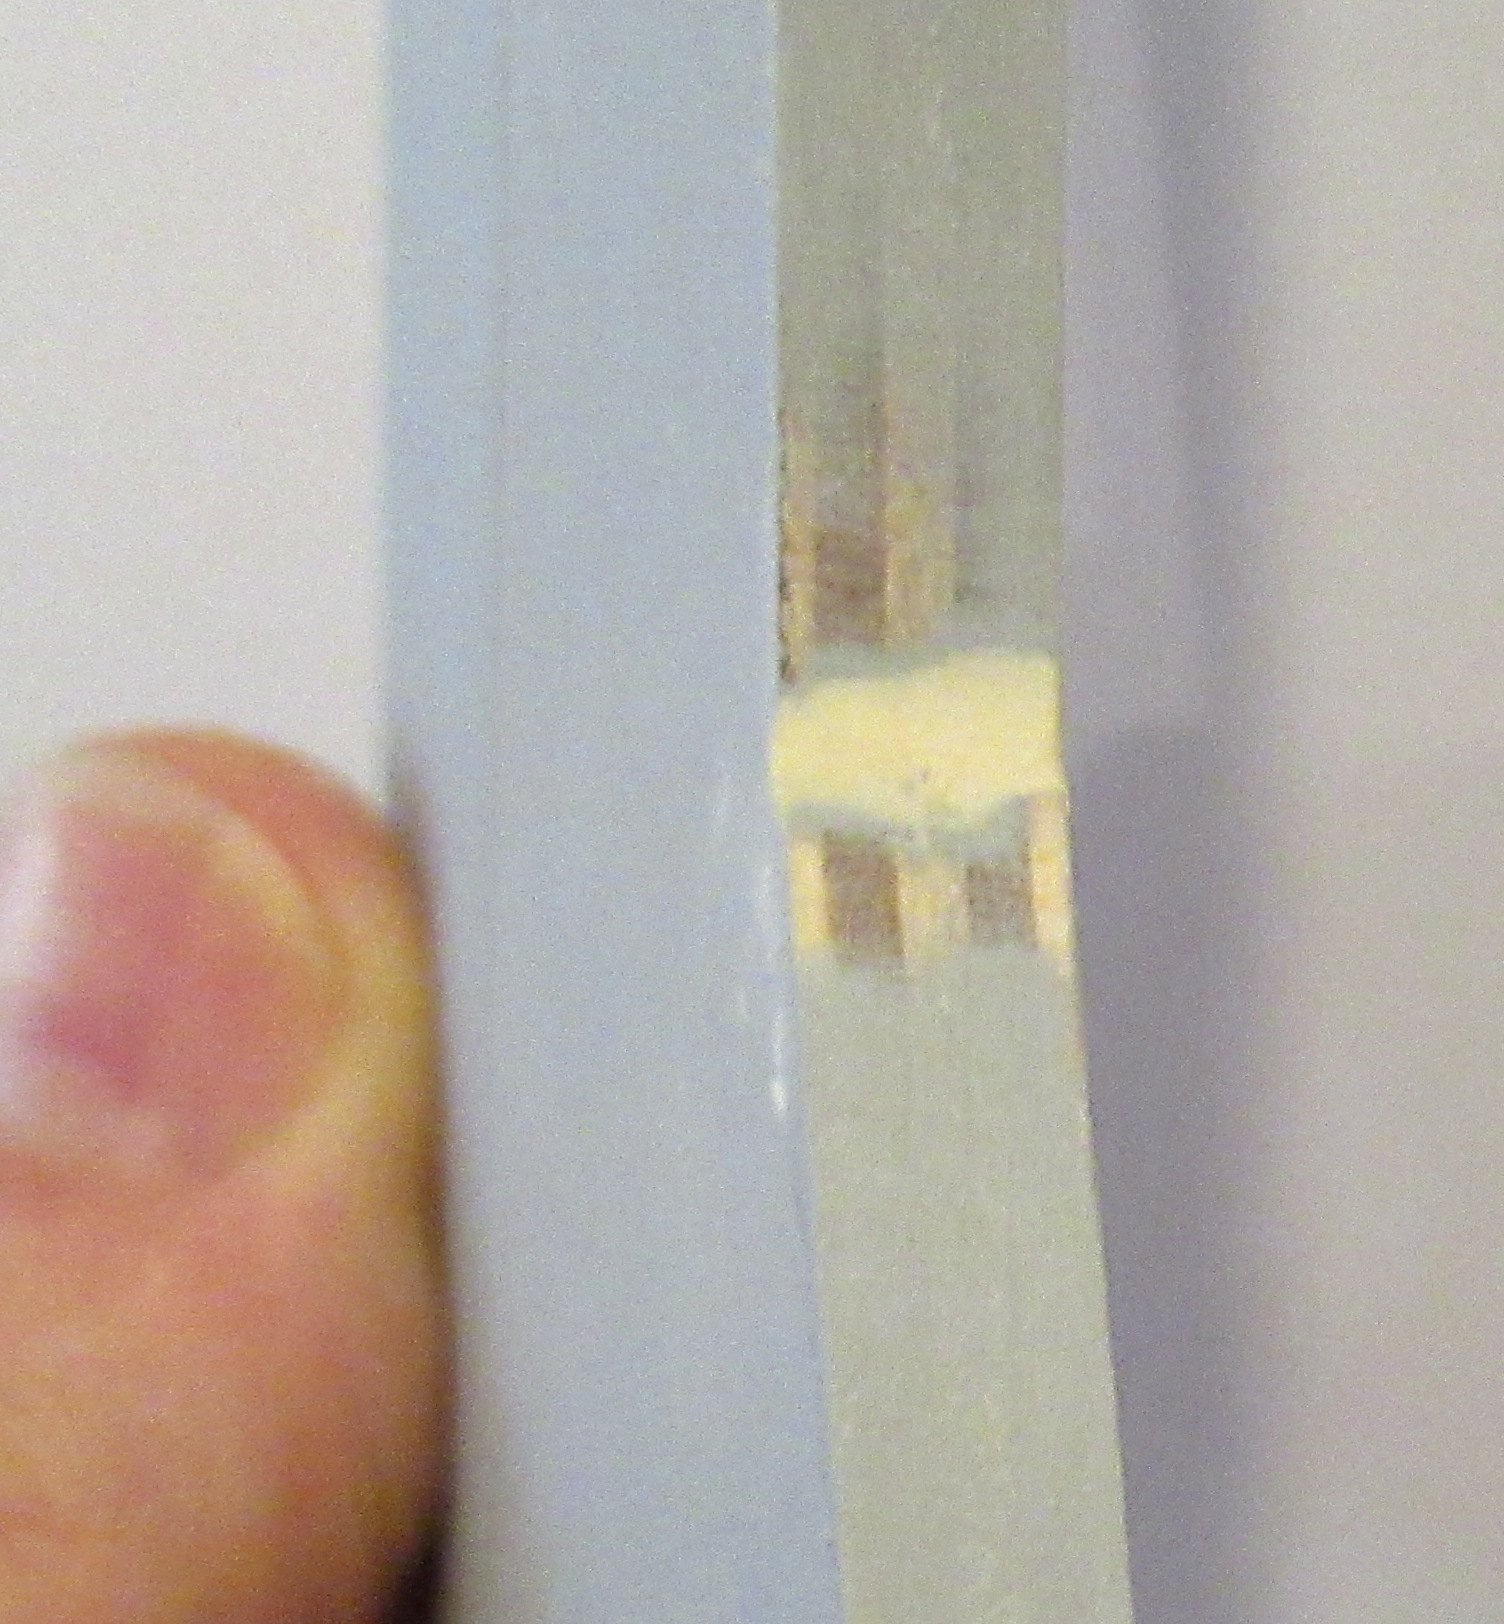
Now I can set the fin on the body tube.
Using less glue makes for less "squeeze-out" along the sides of the root edge. After the glue has dried, less initial glue will allow for small readjustments. If you had used too much glue, that misaligned fin could be stuck for good!

After you are satisfied with the fin position, THEN add fillets for more strength.


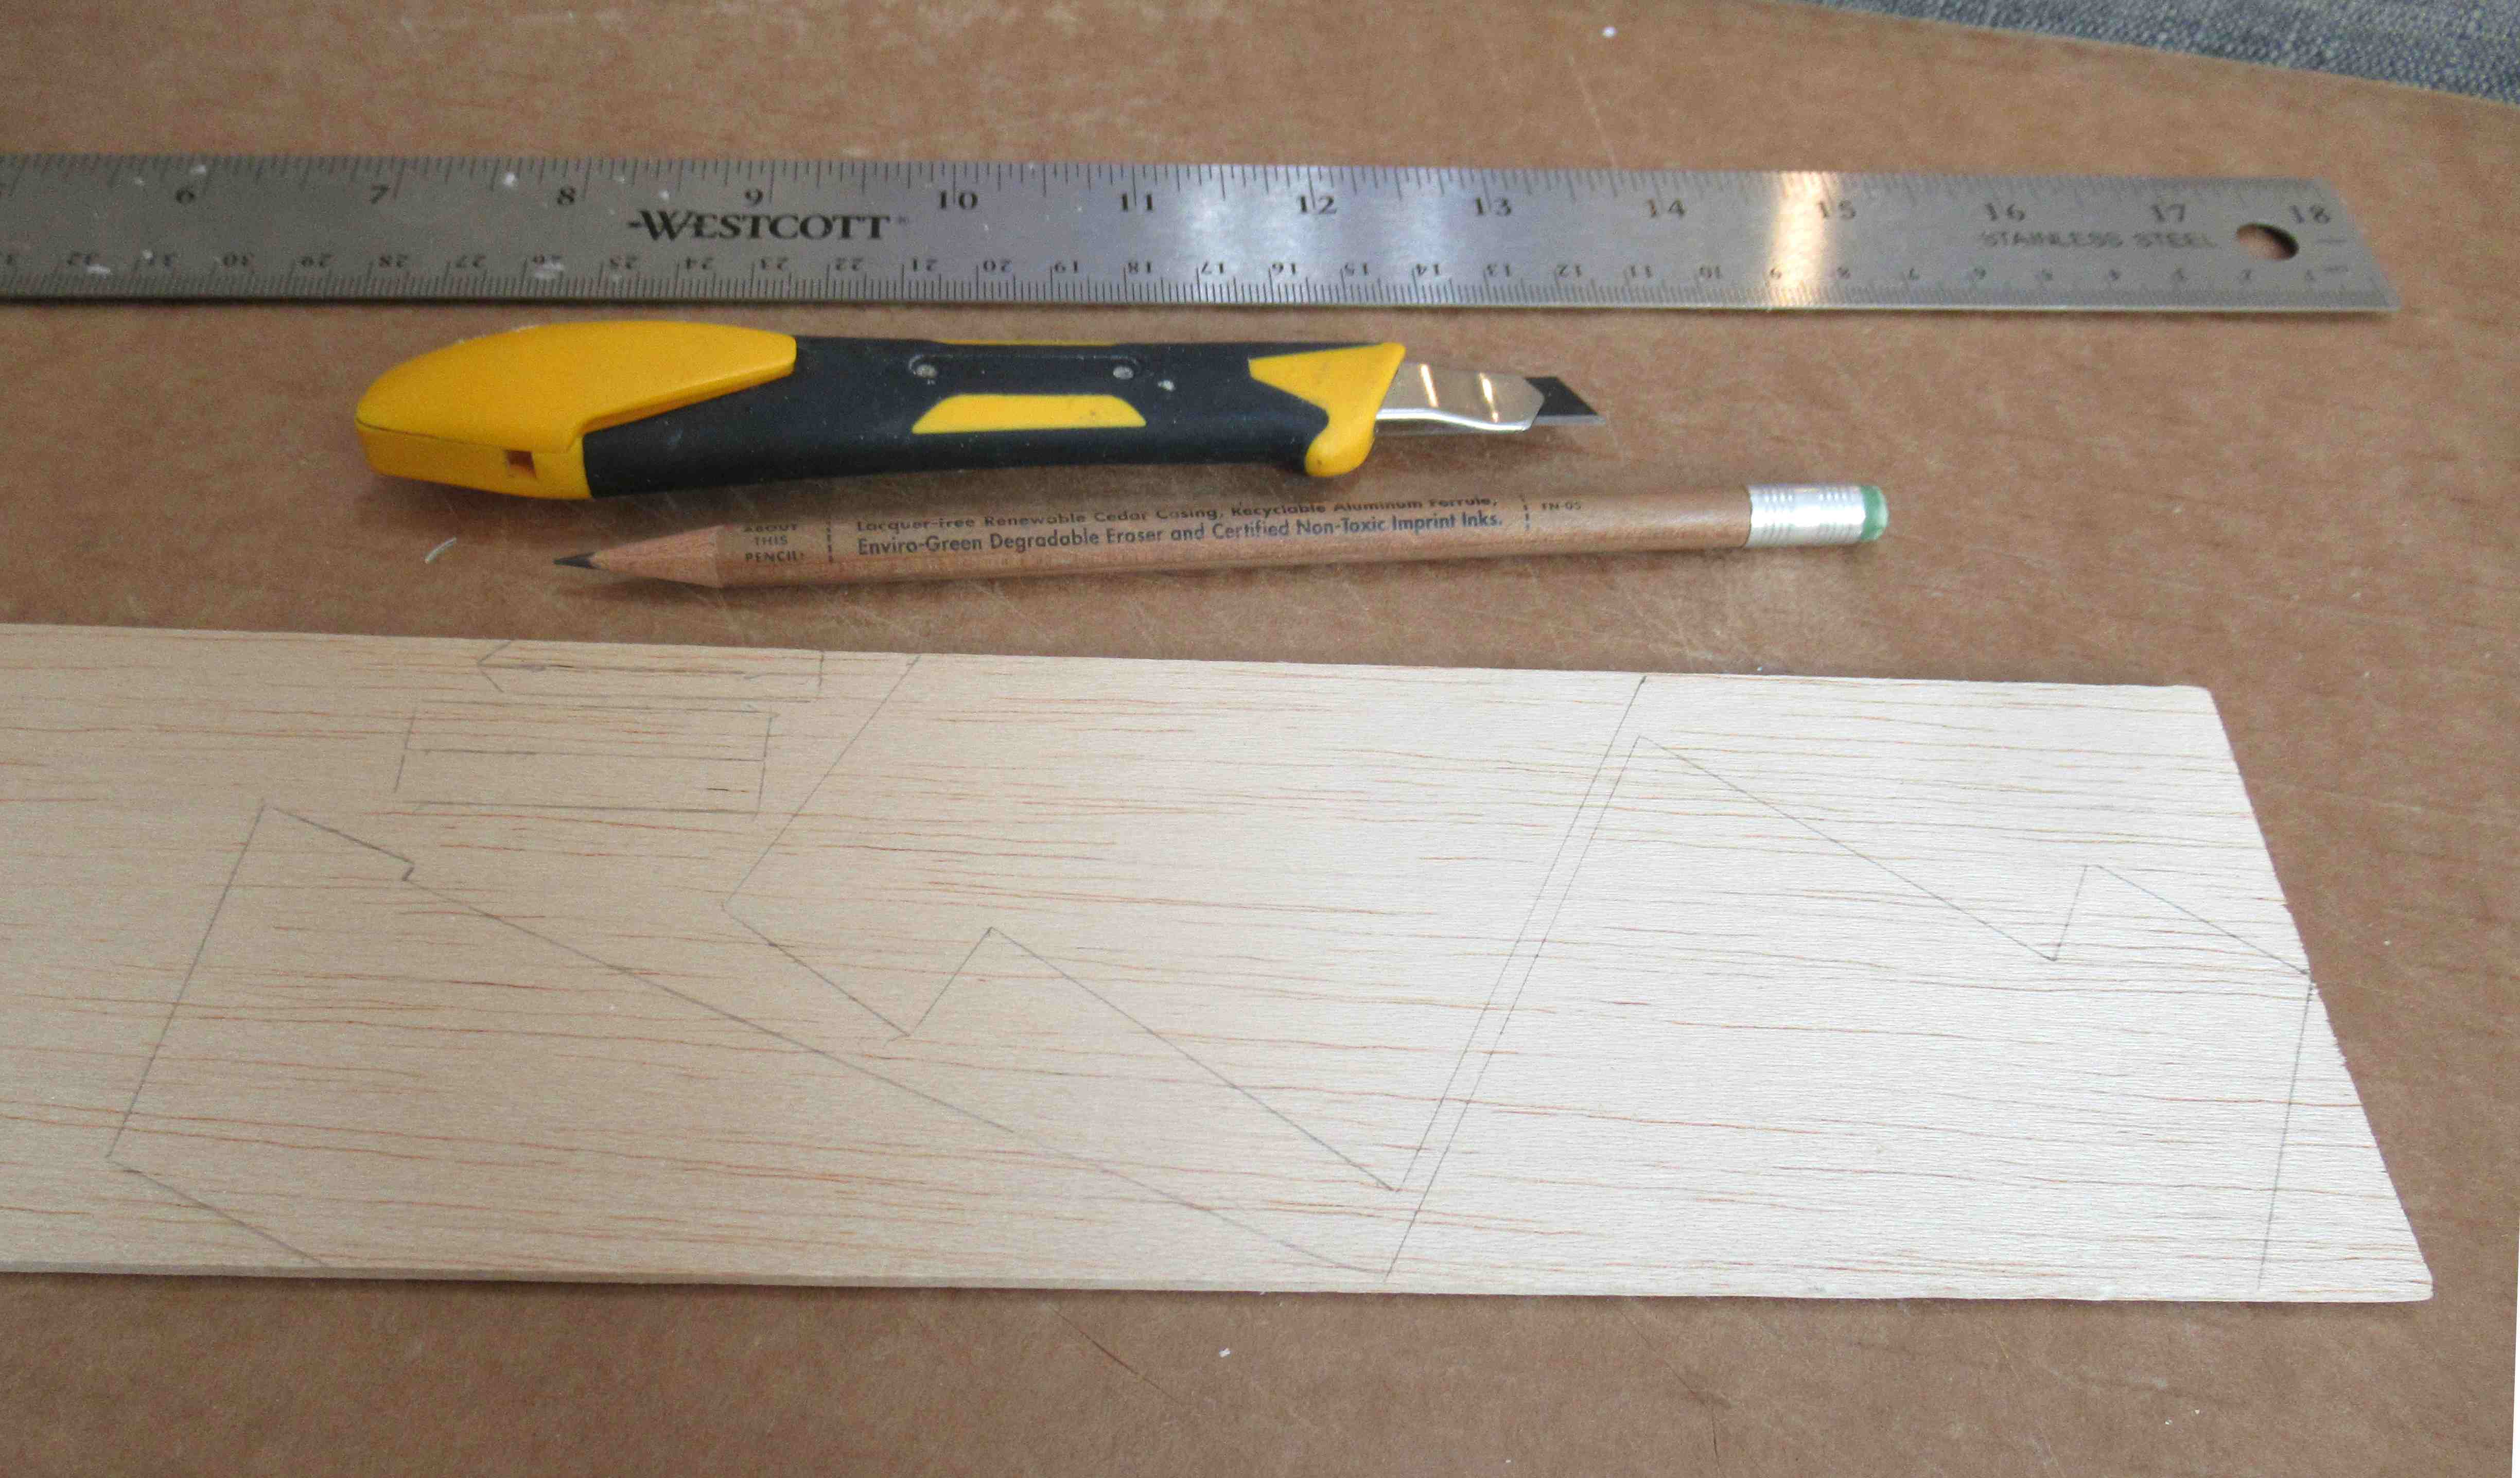
The Fin Guide "A" is used again to hold the fins at an angle as the glue dries.

The squared dowel is glued onto the pencil lines drawn earlier.


The two launch lugs are glued on the underside of the main body 5" from the low edge of the tube.


Even though I had drawn pencil alignment lines, 
I could still slide the lug guide down the two lugs to check the spacing.

Saturday, May 6, 2023

MPC Lambda Payloader Build, Part 3, Cutting OutThe Fins


Oh the horror -
No die-cut or laser cut fins!
At the time, Estes would have you cut out a cardstock template, pencil trace and cut out the fins.

These fin cut lines were silk-screened on the 3/32" thick balsa. Centuri kits also had printed balsa. 


Notice how the fins were printed on the sheet.
Six of the cut lines line up!

Fewer cuts and straighter fins -


All four fins cut out.

There is still some cut line ink around the edges.
TIP: This should be sanded off or the ink could bleed through your finsl paint!


These four fins did need to be stacked and gang sanded.
Standard practice in the 1960s!

Tuesday, February 14, 2023

Centuri Quasar Clone Build, Kit #KC-7, Part 10, Delicate Fins


The fin design is graceful and flowing, but - 

The root edge tip comes to a narrow point, the balsa is cross grain. It's an easy end to break off when cutting it out.


So, I didn't cut it out. I left it on.


The inside round trailing edge was carefully sanded with some 400 grit around my Sharpie barrel.


I ended up stacking the fins for strength while sanding.

Leave a little squared lip at the back end. Considering the balsa grain is a weak point, you don't want to sand to a knife edge.


While sanding smooth the CWF filler coat - 
As careful as I could be, I still had one of the ends pop off!

More glue, filler/primer and sanding.

Saturday, September 3, 2022

ASP Micro Sandia Sandhawk Build, Part 2, Cutting Out The Fins


Here's a page of the instructions. 
I held the page up to a window to allow sunlight to show through both sides of the page.
Note how ASP has no print on the backside of the paper of the fin template and body tube marking guide. 

Thanks ASP! You can cut out the guides without cutting up the instruction copy. 


The fin template is set over the flat plastic fin material.


Here's the first tracing.
You don't need space between the fins as drawn on the template.

Check the next blog post to see what I mean.

Thursday, April 7, 2022

Estes EAC Firecat #0821, Build, Part 5, Cutting Out The Fins


The fins are cut out from 3/32" balsa.
Notice the line down from the leading edge through the left of the center area. This cut line only applies to two of the four fins.


Cut out four fins, one tube standoff,
and one long raceway. 


As mentioned - 
Only two of the fins have the wing tip cut off.

Here I slid the full fin pattern back to lightly notch the cut line.
Slide the pattern forward and notch the rear of the fin.


Use a straightedge set on the knife mark notches 
and cut off the wing tip.