Showing posts with label Engine Retainers. Show all posts

Tuesday, March 18, 2025

Aerotech Mega Initiator #89541, Part 3, Ring Fitting

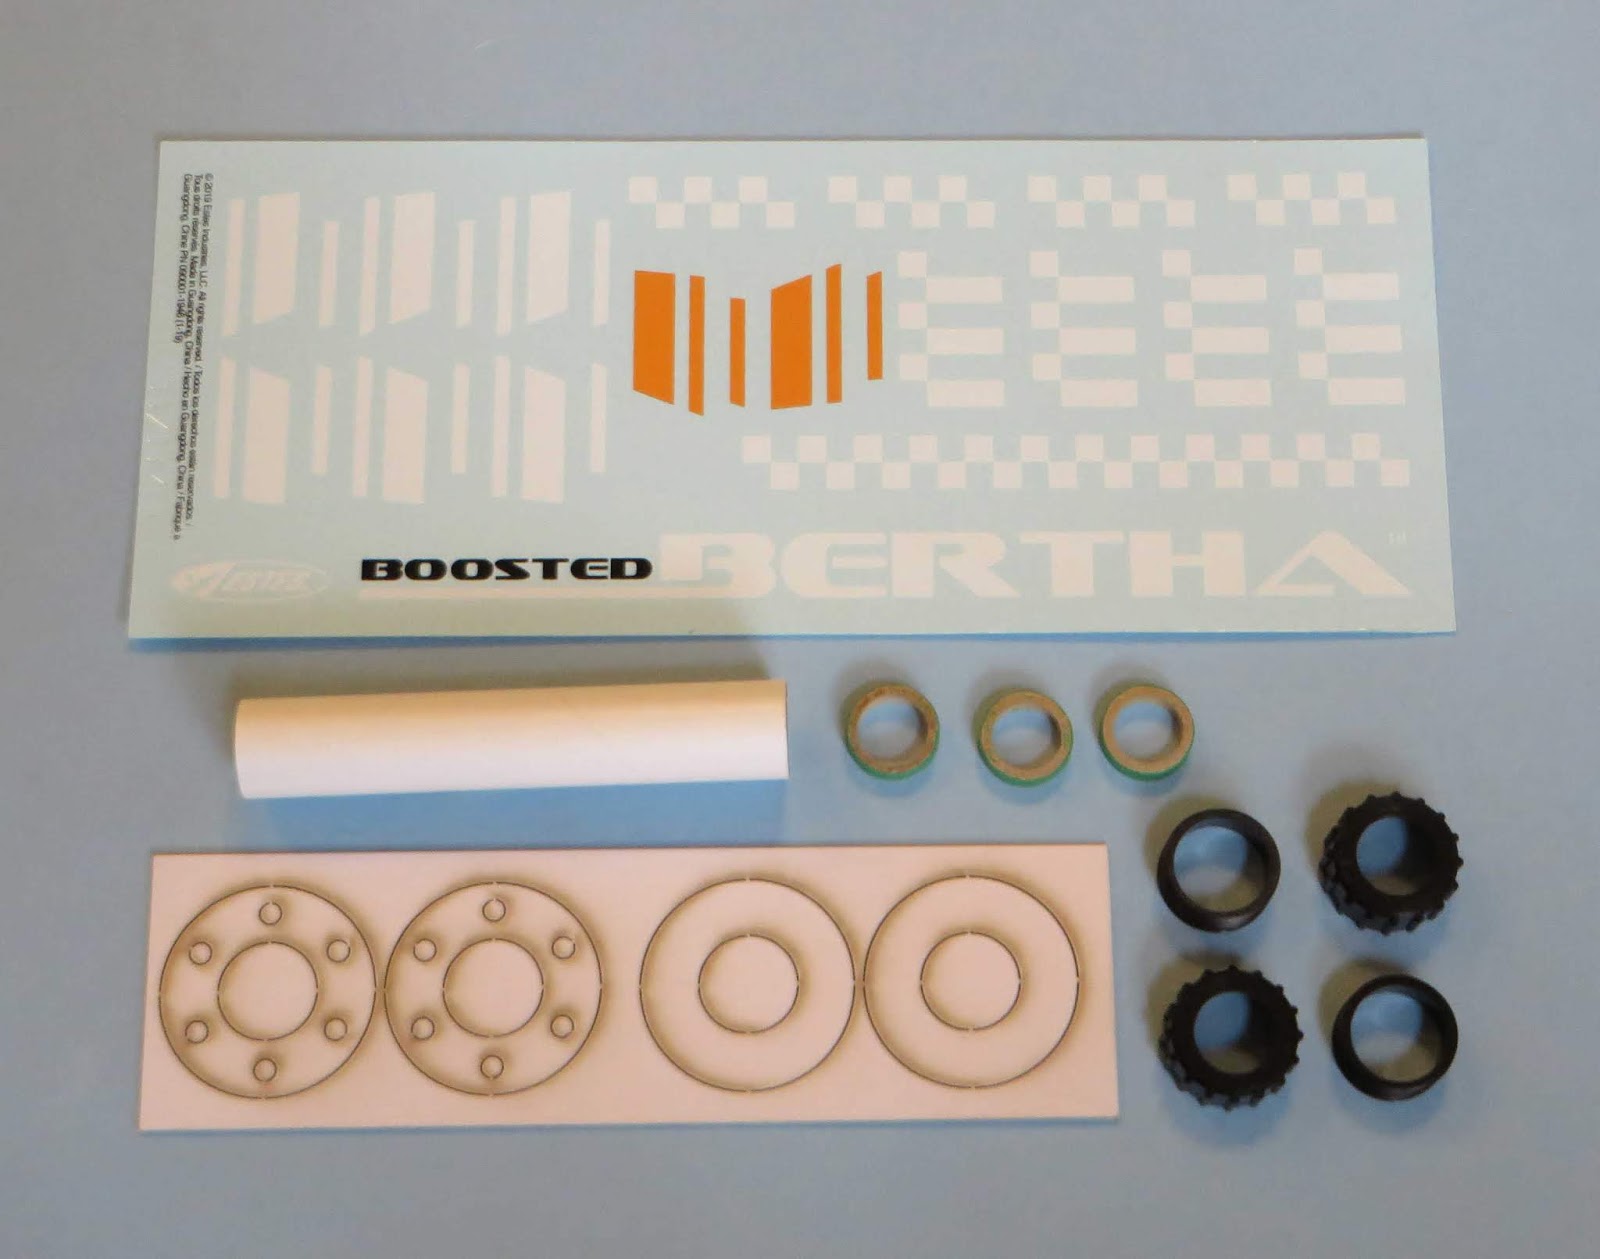
There are a lot of centering rings with all the motor mount adapters.
I usually sand off the laser cut burn marks from the flat faces of the centering rings. 

The ring diameters are just slightly big and will require some sanding for a friction fit over and inside the tubes. 

Note the tubes have the words "AFT" and MID" burned into them.  


Test fit all the rings on the tubes before sanding the edges. All my supplied rings were a little too tight.

I prefer rings that are cut a bit large so you can sand to a perfect fit.


The T-Nuts are hammered into the inside face of the rear centering ring.
After the t-nut is in place, epoxy glue is set around the outside edges of the nut.
 

Saturday, September 14, 2024

Enerjet by Aerotech, Astrobee D Build, Part 33, Ends & Edges


The inside of the interior ring can be roughed up before epoxying to the engine mount tube.
I used one of my diamond files. 

On the right side is the interior ring slid onto the engine tube.


The main body is tied to the larger of the two parachutes.

The upper body gets the smaller chute.

You could do the "loop tie" like on LPR kits, but I tied the shroud lines to the elastic with some doubled Kevlar.

Wednesday, July 10, 2024

Enerjet by Aerotech Initiator Build, Part 14, Finished


The aluminum motor retainer is epoxied onto the rear of the motor mount tube.

The shock cord is tied to the nose cone shoulder loop.
The nylon parachute is tied onto the shock cord, one foot away from the nose cone.


Here's the low end with the bold fin graphics.


The mid section with the somewhat tricky stickers as they are pieced together.
The final look has a good flow.


After this picture was taken, I shot the nose cone again with Ace Banner Red to lighten the tone and better match the red on the sticker below it.

The Initiator is an impressive introduction into mid-power rocketry.

Wednesday, May 1, 2024

Estes Condor #0807 Build, Part 5, Centering Rings & Hold Down Strap


I also had to cut free the die-cut centering rings.

On the right - 
You can see the compression wrinkles from the die cut process.

On the left, I put a soft curve in the hold down strap by rolling it around a pencil.

The rings were slipped on dry (no glue yet) to find the center position of the engine hook retainer strap.

The center was marked with a pencil so the overlap would end up on the opposite side of the engine hook.


NEWBIES
: When gluing paper or cardstock you don't need a lot of glue. A thin coat (skin) cover spread over the entire face will be plenty.

Tuesday, January 9, 2024

Estes Great Goblin, #9724 Build, Part 24, Engine Retainer


I used 220 grit to roughen up the inside are of the engine retainer ring.

I'm always tempted to apply epoxy to the inside of the plastic ring - but - 
If you apply the glue to the outside of the motor mount tube you won't see or have to deal with epoxy squeezing out when the ring is pressed in place.

Push on the ring and turn it to spread out and even the epoxy glue.


I was curious before the ring was glued on -

The rocket rests on the trailing fin tips. There is some clearance under the retainer ring.


Here's my three Goblins - 
The original BT-55, D engine model is on the right.
On the left is a new Great Goblin almost ready for the decals.


Friday, October 6, 2023

Estes Black Brant XII, Kit # 9723 Build, Part 22, Rear Ring & Retainer


With the fins in place, 
The third centering ring is dropped in and pressed down onto the rear of the fins tabs.
I applied some wood glue to the fin tabs before sliding the ring in place.


A wood glue fillet was applied to the tube/ring joint using a Q-tip.


The inside ring of the two-piece engine retainer is roughed up with 220 grit sandpaper for a stronger Epoxy bond.


Epoxy is applied to the outside of the engine tube and the retainer ring is slid over, down to the inside raised stop.

Turn the ring to spread and even out the epoxy.

Thursday, December 8, 2022

Estes Blue Origin New Shepard Build, Part 9, Parachute & Engine Retainer


Here's the finished nose cone with the upper tunnel ends filled and painted.
I was happy with the results.

Note the position of the tunnel top position to the right.
Oops! The tunnel top should be closer to the left, at the edge of the black paint feather edge. 
This was my mistake. It didn't really effect the look or position of the feather decals (by much) that go down the body.


The engine retainer is screwed in place. 

Note there is no white paint on the screw threads. The threads were masked before spraying the white.
I tugged the shroud lines and they easily broke. These were replaced using #10 Embroidery Thread.
The parachute was tied as a "no-tangle" chute. To see how a "No-Tangle" chute is tied, read the Apogee P.O.F. article: CLICK HERE

A snap swivel was added.
The chute was not tied to the nose cone, but attached a few inches down from the nose cone. This helps prevent the nose cone from swinging in and out of the shroud lines, tangling the chute.

Wednesday, December 15, 2021

Estes Skylab #001973, Build, Part 3, Gluing On The Centering Rings

Look at Step 1 of the ASSEMBLE ENGINE MOUNT on page 4.
It says to mark the tube at 8 1/8" from the top.

GOTCHA: At the lower right, it says that 8 1/8" mark is from the rear. I think that's a mistake in the instructions. The lengths don't add up.

I glued on the center ring 8 1/2" from the top which left 7 1/2" spacing from the bottom ring.


Use the retaining ring to set the end spacing of the lower ring.

The instructions suggest epoxy, I used Beacon Fabri-Tac to glue on the retainer.

GOTCHA:
It seems the fit of the large centering rings has always been too loose in the Saturn V kits. This newest version has loose rings.
If you were to glue them on as is, too much glue fill could soak into the thin 4" tube and make a "Coke Bottle" pucker seen on the finished model.

I build up the outside ring diameter with small, even beads of yellow glue. 
It took two beads of dried glue to get a good friction fit.

Monday, October 4, 2021

Estes Super Mars Snooper #7309, Build Part 22, Parachute Fix & Engine Retainer


TIP: Parachute Fix
The kit parachute had the start of a tear that was outside of the tape disk. This tear could spread and rip through the corner of the chute.


I took one of my permanent plastic disks and cut a slit through one side.

This was slipped over the shroud line with the slit towards the top of the torn area. 

The disk was pressed over the torn paper disk.


The threaded side of the retainer ring was glued onto the engine mount tube using Epoxy glue.


The locking ring was spray painted gloss black. 
TIP: The inside edge of the ring was blackened with a Sharpie to cover the gray where the spray paint didn't cover.

Thursday, June 25, 2020

Estes M.A.V. #7283, Build Part 4, Fin Can


The instructions show tube type plastic cement. I used brush-on liquid cement.

The fin can halves were pressed together dry.
The internal joints were brushed with the liquid cement while holding the joints closed and tight. Just the internal joints and at the top and bottom of the fin can got brushed on glue.


The fins slide into the bottom of the slot and are pressed up, locking them in place.
TIP: You really don't have to glue these fins in place. With the fins off you could easily fit this rocket in your range box. Slide in and lock the fins in place with the retaining ring at the flying field

On the left, the black ring isn't screwed all the way up yet. Notice the little bit of the slot still showing.

On the right, with the ring tight the fins are locked in place! They can't move up or down.
You could glue the fins in place but why? If a fin were to break, you've got a much easier fix.

Thursday, January 9, 2020

Estes Sidekick #7287 Build, Part 5, Paint, Shock Cords & Streamers


The black paint was scraped off the low end to glue on the engine retaining rings. (I really should have masked off the gluing areas!) I used the Beacon Fabri-Tac glue here for a strong bond between plastic and the Kraft tubes.


The shock cord was tied off to the nose cone using a square knot.

TIP: instead of cutting off the loose end, stuff it into the slot under the shoulder eyelet.
This shows how the rolled loop of masking tape sits on the back of the fin for spraying. The root edges are butted up against each other to keep the paint off.

The way I'm building it, I have to spray one side and let it dry for two days. The fin is flipped over and the other side is sprayed.


The streamer is taped onto the shock cord with clear tape.

I like to set the streamer down on my work table and center the shock cord on top. The tape is dispensed oversize so it the ends can be held with my fingers. It is centered and pressed in place.


The overhand is carefully cut off with scissors.

Monday, November 18, 2019

Estes Space Corps Corvette Class, #7281 Build, Part 6, Details & Decals


The fin detail "guns" are slid in place and glued at the ends.
Check the exposed ends to make sure that the rear end of the red gun extends 1/2" out the back. The front exposure is longer.


I really like the new 18mm screw-on engine retainers.

I glued the threaded center ring in place with the Beacon Fabri-Tac. On the right is the screwed on retainer.


This build was a pre-production sample kit. There is always something that gets revised before kits are sold.

The Star in the Stars and Bars isn't resting on two points. This star will be rotated and corrected before the kit is distributed.


The kit I received had a full decal sheet. I was asked not to place the decals, that would be done by Estes after the model was sent back.

I did cut and place one fin decal side to show how colorful this model is. This was removed before shipping back to Penrose.

Saturday, October 19, 2019

Estes Boosted Bertha #001946 Build, Part 10, Engine Retainers and Shock Cord Mount


Here's the Boosted Bertha before decals.
Orange overall, one white fin on the booster, one white fin on the second stage.

That seam fill at the joint of the booster centering ring and body tube came out well, it's not noticeable.

The new 18mm retainer ring was glued on with the Beacon Fabi-Tac glue.


Here's the second 18mm engine retainer in the sustainer or second stage.


You are usually told to glue the tri-fold shock cord mount far enough inside the tube to clear the nose cone shoulder.
The Boosted Bertha instructions say to glue it 2" in.

TIP: Measure and mark the shock cord at 2". Use that mark as a "depth gauge" against the tube top end before pressing the glued mount into the body tube.

Saturday, October 12, 2019

Booster Bertha 2nd Stage Retainer Ring

In a comment from Boosted Bertha build Post #2, Openroad asked:
"I’m curious about how the engine retainer holds up on the sustainer - how many flights will it take for the booster motor’s ignition charge to “cook” the screw on retainer ring?"

Bernard Cawley answered and sent a picture via email:
"I have five flights on my Boosted Bertha. The sustainer's motor retainer ring is still serviceable - I'd guess it has 3-5 more flights in it before it won't fit well enough to be trusted. I have some of the 18mm retainers that are sold separately on hand, so I do have spares."

This is pretty much what I expected. It's interesting that the longer booster BT-20 tube and engine block at the top has directed the booster "flame" towards the center, there isn't any charring around the sides.
Estes does have replacement 18mm retainers on their website: CLICK HERE

Bernard Cawley gave additional information about the engine retainers in the comments below -  

Thursday, October 10, 2019

Estes Boosted Bertha #001946 Build, Part 1 Parts


Estes has had many Big Bertha variations over the years, now a two stager!
I've seen a few two stage Bertha flights on the forums over the years, it's now in a kit for all.
Lots of balsa and decals!


The retro checkerboards remind me of the generic decal sheets from the 1960s.

There is some gap staging on this model.
The best feature are the new 18mm engine screw-on retainers.