
Showing posts with label Clay Weight. Show all posts

Tuesday, March 26, 2024

Estes Skytracer Clone #1361 Build, Part 11, More Canopy Forming

A little break from the canopy forming - 
.25 oz. of clay weight is rolled into little balls and dropped into the hole at the base of the shoulder. The small balls of clay settle easier into the nose cone tip. Easier to level these small bits of clay than chasing around a "clay snake" with the flat end of a dowel.

I did have to widen the shoulder hole diameter with a knife and half round file.


It takes very little glue to close the canopy tab. Use a thin "skin" of glue.

A flat faced needle tweezers held the canopy tab closed as the glue dried.


On the left is how the canopy looks after gluing 
But, to fit the nose cone, the canopy folds are pinched closed making it sit higher on the nose cone.


Here's the back end of the canopy - 
The squared back was rolled over a Sharpie barrel to fit the round nose cone.

Thursday, September 15, 2022

Estes Space Shuttle Columbia Build #1385, Part 4, Engine Mount & Clay Weight


The engine hook gets a soft bend to keep the ends over the top and bottom of the engine.

Don't just bend it from the middle - 
Try soft bending it from one end to the other.


The instructions say to cut a engine hook movement notch using a knife. 

I used a rotary punch for a cleaner cut.


The instructions suggest the upper ring is glued even with the upper bend of the engine hook.

I like to overlap the upper bend of the hook. It makes a stronger mount. The upper ring did get a shallow crescent punch to fit over the engine hook.


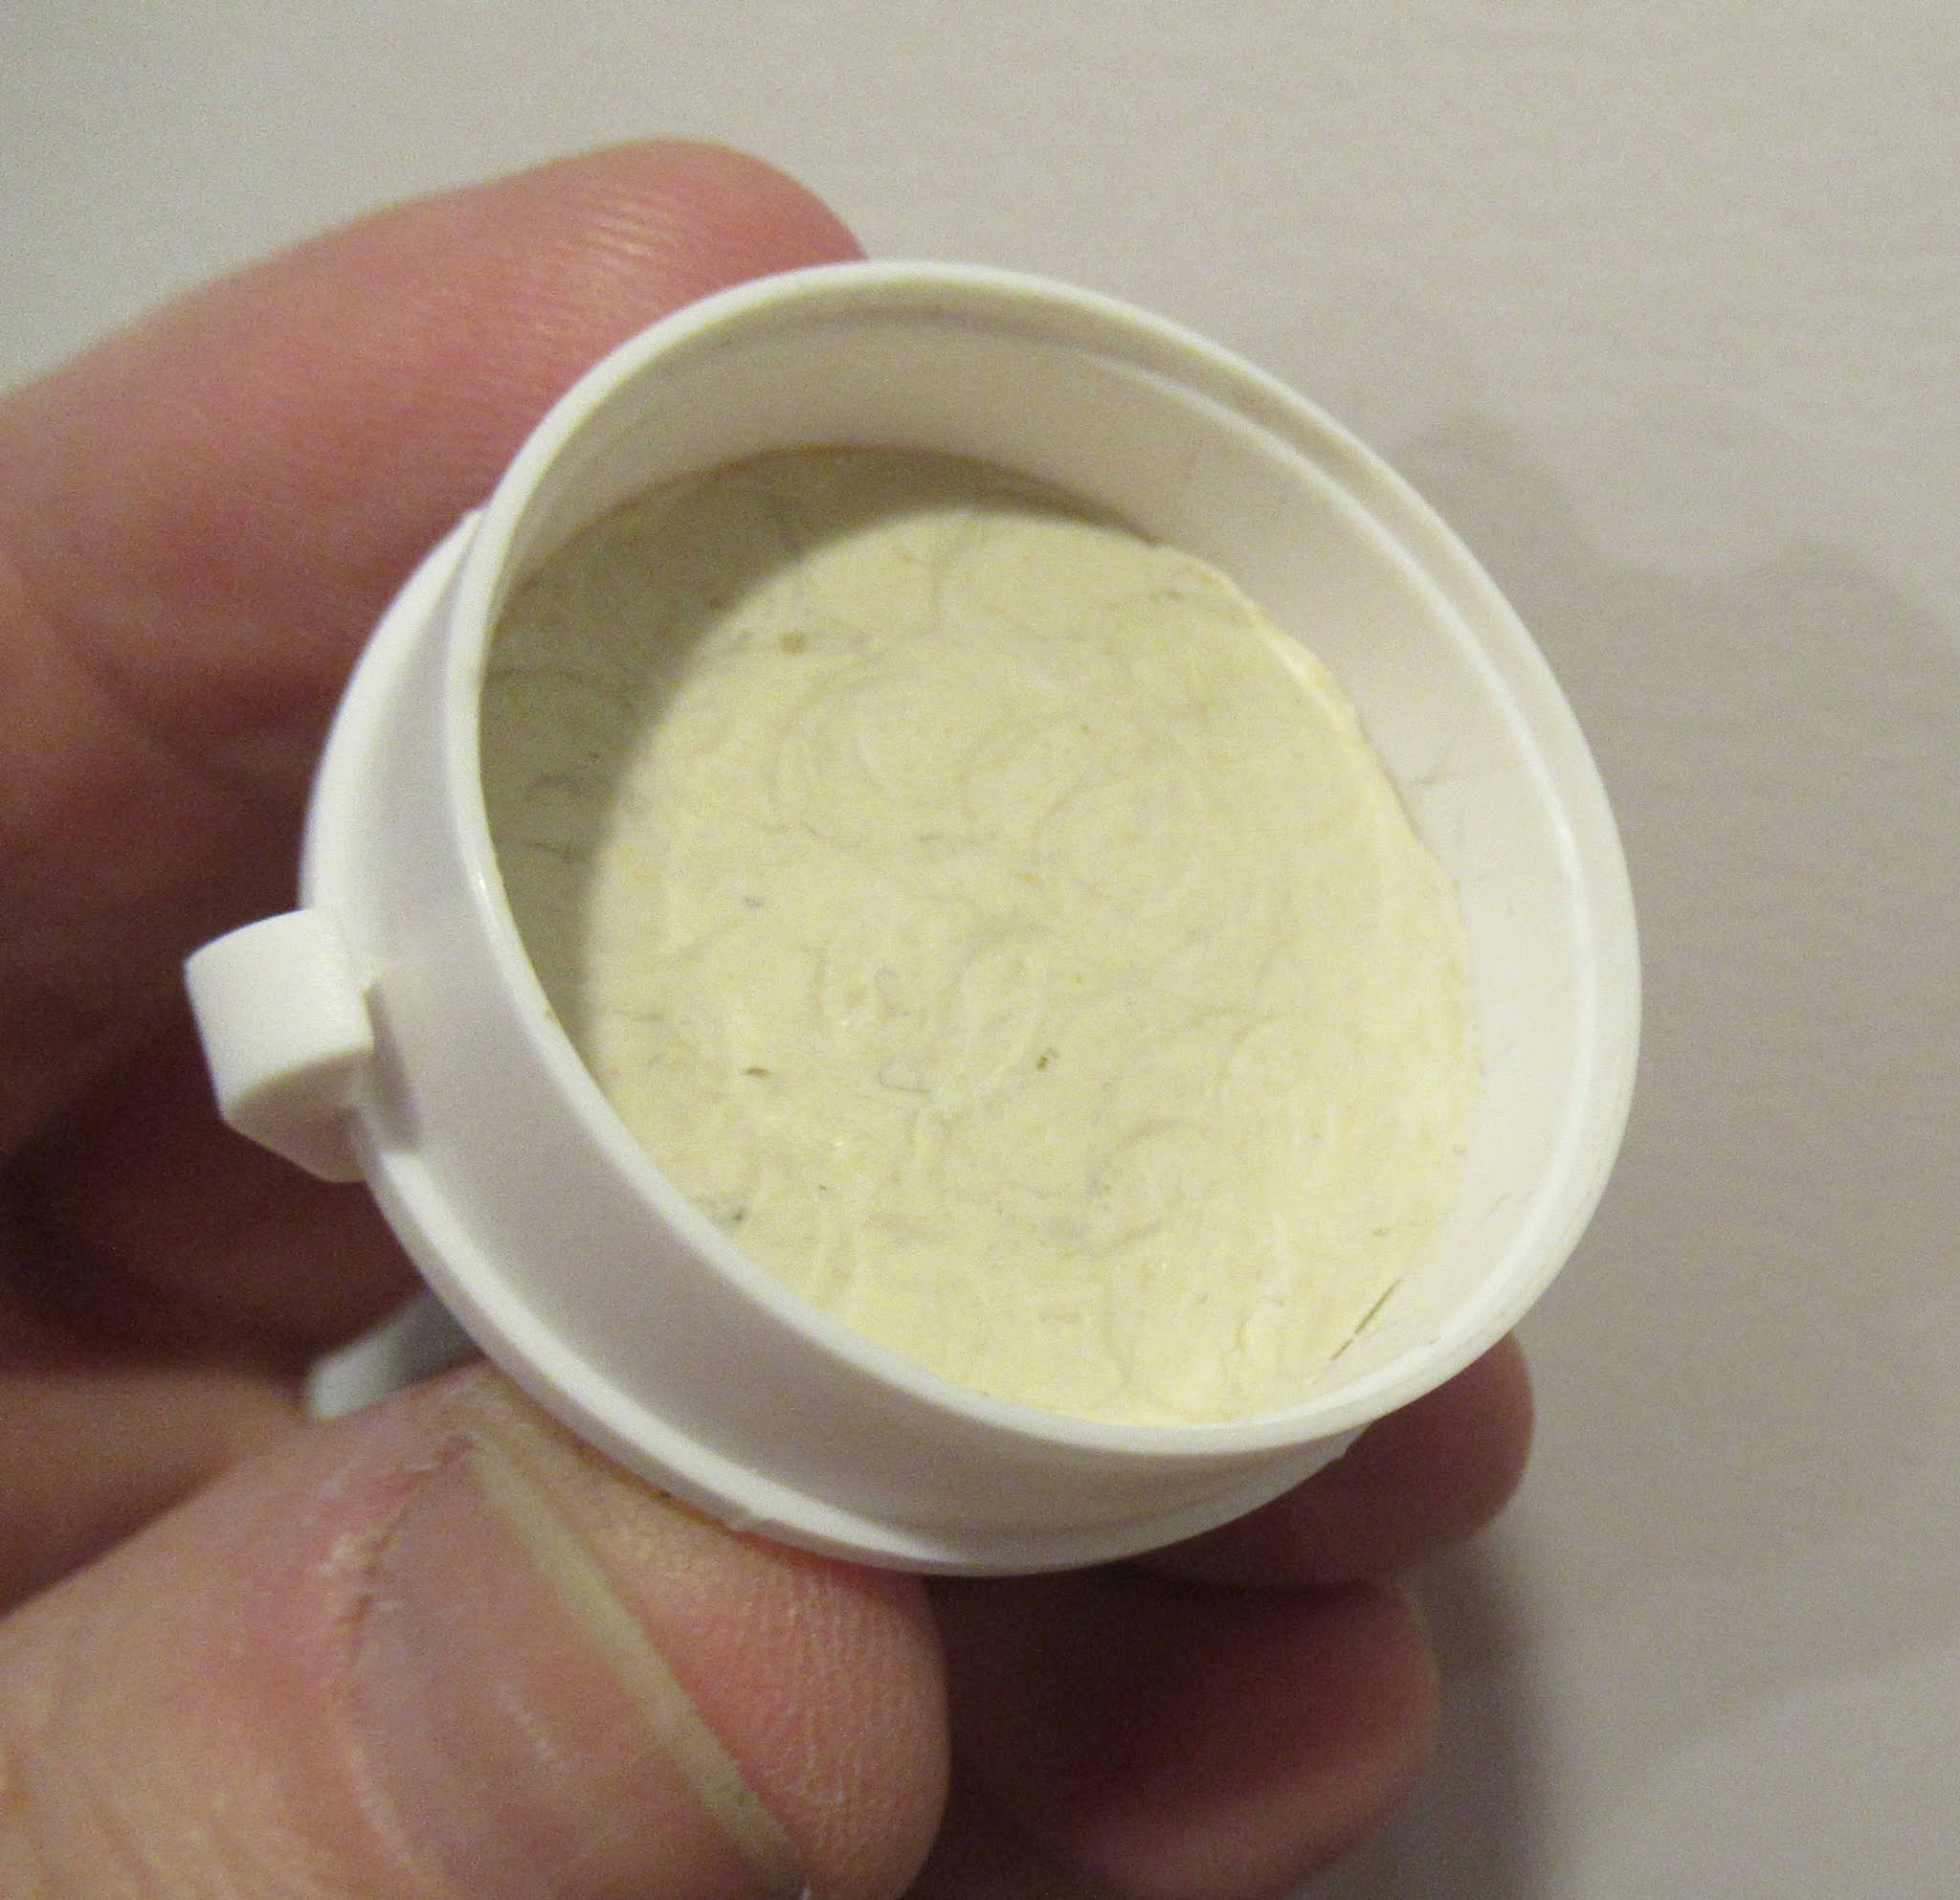
The clay weight weighs .41 oz.
ALL the weight is used, pressed into the inside tip of the nose cone.
Friday, April 29, 2022

New Way Mars Snooper II, Build, Part 4, Nose Cone Prep


Clay nose weight is provided.
I rolled it into a conical shape for an easy insertion into the nose cone.
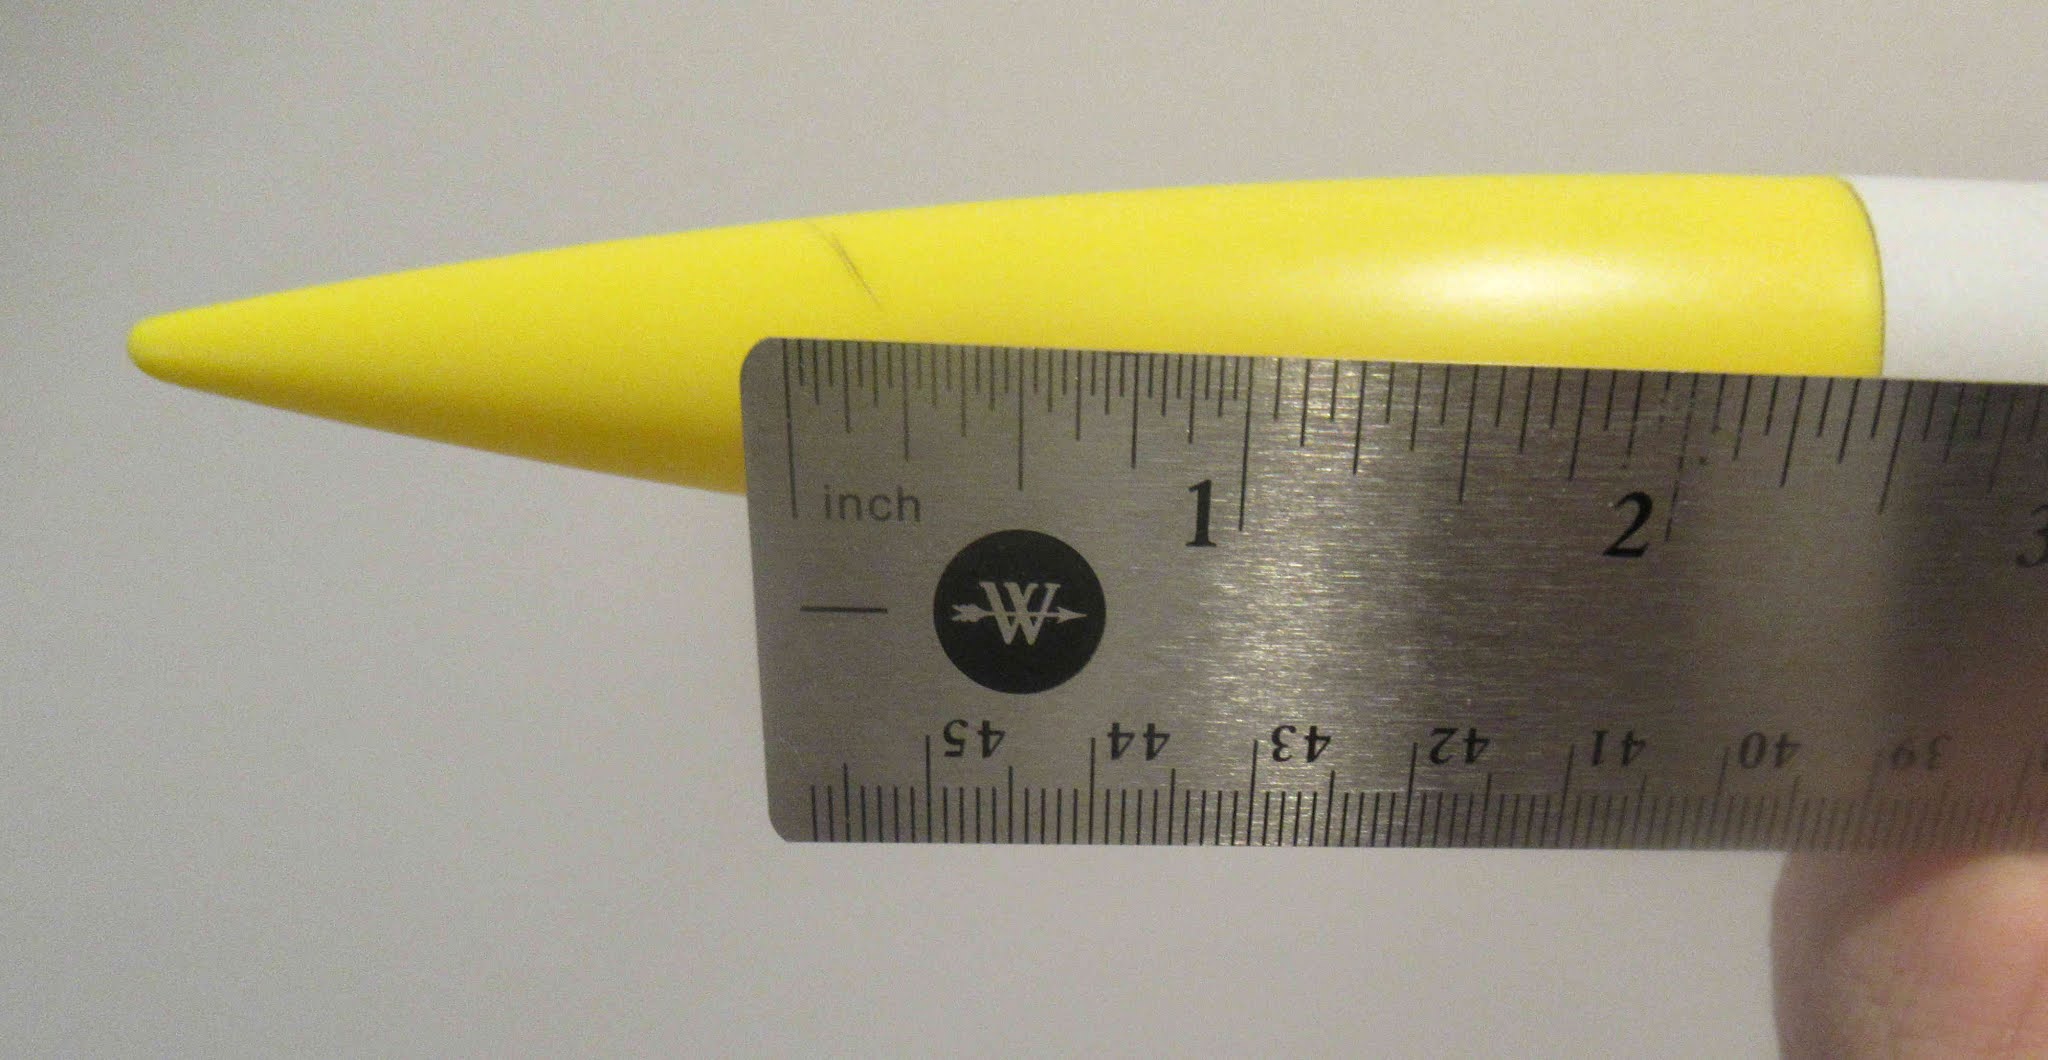
The clay was tamped and leveled with the flat end of the supplied dowel.


The plastic nose cone had a flattened top.

The tip was rounded with some sandpaper.


The nose cone shoulder lip was slightly wider than the upper BT-20 tube.
This was reduced with some 220 grit on a sanding block.


The base of the nose cone is glued in place.

I used Beacon Fabri-Tac glue.
 

Tuesday, March 1, 2022

ASP Ram B Build, Part 11, NC Touch-up, Clay Weight & Parachute


On the left is the nose cone mask, a little rough.

I've mentioned before how good the Ace Hardware Premium Enamel is. It also takes brush touch-ups very well.
I sprayed some light gray into a cup and touched up some small areas that got scraped off when removing some of the silver.

The picture on the right shows the smooth touchup.

The balsa adapter is glued into the upper BT-20 tube. The clay nose weight is pressed into the tube and against the top of the adapter.

You are given more clay than will fit with the nose cone slid in place. Remove enough to slide the entire nose cone shoulder in.


The large screw eye was set in the adapter base and the shock cord tied on using a Duncan Uni Knot.

A overhand loop was tied in the shock cord about three inches from the screw eye. 

The eight sided Mylar parachute was clipped onto the loop in the shock cord.

Sunday, February 20, 2022

ASP Ram B Build, Part 2, More Parts

Parts of interest:
Roll of black self adhesive vinyl to cut body roll patterns from. This saves you from any tricky masking.
Red and Black vinyl strips for trim and "barber pole" stripe on the upper tube.
BIG screw eye, larger than usually seen on a model this size.
Clay - see below 
Pattern sheet - The upper templates are for cutting out the larger black vinyl trim pieces.
1/8" thick balsa for the eight fins. It seems thick. 


With the upper fins, nose weight is needed for stability.

The clay weighs in at just under 1/2 ounce at .45 ounce.

Wednesday, October 27, 2021

Estes Vesta Intruder #7312 Build, Part 16, Clay Weight & Decals


I like to cut the clay into small pieces and roll them into balls.
This is a TALL nose cone. I didn't want to chase a clay snake around the tip of the nose cone.

Dropping in the little clay balls allows them to settle into the tip to press them in place. You will need a long dowel or a 3/16" diameter launch rod to tamp the clay in the top of the nose cone.


Lately Estes decals have been thin so I take an extra step to avoid tearing.

Instead of cutting the inside rectangle with tight corners, I punched a circle using my rotary punch. 

Punch the hole and extend the lines down from the sides of the circle.


Do a dry fit to check the final position and spacing beside the fin.


I did another punch of the nose cone decal.

Do another dry check before soaking for transfer. Note the position spacing around the rear of the canopy.

Saturday, August 7, 2021

Estes DARC-1, #7307 Build Part 16, Final Lug Fill, Clay & Plug


The tapered lug end required a few more forming passes using the sharpened dowel.
Trim, spin the dowel, raise the thin lip and trim again.

The joints along the lug and plastic wall was filled with some medium CA applied with a toothpick. Sand smooth. Repeat until the joint is smooth.


I pre-formed the clay weight to the shape of the body tube, a rounded cylinder.

Press into the interior body tube.
Push in place with a flat end dowel.


The laminated bulkhead cap is glued in the end of the body tube, even with the tube edge.


Wednesday, May 12, 2021

Estes Antar #7310 Build, Part 7, Nose Cone Weight


The two clay squares were weighed and came in at little over 1/2 oz.
You'll have to widen the hole in the base of the nose cone shoulder to get all the clay weight in.
Initially open the hole with you knife. Widen and round out the hole with 220 grit wrapped round a dowel.

The first pat of clay was molded into a tall cone. When this is dropped in it should fall into the nose cone tip.


You'll need a long dowel to tamp the clay all the way forward.

After the first pat of clay is pushed forward and the base flat, 
The second clay piece is inserted and pressed into place.

Check against a bright light to get the clay evenly in place.

Monday, December 7, 2020

Estes Saturn 1B, #7251 Build, Part 10, Tower Nozzles & Clay Weight


The escape tower nozzles were slipped together.
Liquid glue was brushed over the top of the "X" joint.


Two clay weight "pats" are included in the kit.
Together they weighed just over 1/2 oz.


The first clay cube was formed into a cone shape for an easier start in the command module nose.


The second clay weight was pressed into a disk and pressed into the first installed weight.


The clay was tamped in and evened out with the end of a flattened dowel.

Build time:
Install Clay Weight 10 minutes
Total build time so far: 6 hours, 35 minutes

Thursday, September 17, 2020

Estes Colonial Viper #1310, Part 4, Cutting The Nose Cone Angle & Clay Plug

The original Estes kit had a custom plastic nose cone, the tip cut off at around a 45 degree angle.

I don't have an original nose cone to go by, I'll guess and hopefully get it close. The top of the angle cut will be about 2 1/2" from the shoulder.


The end was cut off with my razor saw.

Slow and steady, let the saw teeth do the work.
There will be almost 1/2 oz of clay weight in the hollow plastic shoulder piece. I didn't want the clay to melt on a hot day. I'll make a plug to prevent the clay from running out the bottom hole. 

Trace around the end of the plug on 110 lb. card stock. Cut out with scissors, trimming smaller until you get a good fit. You'll have to cut small arcs to clear the inside ribs.

Wednesday, April 22, 2020

Estes MRN Orbital Transport Laboratory Build, Part 16, Nose Weight & Shock Cord


The instructions called for one NCW-1 Lead Weight! LEAD - Between the lead weights and a square of asbestos on the Centuri LIA-50 launchers CLICK HERE, how did we ever survive rocketry in the 1960s and 70s?

The lead weight weighed in at 0.12 oz.


This model is short - I'd feel better if there was a bit more weight in the nose. The nose cone was drilled out for some clay weight.
Mark the center. Start the hole with small diameter drills and work up to larger ones. Don't go too deep.
TIP: Use a wrap of masking tape around the drill bit as a depth gauge. Be careful using a wood drill, balsa chips easily.

Nearer the outside of the shoulder base is the screw eye location.


I measured out some clay to .25 oz, twice the NCW-1 lead weight. This was pressed into the drilled hole.
TIP: Notice the screw eye turned to the side so it won't contact the body tube.


The 36" long shock cord was attached to the body with a tri-fold mount.

The other end was tied to the screw eye using a Duncan Uni-Knot.
An overhand knot was tied about 1/3 the way down from the nose cone. A 12" Odd'l parachute with attached snap swivel was clipped onto an overhand knot loop.

Tuesday, January 23, 2018

Did I Just Cram A Few Ounces Of Clay?

This struck me as pretty funny - 
On the Facebook Model Rocket Fanatics page, Mark Geidel posted -


To see the video clip, CLICK HERE

Wednesday, October 18, 2017

Estes Curvilinear #3231, Build, Parts 9, Tape Reveal and C/G


The tape was pulled and the color separation was pretty good.


The ring was slid into place. The color separation is sharp between the ring and fin slots.


Here's why the engine mounts weren't glued in earlier. I have to find the center of gravity (C/G) of the model with 13mm engine mount in place.
With the 5/60 mount slipped in with an A10-3t engine, the balance point was 3 1/2" from the rear edge of the main tube.

The 18mm engine mount was inserted with a B6-4 engine in place. I doubt I would ever use a C6 engine in this rocket. Bits of cay weight were added and stuck on the outside of the nose cone until it balanced at 3 1/2" from the rear.
The total clay weight added to compensate for the 18mm engine mount was .16 oz.

Friday, July 7, 2017

Estes Apollo Little Joe II Build, Part 33, Escape Tower Nose Weight


The escape tower get 3 1/2 pats of clay weight.
They total .87 oz.
TIP: Instead of rolling the clay into small worms, cut the 1/2 pat of clay into small pieces and roll them into little balls. These will go in first into the nose cone already glued into the tube.
Drop the clay balls in a few at a time and press in place with a dowel. The clay balls pack in tighter and you aren't chasing a clay snake around the end of a body tube.

The other three pats are rolled into cylinders and pressed in with a dowel. Drop and seat the clay cylinders one at a time.


The 3 1/2 pats of clay totally fill the nose cone and tube.

GOTCHA: I glued the nozzle "hat" assembly in place with epoxy.
The only problem was the nozzle hat was airtight in the tube! Air pressure inside wouldn't allow me to seat the base of the nozzle hat against the edge of the tube.
It took a few minutes of turning the nozzle assembly to work the remaining air out of the unit. I checked back a few minutes later only to find it was being pushed out again.
Check, press and re-seat - repeat until the epoxy dries.

Thursday, July 6, 2017

Estes Apollo Little Joe II Build, Part 32, Command Module Nose Weight


I've never seen this much nose weight in a kit before -

The command module gets 2 1/2 clay weights. The total weight for me was .61 oz.
For a better, tighter fit of the clay, just don't press it into the tip of the nose.
Preform the first 1/2 pat of clay into a cone shape. Once it is pressed into place form the second clay pat into a round doughnut. Press that in on top of the first.
The third pat goes on top of that.


Flatten out and even up the clay with the back end of a hobby knife or flat end dowel.

You want the clay to adhere well without any air gaps so it won't come loose.