Showing posts with label Newbies. Show all posts

Saturday, November 2, 2024

Newbie TIPS, Part 2

More TIPS for new builders:

 9. Don't "tack" on fins using super glues. 
        Super glues will seal the root edge of the fin. 
        Your wood glue fillets cannot soak into a CA sealed root edge.

10. Use less glue to initially tack on fins and launch lugs.
        Less glue will grab and set quicker. You can always add glue fillets later.


11. Cut out chutes using a metal straightedge and a sharp knife. 
        Don't use scissors as shown on the sheet.


12. PAINTING: 
        Read the directions on the spray can!
        Most brands recommend: Re-spray within one hour or after 48 hours.
        Plastic nose cones take MUCH longer to dry before recoating.
        Spray when humidity is lowest, usually around 2:30 in the afternoon.

13. STICKERS: Don't touch the adhesive on the backs of peel and stick decals. Your fingerprints can show under the clear borders.
        After peeling off the backing paper, hold and place the decal while stuck to a clean knife blade. Wipe off the blade before using it to place stickers.


14. Dip the sticker in water to allow repositioning on the rocket.
        Apply water to the area on the model and leave the surface wet before setting down the sticker.
        Work out air and excess water from the sticker from the center out to the edges.

15. WATER SLIDE DECALS:
        Practice using the vendor name decal (the Estes logo decal or kit number) to get an idea of the soak times before transfer.
        Like the stickers, wet the final decal position on the rocket body before laying down the decal. The water under the decal allows it to be moved around until into final position.

Friday, November 1, 2024

Newbie LPR TIPS, Part 1

For all the new blog readers - 
Some of these TIPS aren't always mentioned in kit instructions. 

1. READ THE DIRECTIONS BEFORE ASSEMBLY. 
        There is a reason why most instructions suggest this.
        You might want to plan your paint patterns before gluing things together. 

2. Start each build with a new blade in your knife and new sandpaper in your sanding blocks. 

3. DRY FIT EVERYTHING before using any glue.


4. DON'T USE INK to mark fin position lines.
         Use pencil to mark body tubes.
         Ink can and will bleed through lighter colors of spray paint.


5. Don't trust kit supplied fin marking guides. 
        To test a kit supplied marking guide - 
        Wrap and mark the fin lines, then rotate the marking guide to the next pencil mark.
        If the new marking guide position and pencil marks don't align, the marking guide is incorrect.

        Go to: payloadbay.com. Go to "Tools", then "Fin Wrap Tool".
        Enter in your body tube size and number of fins and print out.
            

6. Sand body tube ends flat using a sanding block.
        Many tubes (especially larger diameter body tubes) many not have a clean, straight end cut.

7. Change out a wide wood glue nozzle with the
 nozzle  from a white glue bottle. The size of the threads on the base of the white glue bottle nozzle will fit the wood glue bottle.
        You'll have a better control of glue flow.

8. Don't "set" knots with Super Glue. 
        Super glues (CA glues) will harden shroud lines and shock cords. It makes them brittle and prone to breaking.

Saturday, May 4, 2024

Estes Condor #0807 Build, Part 8, Parachute Ties


Most instructions show scissors used to cut out the sheet parachutes. 
Use a straightedge and sharp blade to get clean, straight lines.


The shroud lines are old and have bends. 

Run an iron over the lines with the iron on a dry, cotton setting.


NEWBIES:
Try not to touch any stickers. The oils on your fingers could diminish the adhesive. Here I've lifted the reinforcement ring with my knife. Center and position with the sticker still on the blade.


TIP: 
To prevent a tear from starting, punch the hole up against the outside edge of the ring. Rotary punches work great but you've got to have cardstock behind the sheet when punching through the plastic.


Shroud lines can be hard to tie.
TIP: Use long tweezers to tie the knot. On shroud lines, I use a simple square knot.

Wednesday, May 1, 2024

Estes Condor #0807 Build, Part 5, Centering Rings & Hold Down Strap


I also had to cut free the die-cut centering rings.

On the right - 
You can see the compression wrinkles from the die cut process.

On the left, I put a soft curve in the hold down strap by rolling it around a pencil.

The rings were slipped on dry (no glue yet) to find the center position of the engine hook retainer strap.

The center was marked with a pencil so the overlap would end up on the opposite side of the engine hook.


NEWBIES
: When gluing paper or cardstock you don't need a lot of glue. A thin coat (skin) cover spread over the entire face will be plenty.

Wednesday, April 10, 2024

Estes Mini Bertha Clone, #TK-3, Part 5, Odds & Ends


Before marking and gluing on the fins - 
I fill the gap between the outside of the centering ring and the edge of the tube.
Apply some CWF around the outside of the joint. Let dry and sand. You can sand and work around the engine hook with a sanding block.


The upper inside edge gets a wipe of CA glue. 
After drying, the glue gets a light sanding with 400 grit wrapped around a finger or dowel.
The nose cone weight is attached to the nose cone.
NEWBIES: Don't just blindly start the hole with the screw eye. If you are off center, that washer might come in contact with the inside walls of the body tube.

Mark the center with a pencil point. Screw the screw eye in first, going in about 3/4 of the threads. Remove the screw eye and squirt some glue in the hole. You know the drill.
Place the washer weight on the screw eye and reinsert the screw eye, this time screwed all the way in. 

Monday, April 8, 2024

Estes Mini Bertha Clone, #TK-3, Part 3, Slightly Longer Engine Mount?


Here's a second dry fit engine mount using a 1/4" longer BT-5 engine mount tube.
With the BT-5 tube now at 1 3/4" long you end up with the engine hook extension only 1/4" out the back.


NEWBIES: I don't recommend using tri-fold shock cord mounts in smaller BT-5 and BT-20 diameter tubes. The bulky triple fold paper and double fold of rubber can block a chute or streamer ejection.

I substituted a Kevlar line.
The Kevlar line knot loop goes under the upper bend of the engine hook, Semroc style.

Like in previous builds,
The flat face of the exposed lower centering ring will be seen, rough layer wraps and all.

Rub in some white or wood glue and let dry. Sand with 400 grit. On the finished model that flat ring face will be sealed, smooth and shiny.


To hold the split ring closed while the glue dries - 
Slide the lower ring dry into the open end of the BT-20. 

Here you also see the cardstock hook retaining wrap between the two centering rings.
 

Thursday, March 21, 2024

Estes Skytracer Clone #1361 Build, Part 6, Cutting Out The Fins

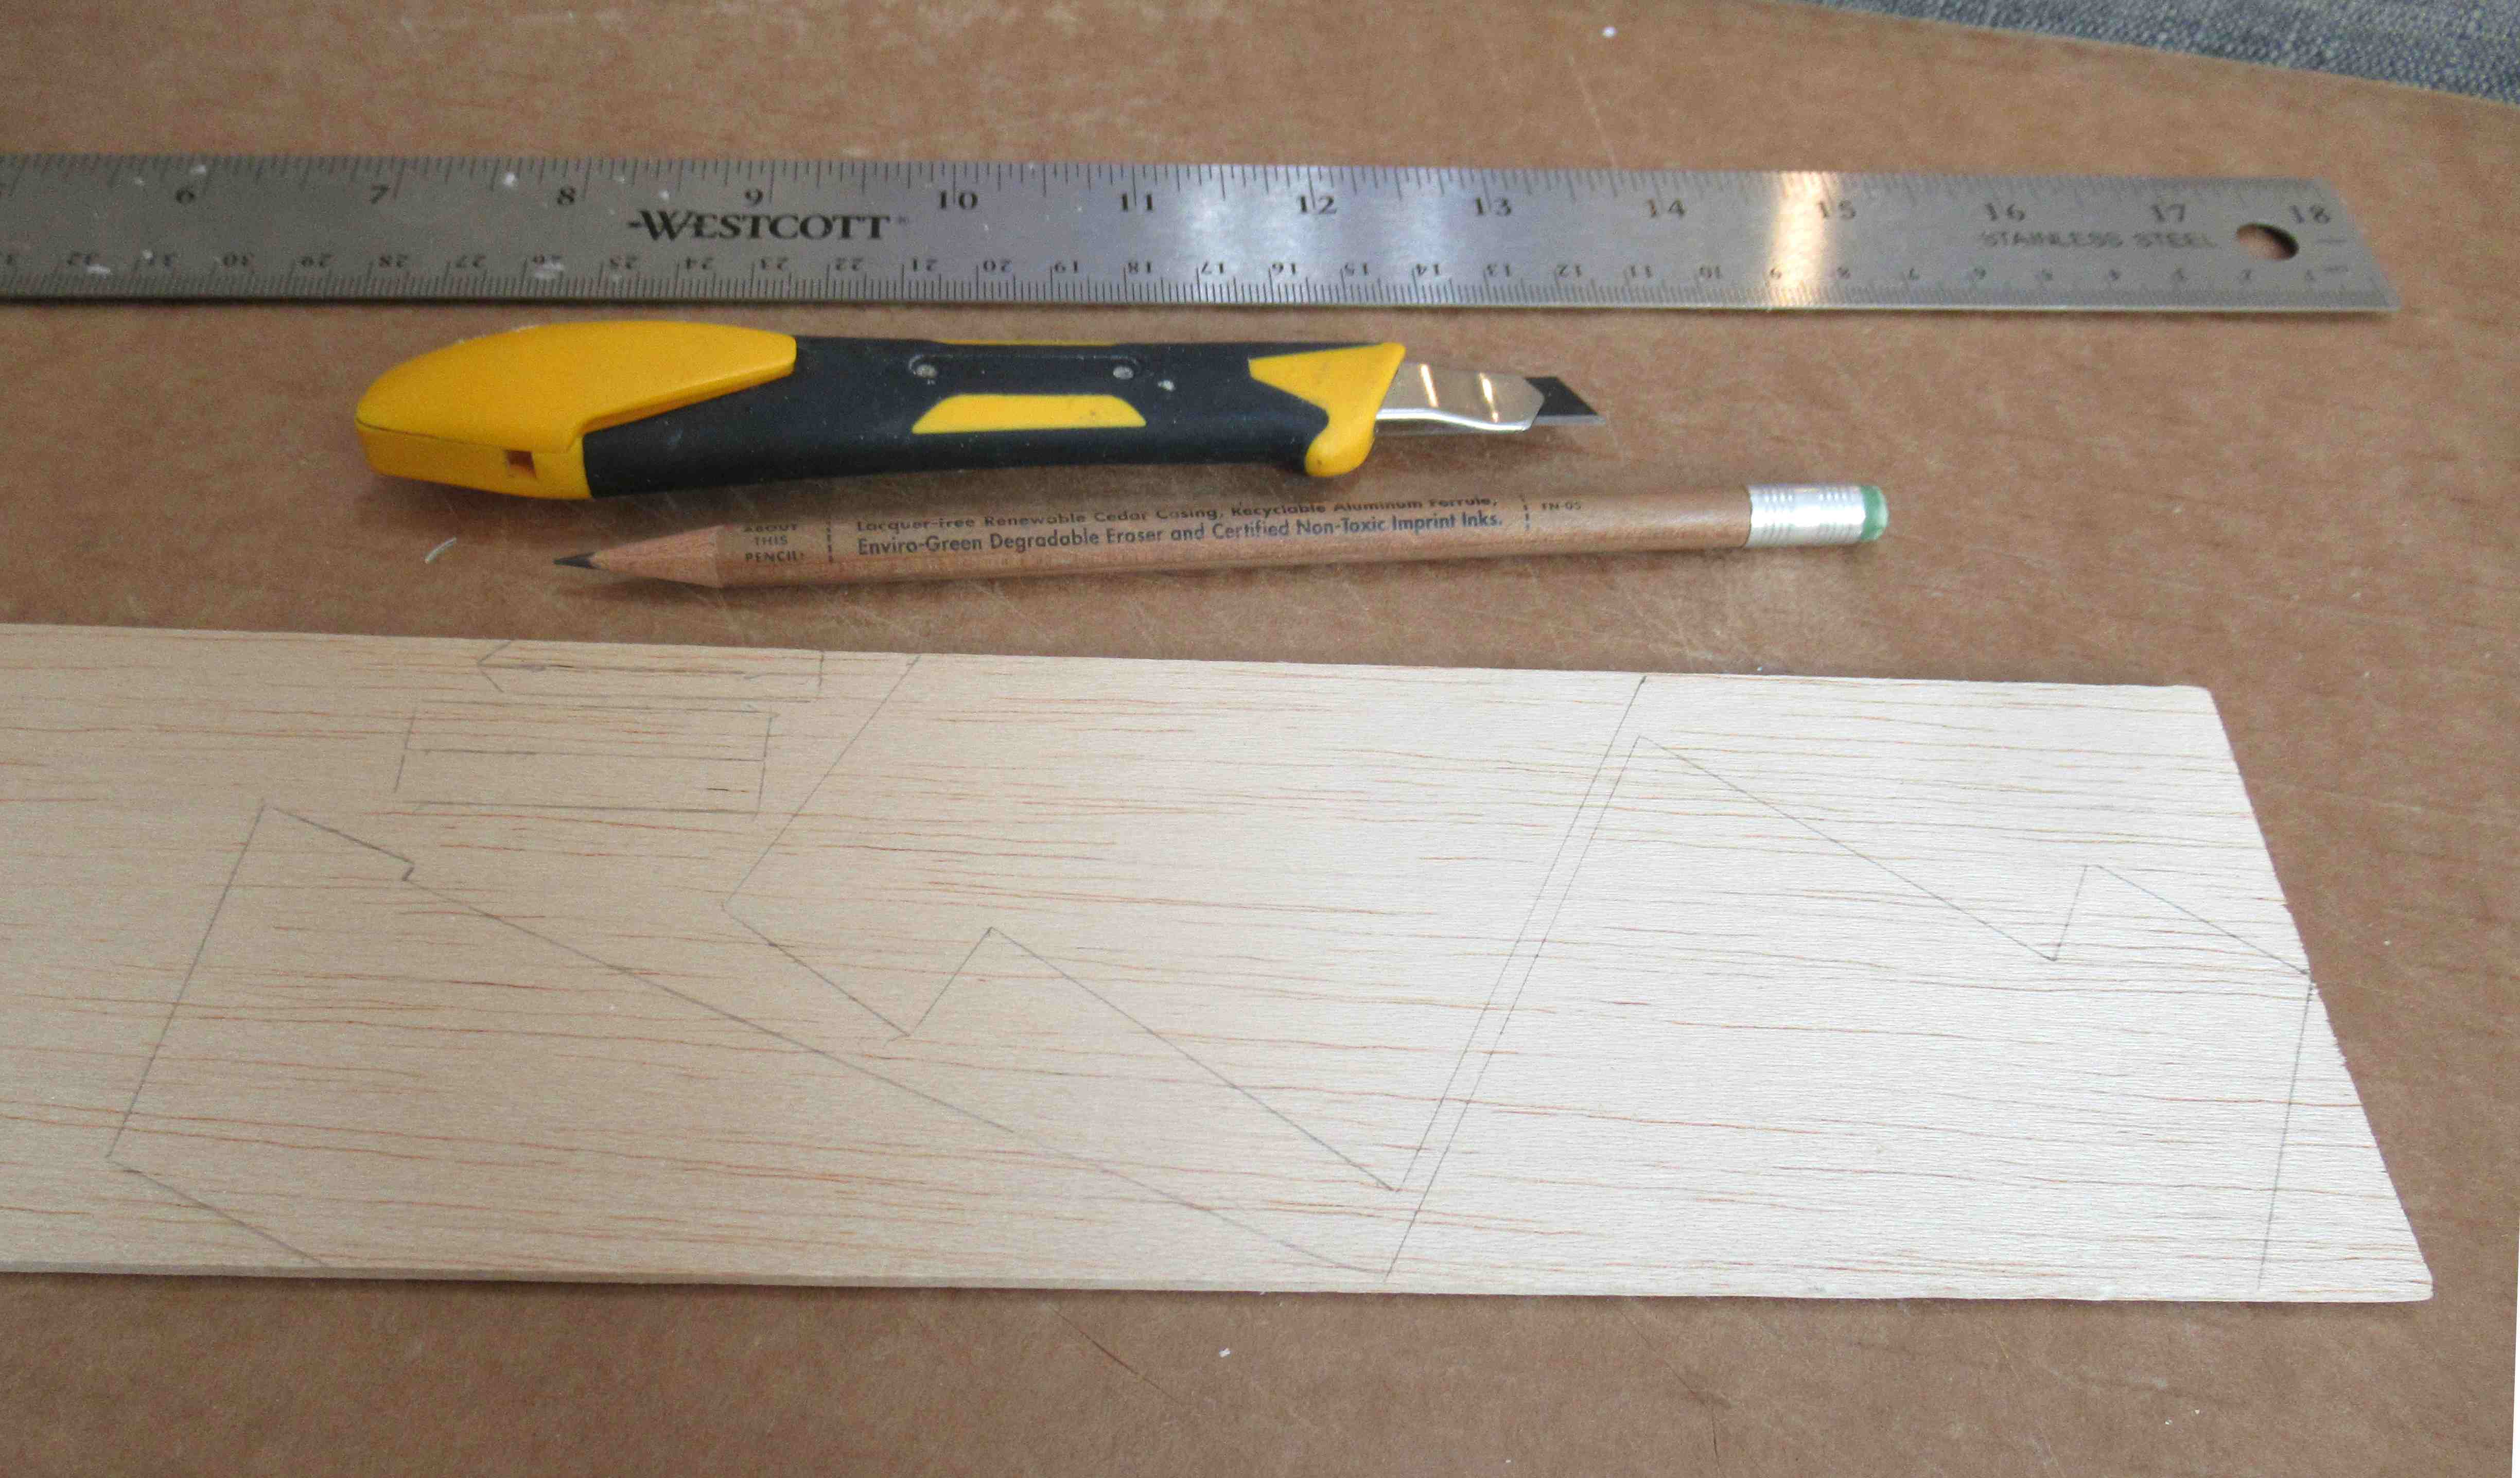
The fin patterns were traced onto the 3/32" thick balsa with pencil. Pay attention to the grain directions.
NEWBIES: Never trace fin outlines or draw fin lines on a body tube using ink! The ink can bleed through paint and will be seen on the finished model.


Pay close attention to the corners. In this picture, the knife is started before the corner and is being drawn away to the right. That small corner (nearest the 7 1/2" mark on the ruler) can easily break off down the grain lines. 
Note the saw blade is perpendicular (at 90 degrees) to the balsa sheet.


The second cut is also drawn away from the corner.
NEWBIES: Don't try to cut in a single pass. Lighten up the pressure and make a few passes with the blade. Relax, slow down!
Again, the cut is started outside of the corner to prevent the balsa tip from breaking off down the grain.


Square up the inside lines with a sanding block.
That 220 grit on my block is an older piece of sandpaper - still usable though!


Here's the two wings, stabilizer fin and the smaller standoffs.