Showing posts with label IRIS. Show all posts

Sunday, July 24, 2011

Semroc IRIS Finished!

Here's the finished Semroc IRIS


I did have to hit the model with a dull clearcoat to match up the dull surface of the rear black decal. Before hitting it with the dullcoat, the rear Monokote aluminum trim piece was masked and the nose cone was left off.

TIP: A dull clearcoat (or any clearcoat for that matter) will turn a shiny silver finish to a dull gray!

Saturday, July 23, 2011

Semroc IRIS Build Part 23 Decals

Between the IR and the IS is a very light pencil tick mark. This is the measured center of the IRIS decal.
The body tube also has a very light pencil tick at the center of the upper white rectangle.

This makes it easier to center the decal by matching up the two tick marks. Sometimes a drying decal doesn't give you much time to move it around or check the center with a ruler.


After the rear black decal was set in place, a line of the white background showed around the edges.
A little touch up with a fine point Sharpie covered up the white line.

You can clearly see the difference between the gloss black painted surface and the matte finish of the decal. I'll have to give the model a clear coat to even this out.

Friday, July 22, 2011

Semroc IRIS Build Part 22 Fin Fix and Decals


After the filler was sanded just the side with the dent was hit with gray primer.


Then the obligatory white undercoat. Red followed and the two fins were re-glued again.


Looking ahead at the decals:
I didn't realize it, but the rear decals don't have a clear background, but are black printed on a white backing. I would rather of had white lettering on clear, but I can see why Semroc did this.

When cutting out this decal, cut inside the black sides. Otherwise, you'll have a white border around the black box. You want to have the black decal to "meld" into the painted black rectangle.

Thursday, July 21, 2011

Semroc IRIS Build Part 21 Oops!


This is what can happen when you take pictures for a blog by yourself. I dropped it!

The IRIS fell hard and broke off two fins. The fin on the left has a pretty good ding in the trailing edge.
Sure, it's all repairable.


I used CWF (without thinning it with water) right out of the tub.
For filling a corner ding like this, the CWF dries much harder and sticks better when used full strength.
A razor blade was used to apply and "trowel" off the filler.
The filler was left wider than the fin thickness so it could be sanded to the flat surfaces of the fin.


After the filler dried, it was sanded down and level with the rest of the fin surfaces.

Wednesday, July 20, 2011

Semroc IRIS Build Part 20 Fin Mask and Gluing


All four fins have been sprayed red. The root edge on the left still has the thin masking tape strip in place.
On the right, the tape has been removed.

I used a sanding block over the root edge to remove the paint "step" and to take off most of the red down to the bare wood.


A thin strip of Monokote Trim was removed for the root edge gluing.


Using the "double glue" method, the fins were glued in place.
I'm going back and adding some thin CA glue with a toothpick tip. The glue will be set at the rear of the root edge and under the fin tabs with the hope it will run underneath and reinforce the joint.


NOTE: Gluing the fins on after painting doesn't make for the strongest bond! Gluing bare balsa to a bare tube and fillets before painting is much stronger. But, taking into consideration the color separations on the body tube and the fin tabs getting in the way, this seemed to be the way to go.

Tuesday, July 19, 2011

Semroc IRIS Build Part 19 Rear Color and Lugs

I used some aluminum Monokote trim material for the silver area behind the rear band. I used aluminum because the silver Monokote looked a little too metallic and shiny.

The lower launch lug was wrapped with the same trim material. I didn't wrap it all the way around, but left a narrow open strip of exposed lug for gluing.

A small rectangle was cut away for the lug to sit in. the lug was glued in place with wood glue.

The upper lug was painted white and glued to a masked rectangle on the upper body. Both lugs were lines up using a 18" length of launch rod.

Monday, July 18, 2011

Semroc IRIS Build Part 18 Color Separations


The tube is marked halfway between the upper and lower bands, around 7 1/2" from the top.


I wrapped card stock around the tube for an edge to cut against.
Use a sharp knife and cut carefully. The paint will chip off if cut to quickly.


Use a sanding block with 400 grit sandpaper to clean and square up the edge. The coupler is already inserted for support of the edge when sanding.


Remember the coupler from Parts 6 and 7?
Join the two cut halves together.

Turn the upper tube 90 degrees - Voila!


If you took the extra time to make sure the tube was masked evenly, you should have a clean separation with the corners matching up. Nobody will notice the cut tube, the sharp color breaks will hide the line.

Semroc IRIS Build Part 17 Color Separations


It's hard to see in this picture, but Scotch tape was used over the white area separation lines.
Masking tape covered the area between the thinner Scotch tape lines.


Here, the Scotch tape is removed. The mask line is looking clean so far.


With all the tape removed, here's where the tube stands now, four long bands. Two white and two in black.

Note, the fin root edge and launch lug gluing lines were masked for better adhesion on the body tube.

Sunday, July 17, 2011

Semroc IRIS Build Part 16 Color Separations


You can see how the wrap strip overlapped itself and left a ridge.
It'll take some careful sanding and a little filling to make it less noticeable.

Now, on to the black / white body paint pattern.

This was first explained in post #6.
Instead of a difficult mask, I wanted to try something a little different.
The main body will be painted white, black, white, black all the way down it's length.
At the midway point, the tube will be cut in half.
Using the coupler made earlier, the upper and lower halves are joined.
The upper section will be turned 90 degrees.

If the masking was correct, you should have the desired paint pattern with very sharp color separations.
If this doesn't make sense yet, hang in there. It should be clear soon.

The body tube is divided into four EVEN sections. I used a four fin marking guide and extended the lines all the way up the body.
The guide was rotated 90 degrees and checked. The checked again and again!

To paint the color separations this way, the 1/4 divisions must be correct.

Semroc IRIS Build Part 15 Fin Tabs

After spraying the fins a white undercoat, I noticed the laser cut sides of the fin tabs weren't accepting the paint. They still looked brown.
I hit the sides with a light coating of white glue. After the glue dried, it was lightly sanded.

White paint was sprayed into the spray can cap and brushed onto the sides of the fin tabs. Again, a little sanding and another coat. This gave me an even coverage of white.


I still had some dips in the fin tab seam.

I applied a little wood filler and sanded.


The fins were lightly sprayed and sanded again.

The reflected light in the picture shows the sanded area around the tab.

Friday, July 15, 2011

Semroc IRIS Build Part 14 Fin Tab Gluing


Looking very close, there are some extended corners on the square tabs.
Each tab was stood on end and the small extended corners cut square.

The laser burned sides were sanded and cleaned up a bit with 400 grit on a block.


A small glue line was set into the recesses with a sharpened dowel.

Not much glue was used, I didn't was glue to ooze out to the sides.


The tabs were set in place checking both sides to be sure they were even.
After checking the fit on the body tube, the tabs were just a little too thick. This raised the root edge above the body tube slightly.

This required a little sanding of the tabs down to and even with the root edge

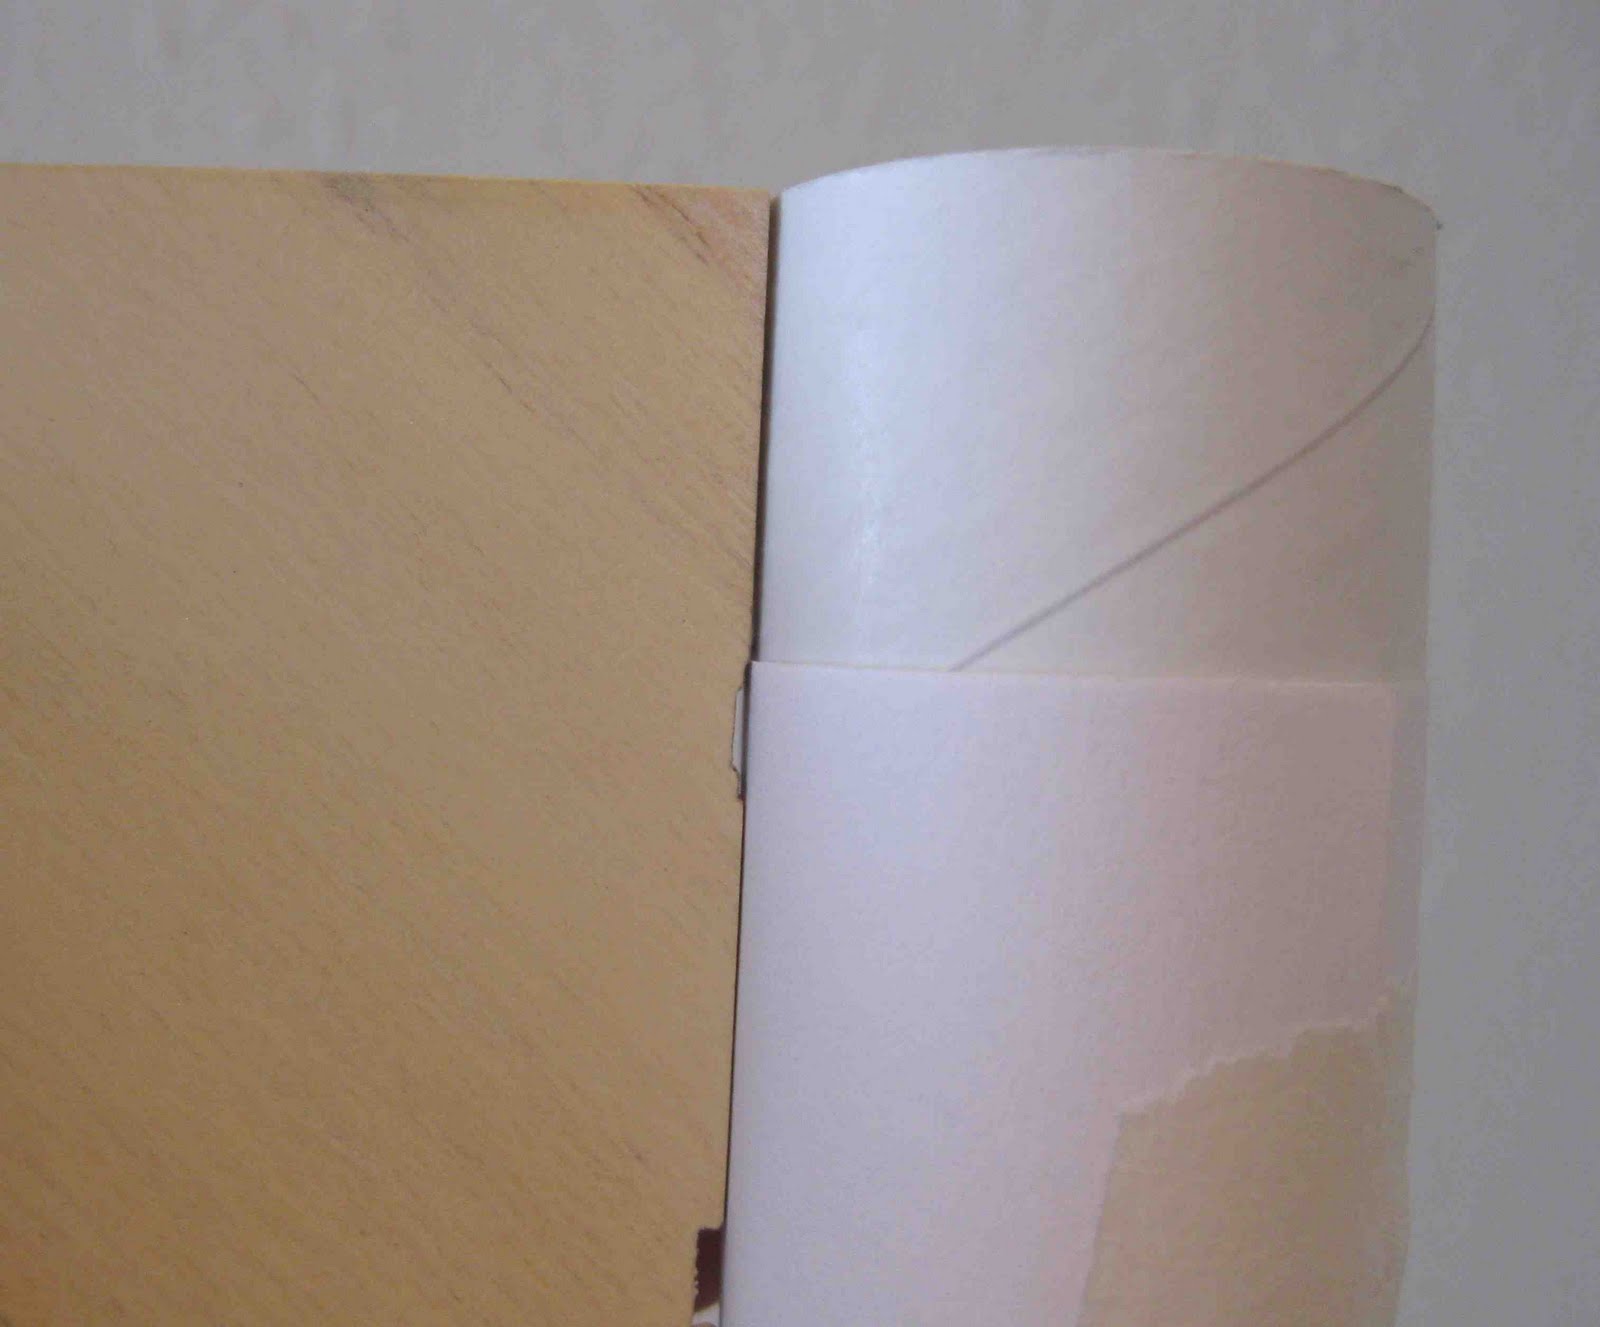
The fin on the left shows the thick tabs. The fin on the right is the tabs sanded flush with the root edge.

EDIT: I was sent some great IRIS scale information from Massrokit, a TRF member.
From the closeup pictures of the real IRIS, the root edges of the fins don't make contact with the mainframe body. The only attachement points are the fin tabs and rear band.
So with the Semroc supplied fin tabs being a little high, they could actually "raise" the fins away from the body tube. For me, this wouldn't give a strong enough root edge joint. Still, an interesting twist.

Semroc IRIS Build Part 13 Engine Mount Gluing

The launch lug location had already been marked and masked on the tube. The engine hook will line up with the launch lug.

The engine mount in now glued in place.

Some instructions will have you place a bead of glue inside the tube, 1" from the end.
Because these centering rings are thin, I tried to place my glue ring closer to the place where the upper ring would eventually sit. This was farther inside than 1".
I used a rounded dowel to roll a bead of glue in the tube.

In the above picture, my sanding block was used to evenly push the mount into place. The flat side of the block insured the end of the mount tube was even with the main body tube.
The engine hook extends beyond the tube end, the block was set a little to the side of it when pushing the mount in place.

Thursday, July 14, 2011

Semroc IRIS Build Part 12 Band Gluing


Here's the doubled band at the top of the body tube. Note there is a raised edge where the band ends.


While gluing the band on the fin side, I was double checking the fit with the fin recess. Here, the first wrap is glued down. I've yet to add glue to the second narrow wrap and smooth out the glue bead with a toothpick.


While the glue is still wet, any that may have squeezed out was picked off and removed with a toothpick point.

Wednesday, July 13, 2011

Semroc IRIS Build Part 11 Gluing Bands


The fins, body tube and nose cone were sprayed with gray primer and sanded.


The tape was removed before sanding the body tube. (You'll have to add back more tape strips before painting the white and black on the body tube.)


I layed a thin bead of white glue to the flat finish side of the band.
That bead was spread out and smoothed with the flat side of a toothpick.


I only applied glue to the widest side of the band first for a single glued wrap.
After the first half of the wrap is in position, glue will be applied to the narrower second half.


While rolling the band, the flat side of my sanding block was used to be sure the band side was flush with the end of the tube.
Any flat surface could be used here, a sanding block is probably not the best choice. It's simply a flat surface to be sure the band is being glued correctly without a "step".

Tuesday, July 12, 2011

Semroc IRIS Build Part 10 Primer Band Mask


In this step, the tube will be marked for masking before spraying the primer.
There will be a strip mask for both bands and the fin root edges.
The bands will be glued on after the primer is sprayed and sanded. Later on, the fins will be glued on after they are painted red.
The fins are even with the back end of the body tube.

The rear of the wrap recess is marked with a pencil. Make this an accurate mark, it will effect how well the fin lines up with the end of the body tube later on. I double checked the position with a wrap of scrap paper.


The fin line (where the lower wrap would start) was extended up to the top of the body tube to mark the start point of the upper wrap band.

Notice the pencil line is not as wide as the band. This is the line for the width of the masking tape.

Primer will be sprayed before the bands are glued around the tube.


On the fins side, the wrap line was penciled around the tube.

Note on the upper leading edge of the fin there is another line. This is slightly below the taper in the fin. That's as high as the masking tape strip will go, not above the widest root edge of the fin.

This is a pretty smart way to make a double stepped wrap. The wide end is started first, the narrow band wraps over the top.

Monday, July 11, 2011

Semroc IRIS Build Part 9 Nose Cone Shoulder


The nose cone was filled at the same time with the fins

I mask off the base to keep the filler away from a good fitting nose cone shoulder


To get the best fit at the shoulder, I'll lightly rough up the body tube end (just the flat edge) with 220 grit sandpaper on a block. I don't want to take too much off or shorten the tube, just rough it up a bit.
To the left is the nose cone shoulder lip before.


The nose cone is reinserted into the tube and the balsa shoulder turned against the roughened tube end.
This rough tube actually sands down the rough shoulder lip a bit and gets a better fit to the body tube.

The picture to the right is the shoulder after using the roughened tube end to clean it up.

Sunday, July 10, 2011

Semroc IRIS Build Part 8 DIY Making A Coupler


Sand the joint edges with a block and keep them straight.

The other half of the coupler is around the back of the sanding block edge.


After a little sanding, here's the fit in the Series 11 IRIS tube.


To hold the joint together, a glue tab was made from card stock and glued in place.
Don't glue in the coupler yet!
Save it until after the paint is applied.

Semroc IRIS Build Part 7 DIY Making A Coupler

Making a coupler has been covered before, but this one and it's application is a bit different. I've made them out of body tubes but not from stiff, black fish paper before.
There was no Series 11 coupler in my parts box.
I do have a BT-55 coupler. It's slightly bigger so it'll be cut down to size.
It's been marked down it's length for the first cut.


This black fish paper it hard to cut through! Use a sharp knife.

After the cut was made, it was slipped into the Series 11 tube and the overhang marked with pencil.


Cut off the overhang a little oversize, to the side of the pencil line. You'll be sanding it down for the best fit.

Saturday, July 9, 2011

Semroc IRIS Build Part 6 Paint Plan


Looking ahead, this is going to be a tricky mask.
The IRIS picture is from the Semroc.com website


I've decided to take the easy way out to get the split between the black and white sections of the main body.
Sure, I could mask it and cross my fingers, but this method will give you a very clean separation in half the masking time.

After an overall spray of white, the body tube will be masked, vertically "split" into quarters and sprayed for the black. The tape won't stop at the center point of the body tube, but go from top to bottom making four long alternating white and black stripes. It will look like a long white stripe, then a black stripe, another white and another black.

After everything is dry, the tube will be cut in half at the mid point. The two halves will be joined (dry, no glue yet) with a coupler. The upper half will get 1/4 turn giving the alternating white/black scheme. After making sure the match is good, the tubes will be glued together with the coupler.

If the tube cut is clean and the joint is square, this will give the body tube mask shown in the picture. Wish me luck!