Sunday, August 31, 2014

Estes Guardian Build, Part 2, Plastic Parts Prep

Before gluing in the nose cone shoulder, sand the base of the nose cone flat. Square the nose cone base now for a better fit against the body tube end.
Also sand the end of the body tube square.

Apply plastic glue and set the shoulder in place.
Before the glue dries, slide the nose cone into the body tube  and turn against the body tube to be sure it is square.


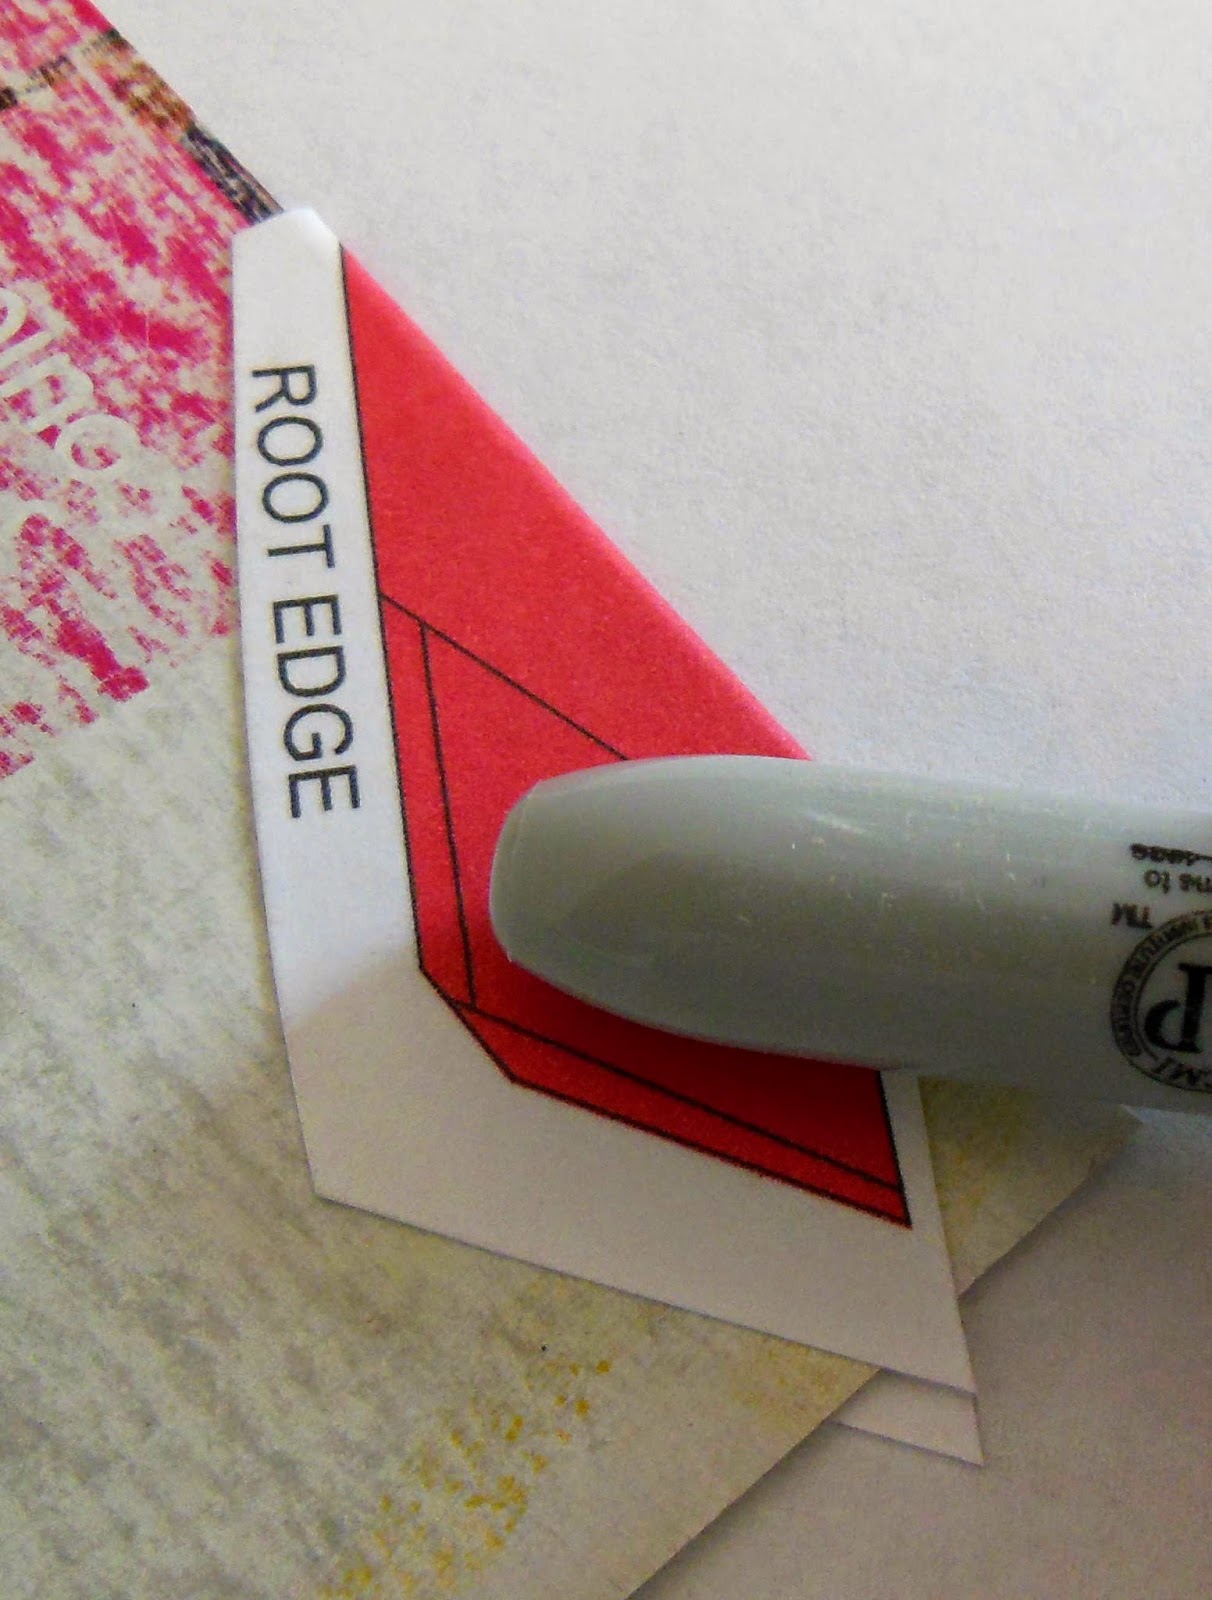
I didn't cut out the entire recess in the attachment lug.
Files were used so the ends would be round.

If you were to cut the corners with a knife you risk cutting through the attachment lug.
TIP: The rounded sides are also less wear on the shock cord.
There are closed shoulders on both sides of the 50/55 adapter.
TIP: For a larger payload section the small end of the adapter shoulder was cut off with a razor saw.
This opens up the top of the adapter and gives you enough room for an altimeter.
I could also run the shock cord through the base of the adapter and through the payload tube and tie onto the nose cone lug.
This would tie the nose cone to the body (no chance of losing it at ejection) and you can tie the altimeter onto a loop in the shock cord.
The model will still break below the adapter at ejection.

Battery Life? TIP


I'm changing out a 9V battery in my guitar preamp.
While the owners manual says you can get 100 hours of performance, it never seems to last that long.
To keep track of the new battery life, I marked the install date: 6/11/2014 with a Sharpie


This might be an interesting test for launch controller batteries, especially the Quest controller that also uses a 9V battery. The single 9V battery seems to lose its ignition strength faster than the Estes 6V controller.
You could also mark one of the four AA batteries in an Estes style controller.
If you keep a flight log (recommended, go to www.rocketreviews.com, register and start a flight log) you could keep track of how many launches and in turn, how many batteries you use.

Saturday, August 30, 2014

Estes Guardian Build, Part 1, Parts

I've never built an Estes Guardian.
Somewhere in the Ebay buys I ended up with two.

Both kits had white tubes.
You can see the bent tube on the right. I have some extra BT-55 and will cut a new one.

The 50/55 adapter is the same one used for the  Bullpup kit tail cone.
The shock cord is too short, only 18" long.
One kit has balsa fins, the other laser cut Tung wood.
All other parts are standard.


This bent tube had small spirals. The second kit had a very rough BT-55 with wide spirals, the worst I've ever seen in an Estes kit.
The parachute is 12", yellow and black in the "spiderweb" pattern.
The shock cord is too short, only 18" long.
While the face card shows a very colorful model, you are only given a white nameplate decal that fades into blue.


The paint pattern is a very tough mask. I doubt few builders have tried to do it.
I'll tackle it using a combination of paint and trim Monokote.
The face card picture looks like Estes used trim Monokote on the blue fin centers.

NASA 3D Models Web Page


DavidQ on TRF posted a link to the available NASA 3D Models: HERE

If you have a 3D printer, or access to one, this could be a great source for scale modeling.

Friday, August 29, 2014

Launch - Schoolyard, August 28, 2014


The FlisKits MMX M.A.C.M.E. SHREW launched first with an older MicroMaxx engine.
Not as high as I remember but still stable and the streamer ejected for a soft recovery.
Maybe 50 feet?

If you can get a MicroMaxx engine to ignite fairly quickly with a 6 volt system you are good for everything else.

I rarely fly "naked" but this was a test of a possible replacement for the Powered FLIC in the Odd'l Rockets Combo kit. Tentative name is the FLARE.
Based on the Hot Rod Rockets Bell Bottom, it was very stable with a 1/2A3-4t engine. The nose cone deployed, the streamer didn't. The engine ejected.

Ive got to double check the tape wrap around the engine mount tube when the rockets were prepped a few days before.


The Quest VIPER was launched with a very loud Quest A6-4 engine.
Estes engines "hiss", the Chinese made Quest engines Crackle and roar!

Estimated altitude was 275 feet with full eject of the Odd'l Rockets 12" parachute.
The CD SPOOL is perfect when you want to use a C engine on a small field.
A C6-3 engine got it to over 250' with a very fast spin tumble recovery.


My best flight of the day was the Dr. Zooch SLS.
A Estes B6-4 got it to 300'.
It was nose down and incoming when the parachute ejected and snapped open.
A B6-2 might be a better choice for this heavier model.

Five up, five down. No damage that I could see except for some water spotting on the naked (not painted) Flare tail cone.

Carded Downscale Black Brant VB, Finished


This was a fun, quick build and came out very well.
Using the white plastic nose cone there is no painting!
Thanks again to Peter Alway for doing all the ground work in his Scale Bash book.


It's not quite finished yet! 
The fins are only lightly tacked on for these pictures. They were removed for the flight home.
They will be glued back on and fillets applied.
Later on the small metallic band above the red nose wrap and the MPE logo were added.
The MPE logo will soon be a water slide decal. Right now it's just a paper print.
In most BT-5 based models streamers are used for recovery.

Engines? I would guess a 1/2A3-2t, 1/2 A3-4t and A3-4t would work.
I wouldn't use the A10-3t in a model this sleek and light. Save the A10 engines for heavier and bulkier models.

Want to build your own carded Black Brant VB?
Patreon members can email me at: oddlrockets@bellsouth.net
And request the Black Brant VB PDF art.

Thursday, August 28, 2014

Carded Downscale Black Brant VB, Part 11 - Fin & Lug Gluing

The fins and launch lug are ready for gluing on the body.

I built this model in Mexico last June.
In order to get it home without damage, I'll only tack the fins on with very little white glue, no fillets yet. 
After the finished pictures are taken the fins will be cut off for the flight home, then glued on again.


Sand down the lug wrap seam for a better bond.
You'll hide the roughened area in a fin joint. Nobody will ever see it.
The fins were glued onto the printed lines on the tube wrap.
The lug glued next to a fin over the body tube wrap seam.
I know - The end of the lug could be trimmed at an angle to match the leading edge of the fin. 1/8" lugs on BT-5 models stick out like a sore thumb.

NOTE: The final PDF art included some changes not seen in the build pictures. The actual Black Brant VB had a smaller diameter body towards the low end of the rocket. This recess is now drawn and shaded on the available PDF to Patreon supporters.  

Old School Controller

From a rocket parts listing on EBAY: CLICK HERE was this do-it-yourself- controller.
This looks like something built from a page in the old Estes catalog Yellow Pages. Note the flip switch continuity and doorbell launch button.

Most of the other items weren't worth bidding on.
It was refreshing to see a simple but effective home-built controller.


Here's another D.I.Y. controller from the 1975 Centuri catalog.

I've always used manufacturer produced controllers.
A few friends made their own. As long as the battery was new they worked fine.

Wednesday, August 27, 2014

Carded Downscale Black Brant VB, Part 10 - Nose Cone Wrap


The Peter Alway book "Scale Bash" book shows a red band at the base of the nose cone.
The PML Black Brant VB shows a brown band with a thin silver band above it.
This is probably a difference in the Black Brant rounds. The paint scheme of rockets changed over time. I'll go with the Alway data on this one.


Look at the nose cone on the left.
At the shoulder is a slight raised lip.

I didn't draw the red nose cone wrap on a curve.
For the best fit of the wrap:
Sand flat the flared end with some 220 on a block followed by some 400 grit. The pencil line was a guide. Roughing up and flattening the surface will give a better glue bond.


The band was glued in place with a glue stick.
Even on the plastic I got a very good bond.

The inset shows the nose cone butted up against the end of the body tube.
After sanding the lip flat and adding the paper wrap, the paper wrap matched the outside diameter of the body tube.

Wadding Test - DONE!

I started the wadding test on April 24, 2014 to see if different types were biodegradable.
Estes TP, Quest Parade Pomp and Dollar Store crepe paper wadding pieces were taped to the arm rests of my patio chairs.
On the right how the Quest wadding looked on the first day.
The three styles of wadding were exposed to the elements - sun, heat, humidity, wind and plenty of rain.

The Estes wadding was the first to go. In a few days it had broken up and blown away. The crepe paper lasted a few days longer, but still broke down and was gone.

In the above picture, the Quest piece on the left blew off and couldn't be found. The piece on the right held strong.

Here's that same piece from the right side on August 24, four months later.
It's faded, feels thinner and is starting to tear but still retains it's square shape. It feels almost like a very thin sheet of plastic.
The Quest Wadding is degradable, but it takes a long time to break down.

Tuesday, August 26, 2014

More Pigs and Little Green Men!


It seems like all I bag up now are Pigs and Martians!
These two have been very popular so far, 75 Pigasus kits have gone out since last April.
I know, that doesn't sound like a lot. With all the other kits and products, it's quite a bit for a one man operation.

JonRocket.com got more Pigasus and Little Green Men kits last night.
Apogeerockets.com will get a litter of Pigs and a batch of Martians dropped in the mail tomorrow, the first time they will be listing the L.G.M. rockets!

Carded Downscale Black Brant VB - Part 9, Cleaning Up Fin Edges

Look to the left of the picture.
This is the back side of the fin, opposite the ROOT EDGE cut side.
You can see how the edges are raised up after cutting.

Roll the edges down with the back side of a pen barrel.
Sand the edges if needed. Don't get the sandpaper on the red inked surfaces, it can take the ink right off.

To prevent de-lamination, run a small bead of white glue over the cut edges of the fins.
Use white glue. White glue dries clear, yellow wood glue dries yellow.
Go over the edges with a finger smoothing out the bead and removing excess glue.

After the glue dries lightly sand just the glue bead with 400 grit.
While applying a bead of white glue won't give a full rounded edge it will smooth things out a bit.


Study the FIN PLACEMENT guide before gluing on the fins.
The two red fins go nearest to the white bands printed on the body skin.

Monday, August 25, 2014

The Alpha II?

In a recent post I asked: "Was there ever an Estes Alpha II?

*   Chris Gonnerman commented on the Alpha II:
"According to CPMcGraw and BEC on YORF, the Alpha II was an educator-only kit; it had either a balsa or plastic nose cone, fins with the root edge marked by the die cutter, and an extended engine mount to which you attached the shock cord."
*   Bernard Cawley posted the Alpha II instruction PDF . . . You can see it HERE
*   Lonnie Buchanon commented: 
"The Alpha II was an identical kit to the Alpha, except that it had a plastic nose cone instead of balsa."


I found the instructions interesting.

In the Alpha II instructions the elastic shock cord is tied underneath the top bend of the engine hook.
I had never seen this method used before in an Estes kit. Personally I wouldn't want an elastic cord this close to an ejection charge. The rubber would decay very quickly.


This is the same method used in many Semroc kits, except the lower end of the shock cord is flame resistant Kevlar and not rubber.

I wonder if the Alpha II was the inspiration behind the Semroc style Kevlar tie?

Carded Downscale Black Brant VB - Part 8 Laminated Fins D

Use a sharp knife and a hard cutting board for best results.
The hard surface underneath will make a cleaner cut through the bottom layer. If your cutting board is soft cardboard the thin paper skin could tear.
Cut from the side labeled "ROOT EDGE" only.

Laminated fins are dense and will take five or six passes with a new blade to cut.
Be sure to hold the blade at a 90 degree angle when cutting.


Here's the back of the fin after cutting it out.
You can see now why the back side was printed larger than the ROOT EDGE cut side. This overprint edge guarantees red ink coverage overall.
The rolled over skin is the easiest way to go.
Some carded designs have two separate halves on either side of a carded middle layer. It's very hard to line both sides up.

The inset picture shows the three layers with the rounded leading edge rolled over the internal cereal box cardboard layer.

The rolled over "butterfly" skin does three things:
1. The leading edge is stronger and won't de-laminate
2. You end up with a rounded leading edge
3. No alignment problems, the graphics on both sides are matched.


Sunday, August 24, 2014

Carded Downscale Black Brant VB - Part 7 Laminated Fins C


The tip was cut off (above the "R" in ROOT) and some of the excess off the outside edge.
Cutting off some excess lets you to see where the rolled over leading edge contacts  the interior cardboard.


Do a dry fit over the straight edge of the cereal box cardboard before gluing.
On the left the top of the leading edge fold isn't all the way down onto the interior cardboard edge.
The right side inset picture shows contact at both the top and bottom of the leading edge.

Set a clean piece of paper on your work area to glue coat the fin covering.
Glue stick is applied to one half of the inside surfaces.
(Doing this on a piece of paper allows you to glue up to and over the edges of the overlay)
Use a stick to hold down the side you just glue coated and coat the other side.
(Don't use your fingers to hold down the overlay. They'll just get glue on them and could stain the printed surfaces.)


Press the leading edge over the cardboard edge first -
This insures good contact at the leading edge and the interior "V" fold.
Then press down the sides working from the leading edge down.

Burnish the skins down.
Don't let the black print on the Sharpie rub onto the fins!

Set the fins into a heavy book and let dry for a few hours.

TIP: How do you know if the glue is still wet?
Set the glued piece on your cheek. If it feels cool, it's still wet.
Don't set the card stock fin on your cheek if your skin is oily. the oil will stain the print.

New Shrox FSI Design?

In a recent TRF post CLICK HERE,
Blake Goddard introduced himself as IT and Marketing Director for Flight Systems Inc. 
"All your old favorites will be back: BBII, OSO, Megatron, Nova, Viking III, IV, etc."

FSI has a website under development: www.flywithfsi.com

Doug Shrox will be doing some new designs, 


Ooooooh!

Saturday, August 23, 2014

Carded Downscale Black Brant VB - Part 6 Laminated Fins B


Before cutting, study the fin at the right.

Look for the small dashed lines near the middle. After folding this will be the rounded leading edge.

Note the upper side of the fin is slightly larger than the lower side. This is to insure full red ink coverage on the larger side after the fin is cut out.

After folding and gluing the fin will be cut out through all three layers on the ROOT EDGE side.


First, score the dashed line using something blunt like the tip of the butter knife shown in the inset picture.

Use a straightedge and not much pressure to score a line down the middle using the dashed lines as an end point.
It is important that the embossed fold goes right down the dashed lines.

Cut out the fins outside of the edges.


First fold gently by hand then use your burnished to make a sharper crease down the embossed line.
This fold doesn't have to be razor sharp!
It should end up being a rounded edge.

Parachute Descent Rate Calculators


On TRF, sooner.boomer posted the question:
Parachute-How Big, Too Big?
How can I find the minimum weight for a given diameter chute (assuming a spherical chute)? 

Race58 gave these links:
By Jordan Hiller
http://www.rocketreviews.com/descent-rate-calculator.html
By Jordan Hiller
http://www.onlinetesting.net/cgi-bin/descent3.3.cgi
By Randy Culp
http://www.rocketmime.com/rockets/descent.html

Friday, August 22, 2014

Carded Downscale Black Brant VB - Part 5 Laminated Fins A

I've written about the cereal box laminated fins before.
If you haven't made fins from a card stock laminate you might be surprised how strong they are.

These fins are actually a triple thickness of:
1. Printed 100 lb. card stock (one side)
2. Cereal Box cardboard
3. Printed 100 lb. card stock (the other side)

The outside printed layers of 110 lb. card stock are "butterflied" and fold over the cereal box cardboard at the leading edge.
If folded and glued correctly, this makes a rounded leading edge on the finished fin.
Trust me, it's easier to do than read through the description.

You'll need :
The fins printed on 110 lb. card stock, 220 grit sandpaper, cereal box cardboard (this is from a Cheerios box), glue stick, straightedge and a sharp hobby knife.

First, rough up the printed side of the cereal box cardboard with 220 grit sandpaper.
It won't take much, just remove some of the gloss and ink.
The glued outside layers will stick better if some of the ink is removed.

This sanded ink and fine dust can get everywhere! Dust off the cardboard and wash your hands before gluing anything.


You will need a straight long cut to be the inside leading edge of the ply fins.
With  sharp knife and straightedge, cut off the crooked edge down a long side of the cereal box board.


For a rounded leading edge, lightly sand the the square cut you just made with 400 grit.
Don't over sand it, just knock the corners off the edge.