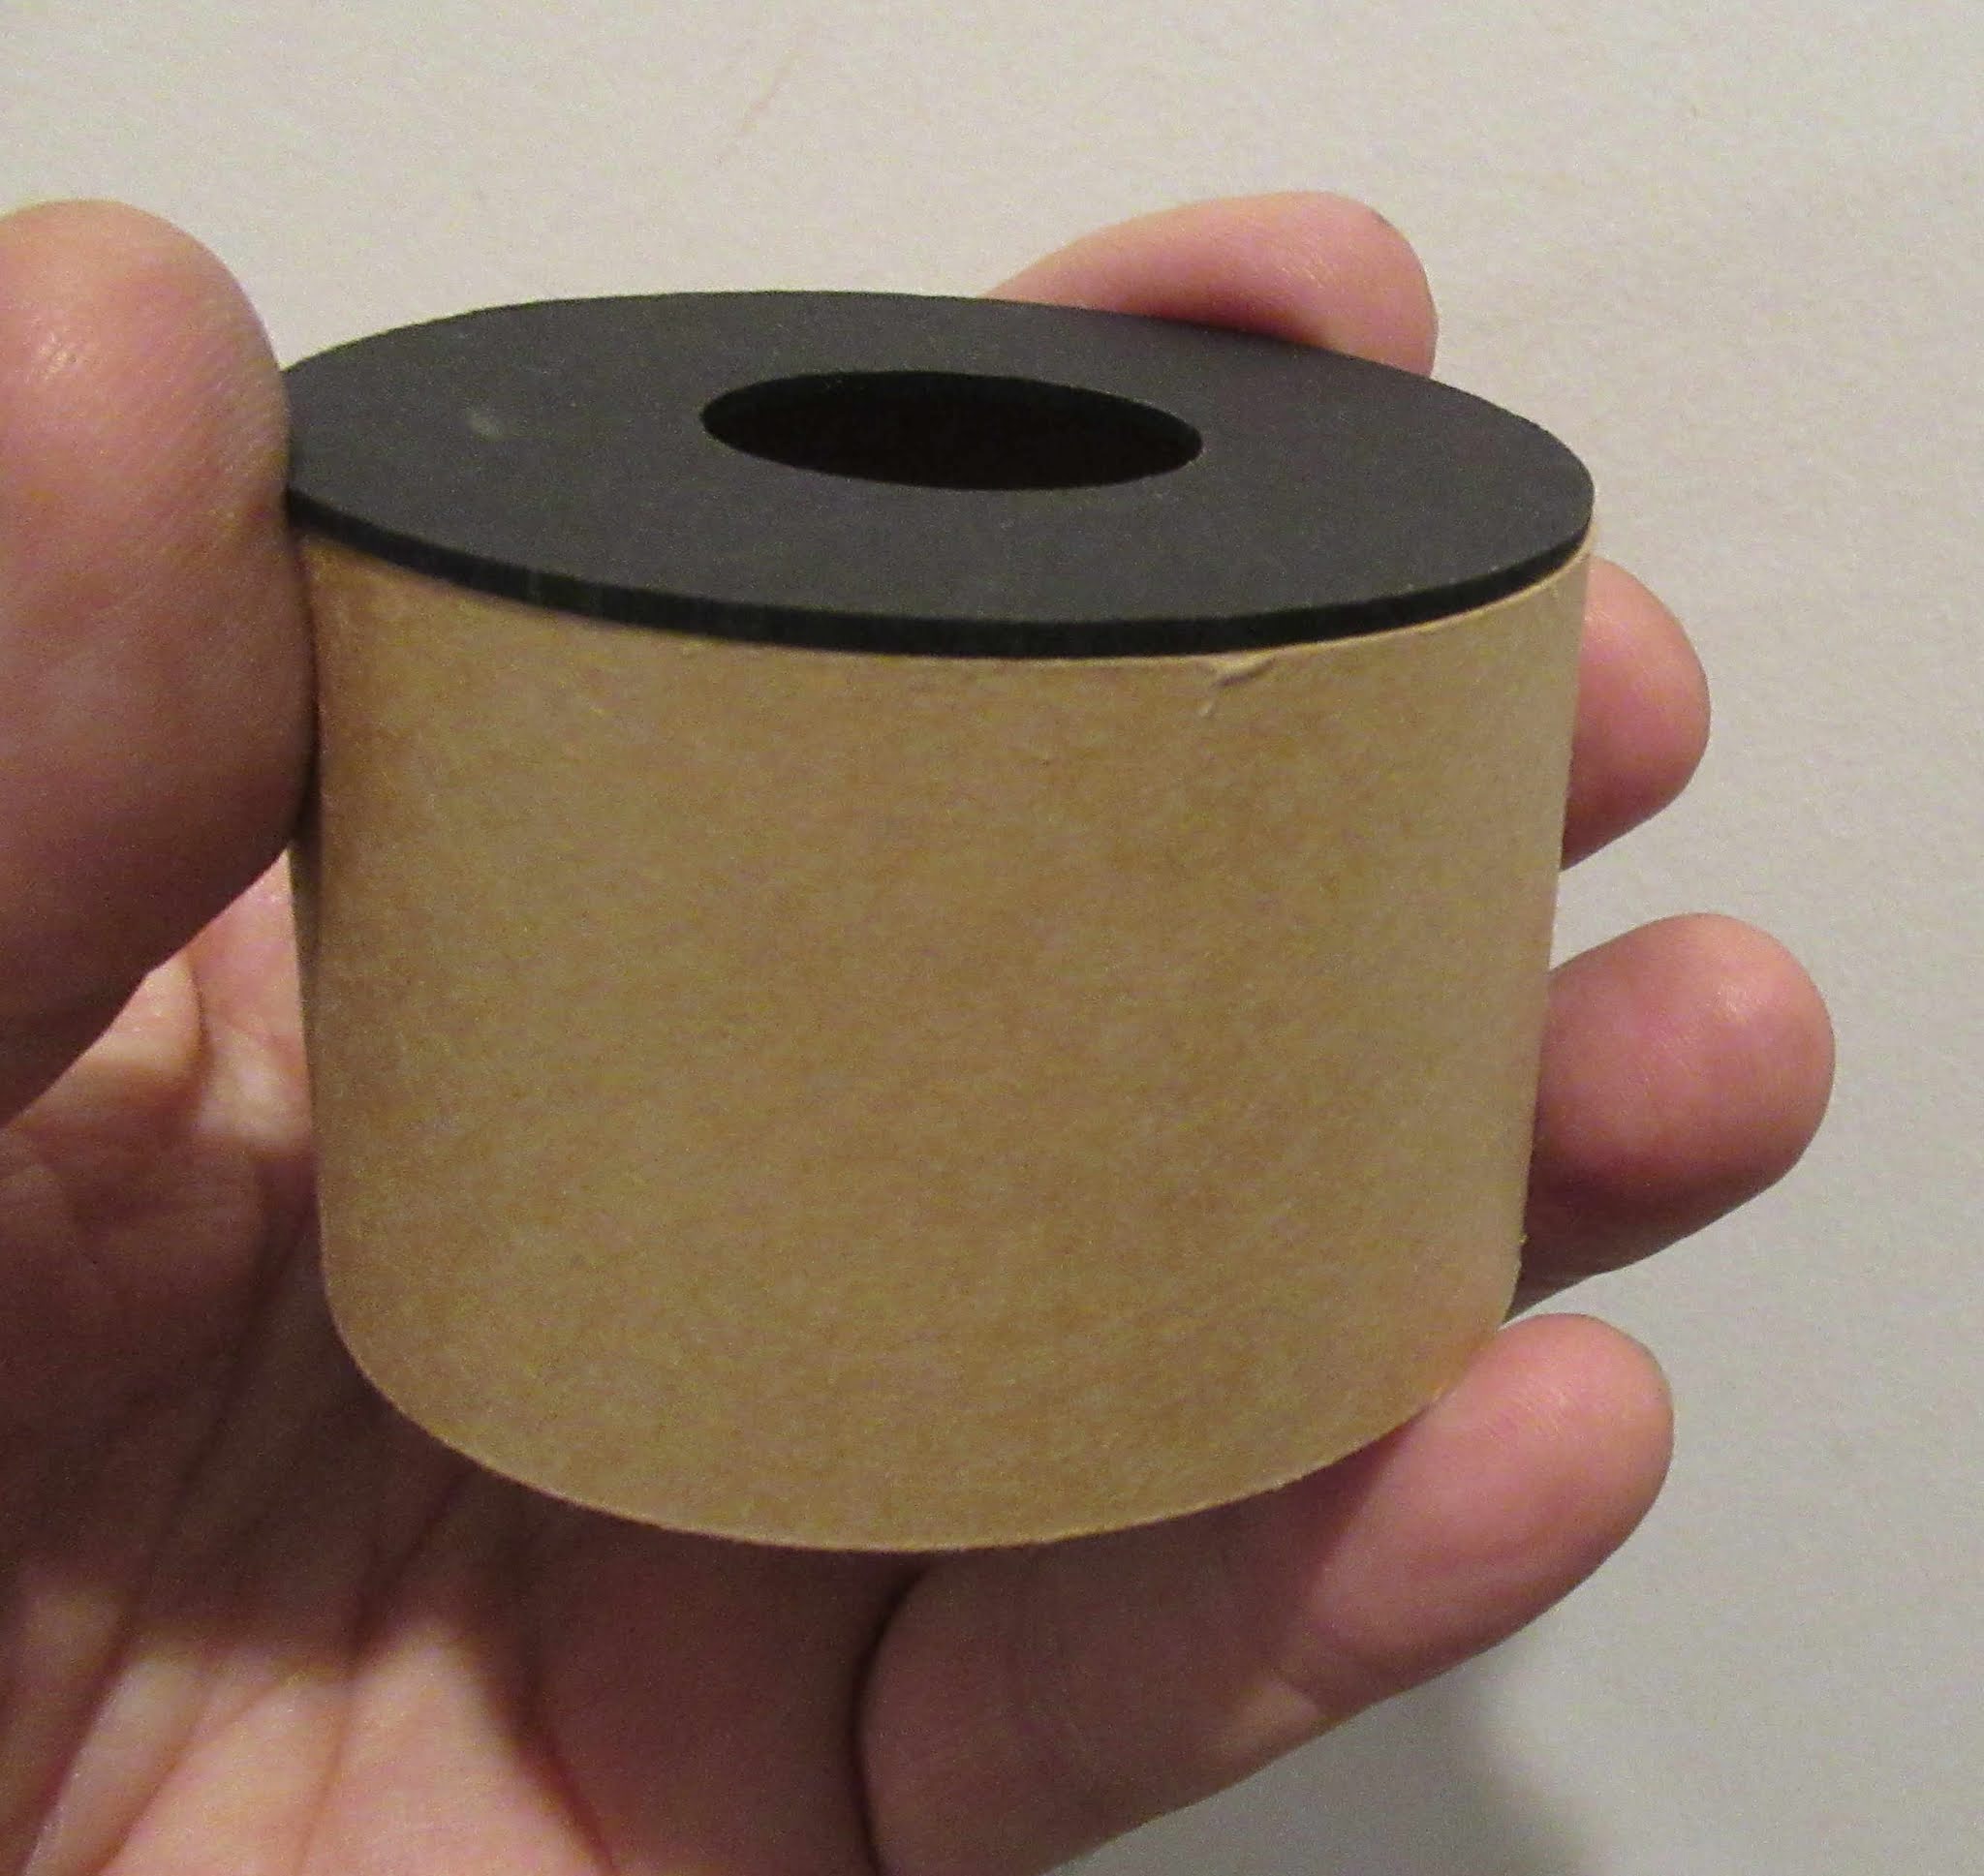
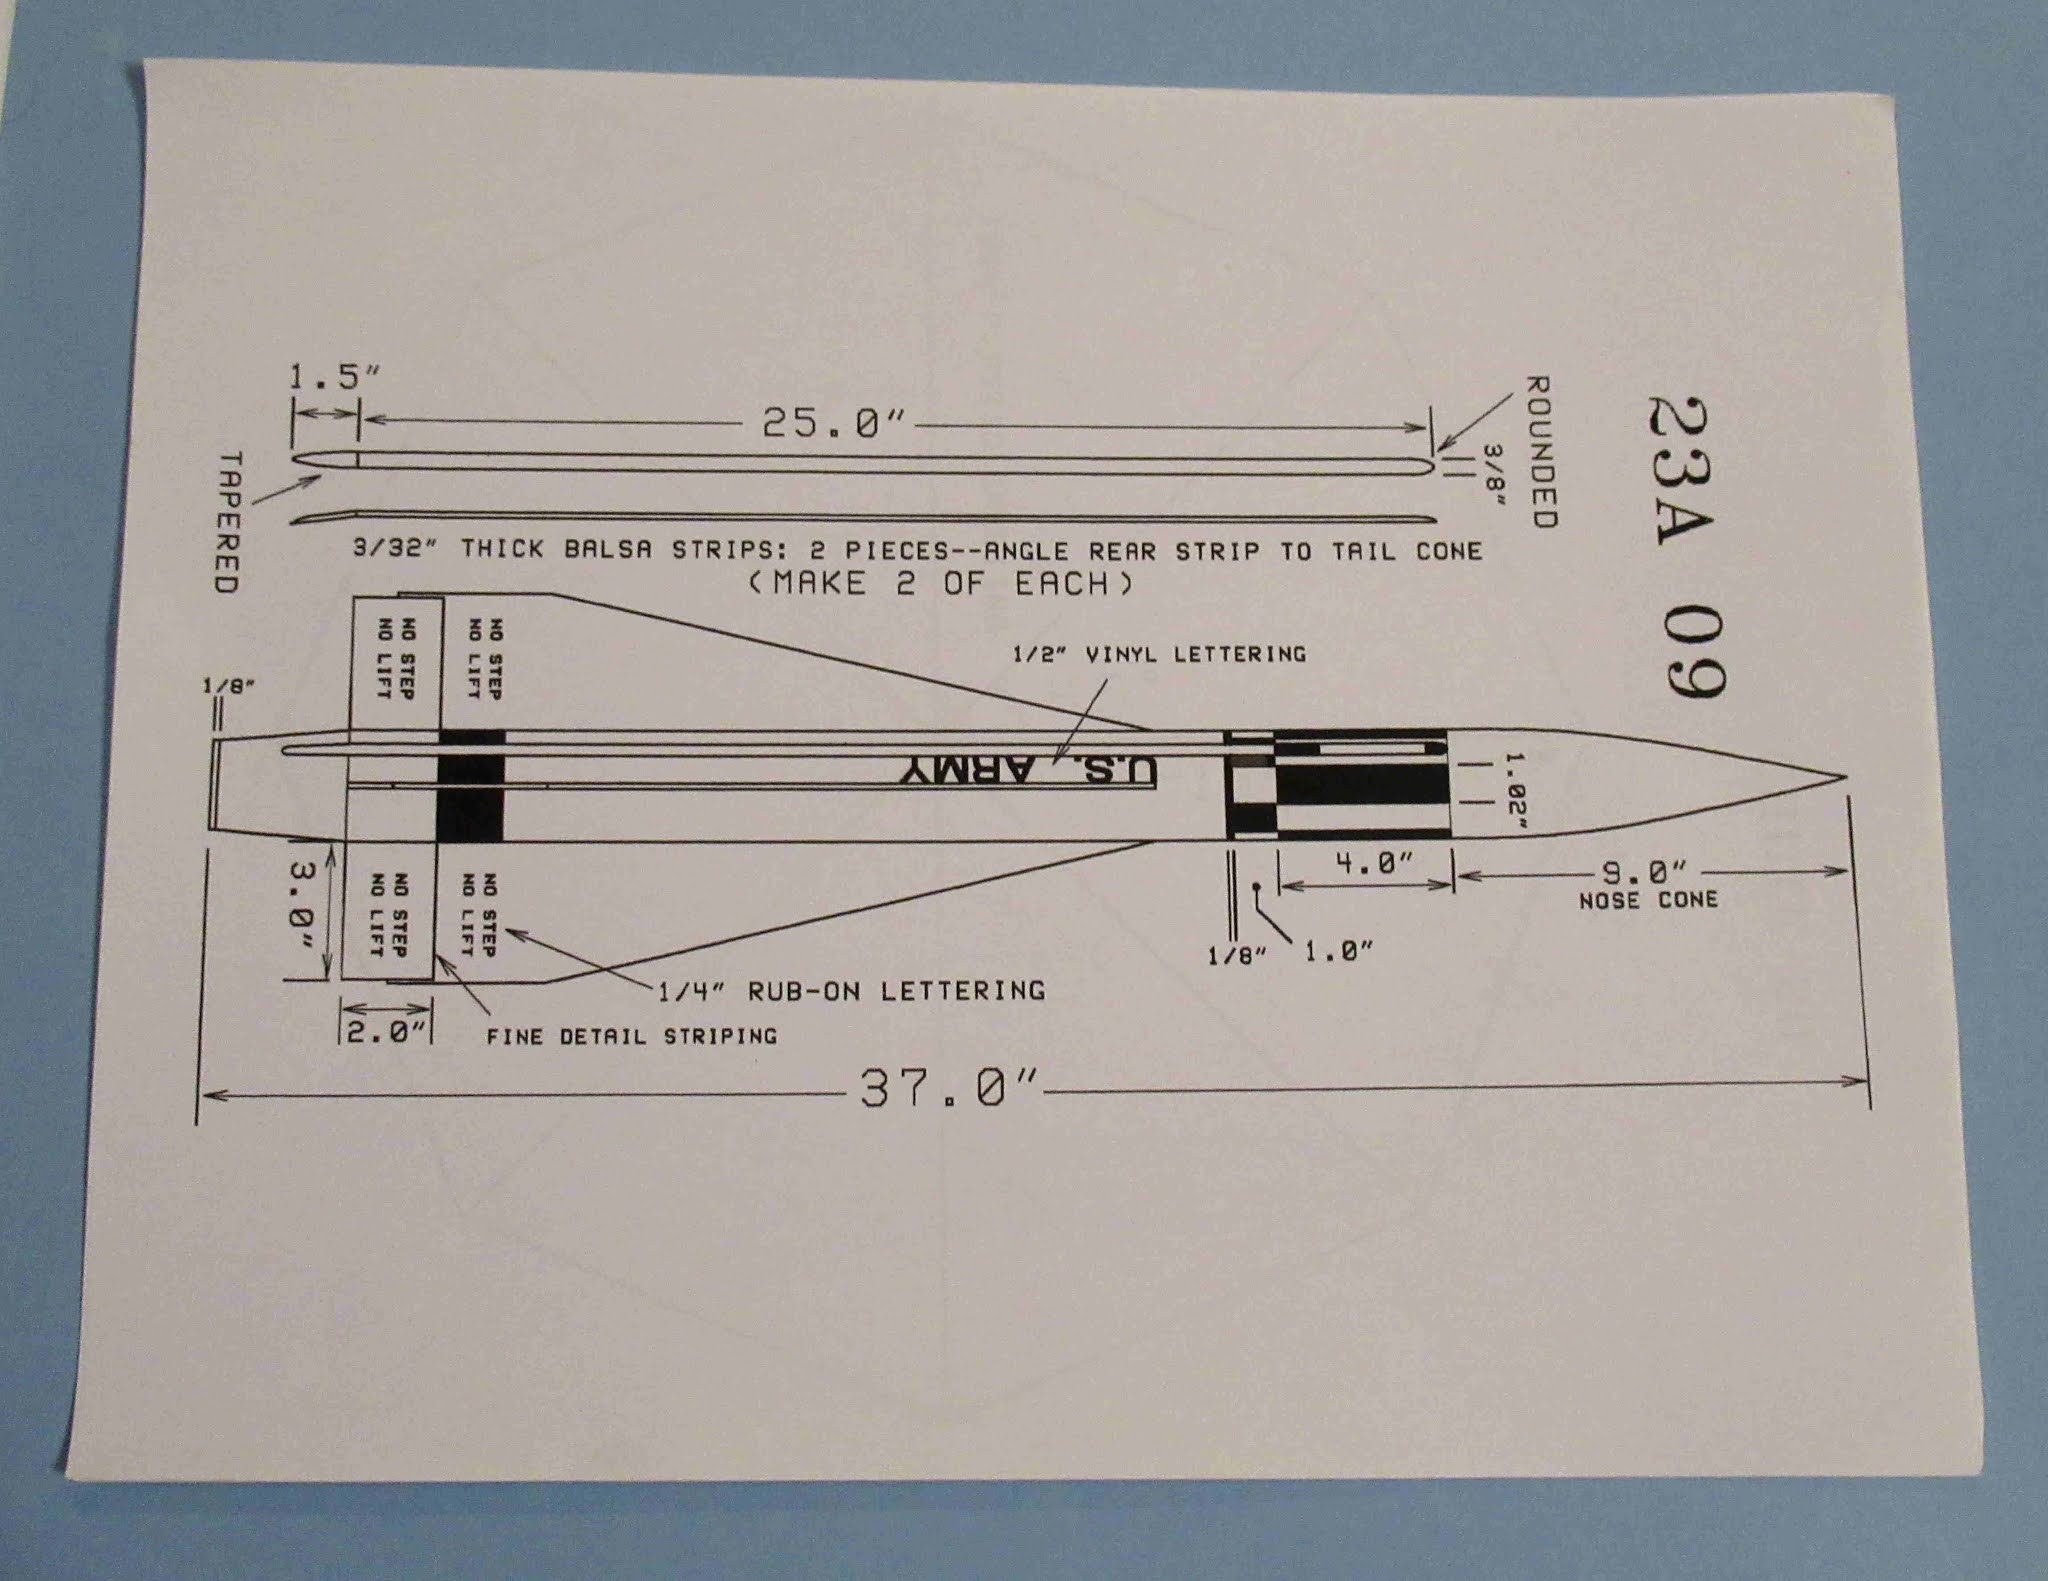
Showing posts with label TLP. Show all posts

Thursday, April 8, 2021

TLP Hawk Build, Part 12, Gluing On Fins, Not Quite Finished


With the long root edge, the fit was probably going to be off all the way down the fin.  

Set the fin on the body tube, note where the root edge is touching. Sand down the contact areas. This lowers the root edge gap.

These fins are BIG! I'd recommend using the double gluing method. Until the glue starts to set, these fins want to fall off under their own weight.


Be sure your glue bottle nozzle is clear before laying down the long fillet line.

The top picture shows the glue before smoothing with a fingertip. I don't tend to squeeze the glue bottle, slow down and let the glue flow out on it's own.

The bottom picture is the same fillet after smoothing.


Here's where I'm leaving the build for now.
I have too many contract builds to work on my own projects.

Interesting that the Launch Pad instructions don't usually include a position measurement for gluing on the 3/16" launch lug. They leave that up to the builder.
Drop in the largest motor you think you'll be using and find the Center of Gravity. That's probably the best location for the launch lug. 

No decals included. Those will take a little time to draw.
The "kit" doesn't include any parachute, but I'd want to use one large enough to prevent damage to the fin tips.

Tuesday, April 6, 2021

TLP Hawk Build, Part 11, Fillets & Seam Fills


This model has very long tunnels and fin root edges.

TIP:
If applying long fillets - 
Apply your fillet line of glue in 6" lengths.

When you go back and smooth out a very long fillet, too much glue builds up under your finger. You can end up with a wide spread fillet at the end of the fin.
Do about 6" of fillet length, smooth with your finger. Continue with the next 6" of fillet.


I could still feel the break seam between the two joined tubes.
Sanding the seams flat roughed up the tube ends. To toughen up the joint and get rid of the fuzzies, some CA glue was wiped on the tube edge. After sanding with 400 grit the tubes were smooth.

TLP Hawk Build, Part 10, Fitting Tunnel To The Tailcone


After the tunnel is cut with a fine razor saw, 
here's how it fits when the low end is held against the tail cone.


The bottom piece end can be tapered using a sanding block with 220 grit sandpaper.
Sand a little, check the fit - repeat until the gap is gone.


Here's a good dry fit of the low tunnel piece.


Hold the end in place and trace around it with  pencil.

Scrape just inside the pencil line with a knife blade removing the gray primer.
Glue the low tunnel piece in place.

Monday, April 5, 2021

TLP Hawk Build, Part 9, Fin Fill & Tunnel Gluing

After the fins were filled and sanded with CWF - 
The fins got a fairly thick spray of Duplicolor filler/primer.

On the left is the gray filler/primer after it dried.
On the right is a fin after sanding. First light sanded with 220 grit to remove the bulk of the filler/primer. Next smooth sanded with 400 grit to remove the remaining filler and any scratches from the 220 grit.
This filler/primer spray is sanded down filling any remaining grain lines. 


The main body was marked for the tunnels and fins with pencil.

The gray primer spray was sanded down to the tube surface for better glue adhesion.

This is a dry fit of one side of the long conduit tunnels.
The two pieces (per side) butt up against each other at the middle.
This joint will require more filling.


Here's is the low end of the tunnel, overhanging the tail cone.
A pencil line is drawn and the tunnel cut.
The next post will cover the fitting of the two ends.

Saturday, April 3, 2021

TLP Hawk Build, Part 8, Tunnel Shaping


After the card stock done was centered and glued to the nose cone, the card stock was stiffened with some CA glue wiped on with a Q-tip.

Here's the first application of CWF filler over the card stock cone seam and raised lip.
This was sanded down and a second coat of CWF was applied. After the filler dried it was sanded to surface.
EDIT: I should add, I sometimes do a wipe of CA glue after sanding down the CWF filler for a better hold on the surface.
Any remaining seams or dips were filled with a spray coat of filler/primer and sanding. 


Following the instruction booklet, a tunnel ends template was drawn.

After the curve ends were established, straight lines were drawn with the ends outside the tunnel sides. 
This allows me to set down the tunnel strip stock and set a single edge razor blade over the pencil lines. 


On the far left are the first straight angle cuts.
Next to that is the rounded off end, viewed from the back.
On the right is the rounded over tunnel top. 


After the CWF was sanded to surface,

all were taped down on cardboard for a spray of filler/primer.

Friday, April 2, 2021

TLP Hawk Build, Part 7, Nose Cone Extension


Some TLP kits have a nose cone extension made from formed card stock. This allows many different nose cone shapes from standard plastic nose cones.
Many builders hate these "witches hats". They can be difficult to form.

On the left is my first attempt at forming the cone. The tips can be hard to get tight. I'll usually make a few and pick the best one to use on the model. 


You might have better luck forming the tip over some boiling water. Try not to get it saturated, just hold it over the steam. The steam will make the cardstock more pliable.


Here's the one I picked sitting on the top of the plastic nose cone.


To make the tip stronger, I made a hardwood tip.
A dowel was sharpened in a pencil sharpener. The tip taper was further shaped with a sanding block.

The tip was cut off and glued into the top of the card stock cone.

Thursday, April 1, 2021

TLP Hawk Build, Part 6, Tail Cone Joint Fill & Fins


Here's the tail cone glued in place at the bottom of the longer tube.


I did a "dip and drag" with CWF filler on my knife blade tip the same way I fill a body tube seam.

Dip the tip about 1/4" into the filler, wipe off the back side of the blade. With filler on both sides of the blade it's almost too much to control. Set the blade into the seam and drag the blade back and forth which directs some of the filler into the crack.


The fin template was just a hair larger than the supplied balsa!


I had to glue a small piece of balsa to the edge of the sheet to make it just wide enough.


These are probably the largest fins I've ever cut out!

Wednesday, March 31, 2021

TLP Hawk Build, Part 5, Tail Cone Fitting


The supplied centering fit was way too loose inside the main airframe  tube.
Some thin strips of cardstock were cut and glued around the ring to widen the outside diameter.


Here's the dry fit of the tail cone assembly ready to be slid into the larger BT-80 tube.
It's an interesting sub assembly - 
The 24mm engine mount will slide into the interior BT-70 tube. 


I used a brush to add a glue fillet at the ring / shroud joint.
I didn't want too much and run the chance of the glue shrinking and puckering the shroud edge.


A sparse ring of glue was set onto the bottom of the BT-70 interior tube. Don't use a lot of glue, when it dries it might pucker the cardstock.

The tail cone assembly was slid up from the bottom into the line of glue.
A fillet was added to the top ring joint.

Tuesday, March 30, 2021

TLP Hawk Build, Part 4, Tail Cone


This "kit" didn't include actual printed shrouds, but gave directions on how to make them in the instructions.
You could draw a big wedge piece but I didn't have any cardstock that large.

At first I thought the interior tube was a BT-70, but turned out to be a Centuri style ST-20.
I went to - 
https://www.payloadbay.com/page-Tools.html
and input the dimensions.
Note: Tube 1 is an ST-20, Tube 2 is a BT-80
The length should be 2.9". That was corrected before printing the shroud.


Here's the tail cone I printed on 110 lb. cardstock. 


This was cut out.
A glue tab was made and stuck to the shroud using a glue stick.

Monday, March 29, 2021

TLP Hawk Build, Part 3, Engine Mount & Tube Fitting


The engine mount is pretty standard, designed for 24mm motors.

The engine hook retention is a wrap of black electrical tape.
With the coupler slid in place with no glue,
you can see the tubes weren't cut flat.

On the right is the tubes after sanding the ends square with a block.
TIP: Note the pencil lines. I marked the best fit after rotating the tubes. The pencil lines give me a reference when gluing them up.


Larger tubes are hard to cut clean even for a vendor.
Be sure to square them up with a sanding block with 220 grit sandpaper.


TIP: Bevel the ends of the coupler for an easier fit. Bevels also prevent the inside tube ends from peeling up.

Sunday, March 28, 2021

TLP Hawk Build, Part 2, Parts

I've got a lot on my plate right now with contracted builds.
I'll take this one as far as I can, but can't guarantee a painted finished build.
Still, the sub-assemblies will be interesting . . .


Here's what was in the bag - 
Two lengths of BT-80 tubing, the brown coupler is slid in the shorter length tube.
A length of 2" diameter tubing for inside the tail cone and surrounding the engine mount.
Lots of centering rings and engine mount parts.
Sheet balsa for fins and strips were included for the tunnels.
The instruction booklet was shown in the last post. 


Here's that plastic Alpha style nose cone. It's been used before in the old Maxi Alpha and Colossus kits.
The "kit" also included a 3/16" launch lug.

The tri-fold shock cord mount looks small and feels too thin.


The kit supplied lug is on the left. 
It looks like a plastic drinking straw that was spray painted to rough it up for better adhesion. I'll replace it with a stronger, standard 3/16" lug.

The supplied engine hook looks wider and flatter than a regular hook. It looks questionable and will be replaced.


Above the coupler is a parachute "shelf". It's not a baffle so the model would require wadding.
The shelf prevents the parachute and wadding from sliding down towards the bottom of the rocket at boost. The shelf helps keep the C/G forward for stability. 

Saturday, March 27, 2021

TLP Hawk Build, Part 1, Parts Pack Instructions

This looked to be something different.
I found a The Launch Pad "Parts Pack" instruction booklet with most parts on Ebay.
A vendor may have bought old TLP instructions and pieced together tubes, centering rings and sheet balsa. Or - 
This may have been a early transition kit produced by TLP. 


Here's the parts pack instructions cover.
I wrote down the recommended engine designations after looking them up on the old Launch Pad website.


If you were to make the model from scratch (no pre-made tubes) the instructions explain how to roll them from manila paper or cardstock.

The main body is made up from smaller segments, joined by DIY couplers. The kit I bought included a two longer body tubes and a standard coupler. The vendor assumes you will use the body tubes.


Here's the nose cone "witches hat". You have to transfer the measurements and cut it out of cardstock.
The supplied parts included a BT-80 Alpha style plastic nose cone.
A pointed cap is rolled from cardstock and glued to the top to lengthen the plastic nose cone. The extension give the nose cone a more correct profile. Seams and joints are filled and smoothed over.


This detailed page shows the conduit shaping and decal placement.  Decals aren't  included in the TLP kits. A disappointment to some builders as kit face cards imply full markings.

Thursday, May 7, 2015

TLP Pershing #K046 Build, Part 54, Gluing the Charge Retainers


Here's how the vinyl lettering looks with the shroud back in place.
I'll glue the shroud base and install the parachutes now.

The kit supplied a 30" oval shaped Mylar parachute.
I might change it out for two 18" Odd'l Rocket chutes.


The charge retainers glue right over the vinyl type.
These were set down with a glue stick. Later the tops and bottoms will get some CA applied with a toothpick.
The U.S. ARMY isn't so stark with the olive drab retainer over it.

And finished!