Showing posts with label C Screaming Eagle. Show all posts

Sunday, August 17, 2014

Centuri Screaming Eagle Background

Introduced in the 1973 Centuri Catalog, the Screaming Eagle was kit #KF-3 and sold for $2.00.
The Screaming Eagle was released at the same time as another ARTF model, the Centuri Argus that used the Enerjet 1340 fin can.
To see the catalog page, CLICK HERE

Both model descriptions:
"No tools or paint needed!
Assemble in under 1/2 hour!
All parts pre-colored!
Only requires glue!"
Lots of exclamation marks there!


This seemed to be Centuri's answer to the Alpha III introduced in the 1971 Estes catalog.
Was there ever an Alpha II?
Up until this point the Centuri "Starter" model was the Javelin.

Compared to the Estes Alpha,
The Screaming Eagle was sleeker and had the white (no paint) body tube and chrome decals.
The Screaming Eagle body tube was a sturdy ST-8. The plastic nose cone is 4.6" long.


The (Centuri) Stellar Line Spartan was an early version of the Screaming Eagle.
From the Semroc Spartan instructions: CLICK HERE
"The Spartan was an early prototype for the later
Screaming Eagle which replaced it. Leftover parts from the Spartan were used for a few years on the Flutter-By until they were gone."

The Flutter-By fins are on the left, the Screaming Eagle fin can on the right.

Saturday, August 16, 2014

Centuri Screaming Eagle Build, Finished


You can't go wrong with a red, white and blue decor with just the right amount of chrome.
Chrome is always a great accent.

I wonder how many tens of thousands of Screaming Eagle kits were sold. It was the first rocket for many.
A sleek, classic design.


The plastic fins are thin, you can see the shadow of the oval sticker on the right fin.
The nose cone is a bit darker than the red ink in the sticker.
No complaints, just observations.

Friday, August 15, 2014

Centuri Screaming Eagle Build, Part 8, Fin Stickers


The four oval stickers go on the right side of each fin.
Before removing the backing, set the sticker on the fin to visualize the centering.
To be sure the oval is centered, I traced the fin outline on some card stock and cut it out.
A rectangle was cut out of the center the same height and width of the sticker.
The card stock piece was taped to the fin.
Place the sticker using the tip of your knife, not with your fingers.
I didn't want any finger oil to diminish the old adhesive.


Here's one sticker in place.
The inset picture is viewed from the rear. It's hard to see in the picture, but the baseline of the Centuri logo is parallel to the root edge of the fin.

Thursday, August 14, 2014

Centuri Screaming Eagle Build, Part 7, Tube Wraps


The body tube seams were filled and the browned tube painted gloss white.

At the back end of the white tube is a checkered wrap.
Before applying I checked the length of the wrap with a strip of paper.

When the marked strip was set beside the sticker, you can see the overlap.
The sticker wrap is long, by one full red check.

TIP: Start your tube wraps centered on the launch lug line. This way any overlap (or short gap in a decal or wrap) will be hidden when on the launcher. You always take launch pictures with the launch rod behind the rocket, right?

This checker band was started just to the right of the lug line. The entire red check overlap will end up centered under the lug. The seam is almost invisible.
The red half goes on the bottom, the blue on top.


The larger stars and bars wrap started right down the lug line.
Starting the wrap here guarantees the center of the red stripe will be centered over the fin root edges.

I was surprised the adhesive was still very sticky. So far no lifting at the edges.

Wednesday, August 13, 2014

Centuri Screaming Eagle Build, Part 6 Parachute and Nose Cone

The parachute was 12" diameter, printed in yellow and black.
The sheet feels thinner than today's parachute material.
On the lower right was a old Centuri logo.

The instructions said to cut three 25" lengths of shroud line.
Hard to do when the shroud line was only 71" long!

The tape disks had lost their adhesive a long time ago. I'll substitute some new Avery tape disks.


The bag included additional directions for gluing in the nose cone shoulder.
Too many nose cones cracked when trying to snap in the shoulder base.

On the left you can see the interior ring the shoulder should snap into.
I ended up gluing the yellow shoulder in place, the ridge ring butts up against the bottom of the red nose cone.
Even with the low shoulder ring outside the nose cone, the body tube fit is good.

Tuesday, August 12, 2014

Centuri Screaming Eagle Build, Part 5, Lug and Shock Cord

The lug is glued 1" from the back of the tube.
Because the tube has discolored with age it will be sprayed gloss white before being glued to the fin can unit.
TIP: You can check the straightness of the lug with an aluminum angle.


I don't trust the Centuri Shock Cord Anchor. The adhesive is too old and they weren't very reliable when the models were new!

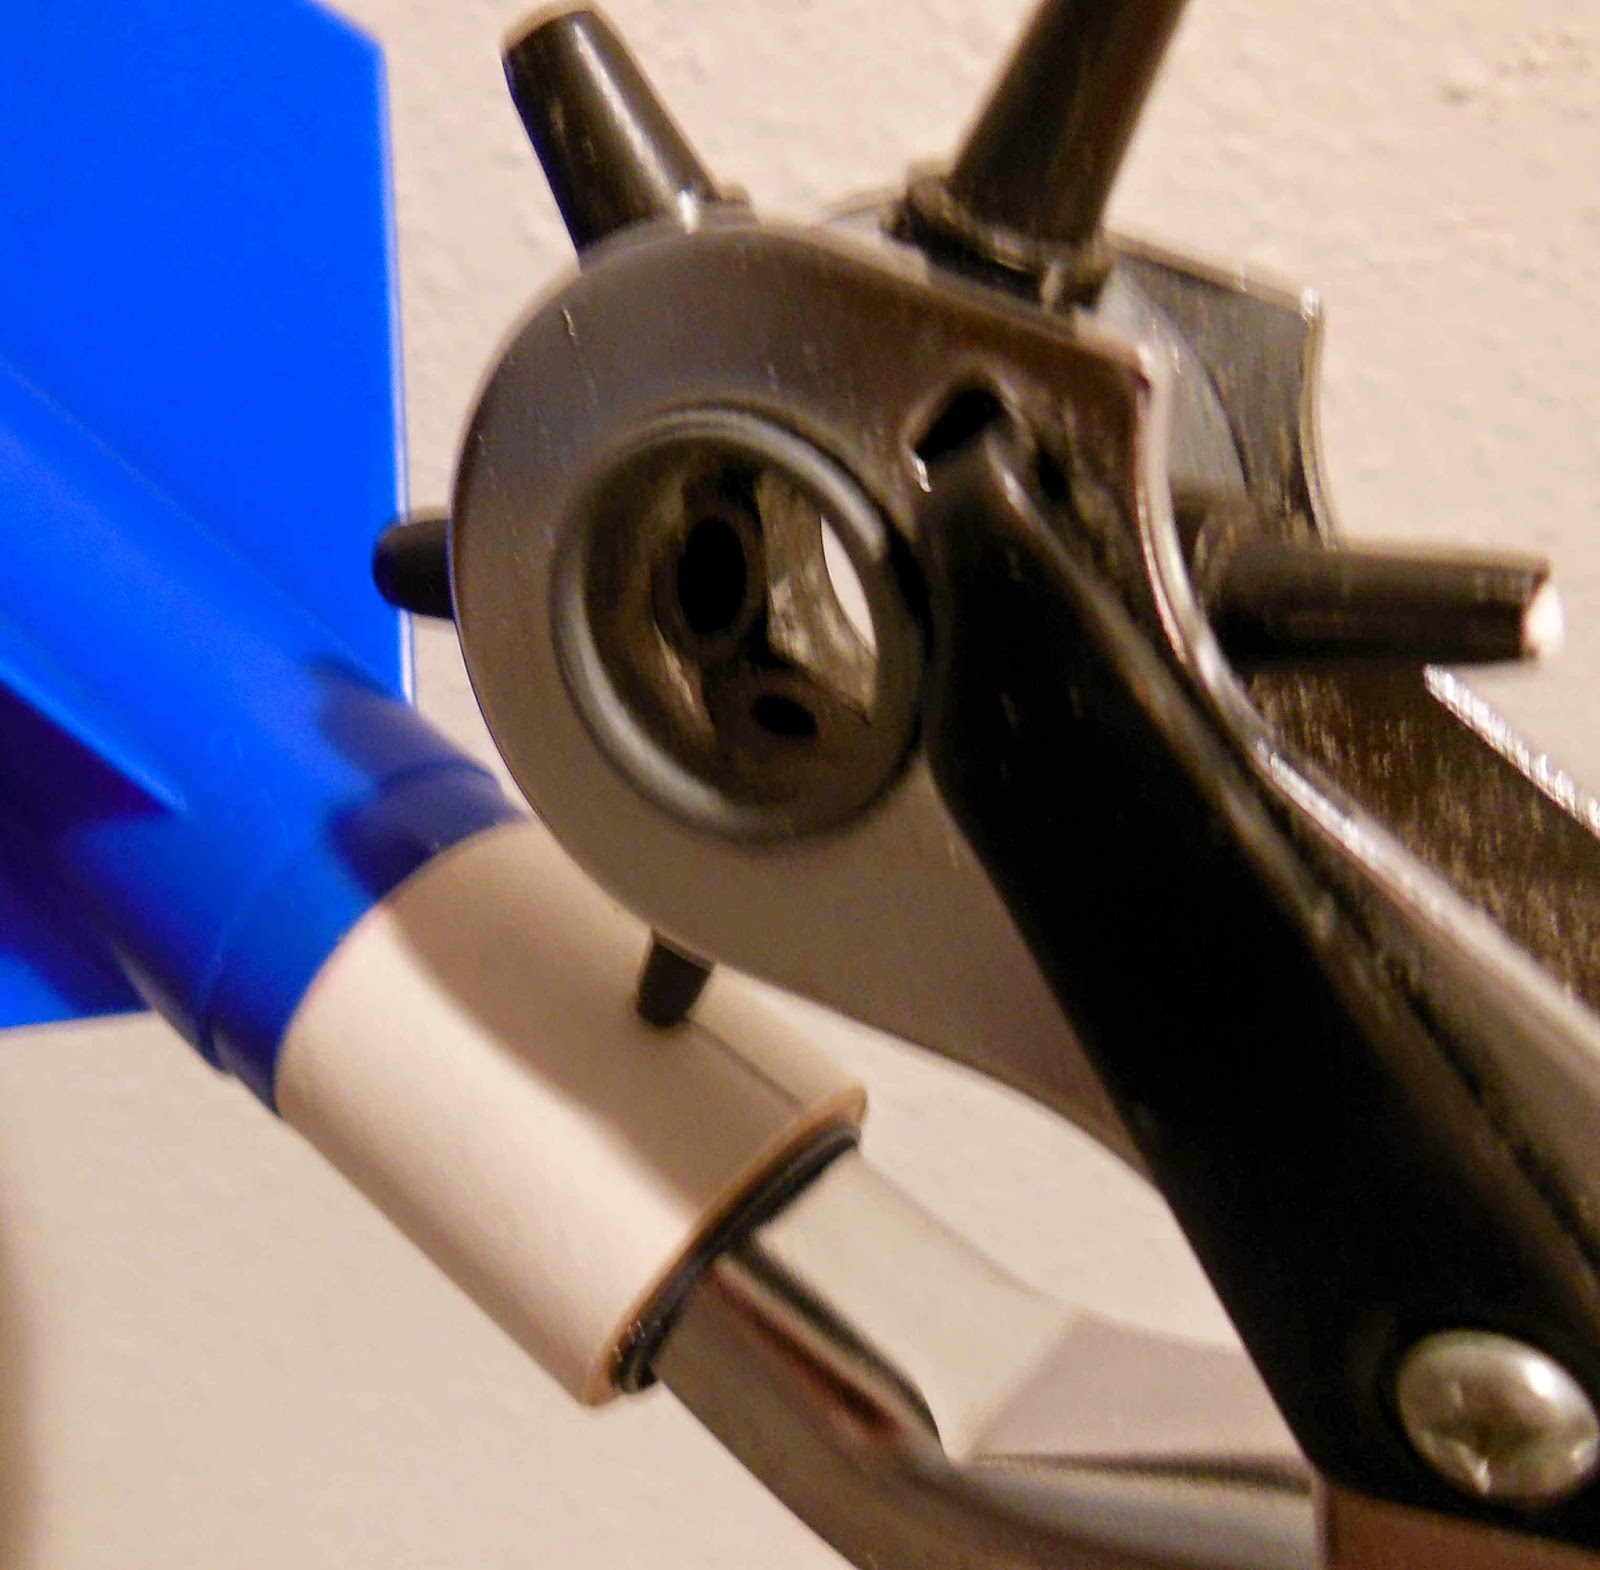
A small hole was punched in the white coupler to tie on some Kevlar.
The rotary punch easily made a hole through the thick white and interior black coupler walls.


A notch was cut in the white coupler so the outside tube wouldn't bulge when it is glued on.

The inset picture shows the length of the Kevlar line. The top loop is tied before the end of the body tube to prevent zippers.

Monday, August 11, 2014

Centuri Screaming Eagle Build, Part 4, Engine Mount

The way the plastic fin can locks onto the tube is well engineered.

The black coupler is glued into the top of the engine mount tube already in the fin can.
The bottom of the coupler rests against the top bend of the engine hook making it the engine block.


Here's the entire dry-fitted mount removed from the fin can.
From the bottom up:
The engine mount tube, the black coupler glues in above that.
A thick white adapter glues down and over the end of the black coupler.
The white coupler glues into the ST-8 main air frame tube.
The card engine mount tube is locked into the plastic  fin can without using any plastic glue or epoxy.


Above inset: Without the fin can in place you can see the stepped body tubes.

As mentioned in an earlier post, this model followed the design of the Centuri Stellar Spartan model.
From the Semroc instructions the Spartan tubes are stepped.

Sunday, August 10, 2014

Centuri Screaming Eagle Build, Part 3, Prep and Engine Mount


The edges of the fins needed some smoothing.
The four sided fingernail file easily got into the tight corners.


There was plastic flash at the base of the nose cone.
The "nubbin" at the tip of the cone was sanded off and the tip rounded.
The engine clip is set into the notch on the ST-7 engine mount tube.
No tape wrap is needed, the tube and hook slide in until the top end hits four small raised areas inside the upper lip.

With the mount in position, the white tube extends about 1/8" out the back.

Saturday, August 9, 2014

Centuri Screaming Eagle Build, Part 2, Parts

I wouldn't normally do two posts on the parts alone, but this model is important. This was the first rocket for many.

The white tubes and launch lugs have browned up on the ends.
This is typical for an older white tube kit. Maybe it's just the brown tube color bleeding through the thin white outer layer?

The inset picture shows the clean punch for the top of the engine hook.
The notch is clean, obviously punched out, years before laser cutting was used.


The fin can is slightly warped, it might have been at the bottom of the box with other parts on top of it.
It's not bad, maybe some light steaming will correct it.


Looking inside the can you can see the raised ribs for a tight fit over the ST-8 tubing.

The notch to the upper right is for the engine hook movement.

Friday, August 8, 2014

Centuri Screaming Eagle Build, Part 1, Parts


Should I open the bag?
All the collectors are cringing right now.
It's rare to find an old Centuri kit where the clear bag hasn't deteriorated.

Oh what the heck, where are the scissors? 

Some fun finds in the bag were the 25 cent catalog request where you tape the quarter and fold over the edges. Cross your fingers that the quarter would ever arrive at Centuri!
An addendum is added called "Tips For Plastic Nose Cones". Too many of the Centuri cones would break when the shoulder insert was snapped into place. 

Parts of interest:
Model Rocket Mini Manual - A small booklet explaining the how-tos for the first time flyer.
The Chrome-ish stick on sheet. This wasn't as shiny as I thought it would be.
Long, red plastic nose cone. There is molding flash on the base and a "nubbin" at the tip. The nose cone shoulder insert is yellow.
The blue fin can
A thick engine mount coupler
White engine mount tube, browning up with age
Two (count'em two!) Centuri Shock Cord Fasteners - maybe two were included because the adhesive could eventually let go? You were always directed to "Inspect the shock cord fastener for a firm bond."
A yellow and black 12" Centuri Parachute