Showing posts with label Dihedral. Show all posts

Tuesday, May 14, 2024

Estes Condor #0807 Build, Part 17, Fitting The Wing


On the left - 
The V tip of the two wing pieces leave a small gap at the fuselage notch.
Looking at the back, the wing overhangs the rear of the fuselage.
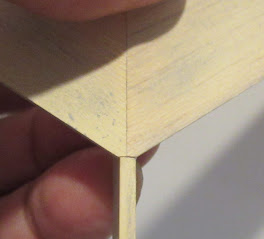


By slightly sanding the "V" tip, 
it closes the small gap at the front and moves the wing forward. The back of the wing is now even with the tail end of the fuselage.


I drew a pencil line down the center of the canard for gluing alignment.


The dowel is glued into the notch at the front end of the fuselage.


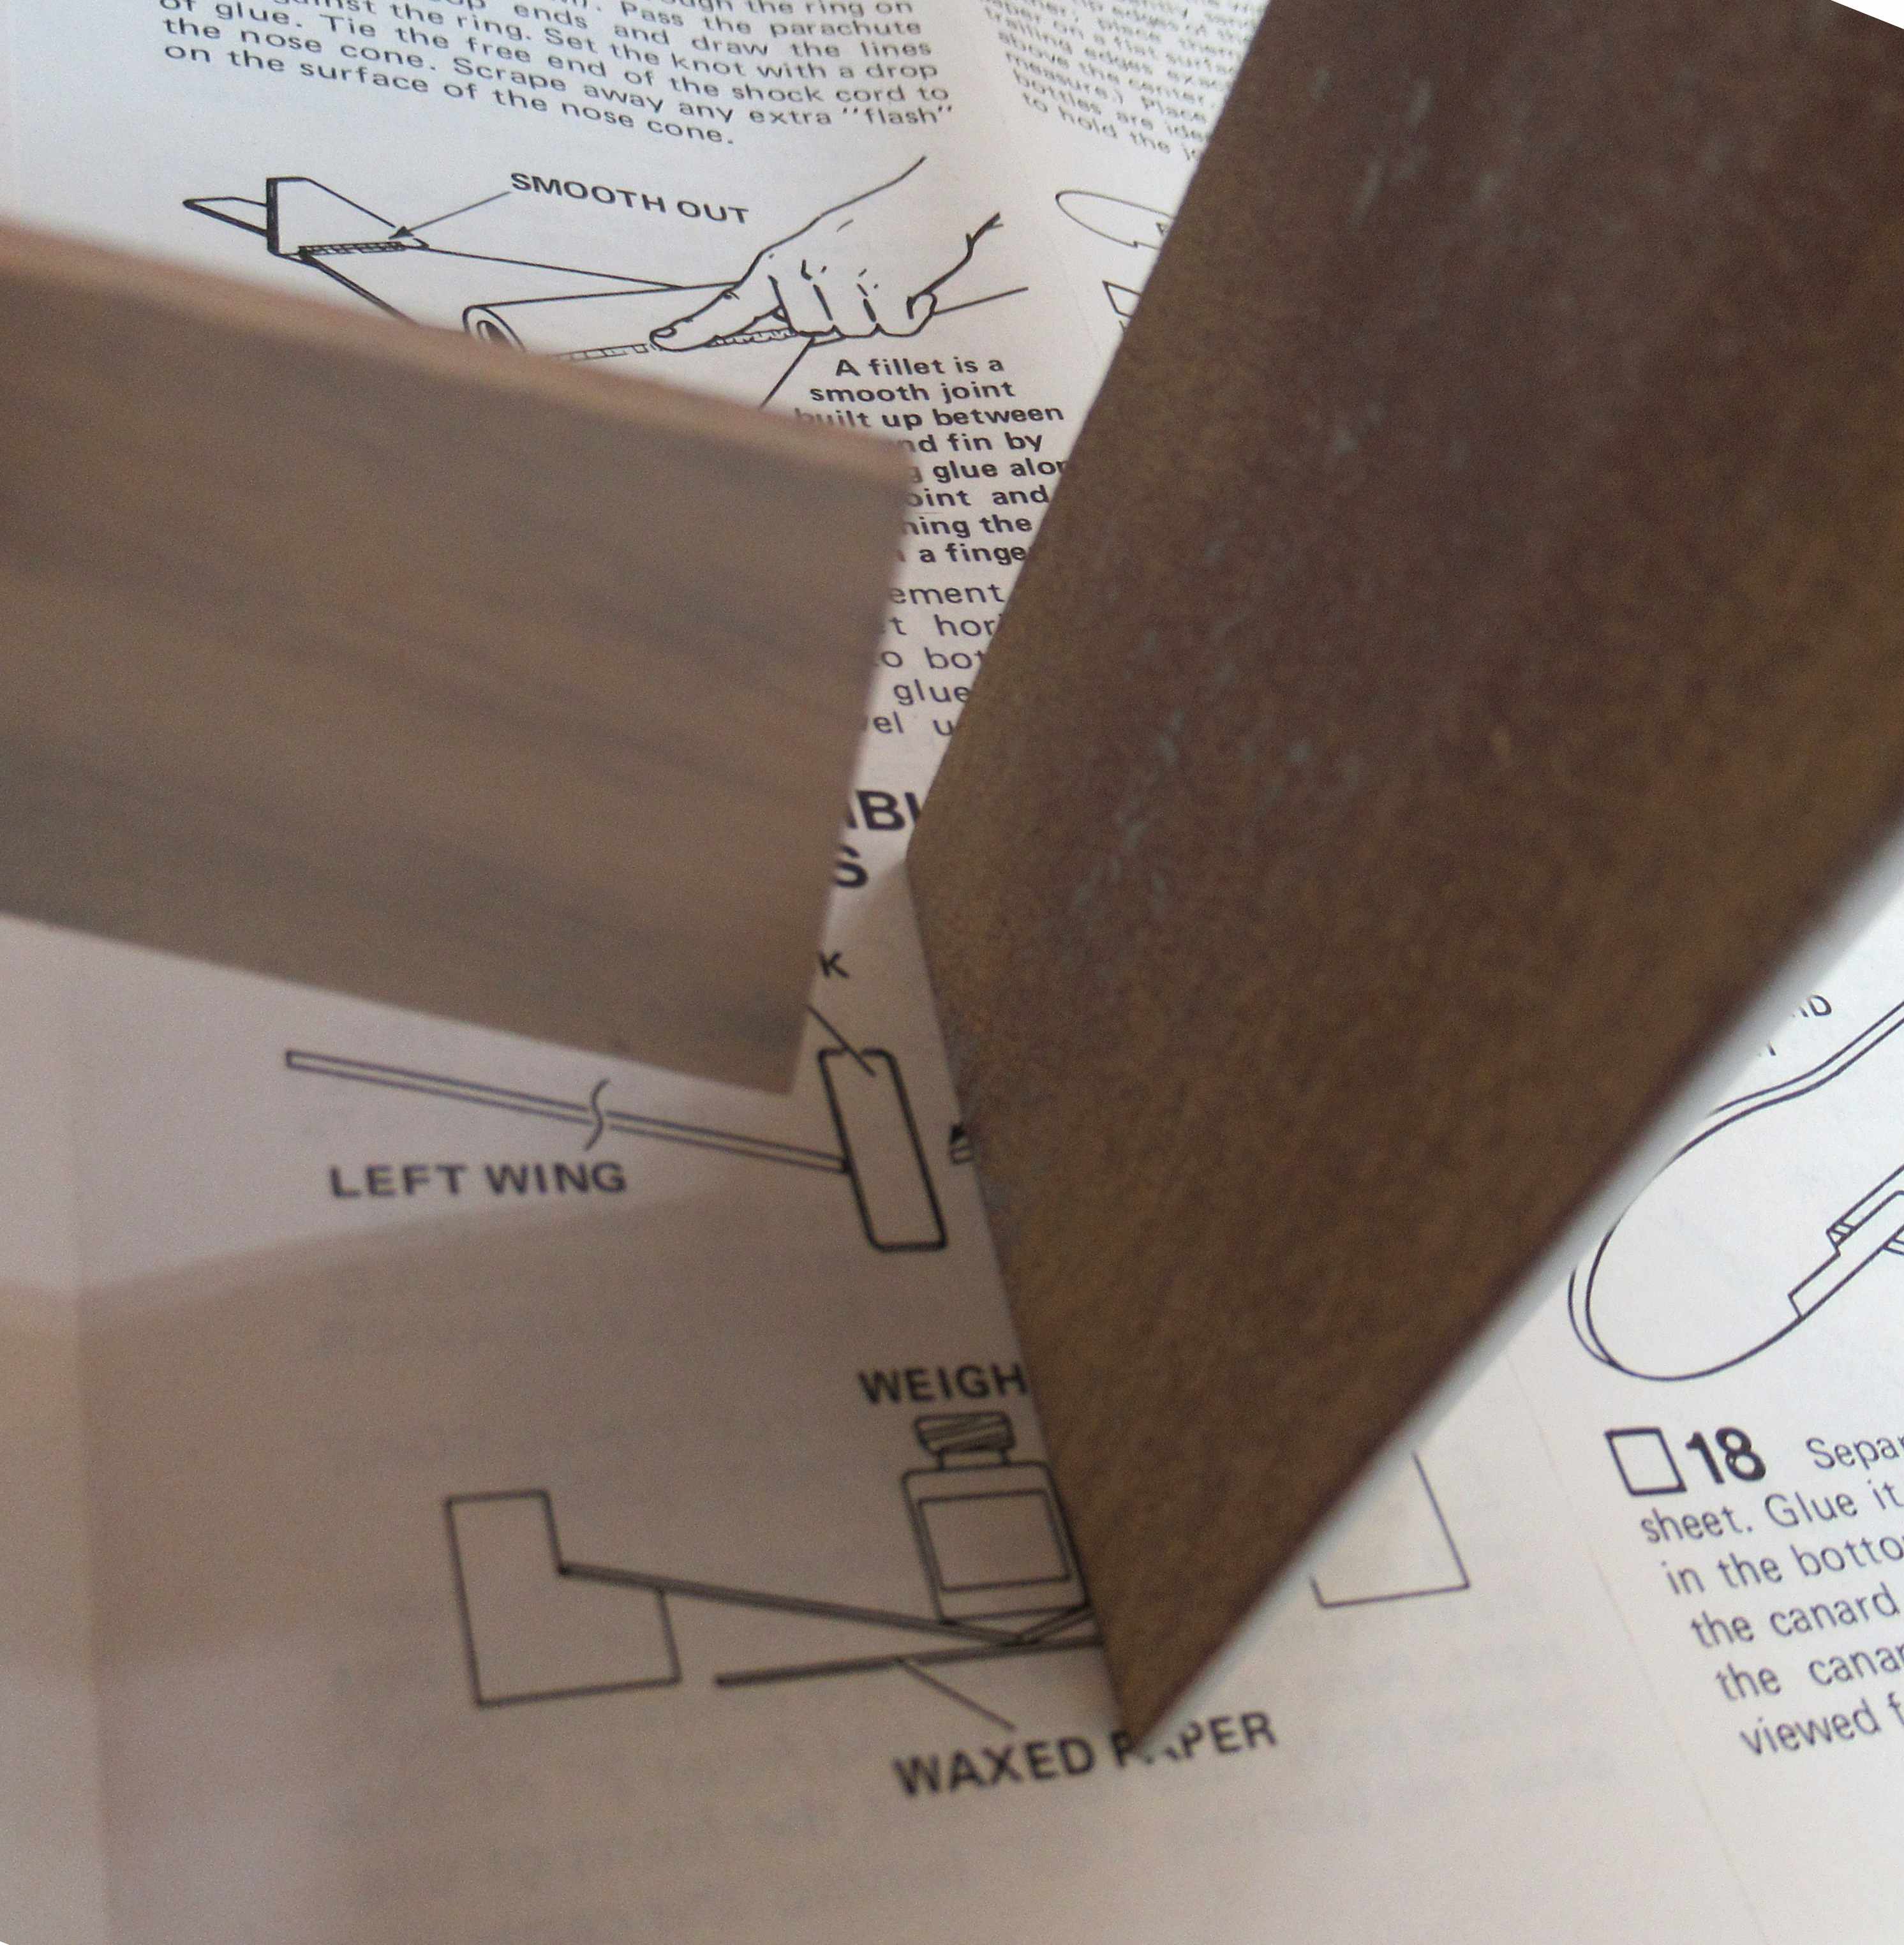
Check the instruction drawing below - 

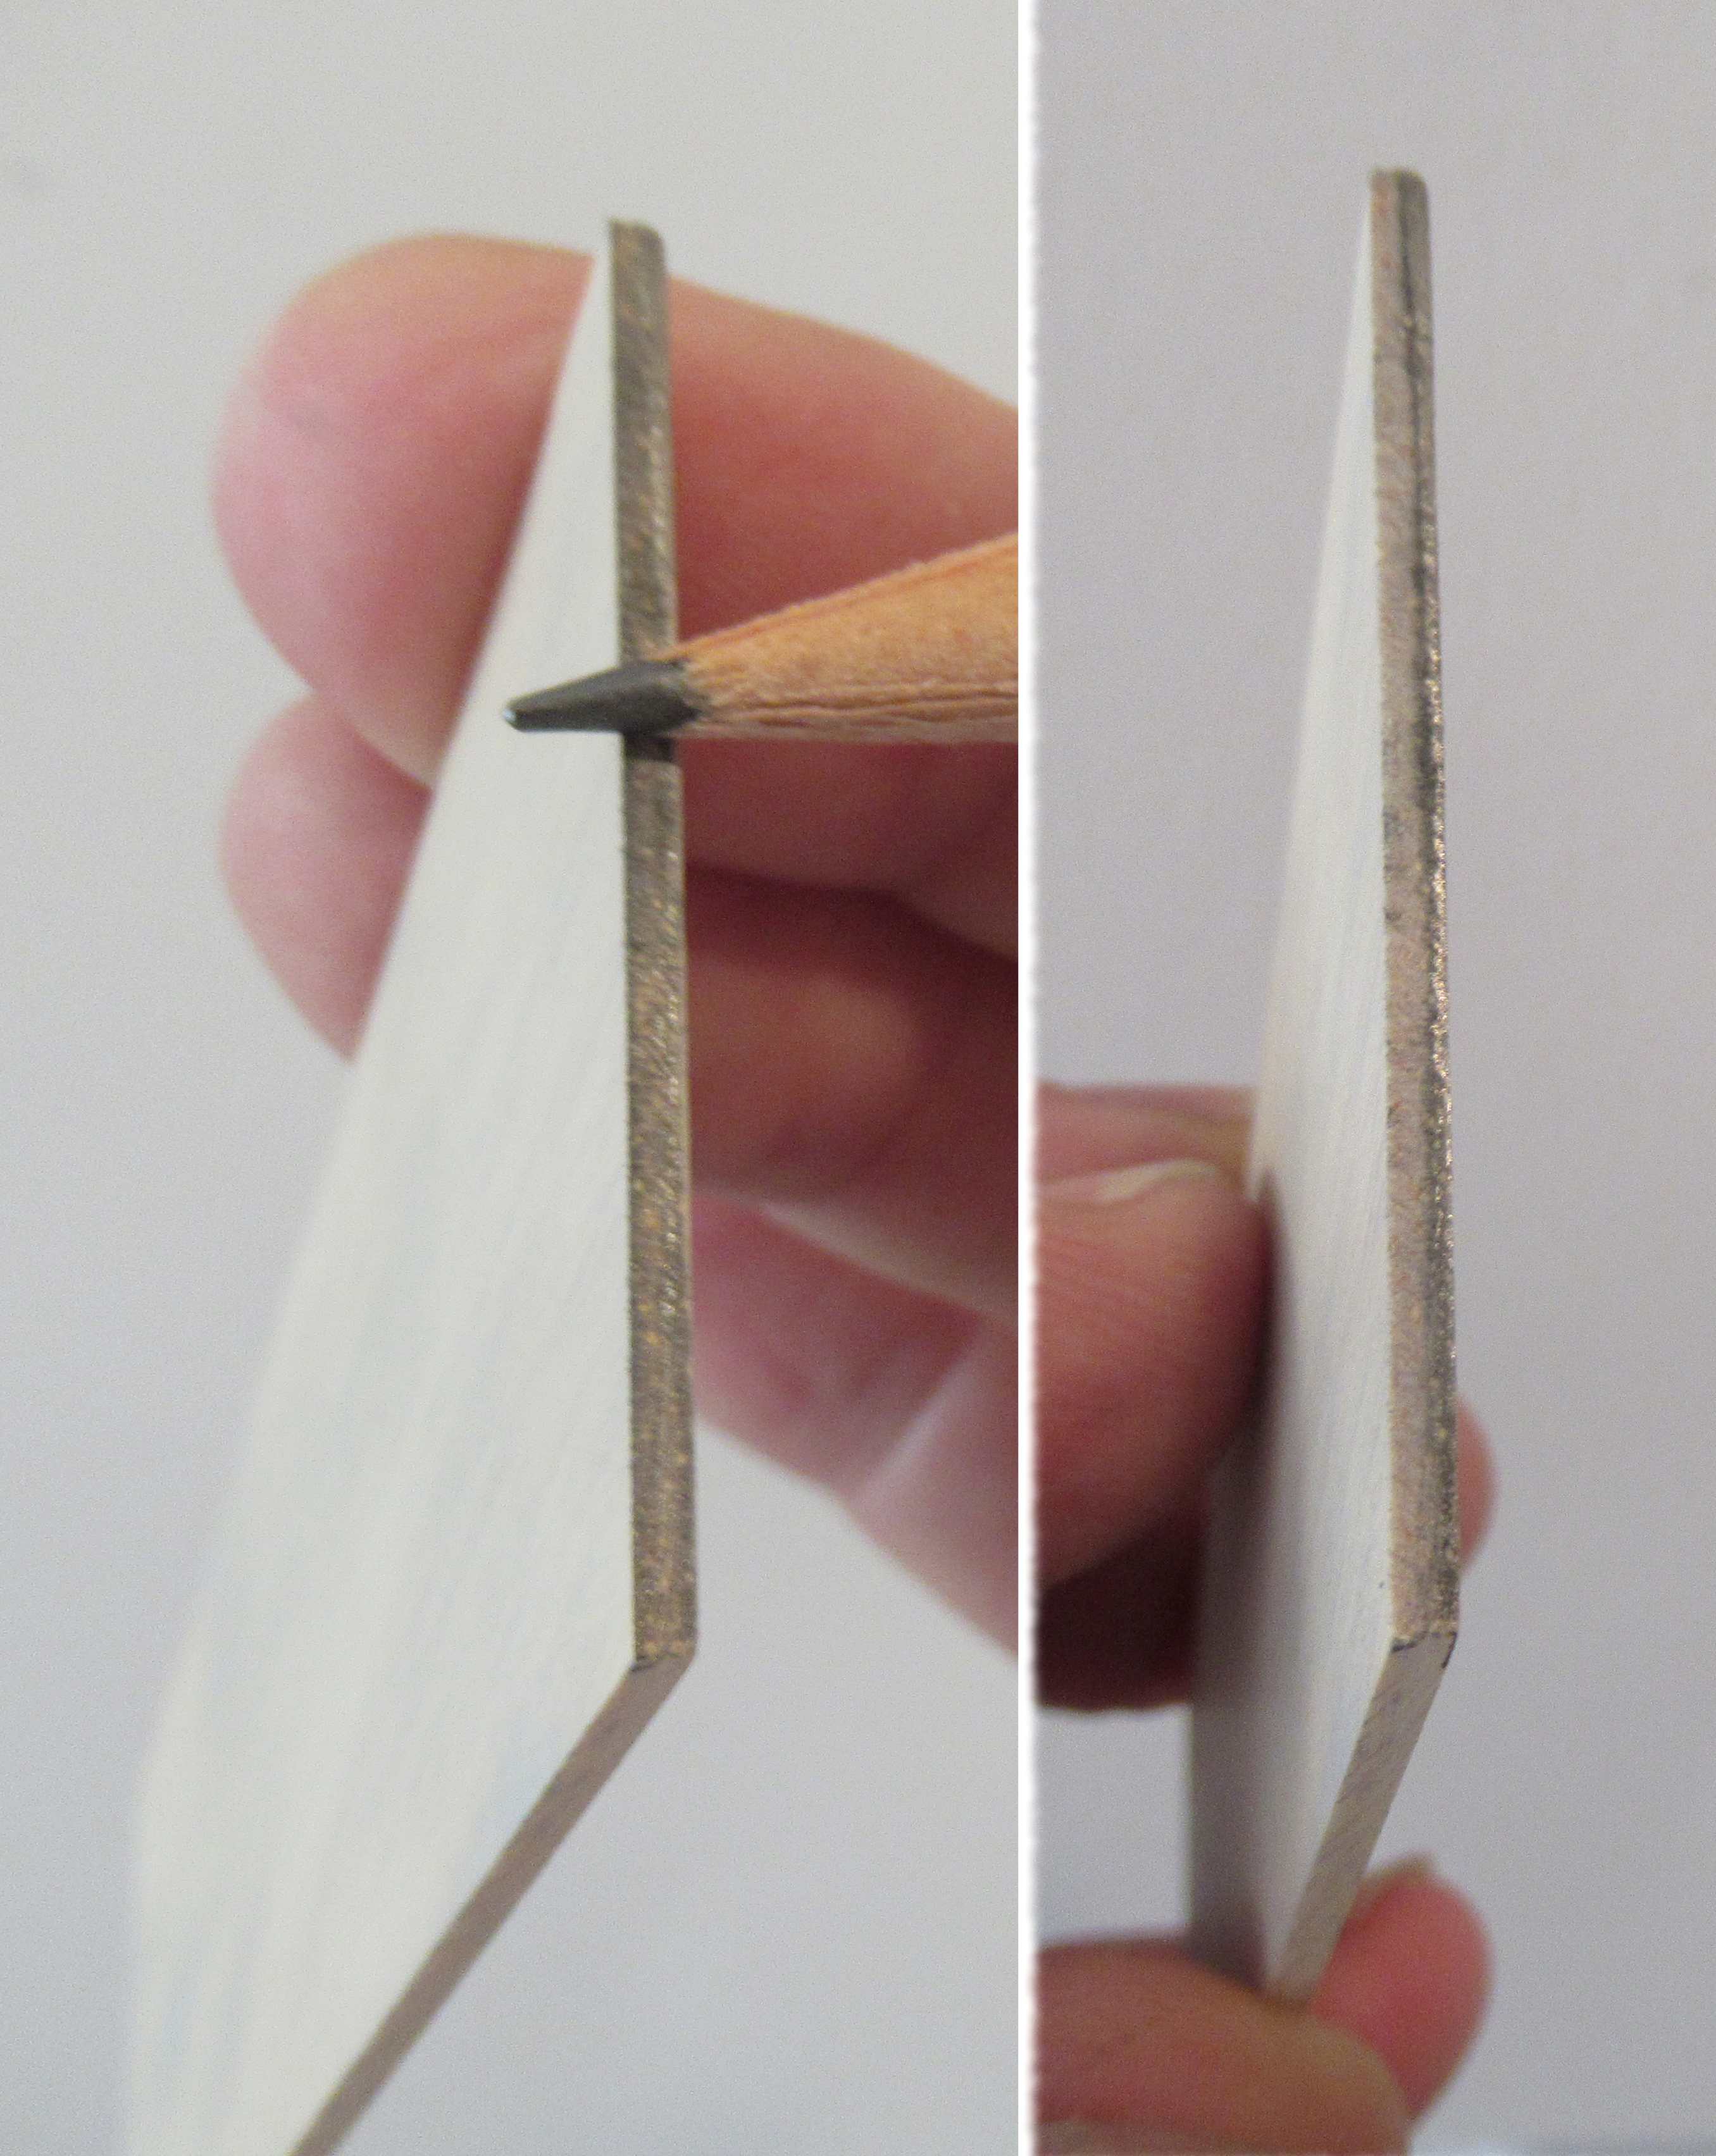
On the left is how the tip plates will glue onto the outside edge of the wing.
On the right - I sanded the outside wing edge to get the tip plate to the correct angle.
Here's what I was going for - 
This illustration is from the instructions in the countdown checklist. It probably should have been brought up in Step 20.

Monday, May 13, 2024

Estes Condor #0807 Build, Part 16, Gluing Up The Wing Dihedral


I taped the dihedral guide pieces to my work surface. Otherwise the thin cardboard pieces will flop and fall under the wing halves.

After the glue dried there was a small gap where the two sides meet. This is on the bottom seam of the "V" shaped wing.

Some CWF filler was ran down the seam and sanded.
Filler/primer was shot down the center filled seam only.


The bottom of the "V" was carefully sanded.

The wing is ready for fitting under the fuselage.

Sunday, May 12, 2024

Estes Condor #0807 Build, Part 15, Gluing Up The Glider


The stabilizer is glued onto the fuselage.

Do your best to center the thinner piece on the thicker stock fuselage.


The wing panel root edges should be sanded to an angle for a stronger glue bond.

I mark the edge with a soft pencil so I can tell what has been sanded.
On the right side, I'm about half done sanding the angle, you can still see some pencil marking left.
Sand until the pencil mark is gone. 


I used the instruction illustration to get an idea of the wing edge and sanding block angle.

The wing half is on the left, the sanding block is on the right side.
The dihedral guides are on the back of the face card. I didn't want to cut up the face card.

I extended pencil lines and transferred those onto some thick cardstock. The cardboard was cut out for the next steps.

Monday, September 19, 2022

Estes Space Shuttle Columbia Build #1385, Part 8, Cutting & Setting The Flap

The instructions have you glue the wing onto the tube before cutting the wing flap. I thought it would be easier to make this cut with the wing not glued on yet.

I would assume the single flap on the right side of the wing makes a slow stabilizing spin during boost. It reminds me of the spin tabs on the old Astron Space Plane.

You use a template to trace and cut the elevon flap.

The vertical cut was cut all the way through the balsa. 
I tried to make the horizontal cut not quite through the wood hoping to make a "hinge". When I tried to bend the half cut - the elevon flap broke through! No big deal. I'll just glue it as it was intended.


I used very little glue on this joint.
A little glue allows for repositioning. You can always add more glue after you get the right angle.
Check the angle with the supplied guide. 


After the angle was right - 

Small bits of glue were added to the bottom open joint and the angle checked again.

More glue was added to fill the gap.
 

Tuesday, August 9, 2022

Estes Super Orbital Transport Build, Kit #7314, Part 14, Gluing On The Glider Wing


Mentioned earlier - the glider marking guide was too large. This was a pre-production kit, I'm sure corrections were made.

I made another one out of some copy paper. It's simple, the tube is marked twice on opposite sides of the tube.


I had already filled and primed the balsa pieces.

Some 320 grit was wrapped around a Q-tip and the center gluing area had the primer sanded down to the CWF - no lower. Just remove the gray primer.
This is all the glue I used to adhere the wing to the tube. I didn't want glue to be pushed out and seen on the finished model. 
TIP: Don't attempt to apply fillets into the tight wing/tube joint. You'll end up with bubbles and too many glue applications trying to get rid of them.


Earlier I had extended the pencil line inside the tube for alignment with the wing joint.


The tip of the wing seam aligns with the pencil line running down the tube.

Thursday, August 4, 2022

Estes Super Orbital Transport Build, Kit #7314, Part 9, Glider Wing Dihedral Angle


GOTCHA: This was a pre-production kit, any mistakes in the instructions are taken care of before being available for sale.

The Glider Marking Guide was too wide.

It's a simple tube to mark, two lines on opposite sides of the BT-50 tube.
I'd recommend using 220 grit on a sanding block to get the correct sanded angle on both sides of the inside wing edge.

Mark with the side of a pencil, darkening up the flat edge. As you sand, you'll see the contrast between the penciled flat edge and the sanded lighter bare balsa. 
Sand and check, sand and check. You should be using a sanding block for this type of angled edge.


The two wing sides are glued together.
The picture shows a good fit between the two pieces. 
The cardstock "P" piece is underneath the right wing half.

Saturday, February 16, 2019

Odd'l Rockets Stealth Build, Part 6, Wing Dihedral Sanding

The root edges of the large wing pieces will meet over the top center line of the body tube.

The picture to the left shows the root edge as is, right off the balsa sheet. The outside wing tip is resting on the work table. The height of the body tube will set the dihedral angle.


On the above right my sanding block is set vertically against the wing root edge. This is the angle the edge will be sanded.

The wing is lifted and the sanding block kept vertical. Maintain this angle and sand the root edge.


Here's a pretty good fit of the wing root edges after sanding.

You could glue the wing on without sanding the root edge angles but the bond wouldn't be as strong.

Friday, February 15, 2019

Odd'l Rockets Stealth Build, Part 5, Adjusting The Fin Patterns

The top is a print of the fin patterns from the Stealth instructions posted on oldrocketplans.com
These patterns were made to fit the very different blow molded body in the Estes kit.

The large wing pieces were glued into recess  slots in the molded body. The root edges were offset to the sides of the center line.

In the lower tracing the wing root edges were extended so the root edges could meet over the top of the body tube. This extension is shown as a dashed line.


The root edges of the wing will be glued over the body tube much like the Shrox Quest Aerospace One. This makes a very interesting reverse dihedral. It's an easy glue joint, the height of the body tube sets the angle of the wing sides. This will be shown in an upcoming blog post.

3/32" thick balsa is used for all the wing and fin pieces.

Here's how I set the pieces out to save balsa.

Tuesday, June 26, 2018

Apogee Mini Condor Boost Glider Build, Part 6, Tail Gluing, Wing Airfoil


I did round the edges of the tail surfaces. Go light with the sandpaper, there isn't much balsa thickness.
The horizontal tail glued over a tab on the back of the boom. The fit was tight and once set in place was perfectly aligned.

The rudder is glued on one side of the boom with the back edges even.


The instructions say you can airfoil the wing for a better glide. I used my sanding block with 220 grit for initial shaping. After that, 400 grit was used to smooth the surface.


The inset picture shows the airfoil profile from the outside edge.


Here's how the dihedral support piece sits on the fuselage. The pre-set angle is molded into the bottom slot.
The forward end is to the right of the picture. The dihedral support piece is not glued in place yet, it is adjusted forward and back when doing test glides.