Showing posts with label Model Profile. Show all posts

Wednesday, August 31, 2022

My Der Red Max Family - Model Profile


Here's my current Der Red Max family.
1. On the left is the "normal" BT-60 based Red Max. This one goes back to when I reentered the hobby in 2006. Originally I had a wrong nose cone and it was painted orange and black. Orange was the suggested color in the old Citation kit instructions.
2. In the middle is the tiny BT-5 tube carded version. 
If you are a current Patreon subscriber, the PDF is available! 
Email me at: oddlrockets@bellsouth.net and ask for the "Downscale Red Max". 
This is a carded, home print model. The red color prints up a little lighter than a spray painted model.
3. On the right is the newest member - The NewWay Der Squared Max.


There was a few others - 
This Pink Max - Hello Kitty version was built using an Estes Mini Max kit with some custom decals from Excelsior.
A standard, full size Pink Max was also built. 
Both were sold on Ebay to a collector.

I haven't built the 3" or the 4" Estes BIG Red Max kits. 
I really don't care to - I don't have the room to store,
or the field to launch larger Mid and High Power rockets!

Thursday, September 2, 2021

Model Profile - Quest Triton - X #1617


This is another Quest Quick Kit, flight build.
It's tall, like the Penetrator but has three different diameter body tubes and two adapters.

This Flight Build didn't get the tube seams filled. The gray in the stickers was close, but didn't match the pre-colored tubes.

For the fin stickers, I made a placement template like the one used on the Saturn V build: CLICK HERE
Using a simple cardstock template insures the sticker or decal placement is consistent on both sides of all fins.


Here's the lower body - 
That TRITON - X sticker should have gone on the middle segment of the model. After placement, I couldn't remove it. the sticker would pull up the thin gray color on the outside of the tube.


The mid section - more stickers.


And the nose section.

Like the Quest Penetrator, this model uses two 14" parachutes. The ejection split is above the upper, second adapter.

Saturday, August 28, 2021

Model Profile - Quest Penetrator #1618


This is a TALL one! At 38" tall, a little hard to fit in the camera frame. 
It's a bargain at the current retail price of $16.99

At ejection, the body splits at the low adapter and descends under two 14" parachutes.

Lots of stickers - the time consuming part of the build. I took some extra time to be sure they were centered and in line. 

On the Quest Quick Kits, there is a retention ring which locks the 18mm motor in place with a quarter turn to the right.
This was a Show Build for Quest so the tubes got a seam fill and new orange paint to be a closer match to the orange in the stickers.

The black ogive nose cone tops it off. 

Sometimes you want an easy to build model - A large Demo rocket you won't have to worry about if it lands in in the street! How many of your balsa finned rockets have dings and road rash? Quest body tubes are thick and these plastic based kits can take a beating.

Saturday, August 21, 2021

Model Profile, Quest Novia #Q1006

From the 1992 Quest catalog page:
"The Quest Novia model rocket is the most traditional of all the Quest kits. The Quest Novia features balsa wood fins and streamer recovery. Did you know the Quest Novia has five possible fin configurations?"
Five possible fin configurations? The current kit instructions don't mention this. Balsa fin grain won't allow you to use any side as a glued root edge. The Centuri and Estes Viking kits had cardstock fins and you could pick your favorite look.


The Novia does look like a stretched MPC Pipsqueak. To compare the two: CLICK HERE

When getting to the simple body tube mask I thought: "Oh great, the 3" from the bottom line will be right on the short launch lug!" 
For once - the suggested mask line cleared the top of the lug.


To play it safe - 
I shot the back of the sticker with some #45 spray adhesive to prevent lifting. Older stickers can lift.

The kit supplied nose cone was molded in a dark orange. It's not easy to totally cover a dark plastic with gloss white - a bit of the orange still shows.

The older instructions recommend an A8-3, B6-4 or C6-5 motors. Personally, I'd go with longer delays. Anything above an A engine and you could easily lose it - even with the streamer recovery.

Thursday, June 22, 2017

Model Profile - The Centuri F-104 Starfighter

The F-104 Starfighter was introduced in the 1977 Centuri catalog, the fourth model of the Fighter Fleet series. For variety, Centuri picked the West Germany motif
These jets had "fibre" fins, die-cut from a .050" thick card stock. While card stock made an easier assembly for a young modeler, older builders weren't too fond of the kits.
Many design compromises were made to the jets for vertical, stable flight.


This model isn't one of my builds. Lonnie Buchanon gave me some original Fighter Fleet rockets he found in Craig's list buy. An F-16 helped the design of my Odd'l Rockets kit.

The F-104 was 15" long and 1" in diameter. The tube was Centuri's heavier walled ST-10.


Here's some of the compromises -

For stability, the wings are set farther back. The intakes aren't round but long rectangle boxes formed from thinner card stock.
The bombs (or tanks depending on which model you were building) were the same used in all six of the Fighter Fleet series.
The missiles were also used on each model. They looked a little like a Sidewinder without the forward fins. The small nose and fin can were glued into a launch lug tube.

Notice the reinforcement pieces needed for the card stock wings and missile standoffs.

The model was 15" long, 5" of that was just the nose cone!
The cockpit decal is on but the clear canopy is missing. I don't know why the nose cone was never painted.

Why am I featuring this model? Stay tuned . . .

Monday, January 4, 2016

Model Profile - Estes Jinx or Vampire?


At the January ROCK launch somebody had an Estes RTF Jinx rocket.
I remember seeing these for sale at WalMart a few years back. That Jinx design seemed familiar.


Go back to the 1974 Estes catalog to see the new "Firing Line" series of plastic models.
All three designs were molded in black, the stickers gave them some interest and contrast.
All you had to do was "Assemble the parachute and you are ready to fly!"
To see the models (and the X-15): CLICK HERE
Go to the following page to see the Vampire starter kit. Check out the launcher, controller and blue engine casings.

Monday, September 14, 2015

Not Your Father's Estes Ranger - Model Profile


This isn't the Estes Ranger I remember -
Lonnie Buchanon showed me this one, he picked it up in one of his Craig's List lot buys.
This was kit # 1955, a BT-55 based D engine model. I don't recognize the nose cone shape from any other model.

From the Estes 1986 catalog:
"Big and powerful, with two color decal and huge 18" recovery 'chute, Ranger achieves 1200 altitudes easily.
Length; 22.125", Diam. 1 325", Weight 1.6 oz."


That updated, simplified Ranger didn't have a long run, only available from 1986 - 1989.

Here's the original 3 engine cluster Ranger, #K6 made from 1962 - 1972.
There, that's better!

Friday, May 8, 2015

Model Profile - Upscale Goblin


The upscale Goblin was one of the first built after I got back into the hobby.
On the right is a BT-55 standard sized Estes Goblin. The big Goblin is not quite a 2X upscale.

Parts came from Semroc back in 2008.
The body tube was a thick 225 style.
There is a double tube style Semroc baffle inside.
The engine mount is only a 24mm! (What was I thinking?)
The model seems too heavy at 9.2 oz for a D12 engine. Maybe one day it'll fly with the 24mm RMS casing I now have.

Monday, January 5, 2015

Model Profile - Estes Vostok, Kit #1272


Here's a rare one, the Estes Russian Vostok.
It was only available for two years, 1975 and 76.

The instructions are on the Ninfinger website. CLICK HERE
It was 19.75" tall and BT-55 based.

I remember seeing it in the catalog and thinking: "What a cop out! Profile fins?"
I hated the look but understood it was a simpler way to make a flying Vostok for the masses.
If you are looking for a challenge, the Dr. Zooch Russian series will keep you busy for a while. CLICK HERE


I'd never seen it (other than the catalog pictures) until one showed up on Ebay.
The upper body shows more detail than the lower end.

The back end view:
The profile fins are hollow wedges. It reminds me a little of the Centuri Bandito.
At the fin tips the double thickness card stock is bent.

Compared to the detail on the other Estes scale kits, this one seemed silly.

Monday, November 24, 2014

Model Profile B.A.R. FLY


This was one of the first models I built after getting back into the hobby around 2005.
This was supposed to be an "All-In-One" BT-60 based rocket. It has a 24mm mount for D engines and an added 18/24mm adapter mount.

Looking back on it now, I would have made it differently.
The balsa grain was well filled, the body tube and lug seams weren't. The fin edges are square.
The elastic shock cord is only 1/8" wide and way too short.
The 12" mylar parachute is probably small, but has a Nomex protector threaded through the shock cord.
Two different lugs, a 1/8" and 3/16".
The name and trim stripes were cut from vinyl at the Sea World sign shop.
I would have set the type differently. To me it looks like "Barf"-ly, not Bar Fly.
It was probably painted with the old formula Krylon.
This one has never been flown.

Friday, November 7, 2014

Model Profile, Centuri Aerobee 350


Here's one I found on my bedroom shelf on the recent California trip - the Centuri Aerobee 350.
The kit was ST-10 based and stood 16 1/2" tall.

You can see this original catalog page HERE
I searched online and couldn't find the instructions anywhere.


Kit parts and construction tell us this was an earlier run of the kit.
The shock cord mount was laced through cut slits in the body tube.

The 1972 catalog description mentions a "Payload Section" nose cone. That suggests a newer snap on base plastic nose cone.
The balsa cone shoulder is only about 5/16" long!
The red shroud lines are tied onto the screw eye.

This one was built at around 1975. I got a pretty good airfoil on the fins. One fin was broken off.
The inset picture shows bubbles in the launch lug fillet. Titebond M&TG wasn't on the market yet.
The body tube shows some body tube seams. Back then I wasn't filling them in. The balsa grain isn't showing. I used four coats of sanding sealer, sanding between coats.
The rocket was clean, never flown.

I don't know why the conduit tunnels were left off. They are shown in the catalog pictures.
This sure doesn't look like the catalog color scheme.

Tuesday, August 12, 2014

Model Profile - Centuri Hummingbird


I built "the easy goin" Centuri Hummingbird in the early 1970s.
I don't remember ever flying it.
It might be the only card stock boost glider kit ever produced.

On YORF, Scigs30 started a thread on the Centuri Hummingbird in August of 2011: CLICK HERE

He did some great drawings of the card stock parts: 
CLICK HERE


For the original plans:
CLICK HERE

And more information, parts list and instructions for a clone:
CLICK HERE

Thursday, July 17, 2014

Model Profile, Semroc Hawk


This is the Semroc Hawk, based on the 1965 AMROCS kit, designed by Larry Renger.
Larry Renger also designed the similar Estes Falcon boost glider.


I flew this one twice both on 1/2A6-2 engines.
The first flight was okay, not a long duration glide.
Clay weight was added and it was prepped for another flight.
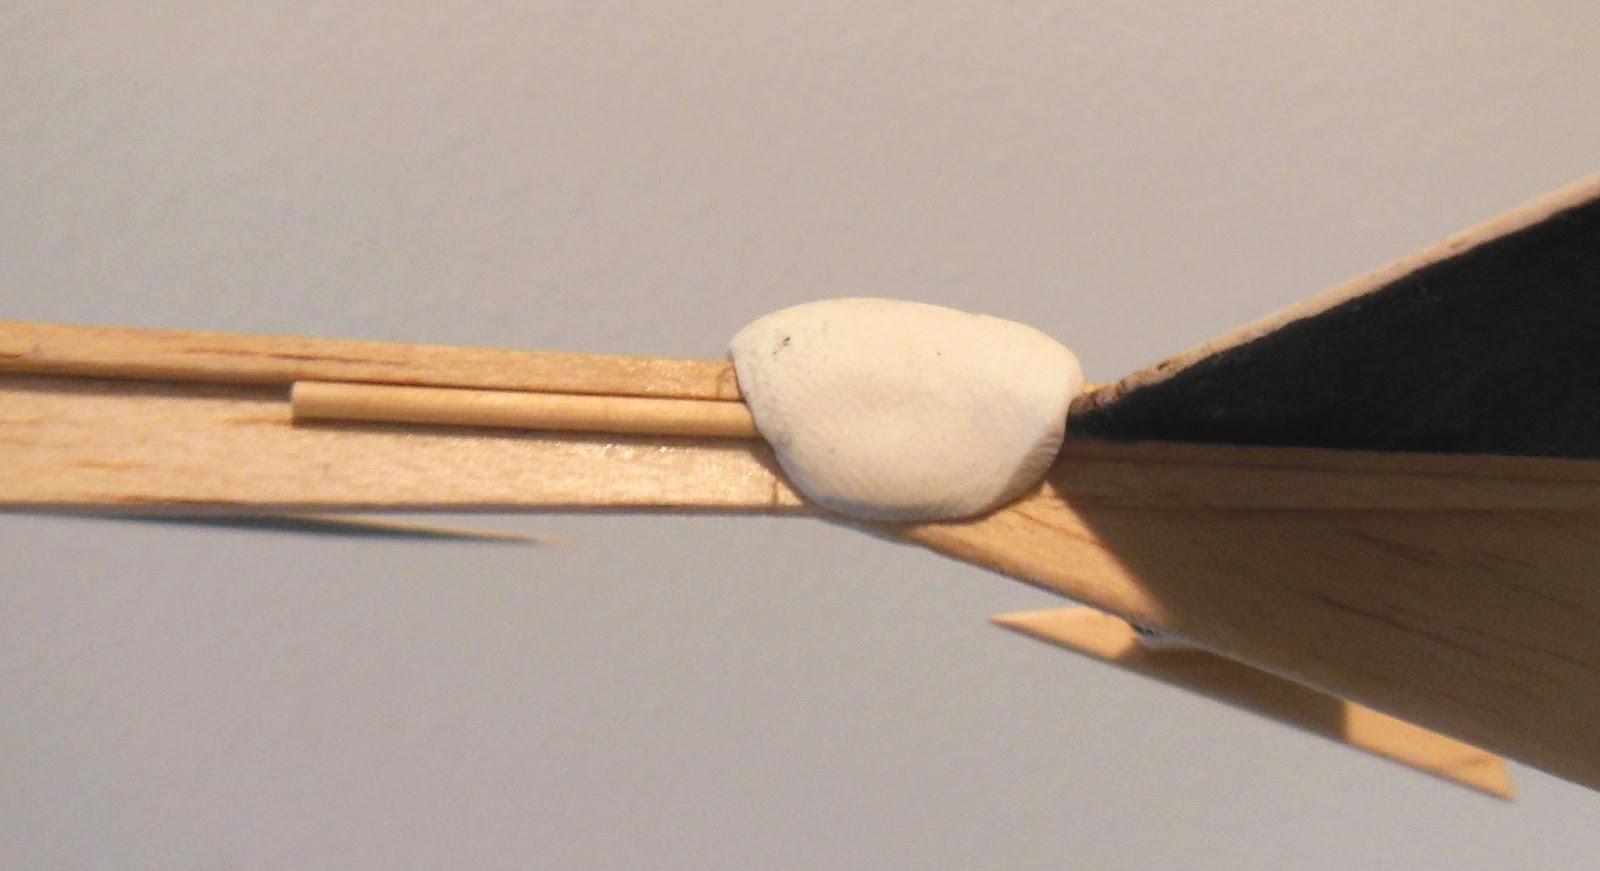
The second flight boost broke the body just forward of the tail section. You can see the dowels glued on to reinforce the joint.

The underside was hit with a wide point permanent marker for visibility.

Saturday, January 4, 2014

Model Profile - Postal Express


I built this one for the EMRR Box O' Parts contest from 2009. HERE

In the contest you were sent a box of spare parts and had to build a flyable rocket from them. The box I was sent had a wide variety of parts!

The parts were sent in a USPS Priority box. The USPS logo and name were peeled off and glued to the finished model.


From the back end you can see the Popsicle sticks used for coolant vanes around the motor mount tube.
Toothpicks went into the leading edge of the rudder.


A balsa nose cone and body tube were split and glued on both sides of the rudder.
Some of the spare parts included guns from the Estes Star Wars X-Wing Fighter. One broke off after the first flight. (lower right)
On the far right is a candy dispenser with two small nose cones glued to the front.
A plastic dome was used for a rear adapter.
More vanes went around that and along the middle tubing joining to the front straight adapter. The middle tube isn't centered but sits toward the top of the two outer tubes.
The nose cone was a favorite element, it looked like it came from the inside core of a string spool.
While I could have had it sit straight off the tube, it was angled down like the nose of the old SST.
The angled down nose cone didn't effect vertical flight.

The model has flown a few times with D12-3 engines. It's stable but certainly needs more power. Max altitude is only 300'.
I tried to go for extra points by producing instructions for the build. HERE
It was good practice. I had just got the CorelDraw software.

Sunday, August 25, 2013

Model Profile - SAI MiniBat


From the Space Age Industries catalog is the MINI BAT boost glider.

I built this one a few years back but have yet to launch it.
Hand thrown trim glides were done, there was a ding in the nose cone. The plans are HERE


It's a short, chunky boost glider.
The wing is large and a long rudder is on the underside.


The view from the back -
There are small raised aerilons on the rear edge of the wing.
And straight on - 
First launches will be with a 1/2A3-2t.
The engine mount tube is a BT-20 so the 13mm engine will be friction fit into an empty 18mm casing. Before flying there will be a few test tosses and clay weight triming.