Showing posts with label Nose Cone. Show all posts

Saturday, September 5, 2026

Estes Cosmic Interceptor Build, Part 20, Nose Cone Fix


There was a recess divot in front of the canopy.
It looks like the kit assembler cut off a mold line. 

I'll fill it with medium Super Glue. Set a drop of glue in the recess. Let dry horizontally, the glue drop can run.   


After the glue dries,
Sand to follow the round curve of the cone. 

The recessed lines are lightly filed using a triangular diamond file. Don't go too deep!


The recess lines are back, not perfect but better than not having them at all.


A shot of filler primer showed areas that needed touchup.

The second photo shows another mold line to fill towards the tip.

Tuesday, August 25, 2026

Estes Cosmic Interceptor Build, Part 10, Cleaning Up The Nose Cone


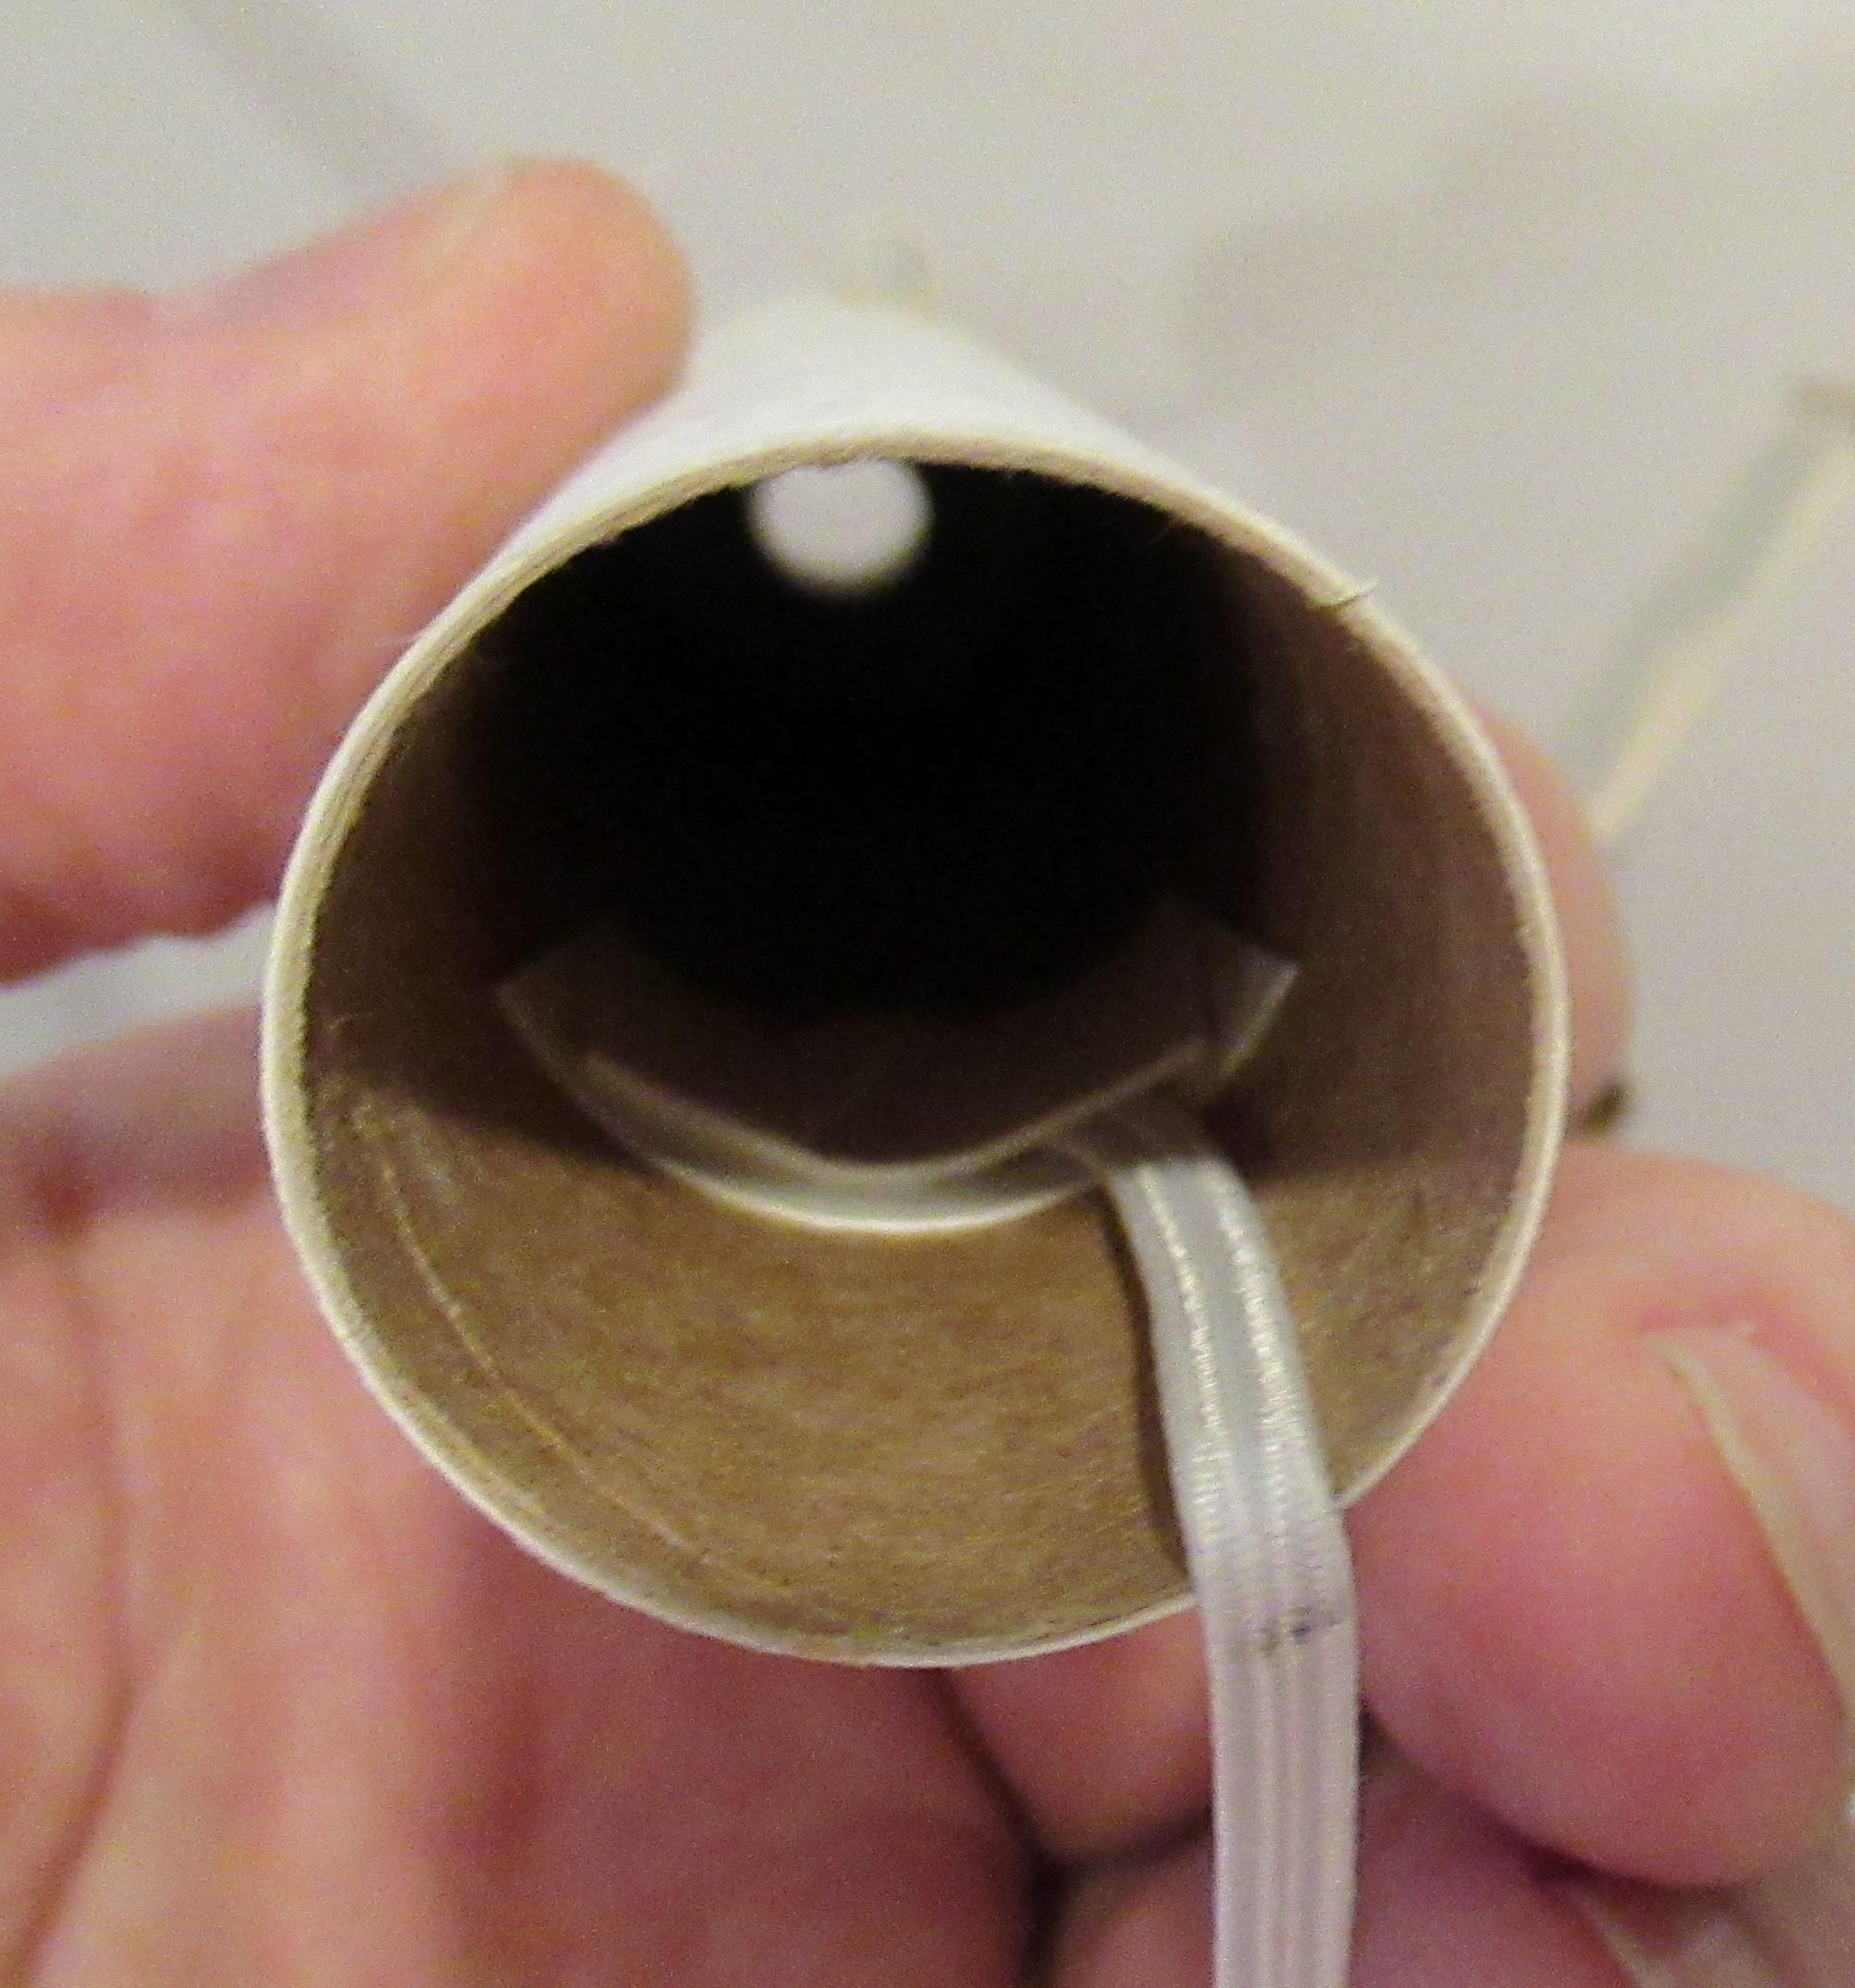
After the tie off lug is opened, there are some rough edges. These sharp points could wear through a shock cord.

I used some diamond files to take down the edges. You can find them cheap at Harbor Freight - CLICK HERE
There was a slight divot at the front of the canopy nose.
I rebuilt the round contour with a drop of Super Glue.
The thin glue can run, keep the nose cone horizontal while the glue dries.

After drying, sand the drop to match the curve of the nose cone.

Thursday, July 16, 2026

Estes Aries SST, #1927, Build, Part 17, Adding The Second "Finlet"


I drew a pencil line for the second finlet by sighting down the nose cone tip.

This seemed iffy, I matched the straight angle by matching the knife angle to the finlet in the nose cone.


Removing the finlet you can see the slot that was crushed into the balsa. It's actually pretty clean, a tight fit.


The second finlet is pressed into it's slot.

I was lucky - the alignment is good.

After adjusting the height of the finlets, there was a small gap at the bottom of one slot.

A wedge of balsa was cut and pressed into the void. The edges of the finlets should be rounded.
Here's the two nose cones (balsa above the 3D print) compared side by side. If the balsa cone were filled and painted I doubt you could tell the difference. The basswood finlets are a little thicker.

They are the same length, there is a little photo distortion.

Wednesday, July 15, 2026

Estes Aries SST, #1927, Build, Part 16, Making a "Finlet" Nose Cone

If you don't have a plastic PNC-50S nose cone (with the finlets) You can make one using a BNC-50Y balsa nose cone and some 1/16" thick basswood.


When researching this build, I checked the old Vashon Sandpiper instructions. To see them, CLICK HERE

The balsa nose cone gets a slot cut, and the tapered canard root edge is pushed into the slot. 
I thought this would be iffy, but I had an extra BNC-50Y nose cone to experiment with.


The finlets (or canards) pattern is on the PDF available to Patreon subscribers.
The Vashon kit used balsa, but I'd recommend using stiffer basswood.

Cut out the pattern and trace onto 1/16" thick basswood.


The distance behind the trailing edge of the finlet to the shoulder lip is just under 1 3/4".

Mark a straight line with pencil the length of the root edge.


Mark the depth of the exposed root edge on the finlet.

Using a sanding block, sand a sharp taper to the inset tab.

Cut a slit about the depth of the inset tab. There is no need to cut and remove balsa.
Cut another slit on both sides, just to the side of the first slit. Side by side, the three slits are about 1/32" in width.

You should be able to press in the tapered tab up the root edge pencil line.

Sunday, June 14, 2026

Estes Sandpiper, Kit #1389, Part 5, Filling The Balsa & 3D Nose Cone


After brushing on CWF and sanding smooth, 
thin strips of masking tape were set on all the edges that were to get glue.


The fins and "wings" were taped down to scrap cardboard for a filler/primer spray.

After drying, the filler/primer was sanded to surface filling any remaining grain line.


Here's the tail cone - 
The tube seams and tube/tail cone joint got a line of CWF and sanding.

Filler/primer spray followed.


Here's the tail cone and low end of the body tube.

That black line at the joint isn't a gap, it's the printed cut line of the shroud border.


The plastic ridges on the 3d nose cone were initially sanded with 320, then 400 grit. This removed most of the print ridges. 

This shows the nose cone after the filler/primer was sanded. There are still some shallow ridges. It'll take another shot of filler/primer and more sanding to get it smooth.   

Friday, December 19, 2025

Estes Monarch Build, #7214, Part 7, Nose Cone Seam


This kit had a definite stepped seam on both sides of the nose cone.

Before filling the low side, sand the high sides down a bit using a sanding block.
To fill in the remaining recess, some medium CA glue was run as a long bead down the seam. 
The wet glue can run so only do one side and let dry. The CA glue bead on the surface can take some time to dry.

Sand to surface with 400 grit on a block.


The small, thin shock cord tie ring in the nose cone shoulder are prone to breaking. 
The tie down ring was cut off. A hole was drilled for the shock cord attachment.

Thursday, July 10, 2025

Estes Mini Bomarc Clone, Kit #TK-5, Part 5, CWF Sand & Filler Primer


The old Estes instructions don't mention it,
but I rounded the leading edges of the wing, stab and rudder.

I also rounded the leading edge of the nacelle support. You've got to be careful because of the balsa grain direction.


The balsa pieces were taped down to a piece of cardboard and shot with filler/primer.

Sanding follows.


On the left the nose cone is shown with the CWF applied.
I realized the nose cone was also used in the Estes Stinger (K-53) kit.

After sanding, the filler/primer was sprayed and sanded.


Here's the rudder and stabilizer after the filler/primer was sanded.

I tend to sand down more filler than others might.
The filler/primer soaks into the balsa a bit and still seals the surface if most is sanded off.

Wednesday, July 9, 2025

Estes Mini Bomarc Clone, Kit #TK-5, Part 4, Filling Nacelle Nose Cones


The small (BT-5 size) nacelle intake nose cones are difficult to fill. There are some inside angles that should be sharp and remain round.

On the left - the CWF has been brushed on.
On the right - the CWF has been sanded down and smoothed.


The secret? A good sanding block with 400 grit.

The sandpaper is only on the bottom surface, not rolled up on the sides. You can't sand into the corner of the intake cone at the top.
On the left - the nose cone balsa grain is filled. It a second round of CWF to build up the low areas.
Note the tubes seams have been filled with CWF and sanded.
 
I'd recommend filling all the balsa surfaces before gluing everything together.
It'll be difficult enough to get spray paint into the nooks and crannies.

Wednesday, June 4, 2025

BMS School Rocket, Build, Part 7, Filling The Fin Grain


Here's one side of one fin with the filler brushed on.

Notice I didn't brush filler onto the TTW fin tab.


Many builders comment on forums about how CWF filler warps their  fins.
With the filler on just one side of the fin, the fin will warp as it dries.

Don't worry, the fin will flatten out when CWF is brushed on the other side and allowed to dry.

Tuesday, June 3, 2025

BMS School Rocket, Build, Part 6, Gluing In The Engine Mount & Filling The Nose Cone

I use a dowel set a ring of wood glue inside the main airframe tube.
A dowel is set next to the mount with the end just below the upper centering ring. The bottom of the mount tube will extend 1/4"  below the end of the main airframe tube. The dowel is marked at the 1/4" extension.
A ring of glue is placed around the top of the dowel. Using the pencil mark as a depth gauge, roll a ring of glue inside the tube. 
Slide the mount into place, up to the 1/4" mark.

I like to center the engine hook between two fins.

Right now there is only glue at the upper centering ring.

There isn't much room to apply and smooth a glue fillet around the rear ring. Apply some glue and smooth the fillet with a Q-tip formed into a "tip" by rolling it between your fingers. 


The shoulder lip on the nose cone wasn't as square as I would like.

Notice the CWF filler is painted just over the edge of the shoulder.

Push the nose one all the way into the BT-50 tube and turn.
Turn and remove the nose cone.


What you are left with is a raised filler bead right above the balsa shoulder.
Let dry and sand with 400 grit on a block.

The shoulder lip will end up sharper and a better fit against the end of the body tube.

Friday, March 7, 2025

Estes Star Seeker BT-50 Upscale (Tri-Pack) Kit #0866, Part 8, Nose Cone and Shock Cord Mount


On the Apogee plastic nose cones, 
there is sometimes a raised lip on the shoulder edge.
Sand this down a bit.

The nose cones can have a slight bulge at the tip.
You can sand the tip so it follows the contour of the nose cone sides.
The shoulder cap was glued in using Beacon Fabri-Tac glue.

If you can't find a good plastic glue (most don't contain Acetone to "weld" the plastic pieces) Fabri-Tac is a good substitute.
Run a ring inside the nose cone, slide in the base and turn to even the glue bead and get better coverage.


I don't normally use a tri-fold mount, 
I didn't feel good about a Kevlar loop under the upper (homemade) centering ring. They're probably strong enough to handle an ejection pull, but I played it safe with a folded mount and elastic.

A 12" Odd'l chute was tied onto the shock cord.

Monday, December 16, 2024

Estes Constellation Build Part 10, Nose Cone and Adapter Details

On the left is the nose cone and adapter from the Semroc kit.
You'll see these shoulders through the clear payload section when the model is finished. I usually sand these flat then round the edges.

On the right is the dry fitted payload section with the rough ends smoothed out.

TIP: To get a sharper edge on a balsa nose cone shoulder -

Brush on some CWF just slightly over the edge.
I'm not covering the entire nose cone yet, just the shoulder edge. this leaves the nose cone dry to hold on to it.

Slide the nose cone shoulder into a squared BT-50 tube.
Turn the nose cone and CWF on the shoulder onto the tube top edge.

Turning the nose cone base forces the CWF into the shoulder lip.
In the picture you can see the raised ridge of CWF at the bottom.
Slide the nose cone back out and let dry.
Sand off the raised CWF ridge with a block.
The nose cone shoulder lip will be stronger and the edges sharper.

Thursday, September 26, 2024

Enerjet by Aerotech, Arreauxbee-Hi, Part 5, Tube Prep


The lower tube had some raised overlaps under the glassine wrap. There was what looked like a dent that was filled with CWF.


Under the surface were some overlaps that looked like a raised spiral running down the tube. 
These raised spirals were carefully sanded with 220 frit on a block.


After filling the normal seams with CWF and sanding, 

I followed with some Duplicolor Filler/Primer and sanding.
You can still see the raised overlaps. The filler/primer helps, but this will need another shot and sanding. 

On the right is the upper body tube section.

Wednesday, September 25, 2024

Enerjet by Aerotech, Arreauxbee-Hi, Part 4, Plastic Parts Prep


There are mold lines on either sides of the nose cone tip.

Sand the high spots first while maintaining the roundness of the cone taper. Don't sand flats into the curved sides. You'll be left with the lower seams below the surface.
These dips were lightly marked with pencil.
I used my Dollar Tree CA glue as a filler.

Draw a bead of glue down the line and let dry. Only use the glue on one side and let dry before using on the other side. Set the nose cone on its side for the glue to dry. Bear in mind, the glue can and will run if it is not allowed to dry horizontally. It will take a while for a CA glue bead to dry.

After one side dries, turn it over and apply to the other side.
Sand the dried glue with 220 grit then 400 grit to smooth.


There were some molding lines on the flat faces of the fins.

Sand with 400 grit on a block.

Tuesday, July 2, 2024

Enerjet by Aerotech Initiator Build, Part 8, Nose Cone Color?


I'll be jumping around on this build. The nose cone seam has been filled so it can be painted now.

The trick is finding a color to match the red on the decal sticker sheet.

I thought at first this Ace Premium Enamel Burgundy was close.


It is close, but after setting the nose cone base close to the sticker sheet, it is a bit darker.

The red in the sticker will be even lighter when placed down on the painted white body tube.


The closest color I can come to was spraying over the burgundy with the Ace Banner Red. 
The Banner Red is a little transparent and allows some of the darker Burgundy to show through while lightening the shade. The red adjustments was done after the wrap sticker went on the upper tube and could be compared in place next to the nose cone shoulder.

Look at some finished Initiator builds online and you can see others have had some problems color matching the red on the stickers.