Monday, June 7, 2021

FlisKits Space Raider Build, Finished


After all was glued up, the entire model got a few good shots of Krylon UV Acrylic Clear. Home printed card stock ink can run if it gets wet.

A tip of the hat to Jim Flis for drawing it up and making it available.
This was a nice change from typical three fin nose cone models!

In a comment, Naoto Kimura posted another link to the original patterns and instructions on the S.O.A.R. club site: CLICK HERE     

The shroud sides tend to dip a little in at the flat centers, nothing to worry about. The finished model seems very strong for a 110 lb. cardstock body. It's got a wider fin span than you would think.

I didn't cut the launch lug off at an angle to match the body side.

I have launched the Space Raider once with a Estes B6-4 motor.
It was very stable flight with a full deploy of the small parachute. 
This could also be a good model for the nearby soccer field launches. 

High drag? Sure, but it's so cool, who cares! 

Sunday, June 6, 2021

FlisKits Space Raider Build, Part 10, Longer Nose Cone


My first nose cone didn't quite match up to the body shroud.
Everything else fit fine, my construction or home print could have been off.

I drew up a longer nose cone.


The Space Raider fin cover skins and slightly longer nose cones are on a PDF I drew up. 
There are three nose cone prints on the second sheet. These are difficult to form so you might need a second or third try. 
Patreon supporters can request the additional PDFs. Email me at oddlrockets@bellsouth.net and ask for the Space Raider PDF.


After the nose cone was formed, some extra glue was rolled over the glue tab with a Q-tip.

The nose block was pulled from the first nose cone.
I marked the four sides at the glue contact points.

Rotate the nose cone and check the alignment of the block before the glue dries.


Here's the longer nose cone. Not perfect but much better than the first try.

Saturday, June 5, 2021

FlisKits Space Raider Build, Part 9, 9" Parachute


The instructions suggest a streamer, but I went with a small parachute.

I started with an Odd'l Rockets 12"chute.
Reinforcement disks were placed towards the center along the white circle band.


After all six disks were in place,
The sides of the chute were cut with a knife and straightedge just below the new disks.


The new chute - 


With the shroud lines attached. 

An elastic shock cord was tied onto the Kevlar line from the engine block. The 9" chute packed easily into the BT-20 interior tube.

Friday, June 4, 2021

FlisKits Space Raider Build, Part 8, Base Shroud


In this picture the model is flipped over, upside down.

Apply a film of white glue over the widest outside tab.
Press onto the shroud edge. Both the shroud edge and glue tab are even.


Try a dry fit here before using any glue.
Apply glue to the two remaining tabs and slide into position. The inside tab root edge corner is even with the trailing edge of the fin.

Long tweezers help hold the tab in place while the glue sets up.


After all four base shroud pieces are in place - 

The shroud sides that contact the fins get a glue fillet using white glue. White glue dries clear. Yellow glue could stain the shroud print.


Here's the completed base shrouds in place. With the base shroud pieces glued on the model is very sturdy.

Notice there is enough BT-20 tube extending out the back to allow for a simple wrap of tape to retain the engine. An engine hook could have been used on this one.

Thursday, June 3, 2021

FlisKits Space Raider Build, Part 7, Base Shroud


This shows the Base Shroud from the Jim Flis PDF.


It was probably an error on my part, I couldn't get the base shroud to fit properly. I thought maybe the if the fin slots were longer it could slide it higher into the shroud body.

I extended the length of the fin slots but still couldn't get the shroud to comfortably fit.


My redraw was four separate pieces.

I'm offering the redrawn base shroud and slightly longer nose cone (to Patreon supporters) as additional fits to the original shroud templates. They might come in handy if your build fit is a little off.


Here's one of the pieces with the tabs folded up ready to be glued on.

Wednesday, June 2, 2021

FlisKits Space Raider Build, Part 6, Nose Cone Forming


Score the nose cone fold lines before cutting it off the sheet.
Sometimes it helps to form the tight folds down the edge of a ruler.


TIP: Try using very little glue when gluing together cardstock pieces. Apply some glue, smooth it so a film of glue remains. Be sure you have some glue over the entire tab.
Long tweezers can help hold the sides together while the glue sets up.

The second picture is a dry fit of the nose block. Don't push it in too much, the round block can bow out the card stock.


I did a dry fit of the body cover shroud.
The leading edge of the fins ended up a bit wide, the shroud didn't slide all the way down onto the notches.

I went back and sanded the sides of the upper fins for a better fit.


Here's the fit of the nose cone.
There was a slight gap, my nose cone didn't meet up with the body shroud edge.

I drew up another nose cone, just a little longer. The slightly longer nose cone is on the PDF, available to Patreon supporters.

Tuesday, June 1, 2021

FlisKits Space Raider Build, Part 5, Body Shroud

The body shroud is made up from two separate halves.

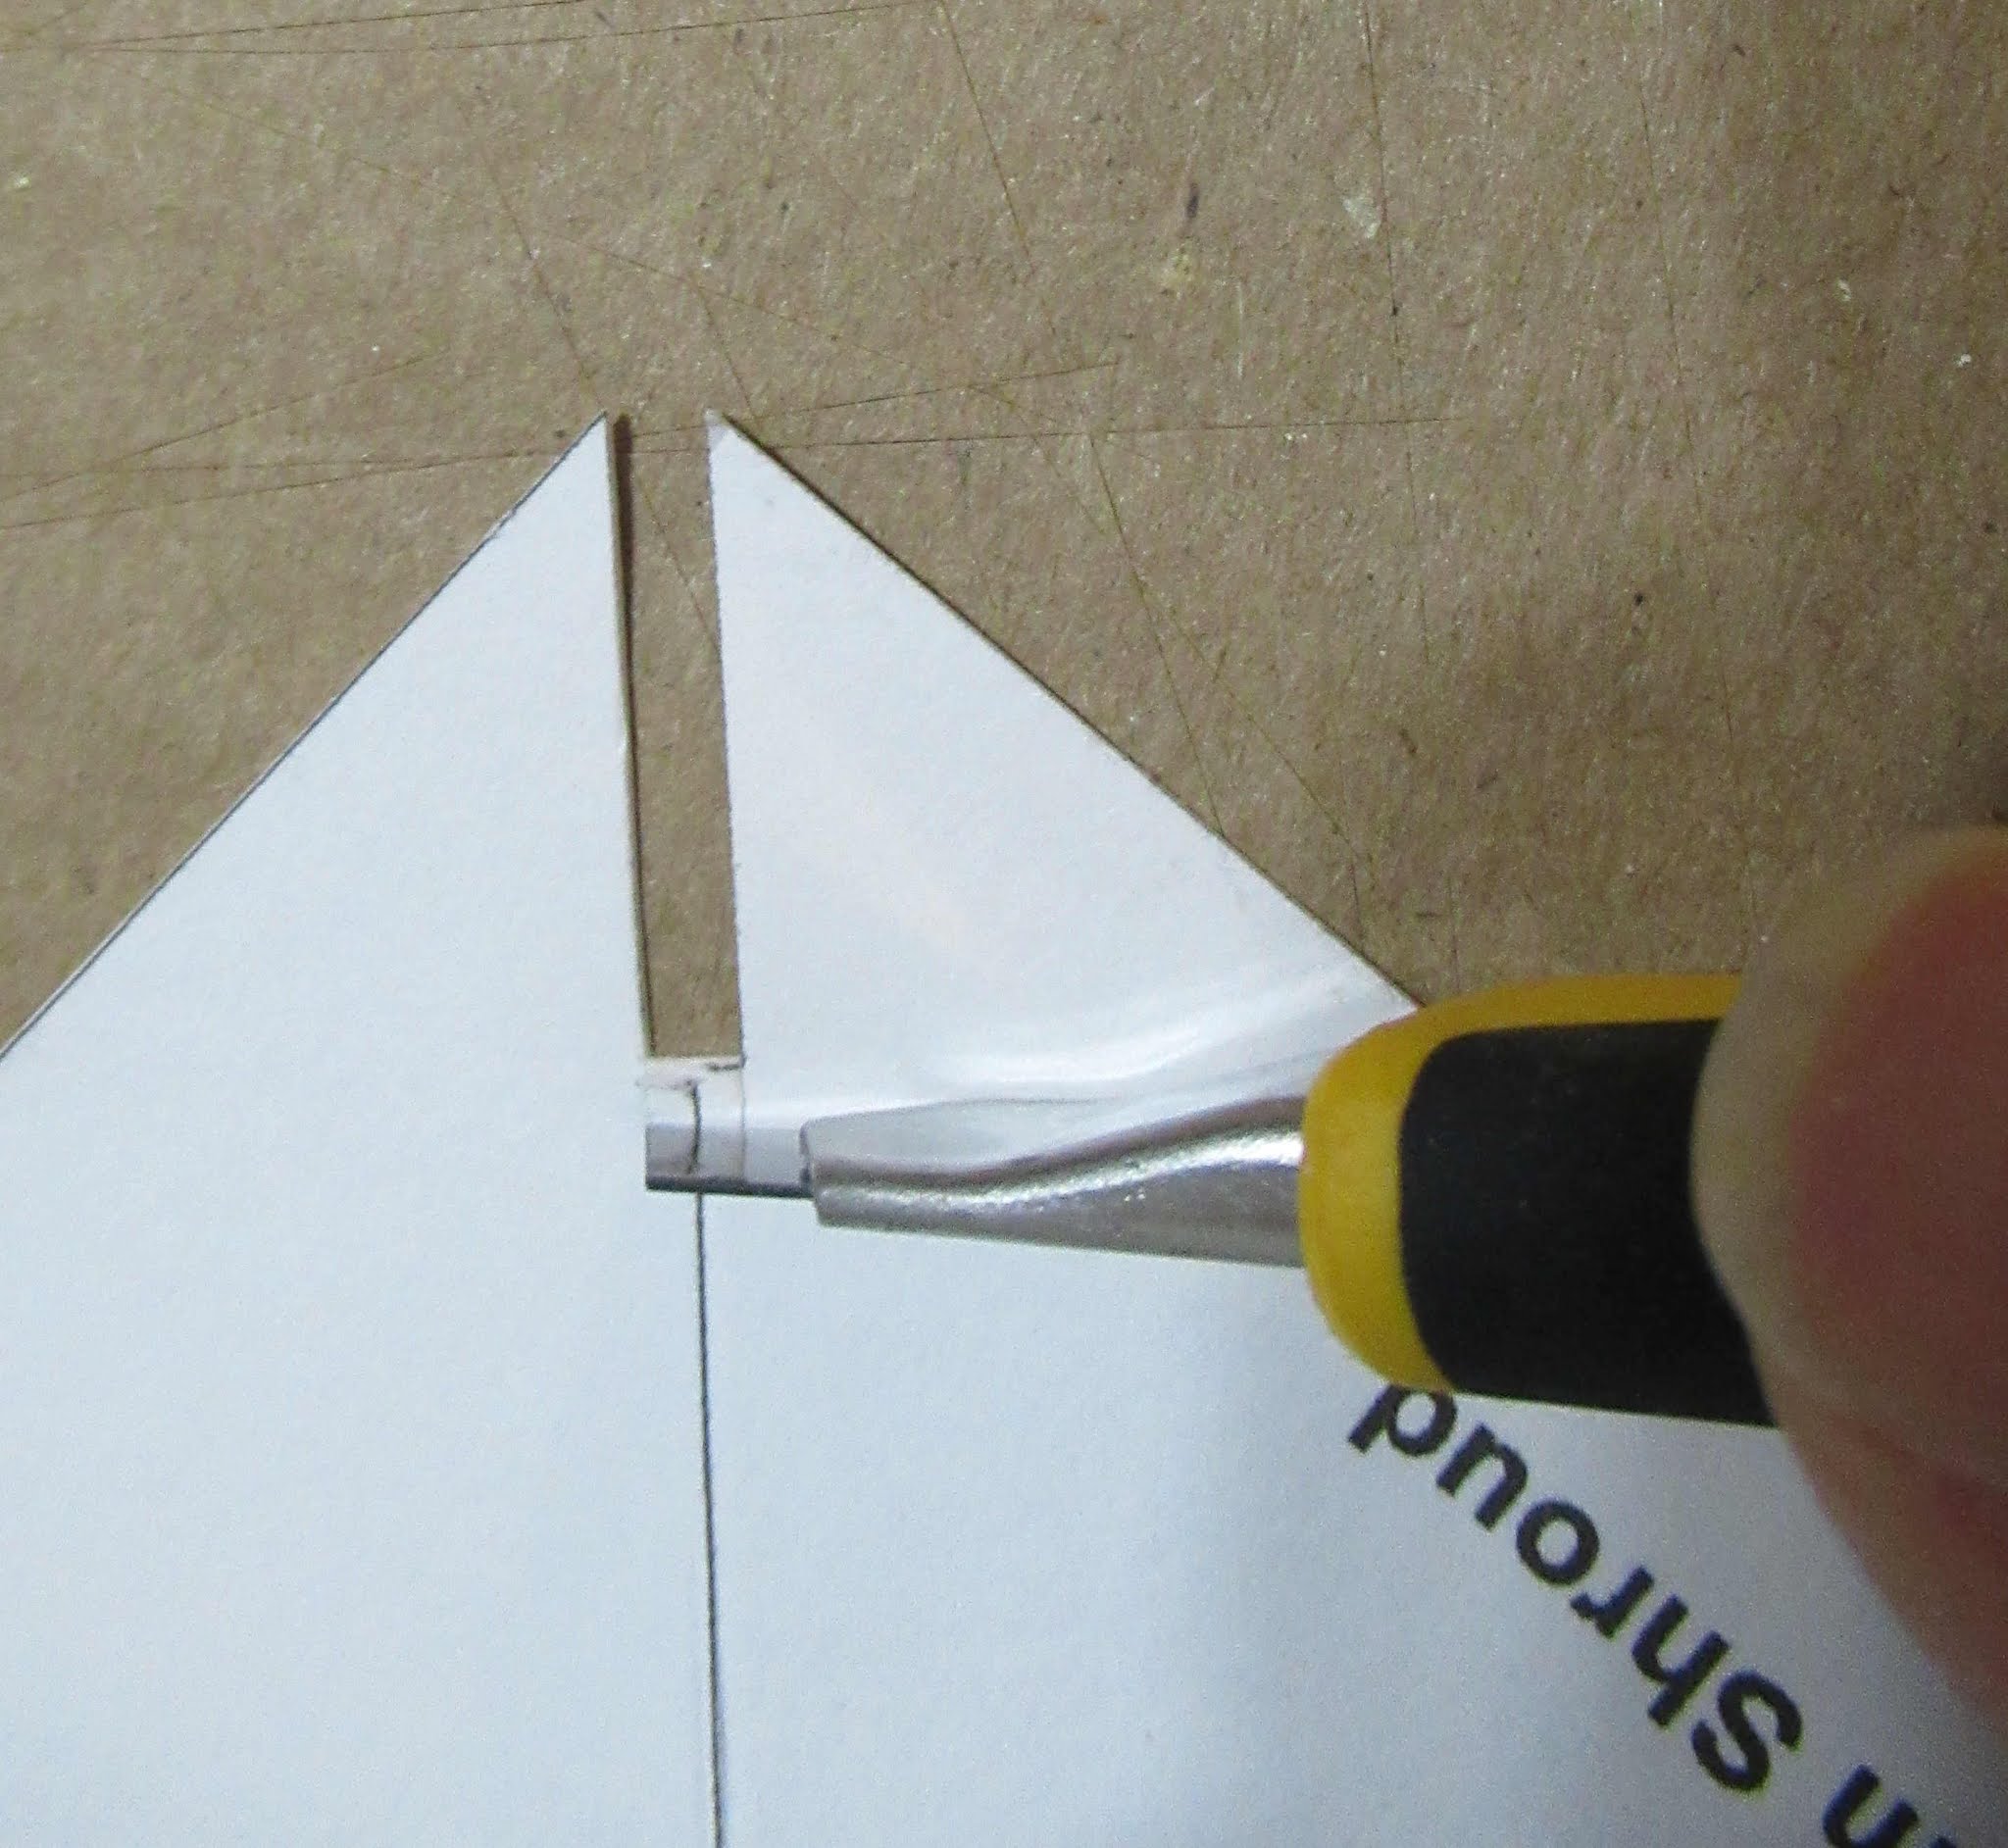
Before cutting out the pieces, score (emboss) down the fold lines.
This "butter knife" method goes back to the old Estes Saturn 1B instructions.

Emboss a line down the fold lines using a knife tip with no serrations. On this knife, the rounded tip is smooth.


It's always hard to cut the tight launch lug relief hole curves with a hobby knife.

TIP: Start the center with a small punch. Continue down the curved side cuts with your knife.  


TIP: Sometimes cardstock folds can crack the ink on a home print.
Keep it to a minimum by gently "coaxing" the fold. Don't do a hard crease at first. Work up to a sharp fold.


The two halves are joined with a glue tab.
Apply light white glue to the tab. 
Butt up the corner lines and burnish smooth.