Saturday, August 6, 2022

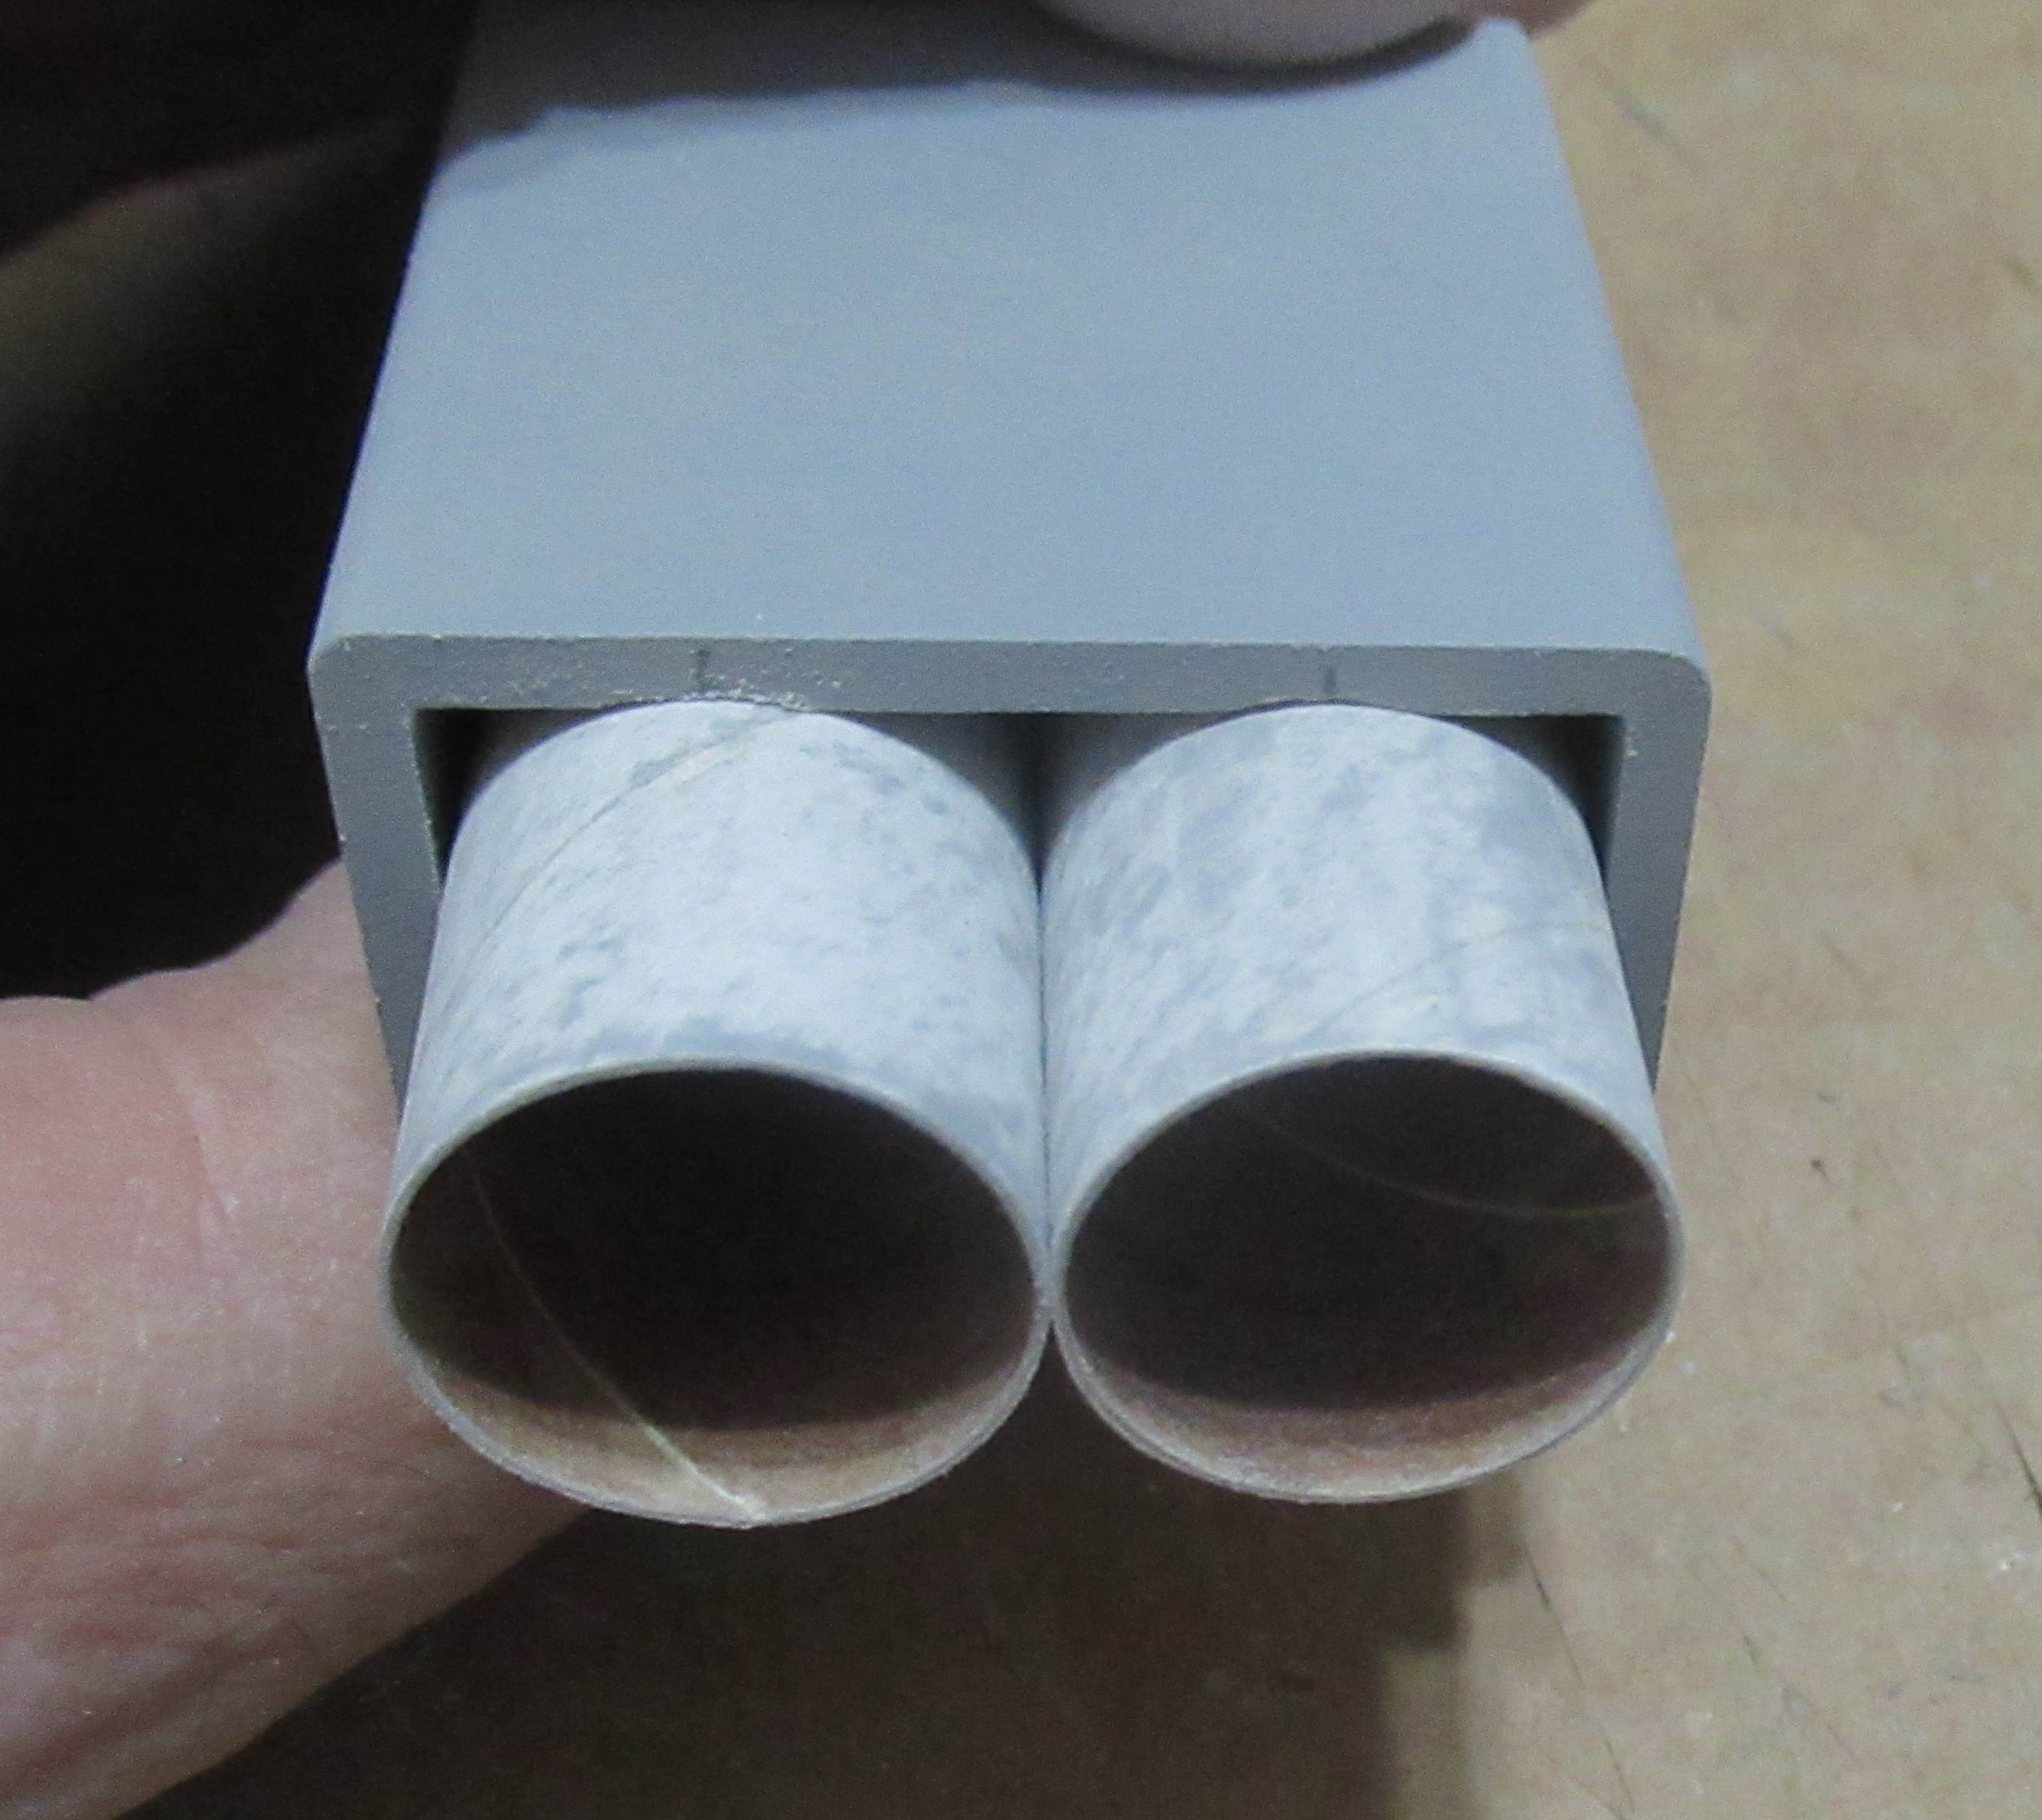
Estes Super Orbital Transport Build, Kit #7314, Part 11, Glider Nozzle Shroud Forming

The flat outside face of this 20/50 nozzle support ring will visible on the finished model, even with the end of the BT-50 Orbiter body.
Sand the outside face smooth with 400 grit on a block.

TIP: You can "seal" the ring face with a light coat of wood glue and lightly sand again when dry. Sealing a rough surface like this gives you a more even paint coverage. The paint won't soak in if the surface is sealed.

TIP: As I always recommend, scan and make a few practice copies of the shroud. Form a few and pick the best one for the build.

Cut the flat sides with a straightedge and knife. Cut the rounded sides with scissors for a smoother arc.

TIP: Run a fingertip over the curved sides and you'll probably reel some high and low spots. Run some 400 grit over the sides to smooth them out.

Pre-form the shroud in the heel of your hand with a clean dowel.
Press into the shroud with the dowel in an "arc" shape shown by the arrows.

You might need a little more pressure forming at the ends to get a complete full circle shape.

Friday, August 5, 2022

Estes Super Orbital Transport Build, Kit #7314, Part 10, Gluing Elevons


The glider elevons (Part FF) have an angle sanded on the gluing edge.
Use a 220 grit sanding block while checking the angle with Part GG.


Here's a glued on elevon.
The edge fit is good but is tough to get perfect.


Any open joint seams are filled with CWF and sanded with a 400 grit block.

Thursday, August 4, 2022

Estes Super Orbital Transport Build, Kit #7314, Part 9, Glider Wing Dihedral Angle


GOTCHA: This was a pre-production kit, any mistakes in the instructions are taken care of before being available for sale.

The Glider Marking Guide was too wide.

It's a simple tube to mark, two lines on opposite sides of the BT-50 tube.
I'd recommend using 220 grit on a sanding block to get the correct sanded angle on both sides of the inside wing edge.

Mark with the side of a pencil, darkening up the flat edge. As you sand, you'll see the contrast between the penciled flat edge and the sanded lighter bare balsa. 
Sand and check, sand and check. You should be using a sanding block for this type of angled edge.


The two wing sides are glued together.
The picture shows a good fit between the two pieces. 
The cardstock "P" piece is underneath the right wing half.

Wednesday, August 3, 2022

Estes Super Orbital Transport Build, Kit #7314, Part 8, Wing Tips & Engine Housings


The wingtips are glued on, here shown upside down.

After the glue dries, CWF filler is brushed over the tab/notch seams.
I chose to sand off the tabs and leave the notches filled on the wings. While it's easier to align the engine housing sides using the cut slots, it takes much more work to fill the tabs that usually end up beneath the surface of the open slots. 
Oops! I did run into a problem  - of my own making. I probably sanded off too much!
Sanding down the tabs may have slightly lowered the height of the engine housings. The BT-20 jet tubes wouldn't comfortably fit under the housing assemblies.
I wrapped 400 grit around an engine casing and sanded a very shallow dip in the top surface.


In the picture above - those little dots help me keep track as I assembled three kits. The marked pieces all came off the same balsa sheet. 

The finished look is good. Those subtle dips under the top piece aren't noticeable.

Note the right and left rounded corners of the engine housing.

Tuesday, August 2, 2022

Joe Barnard Lands It!

Vertical launch and 
 Vertical landing! 
CONGRATULATIONS JOE!
Seven years and success! The above picture shows the moment of touchdown.
Watch the entire video to appreciate the dedication that went into this project.
To see the video: CLICK HERE

Estes Super Orbital Transport Build, Kit #7314, Part 7, Main Wing Extensions

Another example of parts fitting.
On the left, the laser cut edges before squaring up the wedge burn.
On the right the front edge of the wing and "W" Extension Piece fairing sides were sanded. 

The instructions have you glue the extensions on after the wing is glued to the body tube. I chose to glue them on now to save any alignment and seam filling concerns later on.
Before gluing on the "W" extensions, 
Round the leading edge of the the forward extensions first.
Right side picture: Glue in place on the square forward edge of the wing.
After the glue dries, round the wing leading edge feathering into the already rounded edge of the "W" Extension Piece.


Here's a clean look at the wing with the notches left in and the two filler strips set between the two piece wing.

Monday, August 1, 2022

Estes Super Orbital Transport Build, Kit #7314, Part 6, Rounding the Correct Edges

Before you sand or glue up the assemblies - plan ahead. The instructions aren't very clear as to which balsa edges should be rounded.
   
GOTCHA: Part Ns have the longer outside walls (Right and Left sides) of the bottom engine housings. The instructions say "Round Top Edges"
ONLY ROUND THE ANGLED FRONT EDGE. Look close at the drawing on the left. It shows the top edge rounded - LEAVE THE TOP SQUARE. 
The shorter center "O" piece also has the just front angled edge rounded.

GOTCHA: Jumping ahead to Page 6 - The Glider rests on the two Part X pieces. The instructions say "Round Top Edges". Again, only the front edge (ahead of the arrow) should be rounded. The top edge remains square.


Here's a before and after showing a rounded edge. 
Check while looking from the (bottom) root edge to be sure you have an even round edge.


The tip of the Wing Extensions (Parts W) has the sides rounded, shown on the left side picture.

After the sides are rounded, knock off the square top with some 400 grit, shown in the right side picture.