Thursday, May 16, 2024

Estes Condor #0807 Build, Part 19, A Quick Re-Spray

I found this design difficult to get good coverage on all surfaces. When trying to spray one area you get a light misting on other areas. This can result in a duller finish.

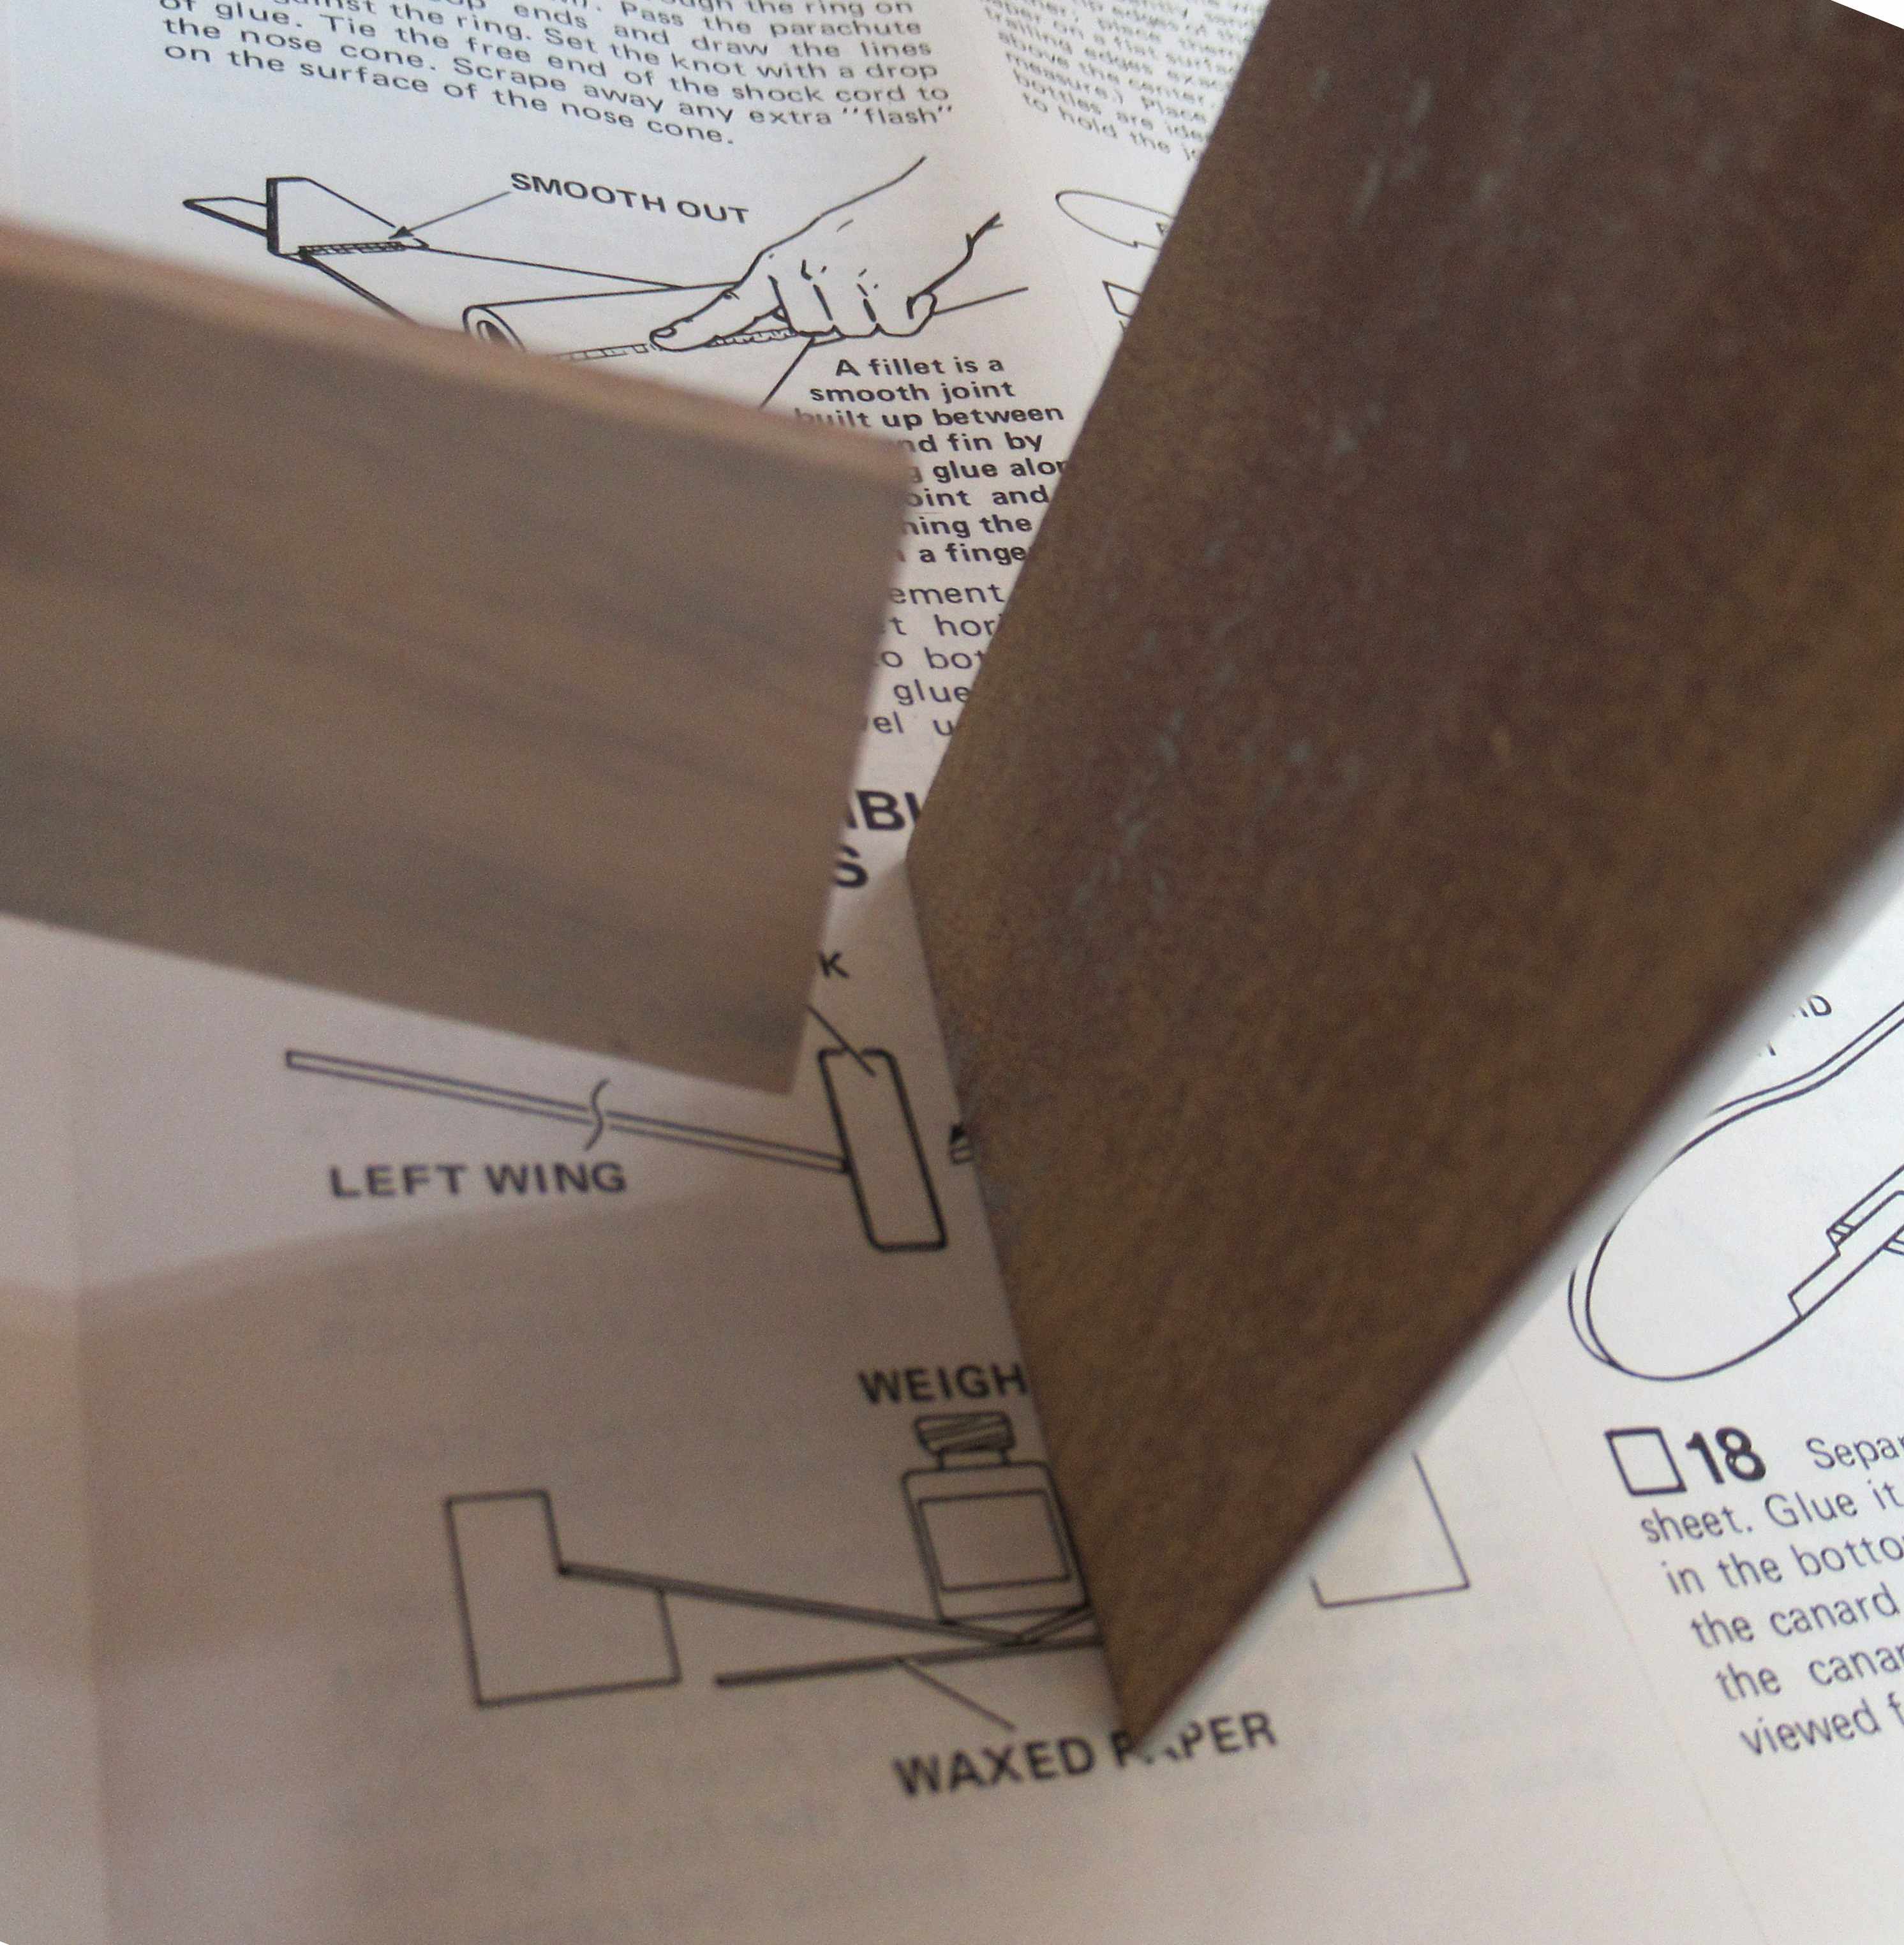
On one wing plate I had to go back and re-shoot some white. The picture shows the mask so paint would only cover one flat outside surface. 
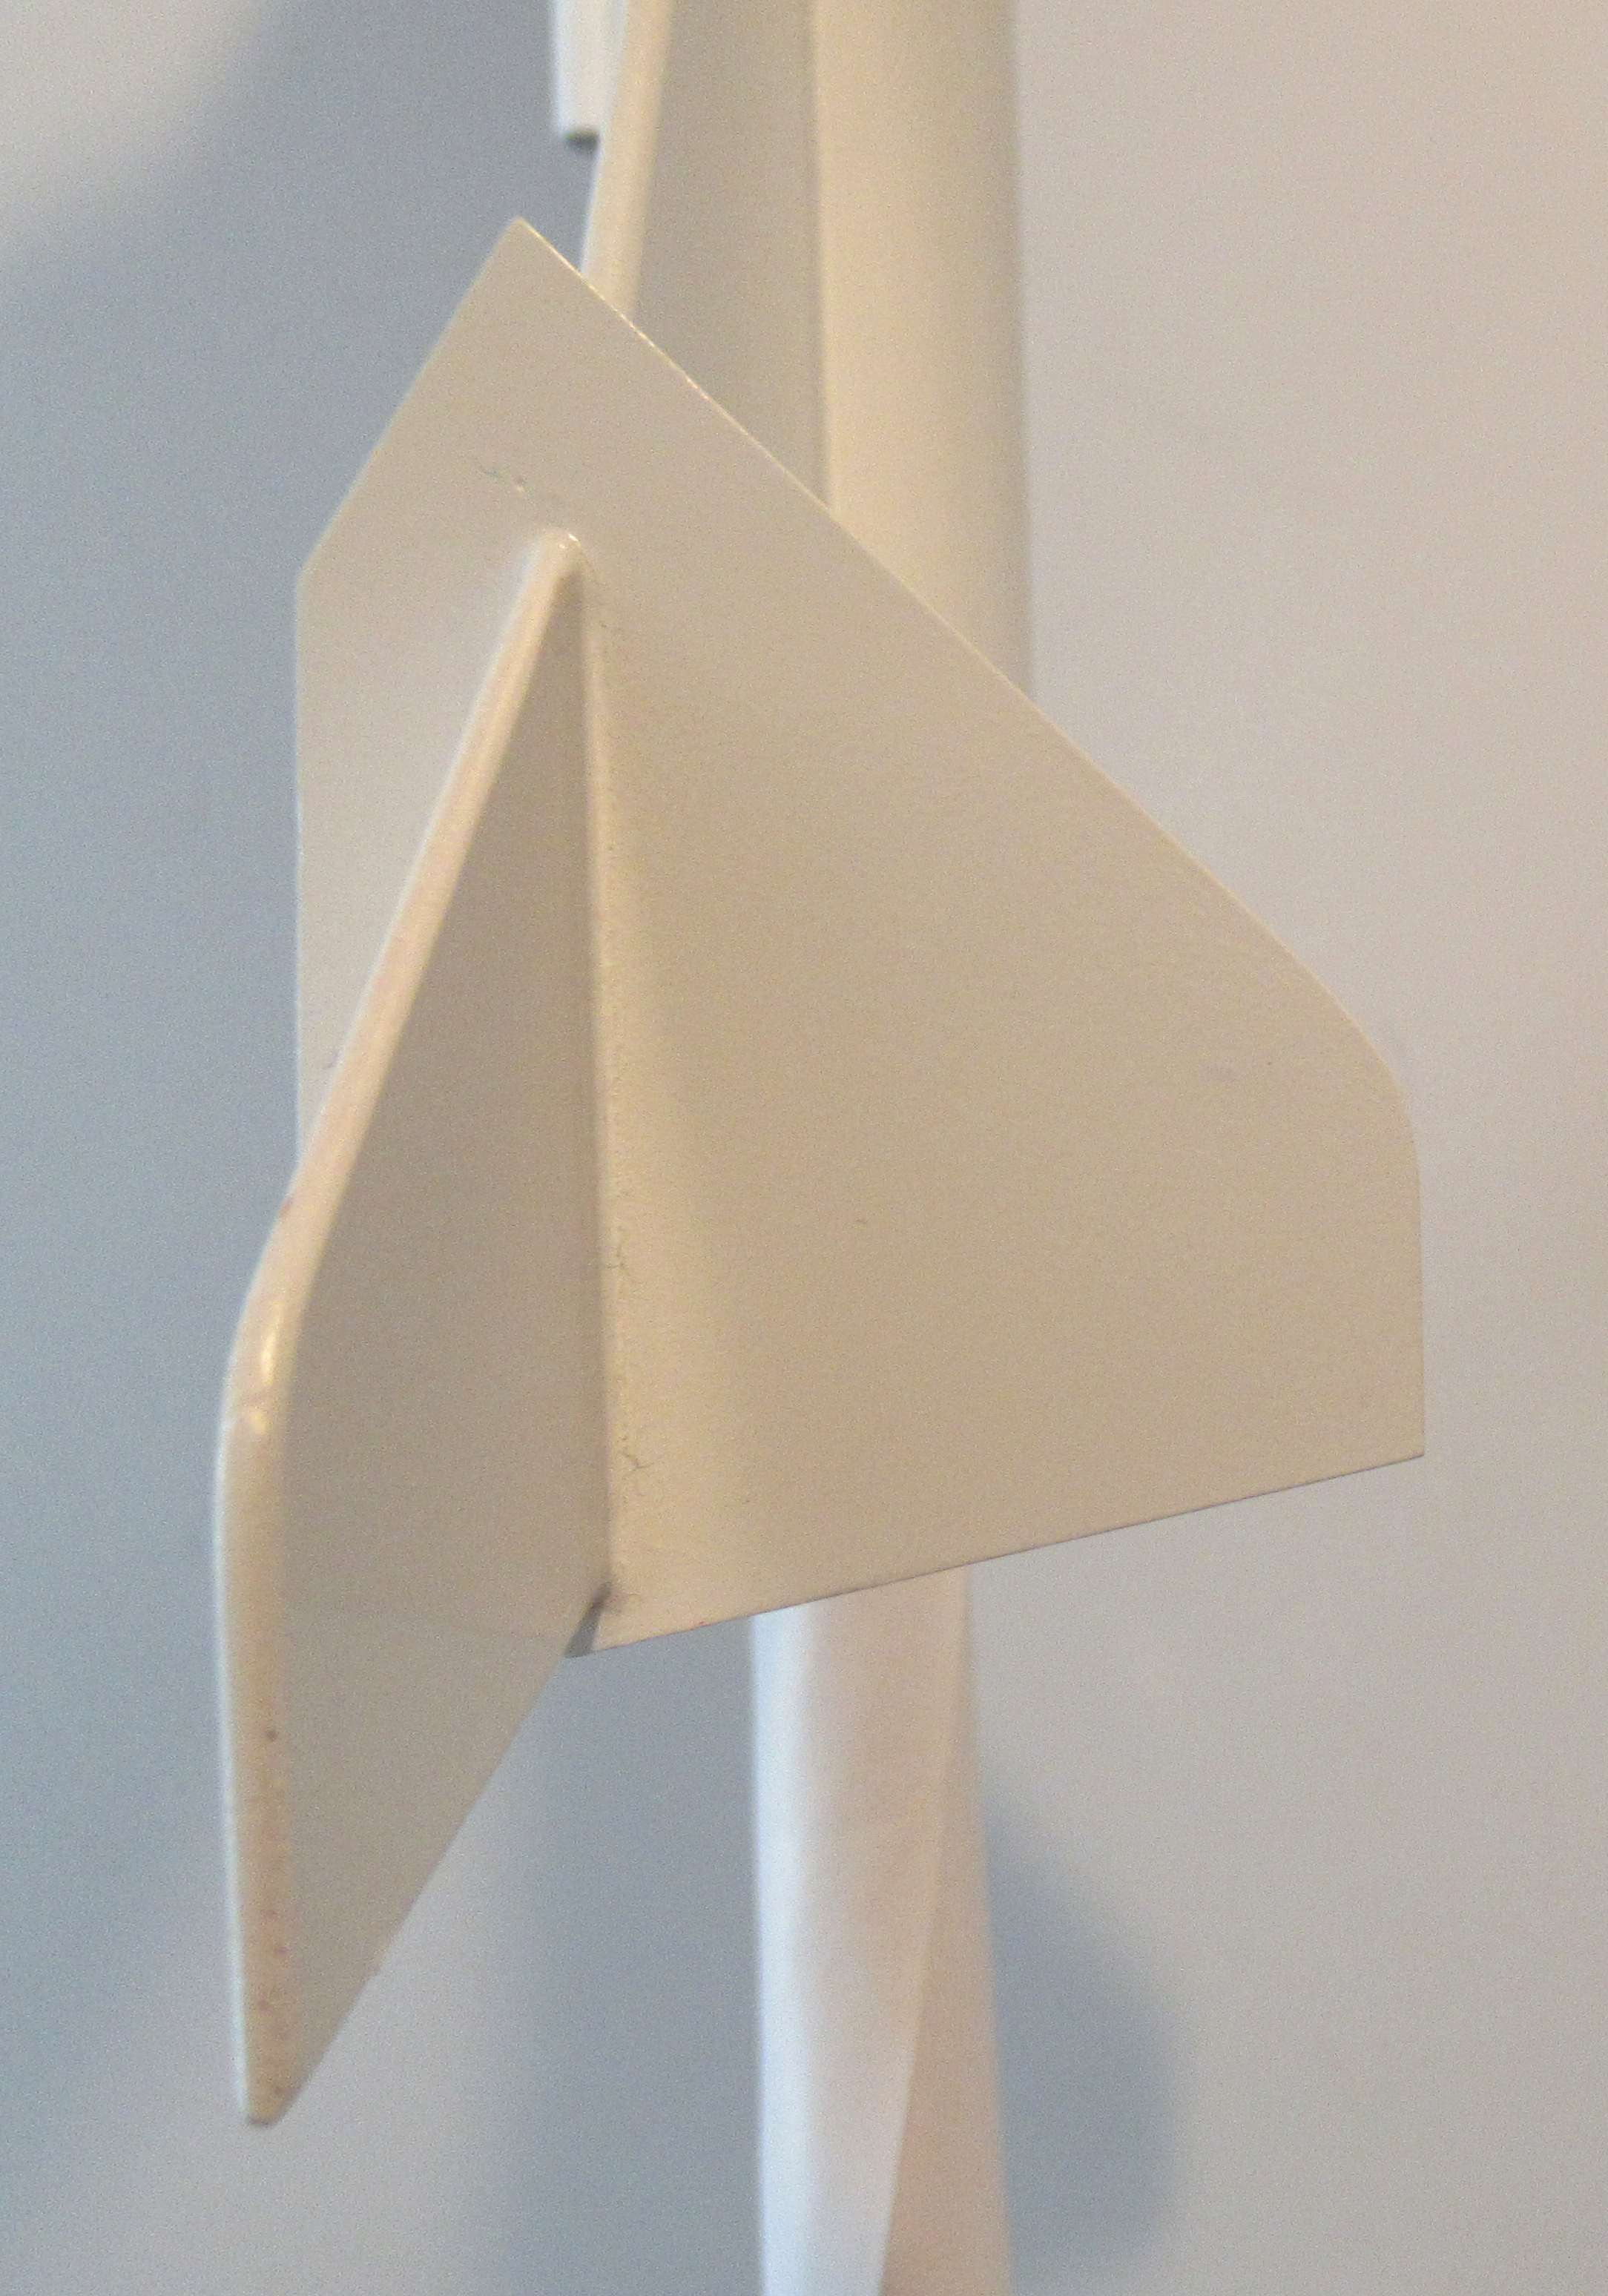


When spraying the same color, you can mask right at the root edge. It won't be seen after the tape is lifted.

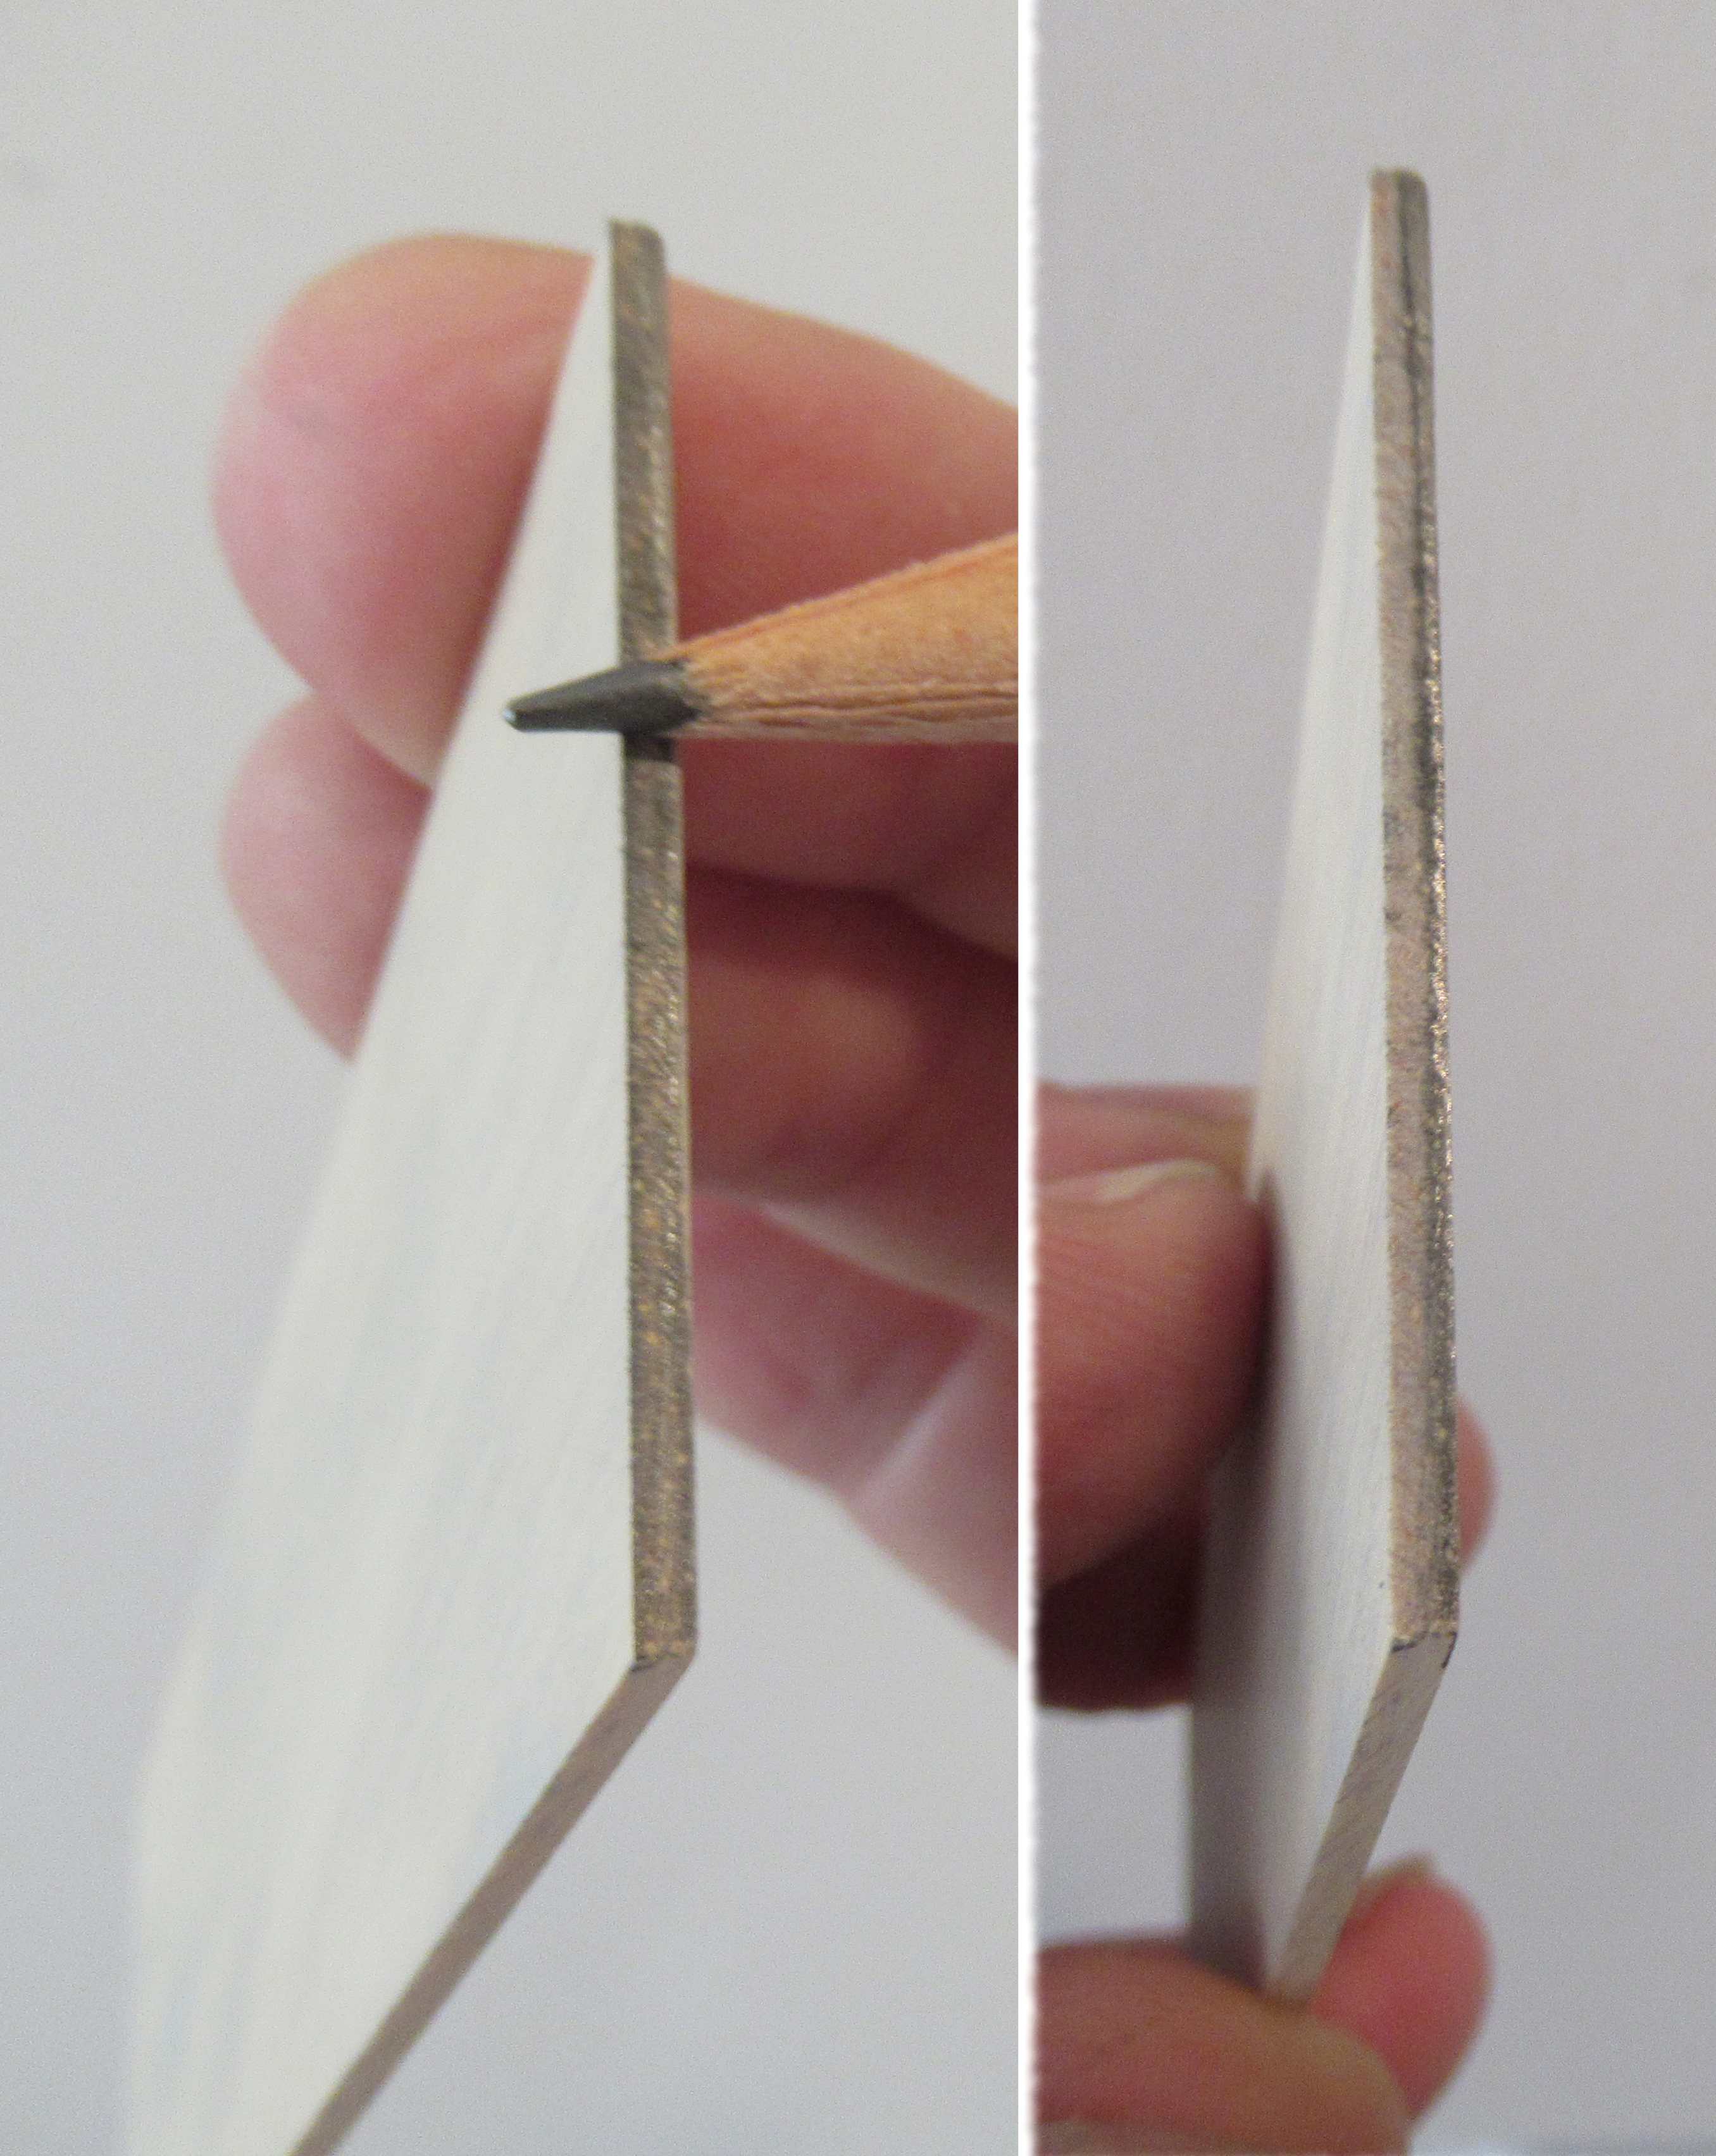
In the left side picture above you can see a grayish dot on the wing plate.

This second spray of gloss white covered this marking.

Wednesday, May 15, 2024

Estes Condor #0807 Build, Part 18, Glued Up, Ready For Paint


The glider is ready for gloss white paint!

I'm hoping that it'll get a decent glide with the weight of a opaque gloss white.


Here's the glider hooked onto the booster.

This is one of those designs with lots of inside edges - tough to get an even spray coat over all the surfaces.


I pushed a dowel painting wand into the BT-5 motor mount. 

It was loose so a wrap of masking tape over the engine hook held the dowel without any spinning while painting. 

Tuesday, May 14, 2024

Estes Condor #0807 Build, Part 17, Fitting The Wing


On the left - 
The V tip of the two wing pieces leave a small gap at the fuselage notch.
Looking at the back, the wing overhangs the rear of the fuselage.


By slightly sanding the "V" tip, 
it closes the small gap at the front and moves the wing forward. The back of the wing is now even with the tail end of the fuselage.


I drew a pencil line down the center of the canard for gluing alignment.


The dowel is glued into the notch at the front end of the fuselage.


Check the instruction drawing below - 

On the left is how the tip plates will glue onto the outside edge of the wing.
On the right - I sanded the outside wing edge to get the tip plate to the correct angle.
Here's what I was going for - 
This illustration is from the instructions in the countdown checklist. It probably should have been brought up in Step 20.

Monday, May 13, 2024

Estes Condor #0807 Build, Part 16, Gluing Up The Wing Dihedral


I taped the dihedral guide pieces to my work surface. Otherwise the thin cardboard pieces will flop and fall under the wing halves.

After the glue dried there was a small gap where the two sides meet. This is on the bottom seam of the "V" shaped wing.

Some CWF filler was ran down the seam and sanded.
Filler/primer was shot down the center filled seam only.


The bottom of the "V" was carefully sanded.

The wing is ready for fitting under the fuselage.

Sunday, May 12, 2024

Estes Condor #0807 Build, Part 15, Gluing Up The Glider


The stabilizer is glued onto the fuselage.

Do your best to center the thinner piece on the thicker stock fuselage.


The wing panel root edges should be sanded to an angle for a stronger glue bond.

I mark the edge with a soft pencil so I can tell what has been sanded.
On the right side, I'm about half done sanding the angle, you can still see some pencil marking left.
Sand until the pencil mark is gone. 


I used the instruction illustration to get an idea of the wing edge and sanding block angle.

The wing half is on the left, the sanding block is on the right side.
The dihedral guides are on the back of the face card. I didn't want to cut up the face card.

I extended pencil lines and transferred those onto some thick cardstock. The cardboard was cut out for the next steps.

Saturday, May 11, 2024

Estes Condor #0807 Build, Part 14, Vertical Stabilizers & Wing Tips


I found myself referring to the face card picture a few times. These are not a standard fin layout.

This was probably a prototype model, not a production kit.
All wing and wing tips are rounded. The instructions only say to round the wings and wing tips. Even the edges of the glider balsa remain square.


I sanded away a little more of the gluing line. 

There is some 400 grit rolled around a Q-Tip.


Here's the vertical stabilizers in position. 

I haven't sanded the glue line on the outside surfaces yet.


The wing tips are glued in place.

On the right - 
Notice the leading edge of the wing tips are a continuation of the large wing leading edge.

Friday, May 10, 2024

Estes Condor #0807 Build, Part 13, Launch Lugs & Standoff


Two of the three launch lugs are glued onto the top of the body tube at 2 1/2" and 6" from the rear end of the tube.

I went "old school" and placed the lugs by sighting down the tube.


The glider requires a balsa standoff to hook onto the booster.

Cut the balsa standoff a hair long. Center and glue it on the lug. Sand the overhanging balsa to the length of the lug.


Here's the lug and standoff after CWF and filler/primer.

It's glued on the top side of the tube 4 3/4" from the rear.