Tuesday, July 15, 2025

Estes Mini Bomarc Clone, Kit #TK-5, Part 9, Gluing Together The Nacelles


Draw a pencil line down the Nacelle tube.
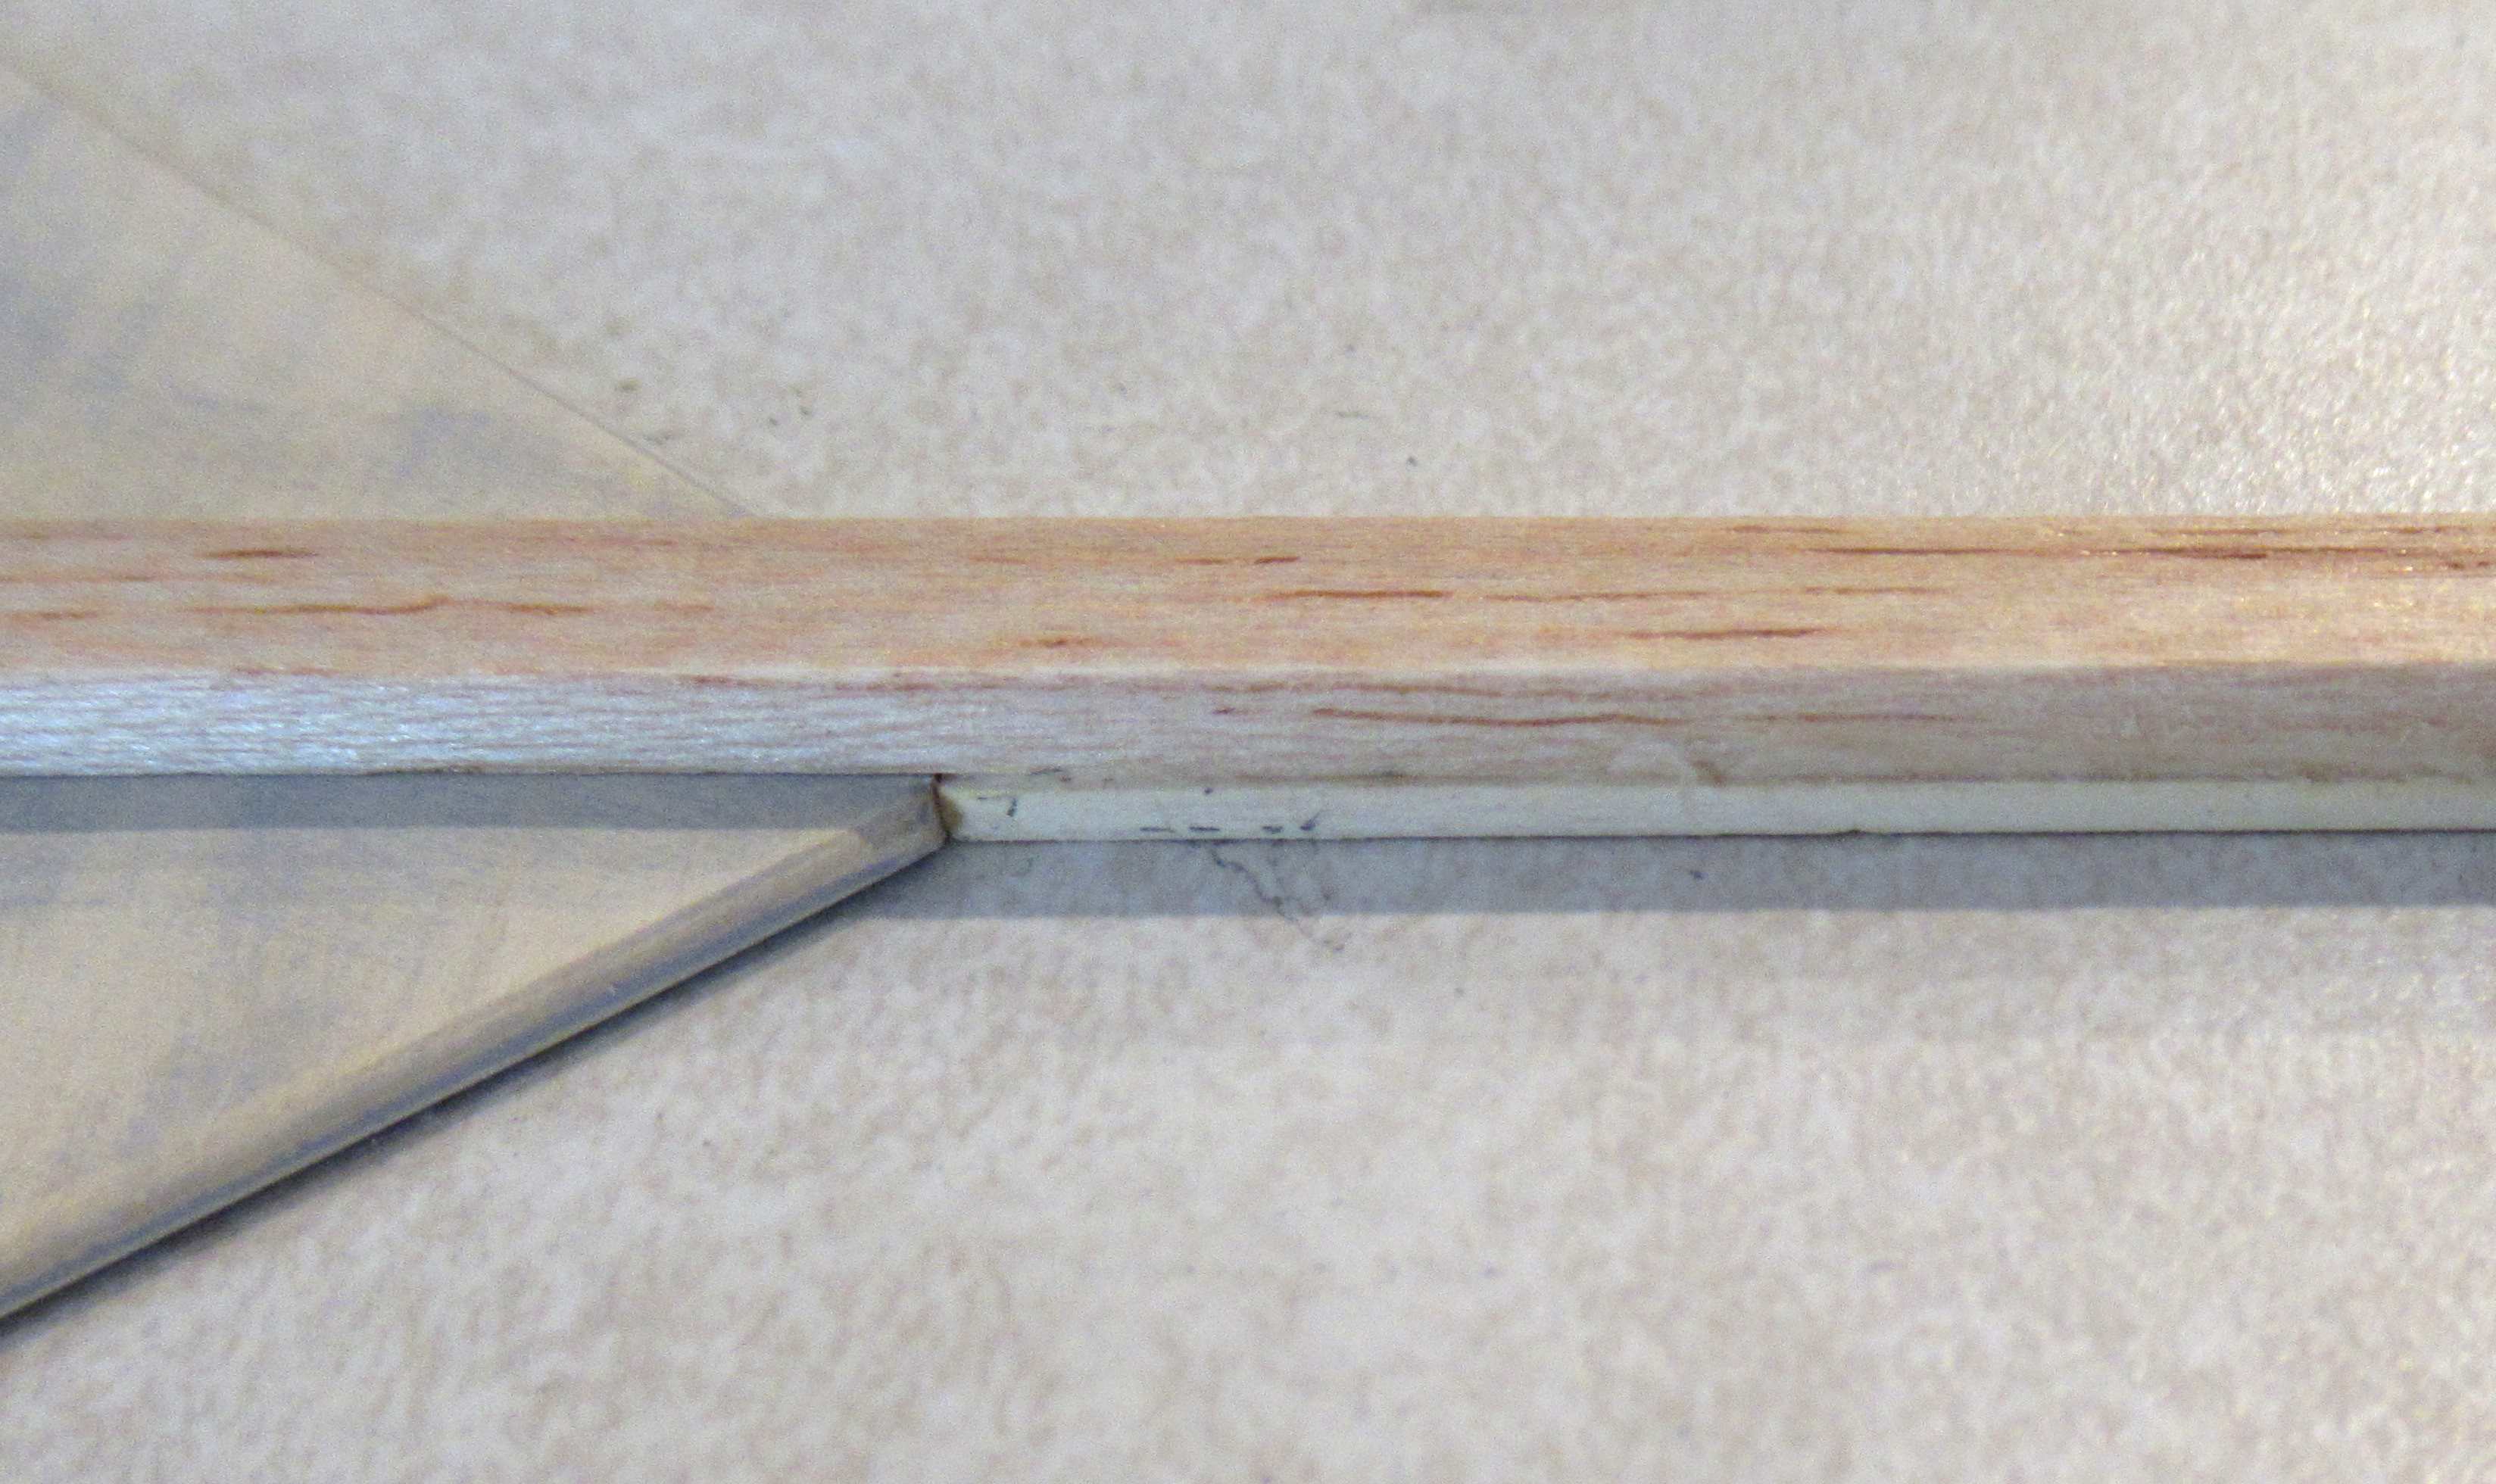
Glue the P1 support pieces onto the line, even with the front end of the tube.

The picture on the right is a dry fit (no glue) of the nacelle nose cone.
 

Before gluing in the nose cone - the fit could be better. 
Slide in the nose cone, not quite against the body tube.

I folded up a piece of 400 grit and lightly ran it around the gap between the nose cone and body tube. This will clean up any rough shoulder and give a closer joint.
The print of the instructions marking guide wouldn't fit around the BT-20 tube.

I went to payloadbay.com and clicked on "tools".
Click on "fin wrap tool".
I entered a three fin BT-20, just to get the correct width of the tube diameter.

I dropped the scan into Corel Draw and blew up the original fin marking guide to the width of the payload bay image. The "Nacelle" and "Top" lines were extended onto the correct wrap diameter.
 

Monday, July 14, 2025

Estes Mini Bomarc Clone, Kit #TK-5, Part 8, Raceway Buildup


The stabilizer is even with the end of the body tube.
The raceway sits on top, 1" from the end.

These are still dry fittings, don't glue the raceway on yet.


The front of the raceway overhangs the front end of the body tube.

Cut it off even and sand flat.


With the raceway off the body, it's easier to form the ends.

With a sanding block, shape the side profiles first.
then round down the top.


Then round the sides.

Smooth things out with 400 grit over your fingers.
For a better fit over the round tube, I sanded a slight dip into the underside.
400 grit was wrapped around a BT-5 tube and the underside was sanded. Don't sand to a perfect fit, the raceway still needs to fit over the wing and stab.

I used a smaller tube than what it will be glued to. This can make for a better fit.

Sunday, July 13, 2025

Estes Mini Bomarc Clone, Kit #TK-5, Part 7, Raceway Buildup


Step 7 in the instructions have you build up the raceway on the model, then sand the ends "to a point". This is when I steered away from the instructions. I couldn't see how you could sand and form the raceway ends after they were glued to the body.


I taped the pieces down to a countertop keeping all in line.

See the next #8 post to understand why. 


This is the rear R1 piece pressed in between the wing and rudder. Don't glue the ends to the wing and rudder yet.

Butt the forward R2 piece against the front of the wing, no glue.


Just the top of the raceway (the original kit included a rounded raceway top) is glued to the R1 and R2 pieces. Don't glue the top raceway piece to the wing and rudder, glue only to the R1 and R2 pieces underneath.


Do your best to line up the sides of the R1 and R2 even with the sides of the long upper raceway piece.

Saturday, July 12, 2025

Estes Mini Bomarc Clone, Kit #TK-5, Part 6, Nose Weights


I needed two Estes NCW-1 nose cone weights. I found an single original lead weight in my spare parts drawer.
The older Estes catalogs say one lead washer weighs 0.12 oz. Two would weigh 0.24 oz.

Deep in the spare parts drawer was a few older Semroc NCW-1 weights. One weighs 0.15 oz. There is no center hole for the screw eye.
The Semroc weight is larger in diameter and won't slide into the BT-20 main body tube.


I used a wire cutter to reduce the diameter. 
The lead disk was rounded on some 220 grit sandpaper.

A diamond rat tail file started a hole for the screw eye.
After drilling and shaping, the disk now weighs 0.30 oz. I did some more sizing and got the two lead disks down to 0.25 oz.
The nose cone was from Balsa Machining Service (BMS).
BMS drills out their nose cones for a hardwood dowel. The screw eye is turned into a small hole in the dowel center. This attachment is much stronger than balsa alone.

The fit of the dowel was tight. I sanded the sides a bit, but it wasn't enough.
When pressed into the hole, the nose cone started to split! Some CA glue was run into the split and the gap filled.

Friday, July 11, 2025

Estes Mini Bomarc Clone, Kit #TK-5, Part 6, Downsizing A Parachute

The original Mini Bomarc kit had a 10" parachute. Estes makes a 9" chute, but I didn't want to spend the $4.49 price.

I have a lot of Odd'l Rockets parachutes. I'll cut a 10 chute from one of these.

Mark the center of the chute material. Then, simply mark 5" on either side of the center. Repeat for all six sides.


Make straight cuts, parallel to the 12" dashed lines above. 
Rotate the chute make the next five cut lines.


Here's the 10" chute with the plastic reinforcement rings in place.


The finished chute using #10 cotton embroidery thread for the shroud lines.

Thursday, July 10, 2025

Estes Mini Bomarc Clone, Kit #TK-5, Part 5, CWF Sand & Filler Primer


The old Estes instructions don't mention it,
but I rounded the leading edges of the wing, stab and rudder.

I also rounded the leading edge of the nacelle support. You've got to be careful because of the balsa grain direction.


The balsa pieces were taped down to a piece of cardboard and shot with filler/primer.

Sanding follows.


On the left the nose cone is shown with the CWF applied.
I realized the nose cone was also used in the Estes Stinger (K-53) kit.

After sanding, the filler/primer was sprayed and sanded.


Here's the rudder and stabilizer after the filler/primer was sanded.

I tend to sand down more filler than others might.
The filler/primer soaks into the balsa a bit and still seals the surface if most is sanded off.

Wednesday, July 9, 2025

Estes Mini Bomarc Clone, Kit #TK-5, Part 4, Filling Nacelle Nose Cones


The small (BT-5 size) nacelle intake nose cones are difficult to fill. There are some inside angles that should be sharp and remain round.

On the left - the CWF has been brushed on.
On the right - the CWF has been sanded down and smoothed.


The secret? A good sanding block with 400 grit.

The sandpaper is only on the bottom surface, not rolled up on the sides. You can't sand into the corner of the intake cone at the top.
On the left - the nose cone balsa grain is filled. It a second round of CWF to build up the low areas.
Note the tubes seams have been filled with CWF and sanded.
 
I'd recommend filling all the balsa surfaces before gluing everything together.
It'll be difficult enough to get spray paint into the nooks and crannies.