Tuesday, July 7, 2015

Estes Mercury Redstone #1921 Build, Part 3, Fins B


I used white glue to laminate the main fin halves. Why don't I use yellow wood glue? White glue holds fine.
TIP: Too much glue and things get slippery! You don't want to have the fin sides slip when set under a weight for drying.
Squeeze the bottle and set down some glue. Quit squeezing the bottle and use the nozzle tip to spread out the glue over the surface.


Before setting the fins under a weight (or in a heavy book) be sure the two pieces are in line. I lined them up against the sanding block down the root edges.


After the glue dried overnight, the outside edges were sanded square.
The picture shows the leading edge. After sanding you can see one side was a little high.
As long as the root edges are flat, this doesn't matter. all the outside edges were sanded flat and even.


To double check I used my machine square to make sure the sides were at a 90 degree angle.

Still More Igniter Tips

For me, sometimes the paper retaining tape on Estes igniters is too far down the wires.
On the left is the igniter right out of the package. The inset picture shows the paper slid about 1/8" up the wires. This allows me to make the "U" bends easier.
At club launches I rarely see anybody bending the wire ends to a "U" shape. This bend doubles the micro clip contact. Most micro clips on club launchers are pretty charred up and worn out.
The bend helps with igniter wire contact.
I first saw Bill Gibson mark the paper tape with the engine name.
Below the designation is an "E" for Estes or a "Q" for Quest. The "X" tells me wadding has been installed.

The inset picture shows the wires slightly and carefully spread apart. Sometimes the wires get a little too close when the igniter is slid into to nozzle and bent to the side.
While holding the pyrogen (or new clear goop) between two fingers, the wires are carefully spread apart, just a bit.


Just for extra insurance, a 1/4" wide strip of masking tape was wrapped around the engine and over the engine hook.
On this older 18mm adapter, the engine hook was slightly bent away from the side of the engine casing.

Monday, July 6, 2015

1,000 LAUNCH! Soccer Field, July 5, 2015

BIG launch day for me - 
This was my 1,000 recorded rocket launch since 2009.
I picked my personal favorite, The Doctor Zooch SATURN V with an Estes B6-4 lofting it to 300 feet.

Every flight now is logged in at RocketReviews.com. I probably had another hundred before 2009 but didn't keep an accurate track of them until I started recording them on the Rocket Reviews website.
TIP: Go to RocketReviews.com and register! You'll be able to log your flights while the website tracks your totals, impulse, engine use, flights per model,  average price per flight, motors by class count and per year launch cost!

In 1969 I kept track of the first launches on a legal pad. Who knows where that is now! I had over 500 flights in that book. And with scattered "here and there" launches, the total flight number is probably closer to 1,800.

Notice how even the exhaust smoke is evenly displaced around the new Odd'l Blast! Deflector.


The model did spiral on the way up, not normal for this one.
It landed just on the other side of the fence between two trees.

When I picked it up I noticed it was missing one fin and its fairing.
It might have came off during boost - that would explain the slight corkscrew.
I'd rather have the repair than end up stuck in a tree.


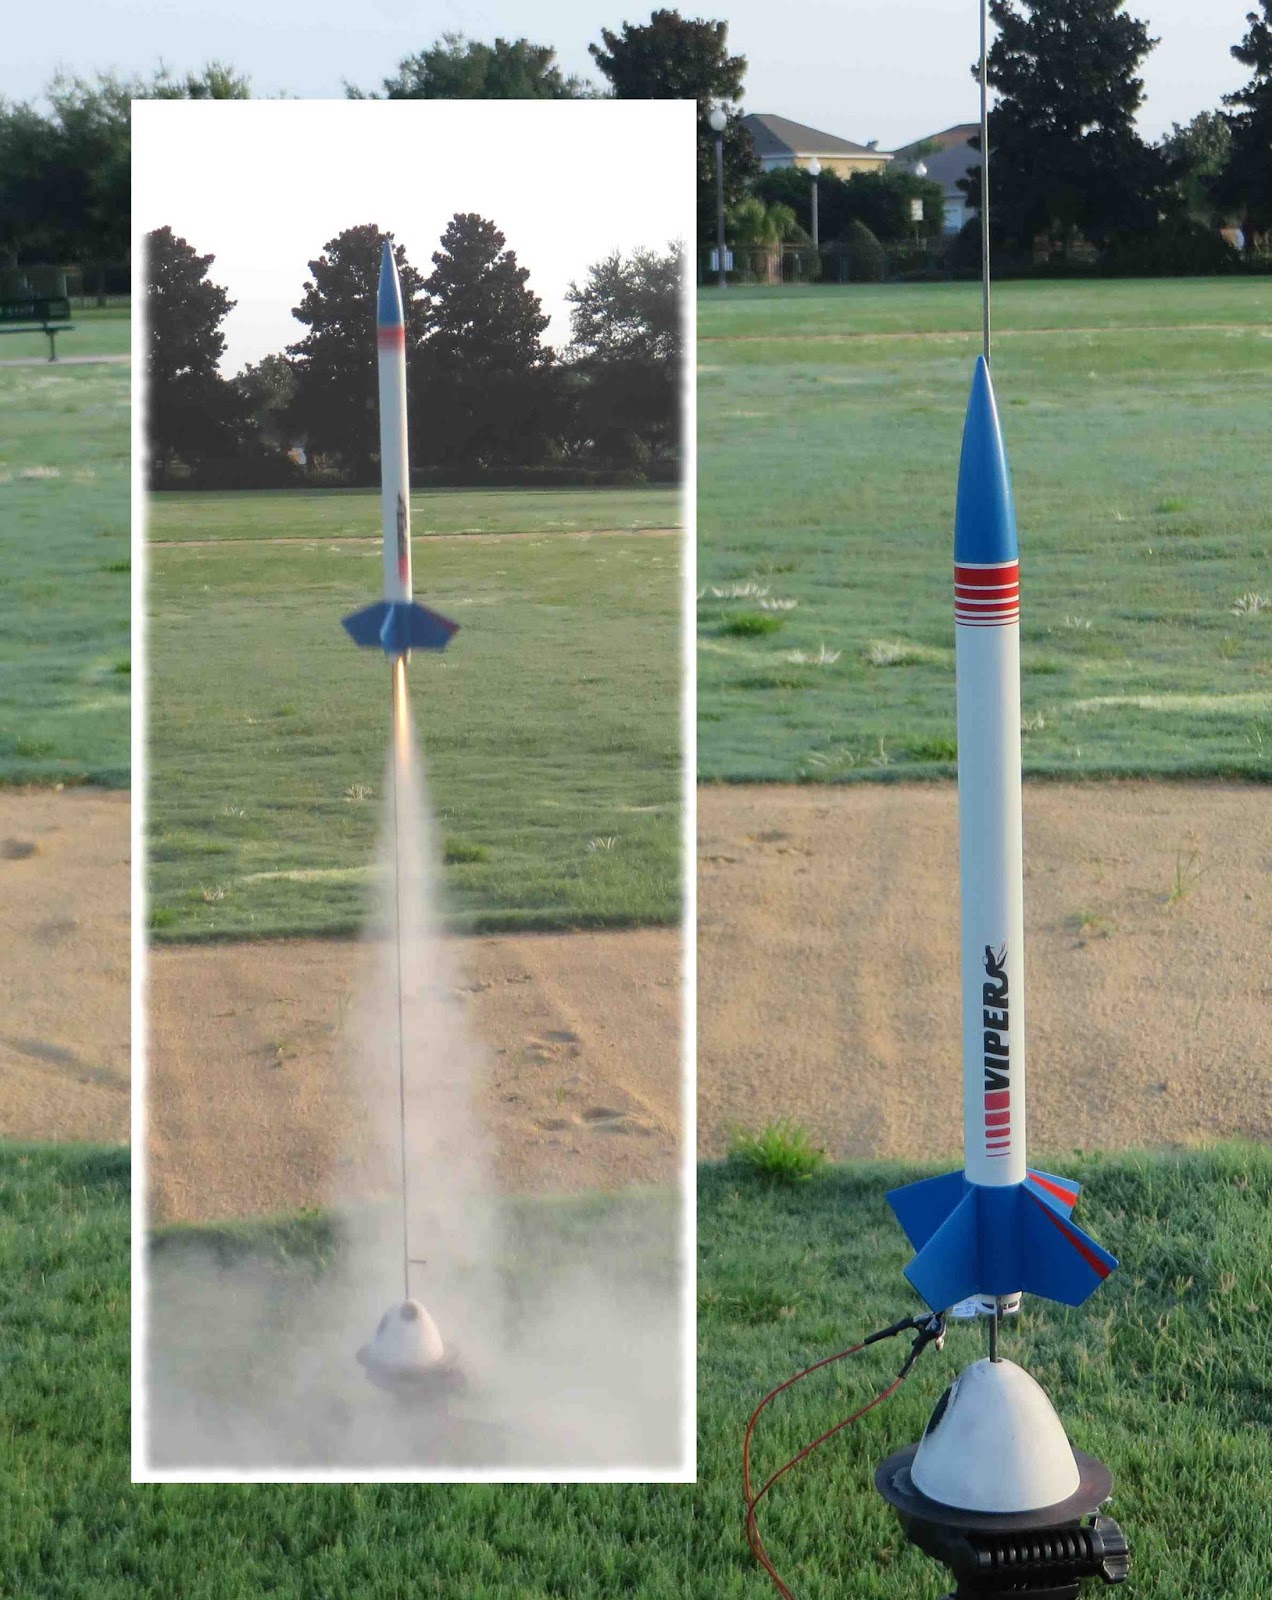
A sturdy favorite, the Quest VIPER had it's 16th flight with the standard Quest A6-4 to an estimated 275 feet.

A textbook flight with soft recovery and no damage.
Here's the new carded downscale out for the first test flight.
The BT-5 based Estes YELLOW JACKET was launched with an old MPC 1/2A3-5m engine.
This one screamed to an estimated 375 feet then drifted under a 10" long streamer.

The inset picture shows the landing area, the parking lot about 200 yards away. It looks like it just wanted to join the party.
Note: I should have tried to print this one darker, maybe on some gloss stock. The gloss black on the nose cone is a high contrast against the lighter inkjet body wrap print. 


A little sideline with another favorite, the FlisKits M.A.C.M.E. SHREW with a MMX engine.

It took a second igniter and a extra second holding down the launch button to get it to air-born.
Altitude? Maybe 35 feet with streamer eject.
Always a good laugh, just what Jim Flis intended.


Rounding out the hot, sweaty morning with the last flight 

The Estes PATRIOT to 300 feet with an Estes B6-4 engine.
Perfect, straight boost and recovery. No damage.
New launch count - 1,004!

On the walk home I kept an eye out for the Saturn V fin and fairing but had no luck. It's 8:00 a.m. and the wind is just starting up. I've already sweated through my clothes. Florida Summers - miserable!

Estes Mercury Redstone #1921 Build, Part 2, Fins A

If you don't have one - get one! To shape fins a good sanding block is a necessity. This is the Great Planes Easy Touch sanding block.
For specs, CLICK HERE

I have the 5 1/2" long sander, plenty big enough for most rocketry projects.
I buy their 220 grit on the self adhesive rolls. It feels smoother than most 220 grits, cuts and shapes very well.
What makes this one work so well is the raised finger hold ridge on the back. It is easy to hold and the stick on sandpaper doesn't move.
Great Planes doesn't make self adhesive 400 grit. You can cut up regular 400 grit and give the back a shot of adhesive spray.

I get questions about how to sand tapered scale fins. The next four blog posts will concentrate on one way to shape them - straight, sharp and clean.


The balsa (or whatever wood this is) is very stiff.
Don't punch out the fins! You'll need to cut through the hold down tabs.
The rudder fin tip squares weren't the same size!
I don't know how this happens. When you are drawing up laser cut fins, you draw one, then copy and paste the same square.

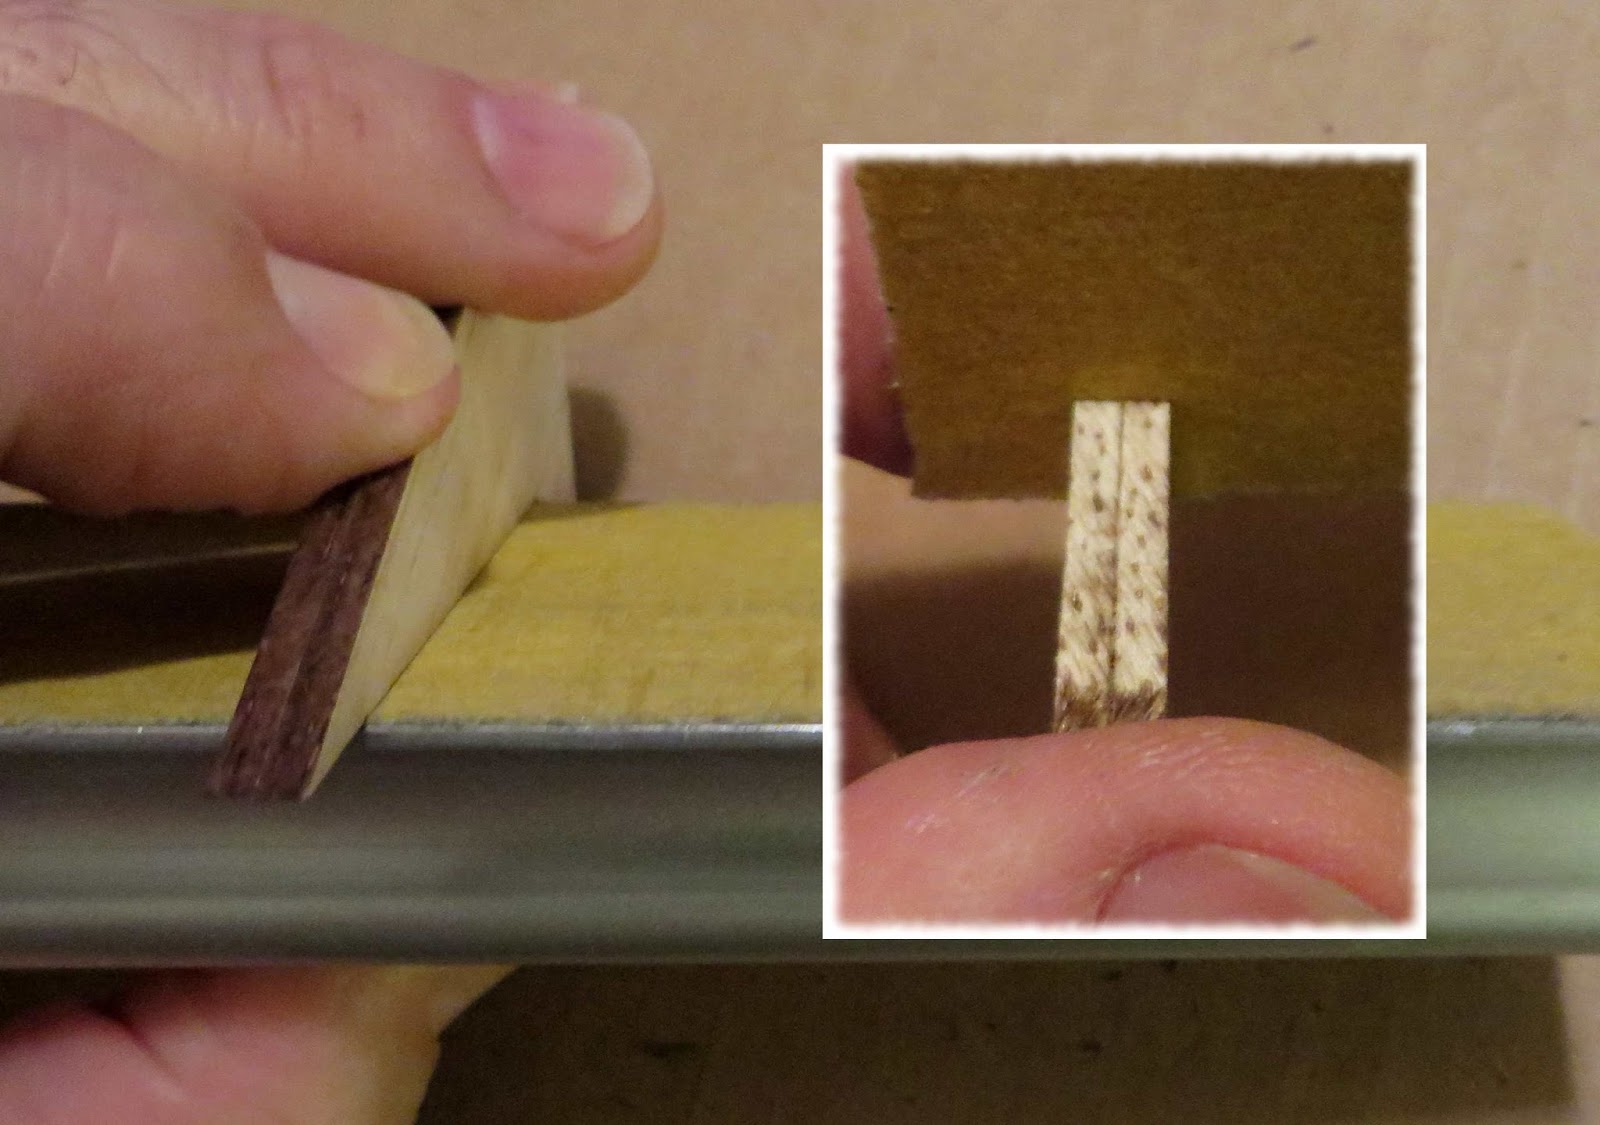
On the left they are stacked. You can see the first and third are higher. When gang sanding it's really obvious.


Laser cutting gives you a wedge shaped cut. On the bottom of the sheet the cut line is wider, the top is thinner.

TIP: Before gluing together the main fin laminate, sand the root edges flat. It won't take much sanding, just knock down the high side so the root edge gluing surface is square and flat.

Sunday, July 5, 2015

Estes Mercury Redstone #1921 Build, Part 1 Parts


That's a LONG ST-20 tube at 19.5"! 
Yes, I'm calling it a Centuri ST-20 tube. I like the single long tube instead of two pieces with a coupler. The Centuri kit had an ejection baffle at the two piece tube joint.
This model is based on and uses the capsule and tower molds from the old Centuri kit. The capsule has great detail. The fins are laminated balsa like the Centuri version.
The engine mount is for 18mm engines with the only recommended engine a C6-3. I've seen one fly with a C6-3. With only a 200' altitude it seems under powered. I'll probably make it a 24mm mount and fly it with C11s and D12s. I can still go "low and slow" with a 20/50 adapter. 

Pieces of interest:
There is only a single 15" parachute. I'll use that for the body and the capsule will descend separately on an added 12" chute.
A 1 1/2" long 1/8" diameter launch lug is included. Two 1/2" lengths are used. A model this big and heavy might use 3/16" lugs.
Brought up earlier, the red on the decal sheet looks pink. There is the MR7 and too bold a font used on the UNITED STATES.
Time for a redraw and home print decals.

I'll start with the fins first. Some have asked how to sand the tapers.
There'll be a few posts covering it all.

Saturday, July 4, 2015

5th Anniversary of the Building Blog!

Here's the first post from July 4, 2010:

"While I've been active posting on The Rocketry Forum and EMRR, I wanted a place to archive my construction methods and builds. 
Everyone has their own "proven" ways of building rockets. This blog is not written to say I have all the right techniques. I just know what works for me and am always open for a better way to get it done.
Who knows? Someone might just pick up a new technique or be inspired to improve on what is written here.

In some posts, you might see a complete build from start to finish, then a follow up with launch results.
Other days, I could post the results of tests using different masking tapes. 
Let me know where to take it!"
FIVE YEARS, 3,626 Posts! 
Boy do I need a hobby, that or a date.

A favor to ask:
I make very little money doing these blog posts. 
If you have learned something or just enjoy the blog,
Click on the advertisements (no obligation to buy, just click and return!)
Purchase an Odd'l Rockets kit or launch accessory.
Make a bid on a finished model on EBAY
That's right, a shameless plug!

Incorrect Decals in the Estes Mercury Redstone Kit? Pre-Build

Before I get started on this post:
Understand I don't want to nit-pick. I was excited to finally get the Centuri sized Mercury Redstone, re-issued by Estes. The detail on the Centuri plastic capsule is very good. 
I bought two of the new kits, one will get a 24mm upgrade, the second kit will end up as a Little Joe test vehicle.
There are some incorrect details. Maybe this is why the face card and website description don't mention it as "scale" but an "Historic" model.

On the forums, questions were raised about the decals in the re-issued Mercury Redstone kit. While the kit version is the Liberty Bell 7 Gus Grissom flight, the MR7 decal block near the top of the fins should read MR8. It is confusing, the Mercury Redstone flight number and rocket designations don't match up. 

Check out the graph listings from Wikipedia:
"Mercury-Redstone flights were designated with the prefix "MR-". Confusingly, the Mercury-Redstone boosters used for these flights were designated in the same way, usually with different numbers. (In photographs, this designation can sometimes be seen on the rocket's tail end.) 
Flight designationRocket designationLaunch dateComments


MR-3MR-7May 5, 1961Carried astronaut Alan Shepard
MR-4MR-8July 21, 1961Carried astronaut Gus Grissom


Here's the MR7 decals from the new version of the kit. It should have read MR8. As I understand it, the previous Liberty Bell kit (#2167 with the plastic fins) also had the MR7 decals.


The red color on the Estes kit decal sheet looks a bit pink. It is interesting to note, the decal "red" matches the shade of the red plastic molded parts.
The vertical UNITED STATES font is too bold.


To see the correct font use, check out Jim Pursley's website and his scale Mercury Redstone - Amazing Work! CLICK HERE
Look close at the "S" in STATES to see what I mean.

The detail on the Centuri capsule molds is great. But, the window lines are round, not a trapezoid on the Liberty Bell 7 capsule.
The pull out plugs are now formed from wood and cardstock. The original Centuri version had plastic details.
For fun, check out the original Centuri instructions on JimZs: CLICK HERE
EDIT: Apparently those Centuri instructions aren't available right now! 
Email me at oddlrockets@bellsouth.net and request the old Centuri Mercury Redstone Capsule Instructions. I made a copy that is available.

The new kit has a single 15" parachute for both the body and capsule/tower. I'll add a 12" chute for the capsule. The capsule will angled to land with the base down protecting the tower from damage. See the second page of the Centuri instructions for details.