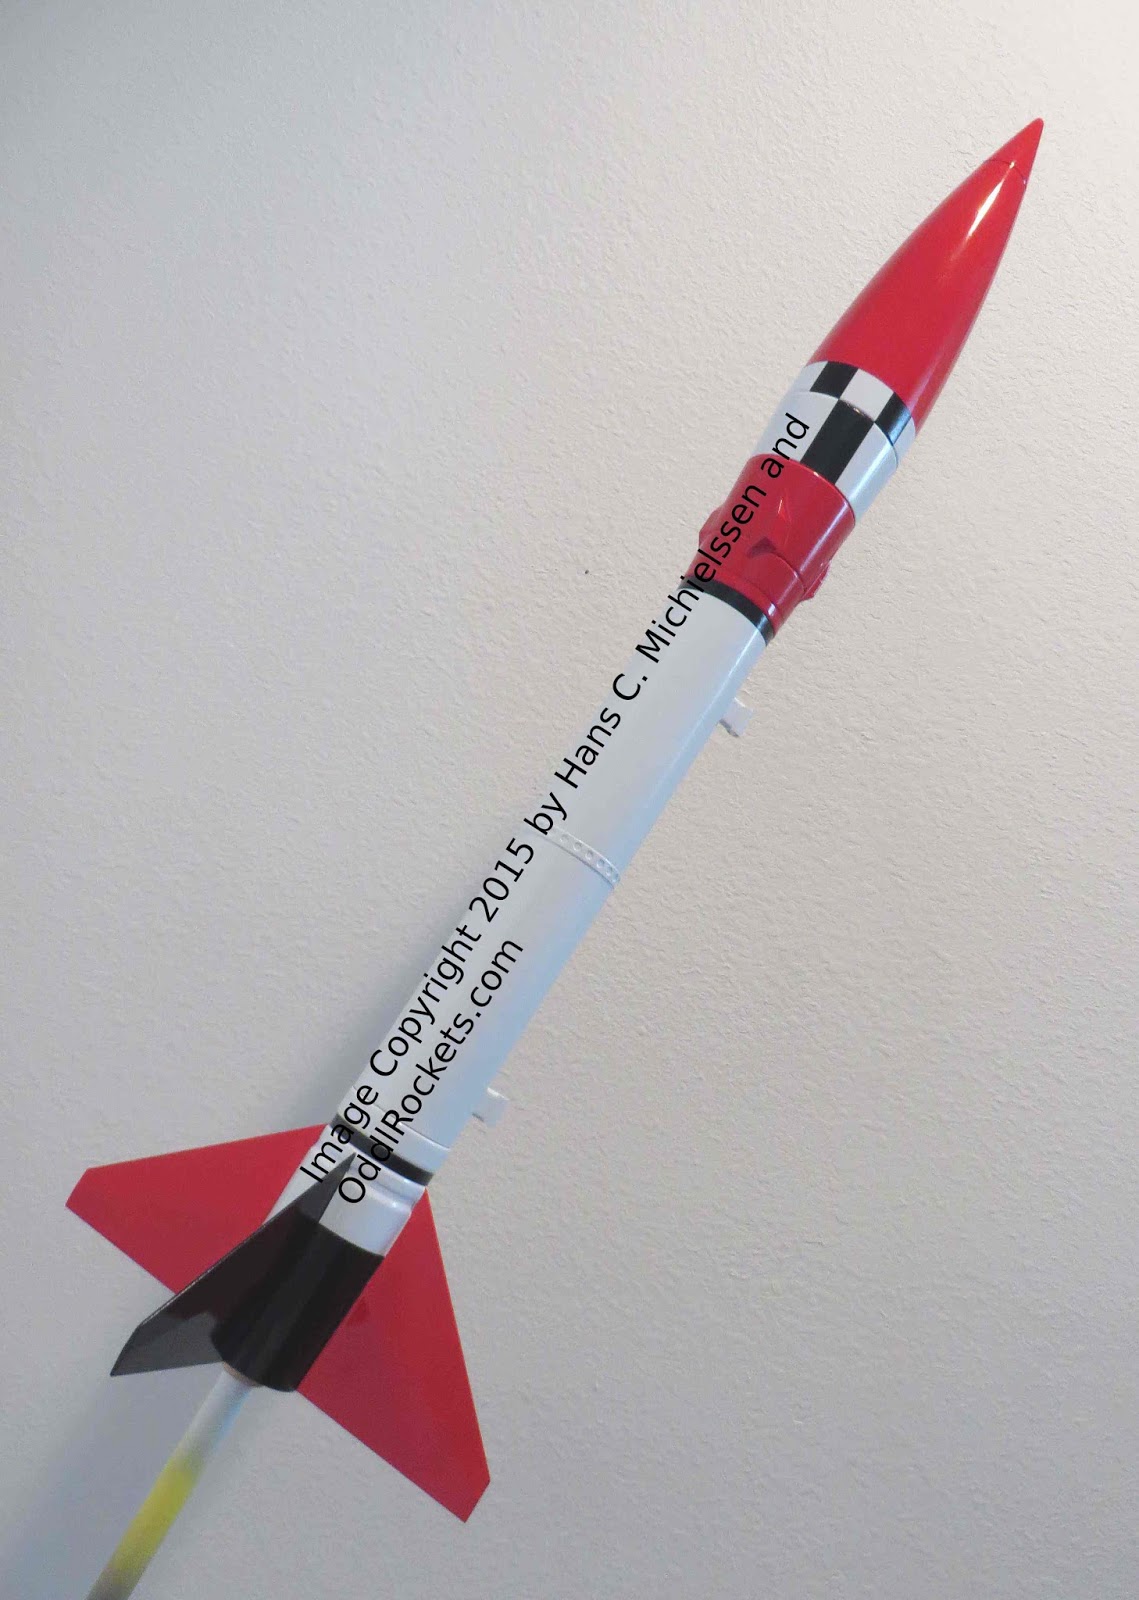
Monday, November 30, 2015

From Ted Cochran, NAR President

From the emailed The Electronic Rocketeer - Issue #90- November 2015

Fellow NAR Member,

As I mentioned in the email I sent to all of you on November 21, our hobby has experienced its first on-field fatality. The incident was not associated with the NAR, but it nevertheless affects all us of who deeply care about our hobby's safety. 

In addition, as I wrote in the October eRocketeer, we also had a spectator struck by a land-sharking rocket last month at an NAR launch. These incidents, and some near misses we've also heard about, remind us that our hobby is not without risk. As our launches get bigger, with more flights and more spectators, we need to take more precautions--observing the safety code by itself may not be sufficient, nor the best we can do. 

We sometimes need to do more than meet the safety code requirements: When conditions warrant, we need to exceed them.

Please take a moment as individuals, and as Sections, to review your launch practices. If you can improve your safety by following any of the suggestions in the next article, please consider doing so. If your section needs funds to update launch equipment, flag lines, PA systems, warning systems, or other safety-related equipment, please ask for a Section grant.The NAR has sufficient funds set aside for just this purpose; no reasonable request will be refused.
 
As always,
Be safe, have fun, and pay forward, 
   
Ted Cochran
NAR President
NAR 69921 L3  

Sunday, November 29, 2015

Estes Honest John, #7240 Build, Part 15, Fin Can Paint


Here's the fin mask for the red.
Each fin side took two separate pieces of Scotch tape because of the wedge taper. Even the bottom of the body below the fin was masked, the trailing edge is a little above the bottom.


I'm building two HoJos, on one - Uh, oh!
The plastic tail cone was too slick and some white paint was lifted.
Be sure to lightly rough up the plastic so the paint has something to grab.
I'll have to sand this, mask and shoot primer and sand that smooth. then more white and red if needed.


The other fin can turned out fine.
This one is up for auction on Ebay right now.


After the red had dried, the black was next.
This is after the black paint was shot, before the mask was pulled up.


After the black mask was lifted I have a small touch up along the red fin root edge.

Saturday, November 28, 2015

Estes Honest John, #7240 Build, Part 14, Nose Cone Paint - Oops!


The paint instructions are vague.
I masked around the circumference of the notched rings.
BIG MISTAKE!
I assumed this was the right height for the black decal squares.


Don't assume -
I should have double checked against the black decals.


The upper square block is just about 5/8" tall.
Check out how close the date stamp is - almost on the decal itself.


Well, it'll have to be re-shot white then masked again for the red.
The pencil mark is 5/8" above the upper recessed ring. I might mask it a hair short of the 5/8" mark so there won't be any white above the black decal top.

Friday, November 27, 2015

Estes Honest John on Ebay


One of the two finished Estes Honest John models is up for auction on Ebay.
This is painted in the face card test round colors. The fins are fully tapered from the root edge to the tip. This is the same model being built on the blog right now.
To see the finished model or make a bid, CLICK HERE
Stop by, make a bid and support the blog!

Estes Honest John, #7240 Build, Part 13, Ends and Edges


I did a tug test on the pre-made parachute shroud lines. They easily broke!
Another kit needing shroud line replacement.


A painting dowel was stuck into the engine mount and some paper towel strips stuffed into the back to keep the paint out of the engine mount.
The body tube was slip over the fin can, no glue yet.
A piece of rolled copy paper was pushed into the front open tube end.
The model got the first coat of gloss white paint.


TIP: Here's one way to knock down any paint inside the lip of a launch lug. Gently turn the pencil in the launch lug end.
The sides of a sharpened pencil are a little rough and just enough to rub off any paint and re-round the lug.

Thursday, November 26, 2015

Happy Thanksgiving, Y'All


Happy Thanksgiving from
TUNA (the overbite dog) Sock Puppet!

This was actually a Christmas project for my Daughter, Whitney. Yes, I made two - socks come in pairs and I hate to waste anything.
RANT: I just had the Macy's Thanksgiving Day Parade on. I'm not Diabetic, but after all the overly sweet patter, lip syncing and fake smiles I might need a shot of insulin.
The Dog Show is on now. A least dog the smiles are real.

Estes Honest John, #7240 Build, Part 12, Gluing The Band Wrap


A wrap of copy paper was taped around the body tube for a base line.
The top of the paper strip is 4 3/8" from the bottom of the tube.
Setting the punched band on the top of the paper strip will center the wrap.
The bottom edge of the wrap will end up 4 3/8" from the bottom of the body tube, not the fin unit.
The wrap band (I made two) was taped down to a piece of card board. It was lightly sprayed with 3M adhesive.
The instructions show white glue being used but the glue might pool up on the punched holes.
Go light on the adhesive, it's easy to spray on too much.


Here's the band in place.
The inset picture shows the kit supplied wrap with the laser cut notches. On the wrap I made the holes are cleaner.
The home wrap holes might not be perfectly in line but sometimes kit upgrades are a compromise.