Wednesday, May 25, 2022

Quest Falcon #Q1009 Build, Part 7, Removing The Bumps


This was a bit scary to start - but that rod bump wouldn't allow the sticker to fit smooth into the root edge. Shaving down the rods ended up being easier than I thought.
I shaved off the bump with a new, sharp #11 blade.
I use #11 blades for delicate cuts like this. The majority of my build cuts are done with a break-off blade knife. 


You only have to shave down the rods on two fin faces. Check the kit face card picture for the two fins that have the (root edge fit) stickers.
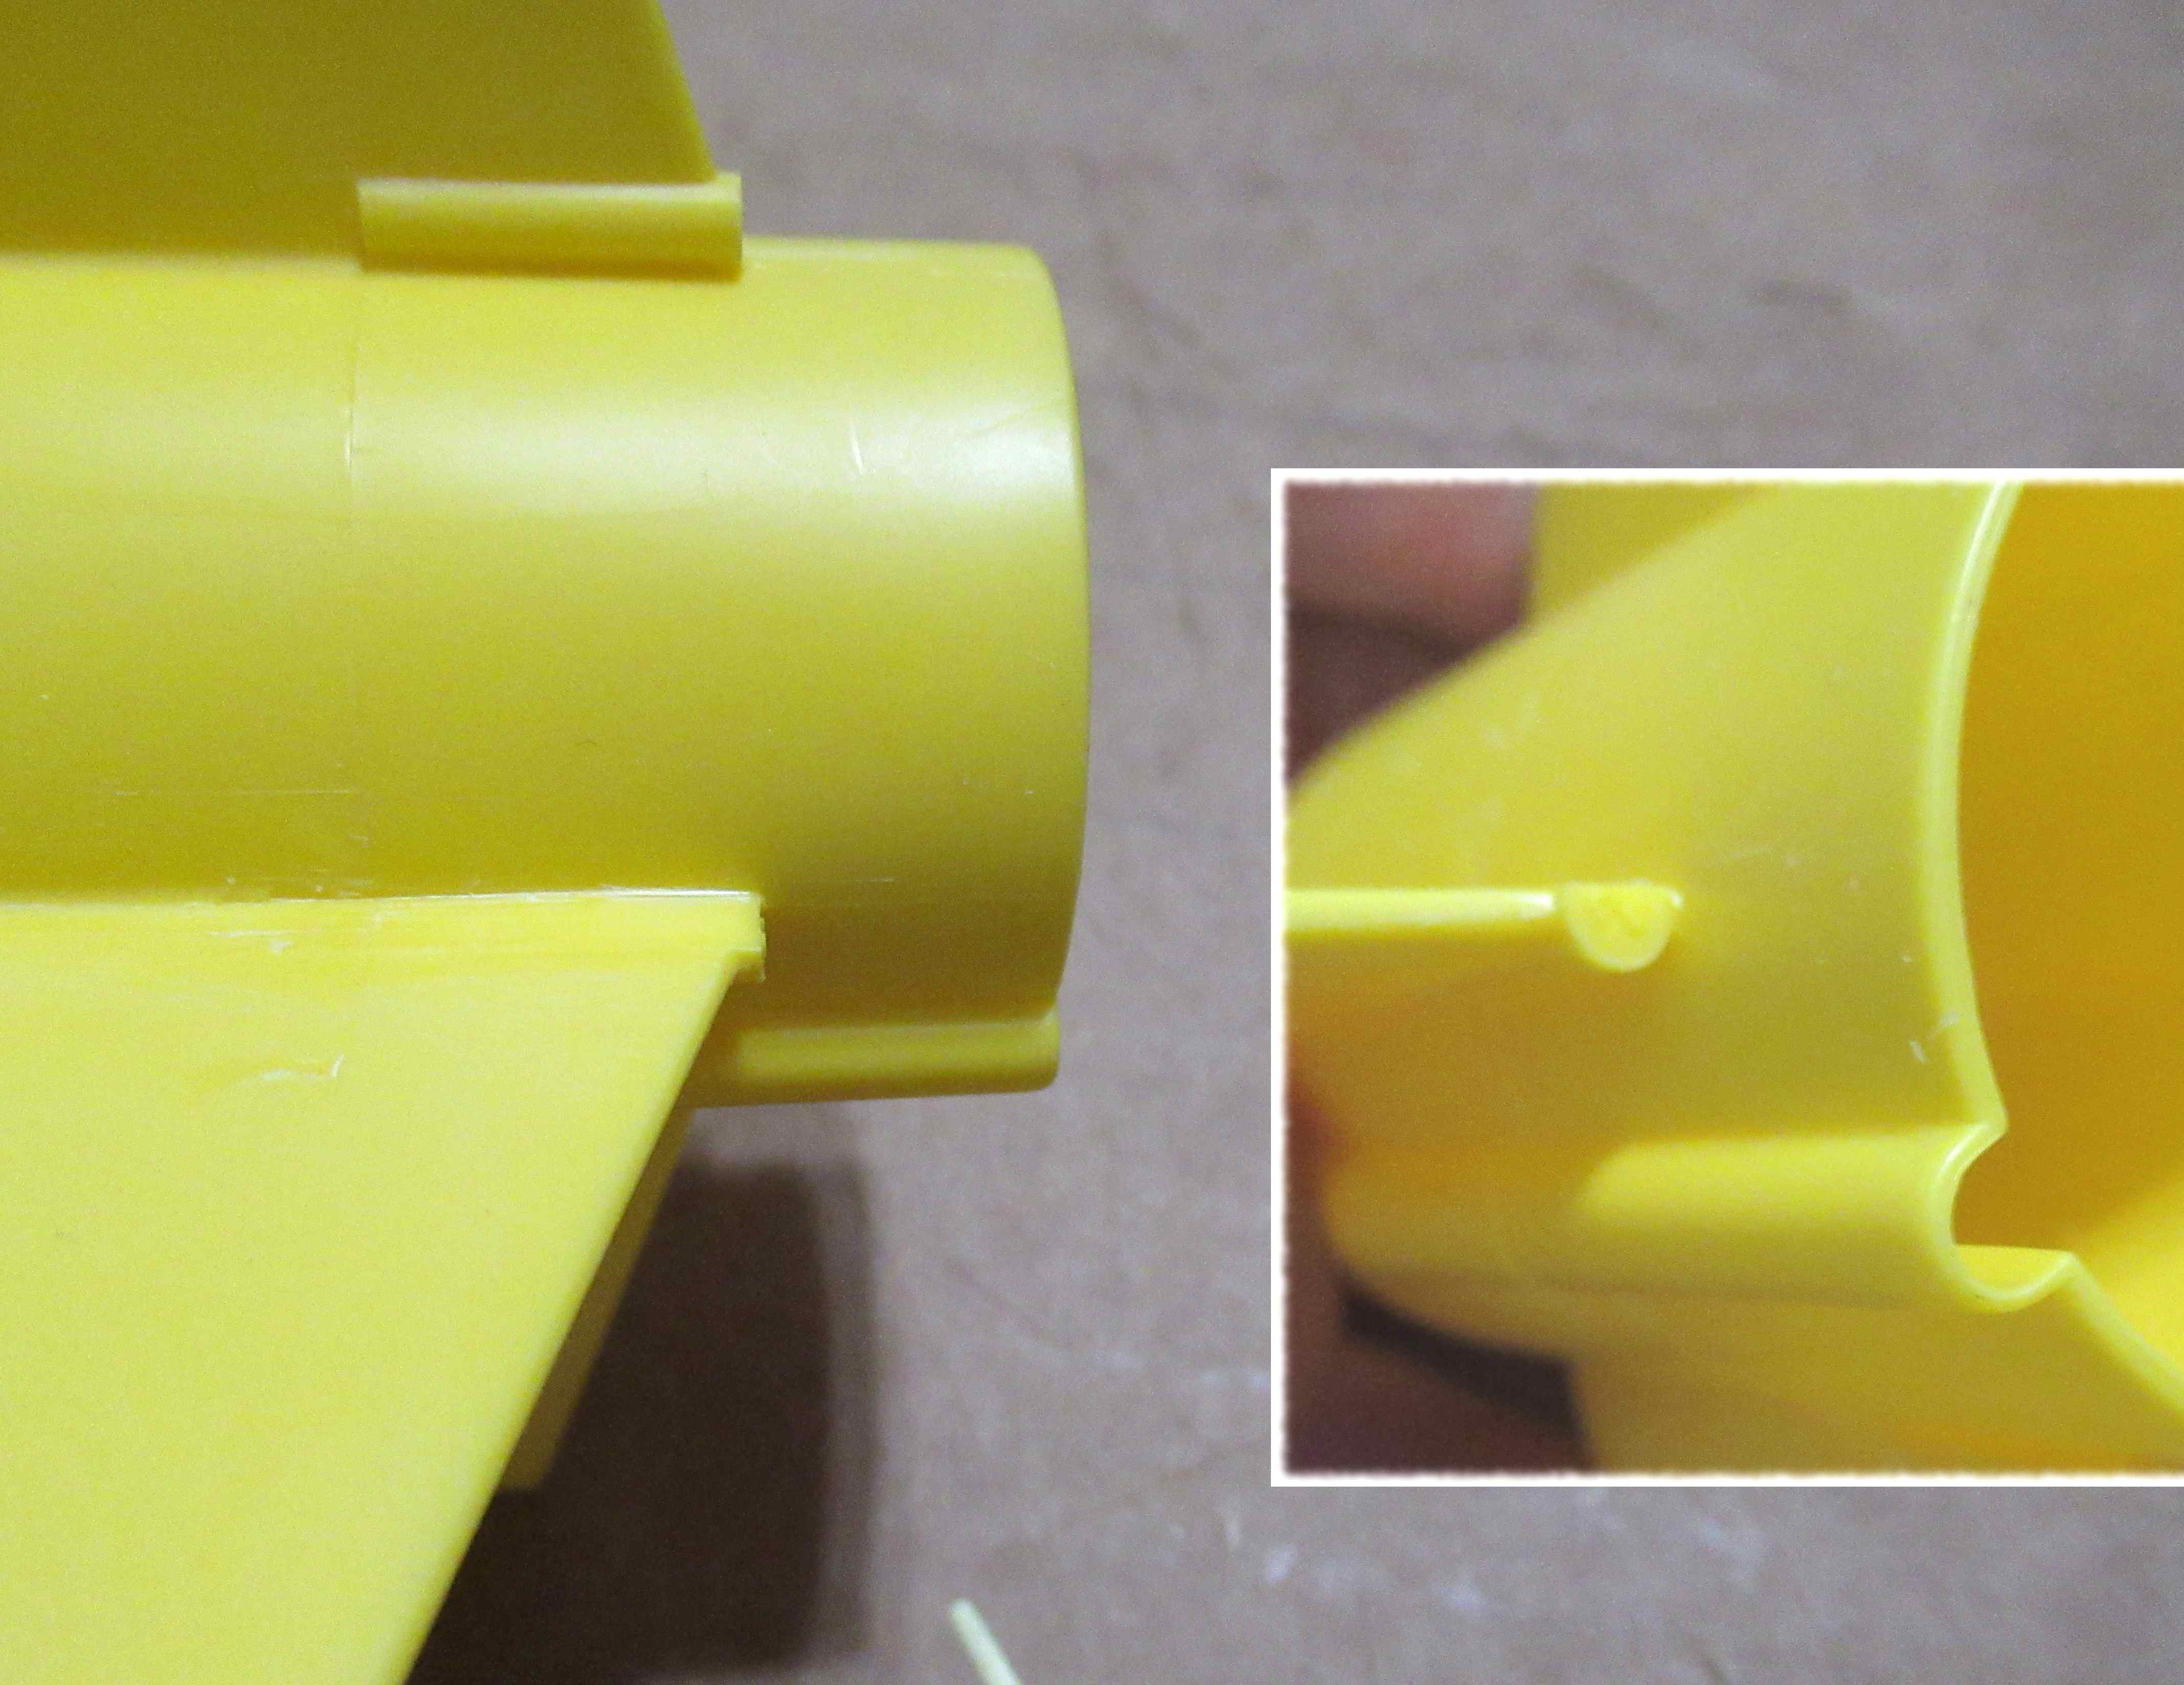
The inset picture shows one half side from the back of the fin can. Try to get the surface as smooth as you can.
On two of the four Quest builds,
I had already painted the fin cans white. I'd recommend cutting down the rods first - then spray paint the fin cans white.

Here I painted first, then shaved down the rods. That cut them right down through the yellow plastic.


I had to go back and touchup with gloss white.

The sticker will cover most of the touchup area.

Tuesday, May 24, 2022

Quest Falcon #Q1009 Build, Part 6, Engine Mount Gluing & Placing Fin Cover Stickers


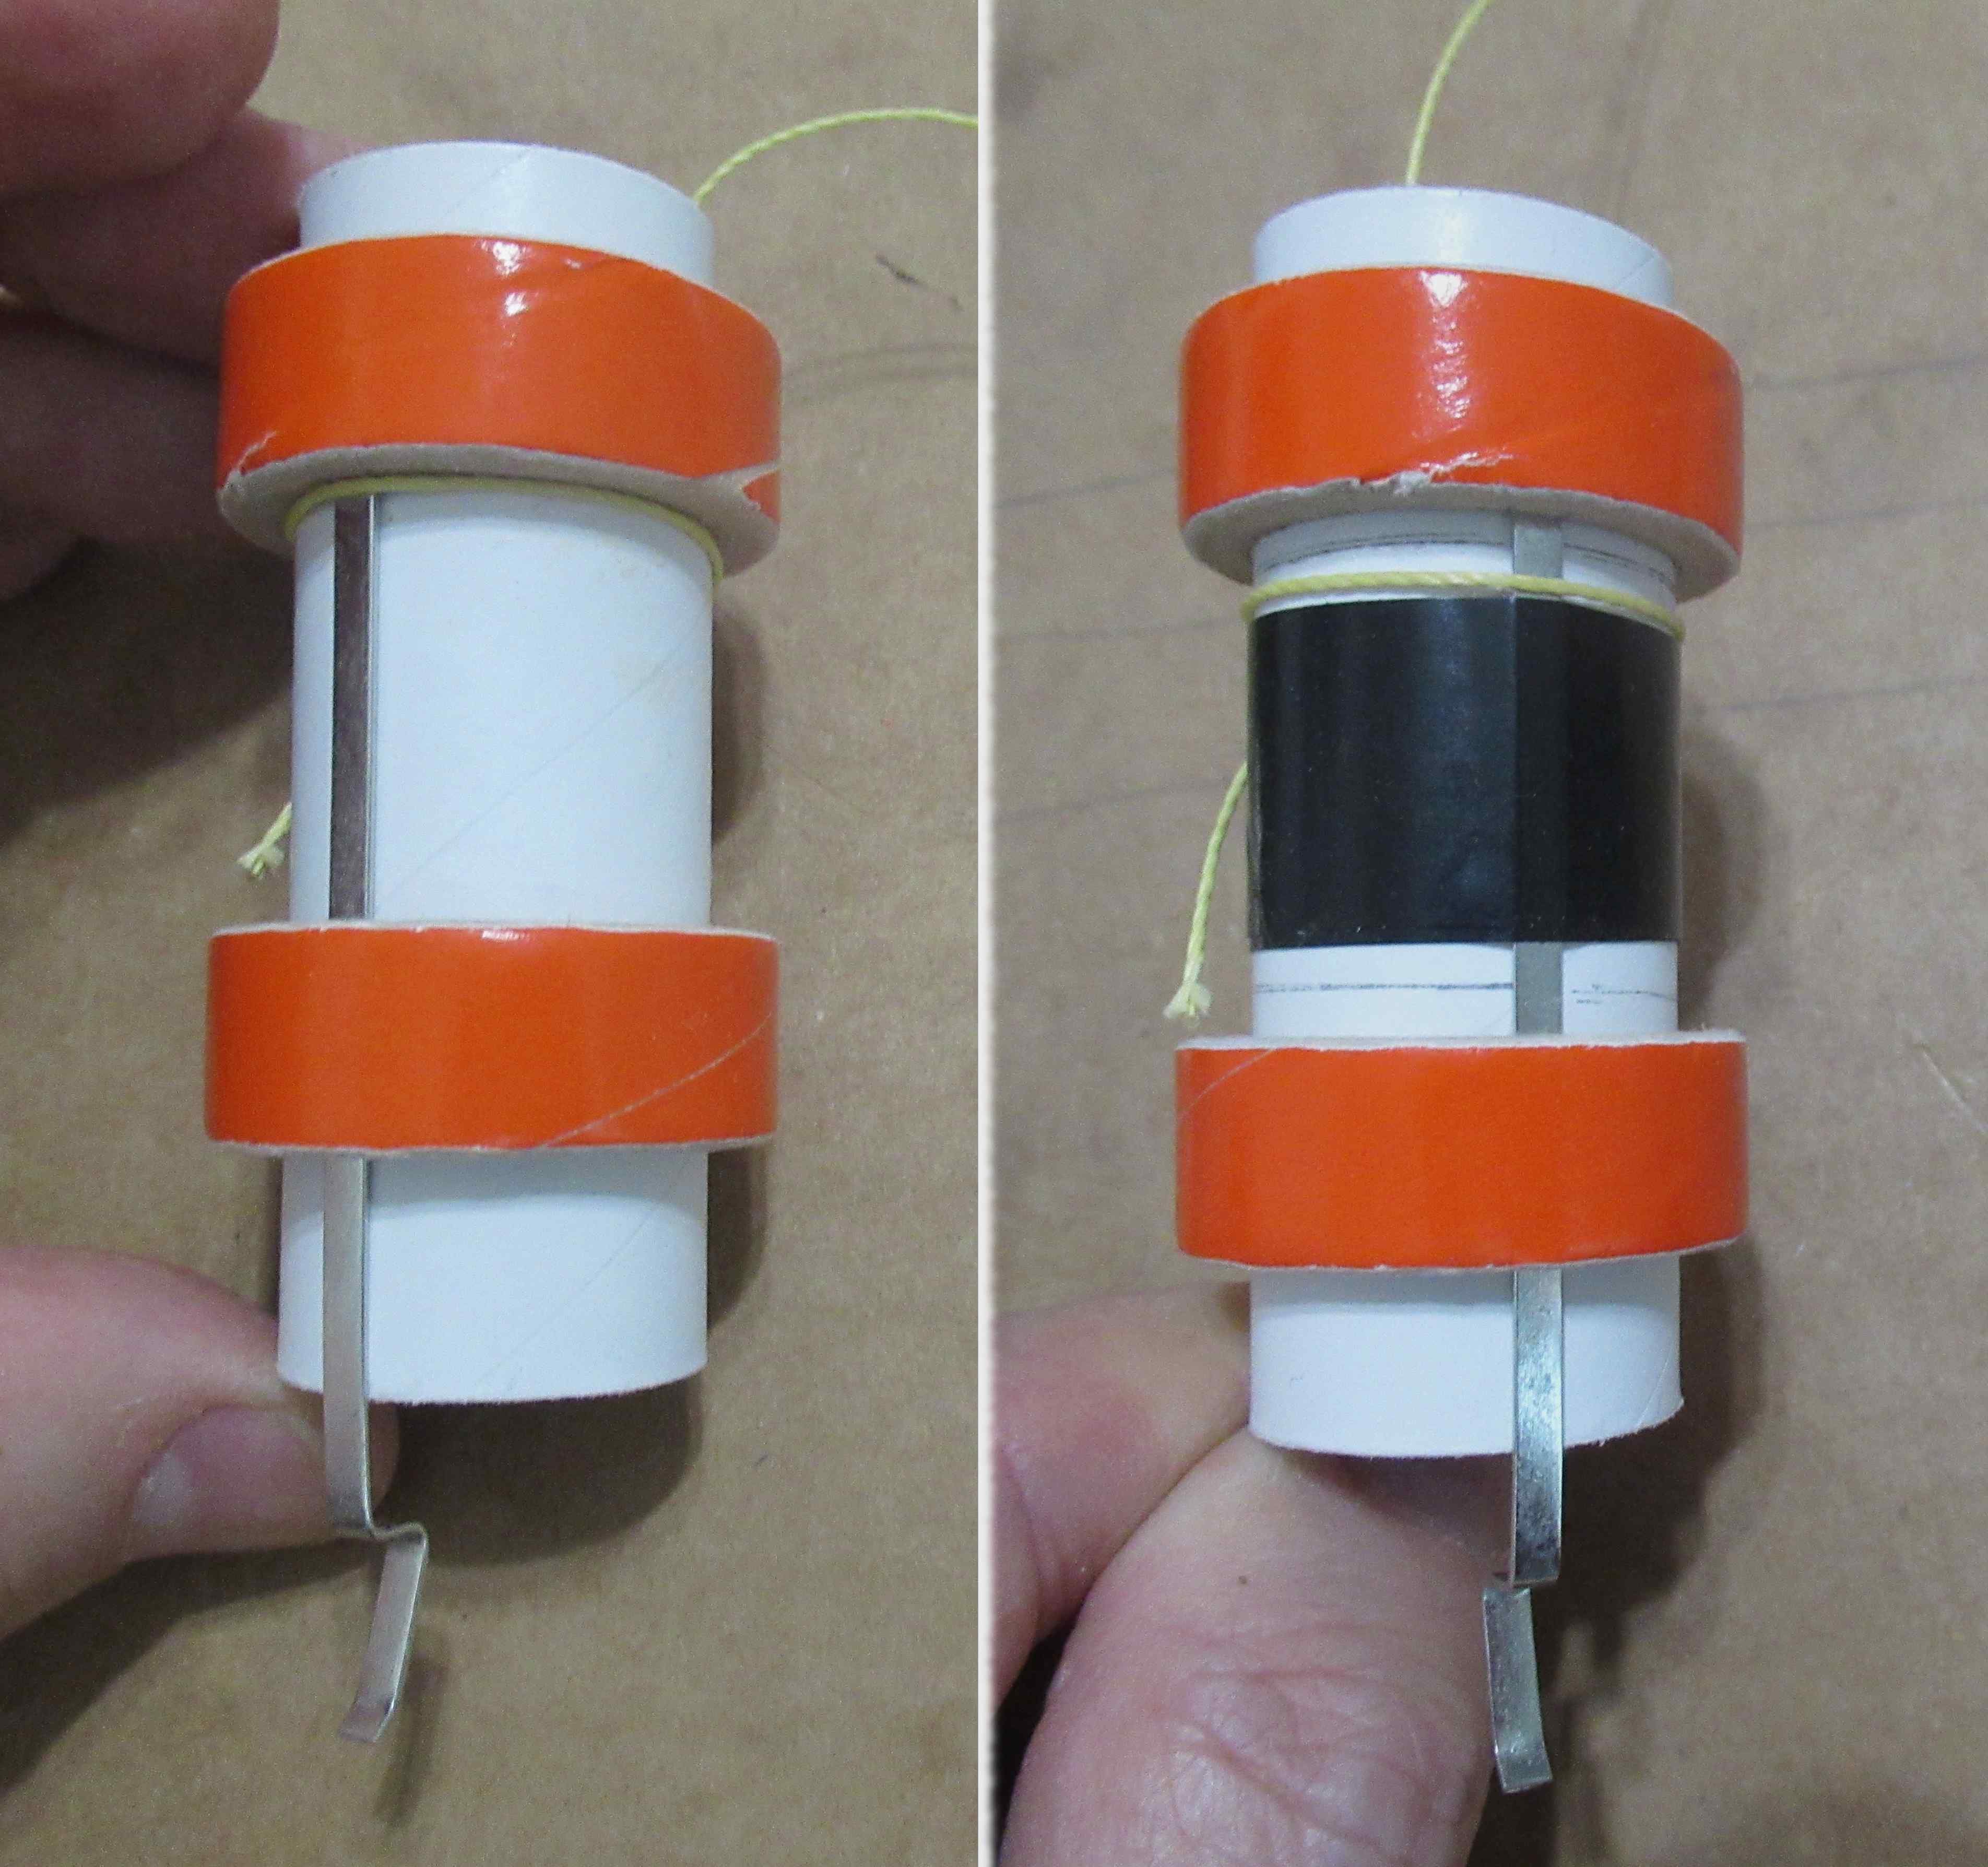
I had to sand off most of the orange layer on the centering rings of the 24mm mount for a slip fit into the 35mm main airframe tube.

On the left is the before - 
On the right is after fitting and sanding. 

The mount is slid into a ring of glue inside the tube. Leave the mount extending 1/4" out the back of the tube.

To fillet the rear ring,
Apply a small drop to the upper side of a Q-tip. Carefully set the glue drop into the joint. Direct the glue around the joint, picking up excess glue as you go.
Repeat the steps until you have a glue fill all the way around the centering ring / body tube joint.


The assembled model got an overall white gloss coat.
Easy, one color spray coats.
I was concerned about the "round rod" molded into the leading edge joint of the fins.
How can you fit the sticker into the root edge with that molded rod in the way?
This led to some dry-fit experiments.

I lightly creased the sticker to press it into the root edge. DON'T make this a sharp crease yet - You might get a crack in the ink.


DO NOT do what I did here - This was a try at a work around.

After lining up the fin I pressed a (soft) eraser into the top of the "rod" underneath the sticker.


This raised and marked the end of the rod. 
Maybe the sticker will fit better if a small notch is cut.

This didn't work! The sticker was a bit stiff and wouldn't conform to the tight areas around the rod.

The best fit solution I could find will be shown in the next post.

Monday, May 23, 2022

Quest Falcon #Q1009 Build, Part 5, 18mm Engine Mount

Check the 18mm yellow tube - there may be a slit already cut for the upper bend of the engine mount.
It might not be in the right location, usually it's too close to the top end of the tube.

TIP: Slit the tube as shown in the directions. Make sure that pre-cut slit is on the upper side where the thrust ring will be glued in. This will strengthen the the pre-cut area on the tube.


The red rings won't easily slide onto the yellow tube.
Notice the compression bulges on the inside of the ring.

I wrapped some 400 grit around my Sharpie to sand down the raised bumps. 


Notches were cut for the engine hook.
On the left is the lower ring notch,
On the right is the upper notch which sets over the top bend of the engine hook.


Here's the finished 18mm mount.
No tape wrap is needed on this one.


The 18mm mount slides into the 24mm mount.
You'll have to do a friction fit to retain the smaller mount so it doesn't get blown out at ejection.

Here I tried a tape wrap around the two engine hooks. This probably isn't the best plan.
 

Sunday, May 22, 2022

Quest Falcon #Q1009 Build, Part 4, 24mm Engine Mount


I dry fitted (no glue) the centering rings.
A dry fit showed if I had room for the tape wrap over the engine hook.

I traced around the inside edges of the rings.

The tape wrapped around the tube  centered between the pencil lines.

The Kevlar was tied using modified Square Knot.

TIP: The first half of the knot got an additional turn. When pulled tight around the tube, this extra wrap keeps the overhand knot tight for the second (reversed) overhand knot on top. 


The upper ring is glued on 1/4" from the top of the tube.
The lower ring is glued 1/2 inch from the bottom.

Friday, May 20, 2022

Quest Falcon #Q1009 Build, Part 3, 24mm Engine Mount


I like to square up the centering rings. When they are cut at the factory the blade makes a wedge cut.

It's not necessary to do this - I sand the ends flat for a cleaner build. I always flatten the bottom ring face if the ring is even with (and visible) at the base of the main airframe tube.


I also check the tube ends.
On 3" and 4" tubes, there's a bigger chance the tube might have a rough cut.


The engine hooks need a slight curve bend.
Make the curve smooth.


The 24mm tube is white. 
The 18mm motor mount tube is yellow.

Here's the instruction drawings for the 24mm mount. You are told to repeat the same assembly for the 18mm mount.


The thick orange rings were notched for the engine hook relief and the upper ring for the Kevlar line tie.

This is not mentioned in the instructions.

Thursday, May 19, 2022

Quest Falcon #Q1009 Build, Part 2, Parts


The Falcon now contains both a 24mm and 18mm engine mount.
Lots of engine versatility here.
Here's the fin can.
The "extension" is to the rear, towards the engine end. To the right is the sticker sheet showing the fin face.

If you are to assemble this model - 
This picture shows the orientation if the engine mount is to the left and the nose cone to the right. You might find yourself tempted to set the fin can going the other way with the extension facing the nose. I know I did. 

I started on the parachutes, four builds and four chutes.
After the reinforcement disks (rounded squares) are in place, I made the shroud line holes with my rotary punch. To make an easier punch, set some cardstock on the other side of the chute and punch through the plastic and the cardstock at the same time.

TIP: Stabbing the holes through the thin plastic with a pencil point could start a tear. Punching the holes gives you a cleaner edge round hole.

Wednesday, May 18, 2022

Quest Falcon #Q1009 Build, Part 1, Parts


The Quest Falcon design goes back to the first 1992 catalog.
Plastic nose cone and a one piece fin unit.

The Quest body tubes are Metric. This main body tube is 35mm diameter.


The new version of the Falcon has new red, white and blue graphics. The rest of the kit is close to the original, but there is a new mold for the fin can and nose cone.

Most all the kit is white, the fin can is molded in yellow.
The face card sports new graphics.

This model reminds me a little of the Enerjet 1340 with the fin can flipped over.


The engine instructions have been updated showing the Q-Jets and the First Fire Micro igniters.


The graphics are stickers. You cut them out and peel off the backing.

The lower half of the sheet includes some sticker logos, great for your range box.