

The left side of the picture shows the amount of glue applied before smoothing it out.
I was amazed how well the flat plates held up to repeated ejections when I did the "autopsy" on my old Centurion. I'm convinced the white glue coats help protect the thick card stock.
Pick up the excess glue out of the punched holes with a Q-Tip.
Two coats of white glue were applied to both sides of the punched disks.
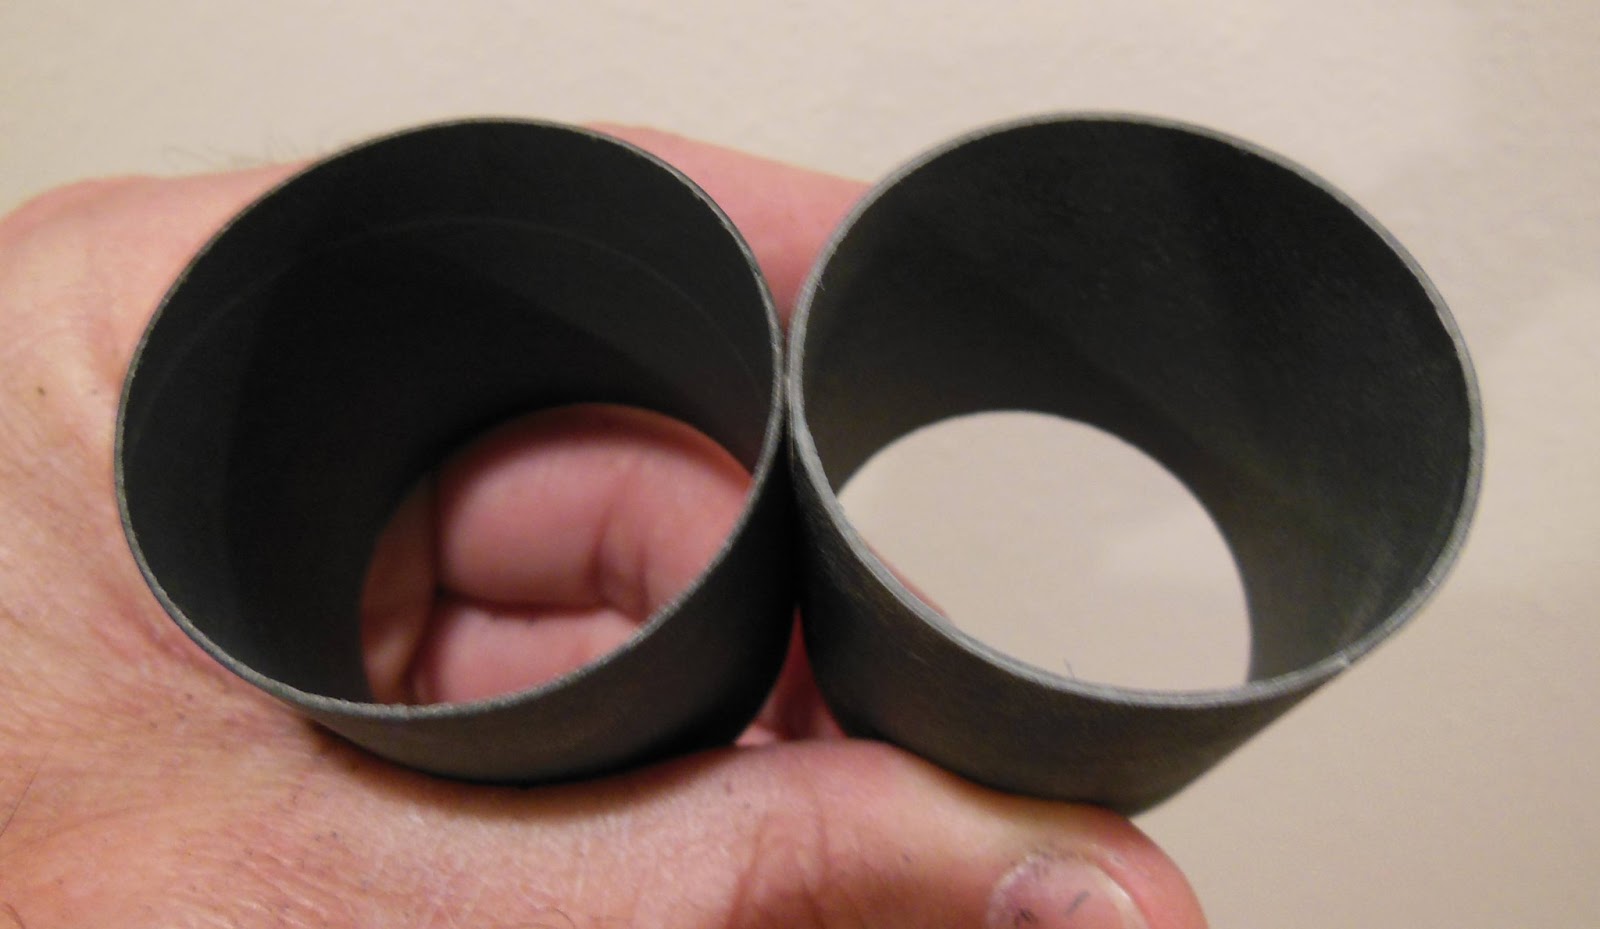
Sand down the angle cut ends of the coupler with 220 grit on a block.
The ring on the left hasn't been sanded.
Enlarge the picture and you can see the sanded ring edge on the right gives a wider gluing edge.

TIP: When gluing the plates on the coupler:
In addition to the glue on the edge, apply a line of glue a little inside the edge of the coupler.
Go to the next picture -

Set the disk on the edge and turn the coupler against the still disk a few times.
Turning the coupler smooths out the glue on the inside edge into a smooth "automatic" fillet.
 Even with careful gluing, you will still have to sand the disk edges even with the sides of the coupler.
Be sure to sand the coupler until you get a smooth slide into the body tube. You don't want the coupler to freeze up in the wrong position when glue is applied.
Oops! I forgot to tie on the shock cord!
No comments:
Post a Comment