Monday, August 5, 2013
Rocketarium Hydra Sandhawk Build Part 23, Decals
I glued the card stock pieces on after painting so they aren't sealed.
I applied two coats of Future acylic with a Q-tip.
The bolt decals I made are water slide and I didn't want the card stock to swell up.
I cut the booster decals width short on one side. The width of the clear backing was cut this way on all the decals.
This gave me a spacing reference when the clear coat was set right next to the attachment piece.
I knew the booster decals weren't applied on top of the fin attachment pieces, but to the side.
I started setting them down on the wrong side! I didn't realize they went near the root edge of the fin and not on the body tube.
Here's how they should have been applied -
Enlarge the picture and look for the bolt heads on the gold fin root edge.
Sunday, August 4, 2013
LAUNCH! Orlando R.O.C.K. Monthly, August 3, 2013
I'd just got off the plane from California at 5:15 a.m. Took a quick nap and arrived at the Orlando R.O.C.K. field in Oviedo, Florida around 11:00 a.m.
Considering the heat and a good possibility of rain, there was a great turnout.
All launch rods were angled 5 degrees away from the flight line.
Manuel Mejia set up his Odd'l Rockets SQUATTY BODY next to my new CHEROKEE GOON.
Manuel flew the Squatty with a A8-3. It got great altitude even for an "A".
The Cherokee Goon wiggled a bit during boost, it'll need a bit more clay in the nose. Still, great altitude with a Quest B6-4 with a long walk to pick it up.

Carl from DFR Technologies launched a new kit prototype - the Atlas V New Horizons, AV551.
The real Atlas V launched a probe to Pluto.
Carl had a great flight with an Estes D12-5.

Check out the booster nose cones!
Many of Carl's kits now include 3D printed parts.
Nozzles, tunnels and these curved nose cones are all made on the plastic printer.
My FlisKits MMX SATURN V had a second flight on a Quest MicroMaxx engine.
When you view a launch from a distance you can see how high some models don't get!
Brian said 30 feet, I gave it 32.
Still, stable and fun.
At ejection the descent under streamer was very slow. No damage.
Manuel Mejia flew his Saturn SPEV with a C6-3.
A true scratch builder, Manuel gets great flights with models made from hand rolled tubes.
The nose cones on this one were bottle corks!
He bought a bag of assorted cork "nose cones" for $5.00 at a craft store.

I only flew three today, I arrived late and the heat was getting to us all.
Last up for me was the Quest TOMAHAWK with an Estes B6-4.
Low and slow and recovery under the crispy 14" Quest parachute. No damage.
Roger Smith has posted great pictures - HERE
Considering the heat and a good possibility of rain, there was a great turnout.
All launch rods were angled 5 degrees away from the flight line.
Manuel Mejia set up his Odd'l Rockets SQUATTY BODY next to my new CHEROKEE GOON.
Manuel flew the Squatty with a A8-3. It got great altitude even for an "A".
The Cherokee Goon wiggled a bit during boost, it'll need a bit more clay in the nose. Still, great altitude with a Quest B6-4 with a long walk to pick it up.
Carl from DFR Technologies launched a new kit prototype - the Atlas V New Horizons, AV551.
The real Atlas V launched a probe to Pluto.
Carl had a great flight with an Estes D12-5.
Check out the booster nose cones!
Many of Carl's kits now include 3D printed parts.
Nozzles, tunnels and these curved nose cones are all made on the plastic printer.
My FlisKits MMX SATURN V had a second flight on a Quest MicroMaxx engine.
When you view a launch from a distance you can see how high some models don't get!
Brian said 30 feet, I gave it 32.
Still, stable and fun.
At ejection the descent under streamer was very slow. No damage.
Manuel Mejia flew his Saturn SPEV with a C6-3.
A true scratch builder, Manuel gets great flights with models made from hand rolled tubes.
The nose cones on this one were bottle corks!
He bought a bag of assorted cork "nose cones" for $5.00 at a craft store.

I only flew three today, I arrived late and the heat was getting to us all.
Last up for me was the Quest TOMAHAWK with an Estes B6-4.
Low and slow and recovery under the crispy 14" Quest parachute. No damage.
Launch inset picture by Roger Smith
Roger Smith has posted great pictures - HERE
Rocketarium Hydra Sandhawk Build Part 22, Booster Fin Attachment Pieces
Here's the mask for the booster fins.
They are sprayed gold.
The fin attachment plates on the booster are narrower than on the sustainer.
Scrape away the paint and glue in place with white glue.
A band of aluminum trim Monokote was applied to the top and rear.
At the rear do a rough trim with a sharp blade and any remaining can be sanded off even with the end of the tube.
Here's how the model looks before the decals are applied.
The booster fin attachment plates will be brush painted gold.
Friday, August 2, 2013
FlisKits MMX Saturn V Build Part 10, Gluing Fins
I probably should have glued these on before the first white coats.
The paint was scraped off the fairing center line where the fins are glued.
A drop of glue was set down and the root edge drawn through the glue drop.
Use tweezers to hold the fin and set them in place on the fairings.
All the fins are in place.
Fillets were applied down the root edges.
Light color coats were sprayed and rough spots showed.
These were sanded smooth with 400 grit.
Rocketarium Hydra Sandhawk Build Part 21, Fin Attachment Pieces
The instructions give you two choices to make a double layer of card stock for the fin mounting attachments.
I simply glued the back and folded over the card. I dried flat in a book.
You could cut out sixteen pieces then glue and stack them. Folding, gluing and cutting seemed easier.
I set the double thickness card stock piece next to the root edge to mark the gold area for paint removal.
A smaller area than the attachment piece was scraped away down to the body tube.
Each fin attachment piece was pressed against the Sharpie barrel to put a slight curve in it.
This will better fit the curvature off the body tube.
The fin attachment pieces were attached with white glue.
There is no paint on the upper stage fin attachment pieces, they are white on the finished model. I might "seal" the faces of the pieces with some white glue applied with a Q-tip.
Gluing the attachment pieces on after the gold paint is applied gives a sharp color separation, better than you might get by complex masking.
Thursday, August 1, 2013
FlisKits MMX Saturn V Build Part 9, Cutting Out Fins
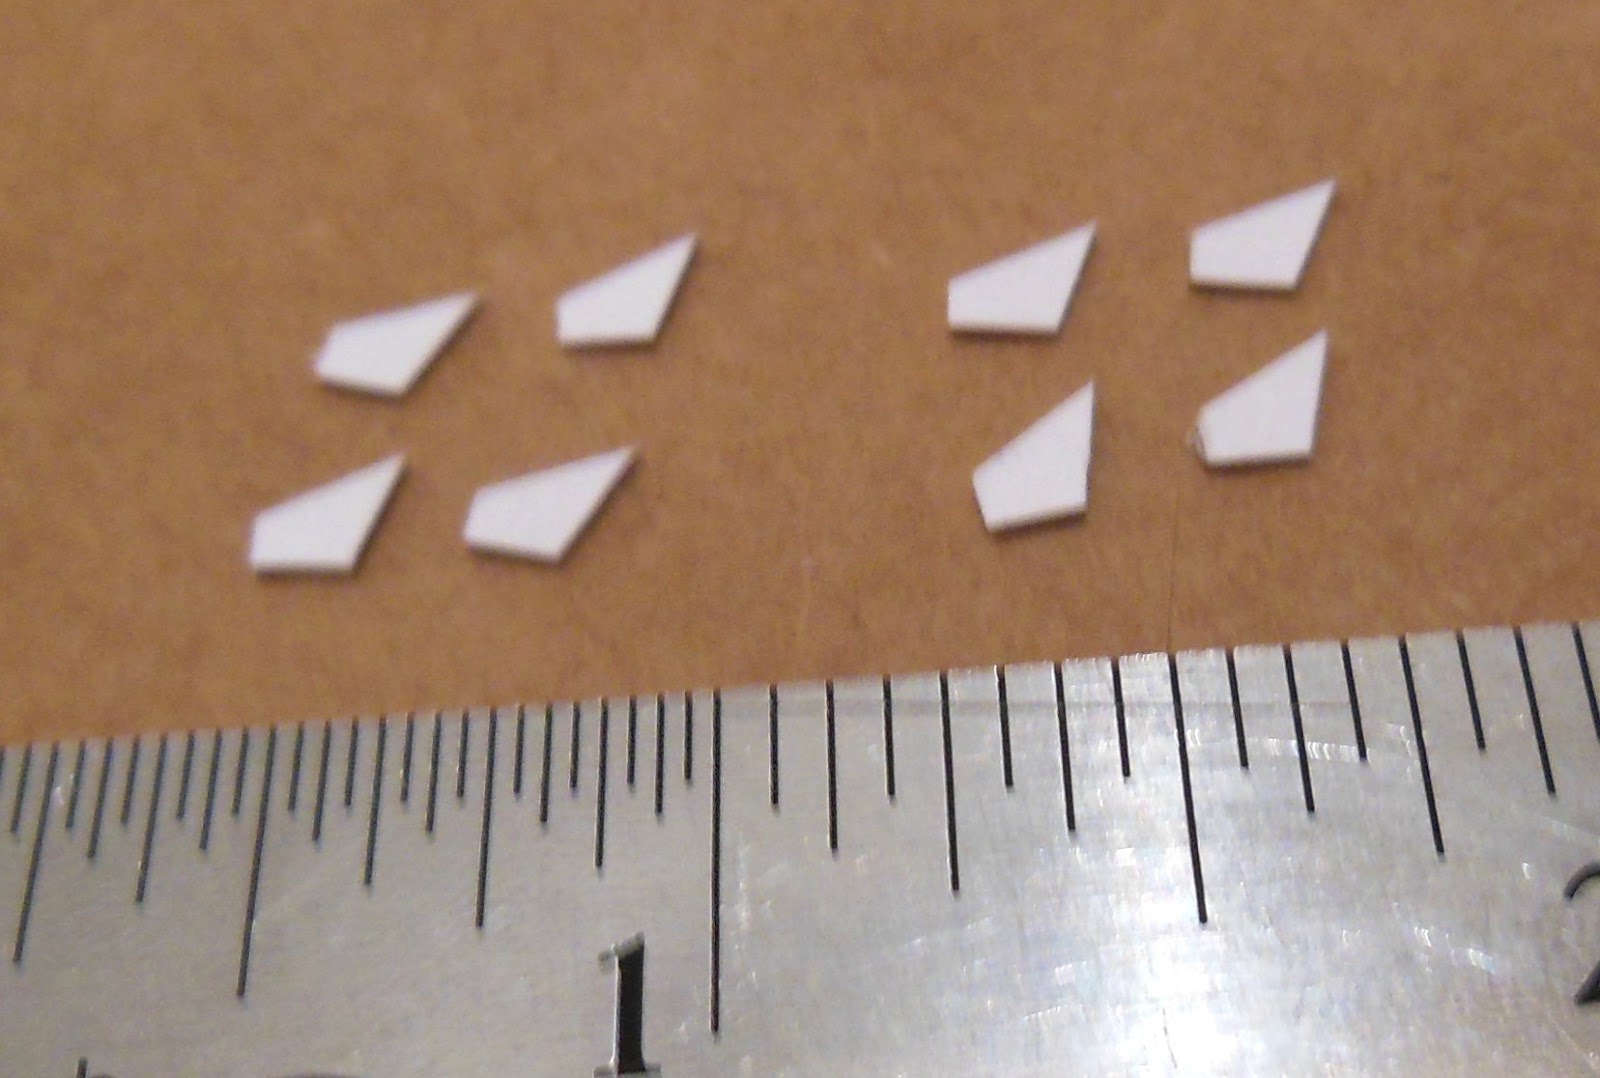
The kit supplied fins are printed on a single layer of 110 lb. card stock.
I wanted them a little thicker.
Some scrap 110 lb. card stock was creased and folded.
A glue stick was applied and the stock folded over and burnished.
The fold will end up being a rounded leading edge.
The printed fins will be used as a cutting pattern.
The fins were taped over the doubled card stock lining up the leading edge of the fin over the edge fold in the card stock.
Fliskits always gives you extras. The kit supplied eight fins.
I cut out that many from the doubled card stock.
I picked four of the best, the ones that were closest in size.
The four on the left will be used on the model.
Rocketarium Hydra Sandhawk Build Part 20, Bad Paint and Decals
This gold Krylon on the left gave a terrible mask line when the tape was pulled up, not what I was used to.
Home Depot didn't have the usual Rustoleum 2X in gold. I found it in the metallic section.
Both the gold paints dried very quickly. The 2X gold left a sharp line when the tape was removed.
I threw out the Krylon gold.
I squeezed three different model decals on one sheet.
Talk about cheap.
I usually wait until I have more than one model to decal before printing out a full sheet.
The Hydra Sandhawk bolthead decals are at the upper left.
Always make extras!
Subscribe to:
Posts (Atom)