Monday, August 25, 2014

The Alpha II?

In a recent post I asked: "Was there ever an Estes Alpha II?

*   Chris Gonnerman commented on the Alpha II:
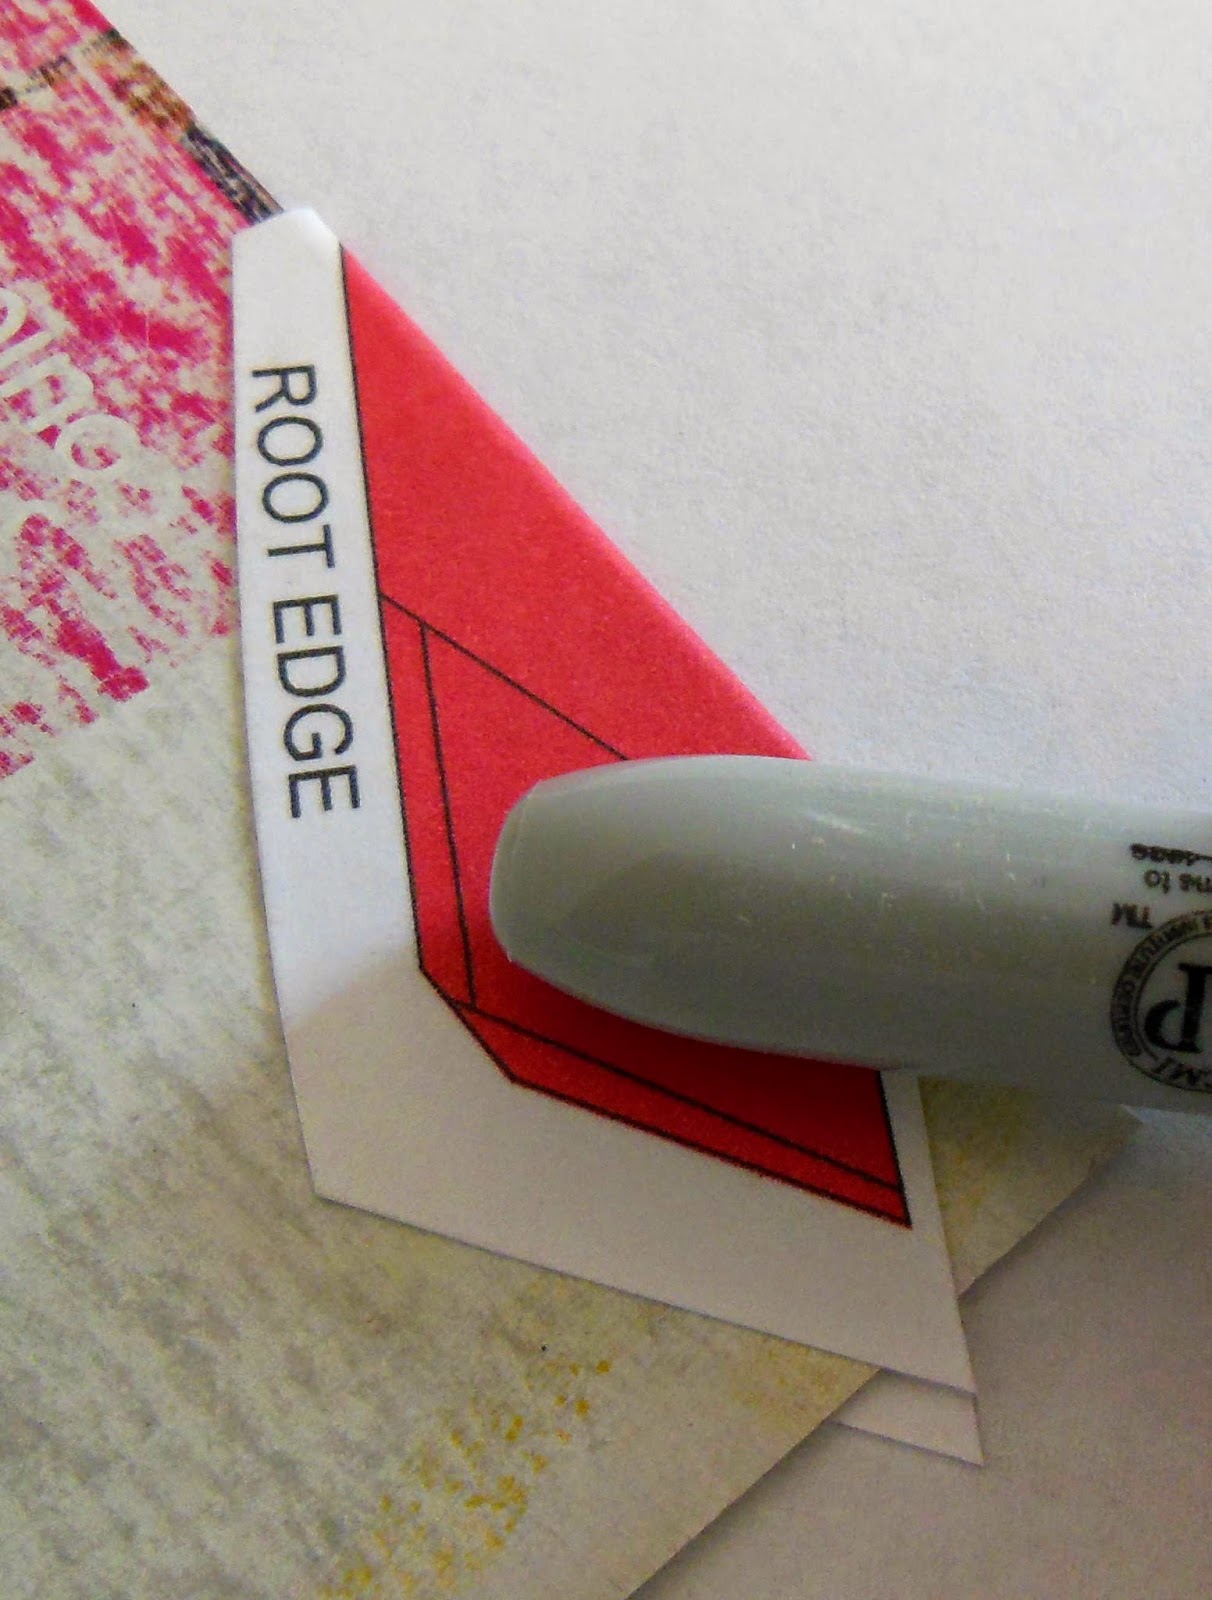
"According to CPMcGraw and BEC on YORF, the Alpha II was an educator-only kit; it had either a balsa or plastic nose cone, fins with the root edge marked by the die cutter, and an extended engine mount to which you attached the shock cord."
*   Bernard Cawley posted the Alpha II instruction PDF . . . You can see it HERE
*   Lonnie Buchanon commented: 
"The Alpha II was an identical kit to the Alpha, except that it had a plastic nose cone instead of balsa."


I found the instructions interesting.

In the Alpha II instructions the elastic shock cord is tied underneath the top bend of the engine hook.
I had never seen this method used before in an Estes kit. Personally I wouldn't want an elastic cord this close to an ejection charge. The rubber would decay very quickly.


This is the same method used in many Semroc kits, except the lower end of the shock cord is flame resistant Kevlar and not rubber.

I wonder if the Alpha II was the inspiration behind the Semroc style Kevlar tie?

Carded Downscale Black Brant VB - Part 8 Laminated Fins D

Use a sharp knife and a hard cutting board for best results.
The hard surface underneath will make a cleaner cut through the bottom layer. If your cutting board is soft cardboard the thin paper skin could tear.
Cut from the side labeled "ROOT EDGE" only.

Laminated fins are dense and will take five or six passes with a new blade to cut.
Be sure to hold the blade at a 90 degree angle when cutting.


Here's the back of the fin after cutting it out.
You can see now why the back side was printed larger than the ROOT EDGE cut side. This overprint edge guarantees red ink coverage overall.
The rolled over skin is the easiest way to go.
Some carded designs have two separate halves on either side of a carded middle layer. It's very hard to line both sides up.

The inset picture shows the three layers with the rounded leading edge rolled over the internal cereal box cardboard layer.

The rolled over "butterfly" skin does three things:
1. The leading edge is stronger and won't de-laminate
2. You end up with a rounded leading edge
3. No alignment problems, the graphics on both sides are matched.


Sunday, August 24, 2014

Carded Downscale Black Brant VB - Part 7 Laminated Fins C


The tip was cut off (above the "R" in ROOT) and some of the excess off the outside edge.
Cutting off some excess lets you to see where the rolled over leading edge contacts  the interior cardboard.


Do a dry fit over the straight edge of the cereal box cardboard before gluing.
On the left the top of the leading edge fold isn't all the way down onto the interior cardboard edge.
The right side inset picture shows contact at both the top and bottom of the leading edge.

Set a clean piece of paper on your work area to glue coat the fin covering.
Glue stick is applied to one half of the inside surfaces.
(Doing this on a piece of paper allows you to glue up to and over the edges of the overlay)
Use a stick to hold down the side you just glue coated and coat the other side.
(Don't use your fingers to hold down the overlay. They'll just get glue on them and could stain the printed surfaces.)


Press the leading edge over the cardboard edge first -
This insures good contact at the leading edge and the interior "V" fold.
Then press down the sides working from the leading edge down.

Burnish the skins down.
Don't let the black print on the Sharpie rub onto the fins!

Set the fins into a heavy book and let dry for a few hours.

TIP: How do you know if the glue is still wet?
Set the glued piece on your cheek. If it feels cool, it's still wet.
Don't set the card stock fin on your cheek if your skin is oily. the oil will stain the print.

New Shrox FSI Design?

In a recent TRF post CLICK HERE,
Blake Goddard introduced himself as IT and Marketing Director for Flight Systems Inc. 
"All your old favorites will be back: BBII, OSO, Megatron, Nova, Viking III, IV, etc."

FSI has a website under development: www.flywithfsi.com

Doug Shrox will be doing some new designs, 


Ooooooh!

Saturday, August 23, 2014

Carded Downscale Black Brant VB - Part 6 Laminated Fins B


Before cutting, study the fin at the right.

Look for the small dashed lines near the middle. After folding this will be the rounded leading edge.

Note the upper side of the fin is slightly larger than the lower side. This is to insure full red ink coverage on the larger side after the fin is cut out.

After folding and gluing the fin will be cut out through all three layers on the ROOT EDGE side.


First, score the dashed line using something blunt like the tip of the butter knife shown in the inset picture.

Use a straightedge and not much pressure to score a line down the middle using the dashed lines as an end point.
It is important that the embossed fold goes right down the dashed lines.

Cut out the fins outside of the edges.


First fold gently by hand then use your burnished to make a sharper crease down the embossed line.
This fold doesn't have to be razor sharp!
It should end up being a rounded edge.

Parachute Descent Rate Calculators


On TRF, sooner.boomer posted the question:
Parachute-How Big, Too Big?
How can I find the minimum weight for a given diameter chute (assuming a spherical chute)? 

Race58 gave these links:
By Jordan Hiller
http://www.rocketreviews.com/descent-rate-calculator.html
By Jordan Hiller
http://www.onlinetesting.net/cgi-bin/descent3.3.cgi
By Randy Culp
http://www.rocketmime.com/rockets/descent.html

Friday, August 22, 2014

Carded Downscale Black Brant VB - Part 5 Laminated Fins A

I've written about the cereal box laminated fins before.
If you haven't made fins from a card stock laminate you might be surprised how strong they are.

These fins are actually a triple thickness of:
1. Printed 100 lb. card stock (one side)
2. Cereal Box cardboard
3. Printed 100 lb. card stock (the other side)

The outside printed layers of 110 lb. card stock are "butterflied" and fold over the cereal box cardboard at the leading edge.
If folded and glued correctly, this makes a rounded leading edge on the finished fin.
Trust me, it's easier to do than read through the description.

You'll need :
The fins printed on 110 lb. card stock, 220 grit sandpaper, cereal box cardboard (this is from a Cheerios box), glue stick, straightedge and a sharp hobby knife.

First, rough up the printed side of the cereal box cardboard with 220 grit sandpaper.
It won't take much, just remove some of the gloss and ink.
The glued outside layers will stick better if some of the ink is removed.

This sanded ink and fine dust can get everywhere! Dust off the cardboard and wash your hands before gluing anything.


You will need a straight long cut to be the inside leading edge of the ply fins.
With  sharp knife and straightedge, cut off the crooked edge down a long side of the cereal box board.


For a rounded leading edge, lightly sand the the square cut you just made with 400 grit.
Don't over sand it, just knock the corners off the edge.