Thursday, March 7, 2024

New Way Nike Ajax Build, Part 19, Starting The Decals

There is a simulated gap between the first and second stages. A black band lays horizontally under the open areas at the base of the interstage supports.

TIP: I couldn't see any way to slip this long black rectangle around the tube, under the three vertical supports. I decided to cut it into three pieces. Water slide decals are too delicate to slip under the tight open support openings.  
Wrap the decal around the tube (above the top of the supports) and mark the cut lines.


Here's the three pieced wrap. Tuck the start and stop ends of the band under the interstage supports.

The four U.S. ARMY decals go on the upper body centered between the tunnels. 
Notice how they are flipped. Repeat the flip on the other side.

Wednesday, March 6, 2024

New Way Nike Ajax Build, Part 18, Masking For The Olive Drab


The lower BT-55 section is painted flat olive drab.
The mask is at the top of the widest ring at the interstage supports.

I laid tape strips that overhung the edge of the largest ring. I know there is Sharpie ink on the inside of the three tape strips, but the mask/color separation is actually outside of the ring. The clear tape is set flat and overhangs the ring edge.


Tape was wrapped around the low overhang of the interstage supports.
A plastic bag covered the rest of the upper body to remain white.


Here's the finished mask after the tape was removed. I was happy with the results.

Tuesday, March 5, 2024

New Way Nike Ajax Build, Part 17, Control Surfaces


Here's the nose section showing the tunnel joint cuts.

On the right side I have dabbed on some CWF to fill the open cut.

The control surfaces are glued and centered onto the trailing edge of the upper triangular fins.

TIP: On the left - how glue is applied right out of the bottle.
On the right - The glue line is evened out before gluing onto the fin edge. 
Swipe the side of your fingertip down both side edges leaving an even glue line in the center.
This smoothing of the glue line leaves less "squeeze out" and a cleaner finished joint.


Here's the control surface piece centered down the trailing edge of the upper fins.

Monday, March 4, 2024

New Way Nike Ajax Build, Part 16, Nose Section Tunnels

TIP: Before gluing on the nose section tunnels - 
I'd recommend filling the nose cone/tube and tube/adapter joints. I wish I had.

The joints are noticeable after the white paint is applied and are hard to fill after the tunnel strips are in place. The small fins and tunnels are close together.

There is good reason why Estes supplied the tunnels in balsa. I went with basswood thinking there wouldn't be grain to fill. Sanding the trapezoid profile in the tunnels would be difficult with the brittle balsa.
But - the balsa is more flexible and easily conforms to all the angles in the nose section.


My basswood tunnels were too stiff and had to be cut halfway through with a razor blade.


The lower picture shows how I had to cut and lightly crack the tunnels to fit the angles of the nose section.


Some 400 grit was wrapped around a Q-tip to sand away the primer for a better glue bond. The sanding also made a flatter gluing surface to match the flat bottom of the tunnels.

Sunday, March 3, 2024

Launch! Orlando R.O.C.K., March 2, 2024


This is a new clone build, soon to be featured on the blog.
A rare one, the Estes SKYTRACER.

Winds were picking up, I was concerned the large wing might turn the rocket into the wind. I went small for the first launch with a recommended A8-3.
Very stable, low 200' altitude and full chute. 


This was a flight test build for a upcoming Odd'l Rockets kit, the CYCLONE with an Estes B6-4. 

A simple offset ring make the rocket spiral during boost. You could easily see the wiggle in the smoke trail.

Under the tie-dyed streamer, the rocket was blown towards the parking lot. Recovered with no damage.


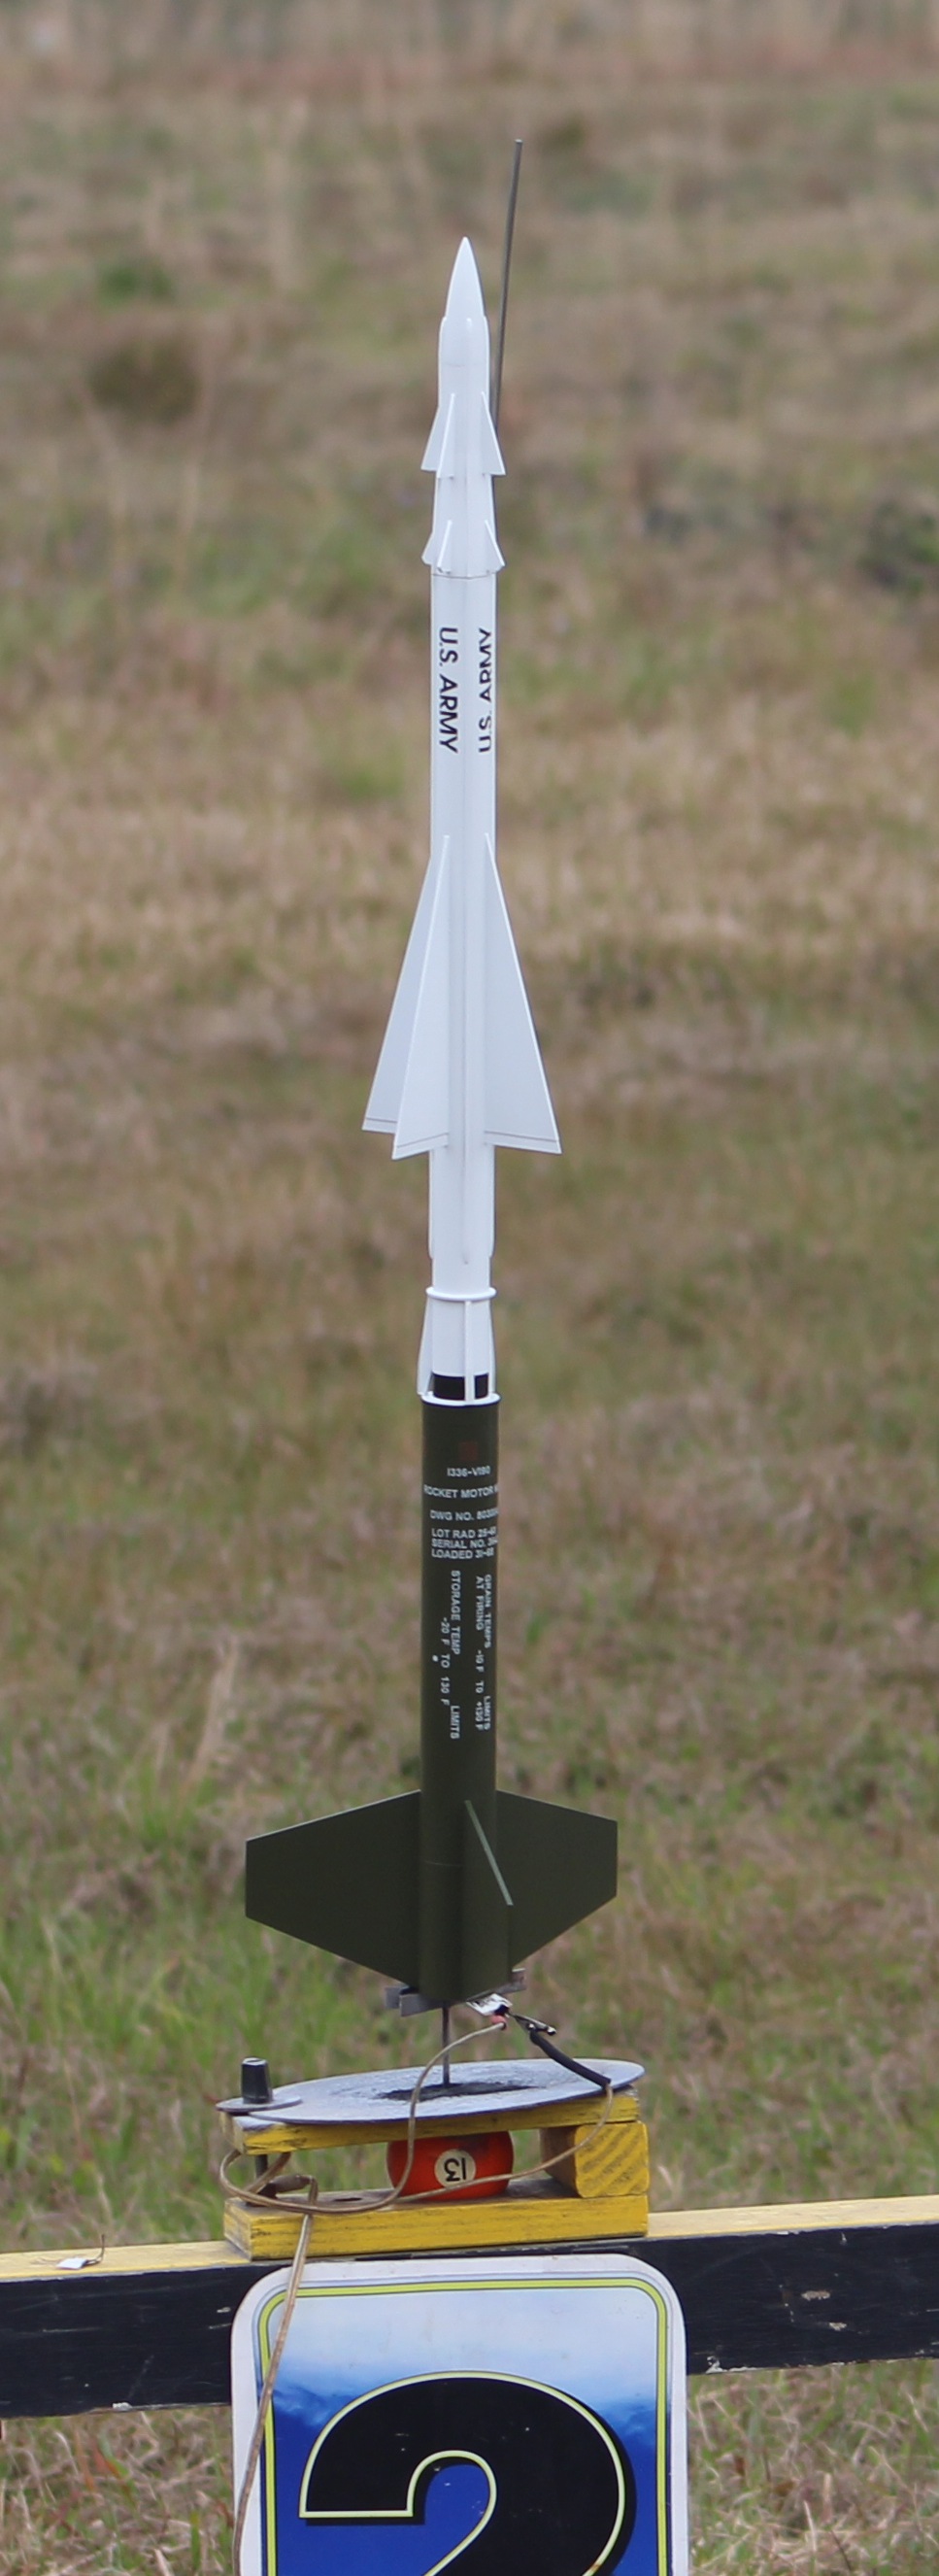
The New Way NIKE AJAX was another first launch. This is the same model being built now on this blog.

The B6-4 got it to 325'. At ejection, the new elastic shock cord burned through! The nose section came down under chute, the long body spun and fell horizontally. 
No damage except for a shock cord that needs replacing.


Rich Cody launched his classic Estes Space Shuttle with a C6-3. 
The shuttle did separate into a slight stall glide.

Rich also flew his Odd'l F-16 with a B6-4.


Here's Steve Moon's VENUS PROBE during boost.


And landing!

Fourth launch for me was the Excelsior NIKE GOON.
A B6-4 got an altitude of 350'. Full chute, textbook flight.

My fifth flight was the Rocketship Games HAWKEYE using a MicroMaxx motor. Boost is always fast on these little models, good thing I had some young eyes to point me to the landing area.

Five up, five recovered. Only a shock cord to be replaced in the Nike Ajax. 

 

Saturday, March 2, 2024

New Way Nike Ajax Build, Part 15, Parachute

A 18" diameter parachute is cut from the multi size parachute kit.

These suggested shroud line lengths seem long. Some simple math tell me they are 1 1/2 times the cute diameter. 
Years back there was a NARAM R&D presentation that showed a 1 1/2  length shroud line is the most efficient.  
I'm used to the Estes lengths. I settled for three 40" long shroud line loops.
 
This red shroud line is a fire resistant Nomex.

The "spool" is interesting. 
When you set your index and thumb tips over the hole, the black spool and pull the string and it will teeter tot back and forth to unwrap.
This is a big improvement over the Estes style of a long looped line that usually gets snagged when you try to open it up.


This chute kit had round reinforcement rings instead of the folded jewelry tags normally seen in the New Way kits.

Cut the chute to 18".
TIP: Apply a ring to both sides of the chute material. Both sides is a great way to go, especially if you use paper reinforcement rings.
Punch holes and tie on the shroud lines.
 

Friday, March 1, 2024

New Way Nike Ajax Build, Part 14, Gluing On The Nose Section Fins


There are a lot of fins glued to the nose section!
In order to fit over the angled adapter - 


The overhanging root edge is sanded at a slight angle. This is where the aluminum sanding block comes in handy. It doesn't take  much sanding for a tight fit. Sand a bit and check, then repeat.

TIP: I'd recommend filling the adapter/tube, tube /nose cone joints before gluing on the fins and tunnels. I didn't and had a hard time filling the balsa and tube joint after the fins and tunnels were glued on.


Here's the upper section with eight small fins in place.