
In Step 20 you are given the choice of painting the bottom half silver and the top half black. After painting glue the two halves together then glue on the tip.
This is a great idea - no masking and the two halves in different colors will hide any joints that don't quite match up. (The art does show the tip being painted half silver and half black tho - )

Dry fit the two halves together and test the fit of the tip.
Don't force the tip - it won't fit all the way!
First sand off the flash shown in the inset picture.
Even after sanding the extension plastic the tip wouldn't slide into place.

The hole inside the tip will need to be opened up. I didn't want to remove any more plastic off the nose cone extension at the top.
Turn a small rat tail file in the tip hole.
That opened it enough for the tip to slide down onto the small shoulder.
Again, don't glue it together until after painting.
On the side with the pins there is a small molding indent.
This should be filled.
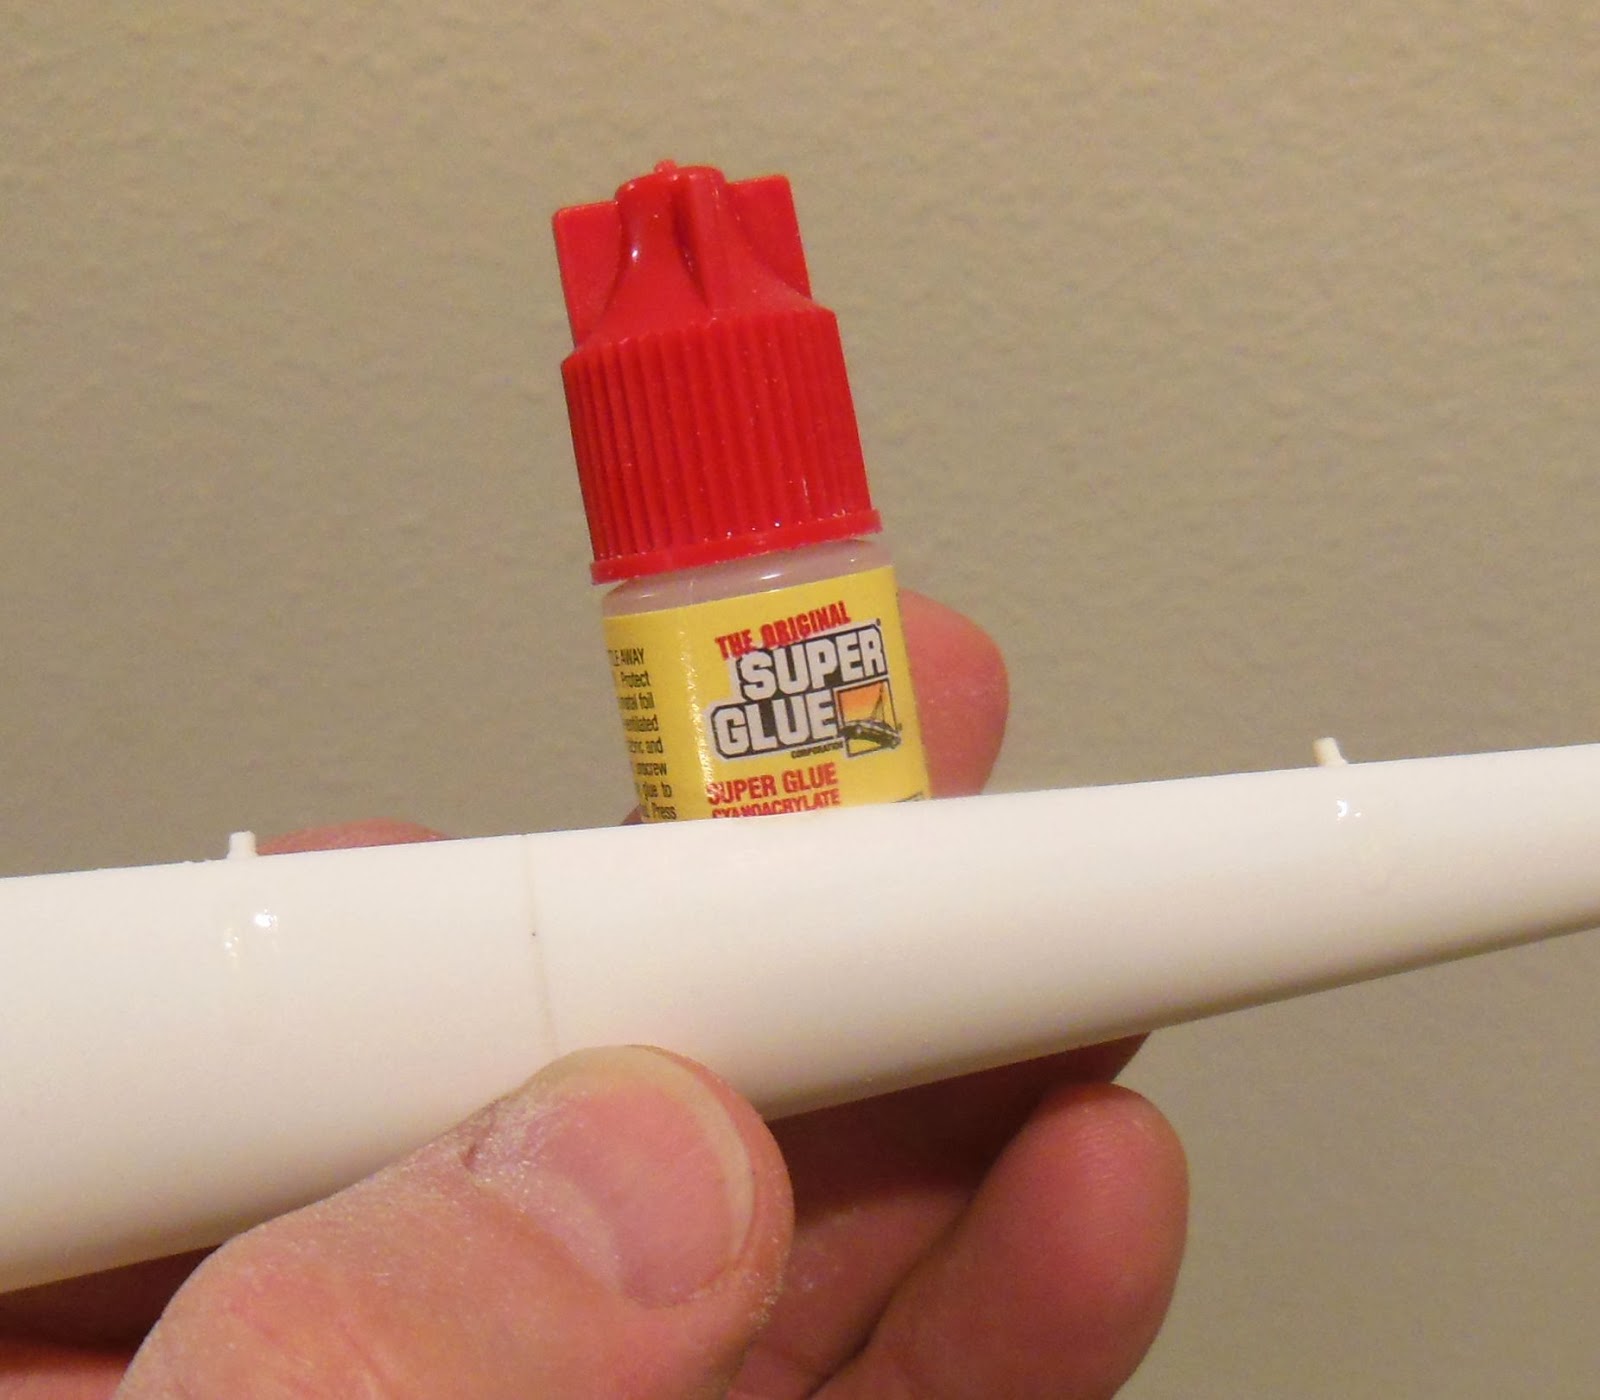
On plastic I always use medium CA glue. It will adhere to the plastic and sand flat with the nose cone sides.
Enlarge the picture and you can see the raised drop of CA over the indent.

Here's the same area after sanding with 220 on a block followed by 400 grit smoothing.
The sanded CA glue is almost invisible.
No comments:
Post a Comment