
After scanning the kit supplied shrouds I printed off three copies. Three shrouds were formed, I'll use the best looking and fitting one for the build".
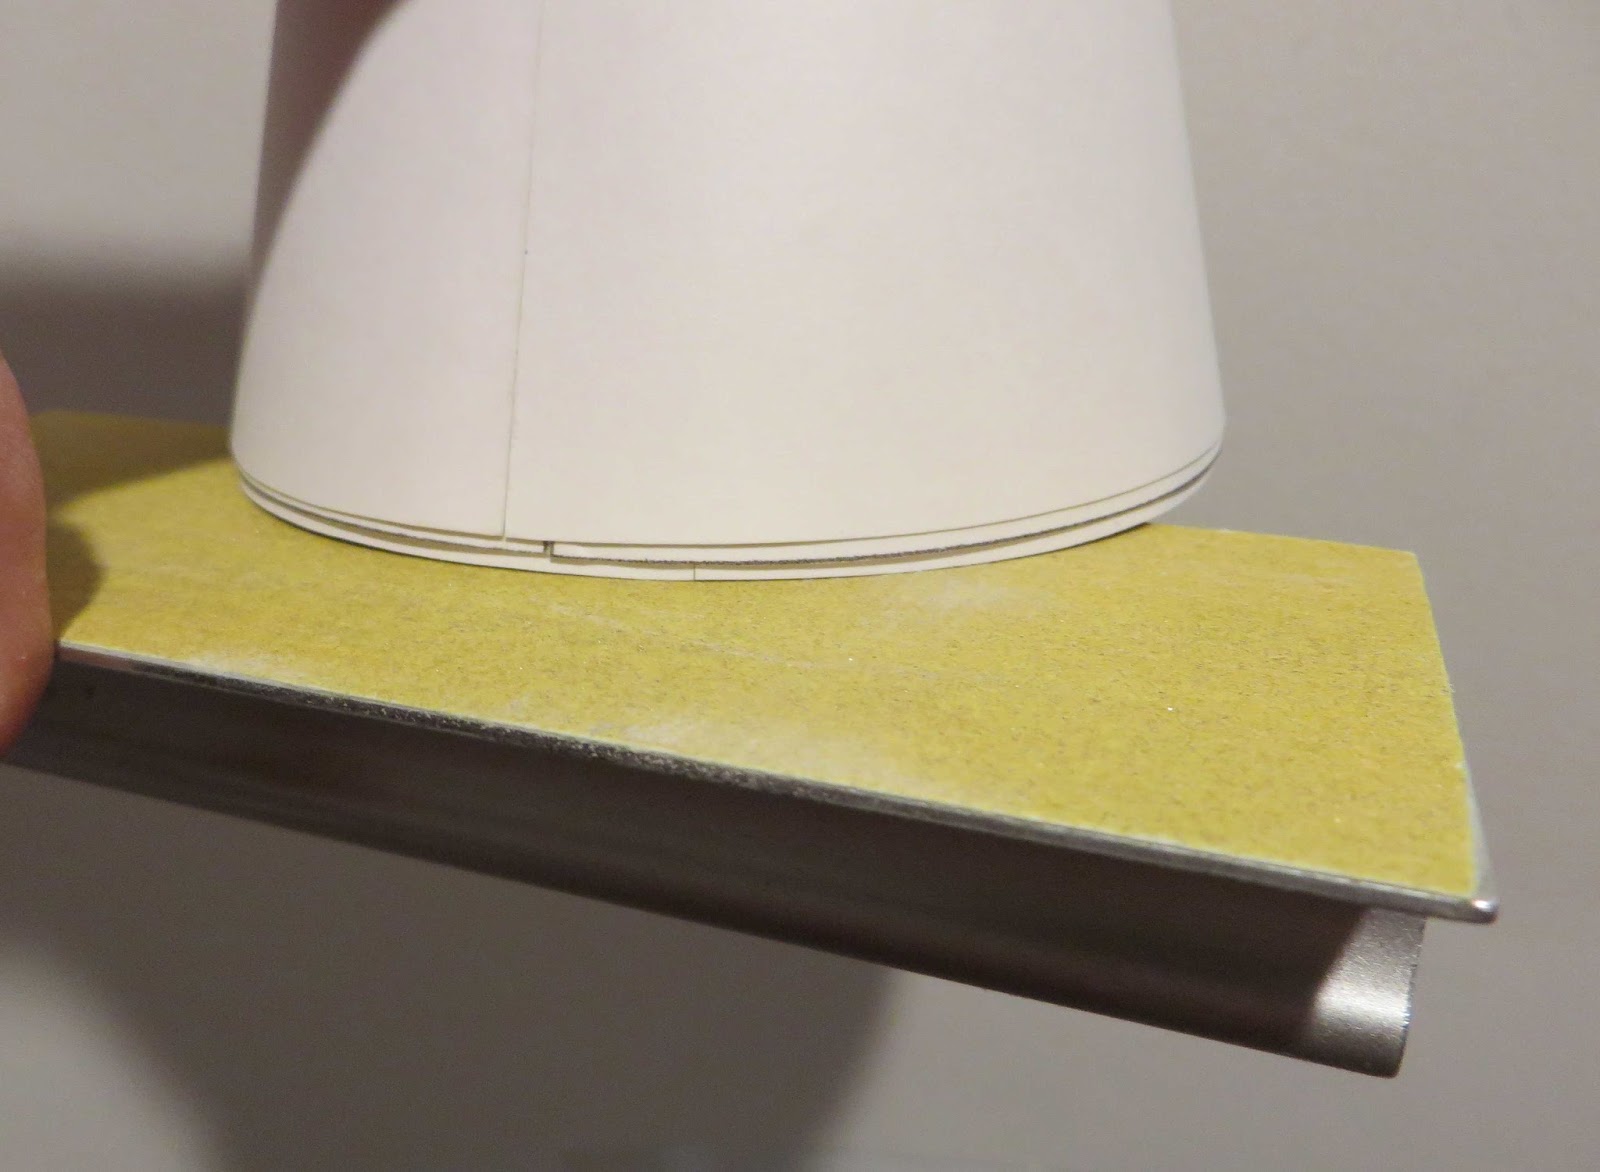
To level out the bottoms, the best shroud was sanded flat on a sanding block.
TIP: To support the floppy shroud when sanding, stack all three for more support on the edge.

The top of the L.E.M. shroud was a little tight in the tube. Rather than have the top of the glued seam open up, the top hole was made larger by sanding off some of the edge.
Again, the three shrouds were nested inside each other for support.

Here's the finished assembly of three tubes, shrouds and interior couplers.
The upper L.E.M. should have a smooth seam, all of this shroud will be exposed on the finished build.
The shorter lower shroud joint seam isn't as critical, it'll be covered by a vacu-form wrap.
Chris you are a first class craftsman
ReplyDelete