

The SRB (longer, lower wrap) is applied. Be sure to line up the seams.
Something I didn't mention earlier,
Before the glue sets you can mold the shroud edges into the larger body tube. Roll a burnisher over the edge for a smoother seam transition.

Wrap some 400 grit around an engine casing and sand a curve into the bottom.
TIP: Why use an engine casing? You'll get a better fit sanding over something with a slightly smaller diameter.
You should really give the wraps a good coat of clear. The paper wraps pick up dirt and oils pretty easily.
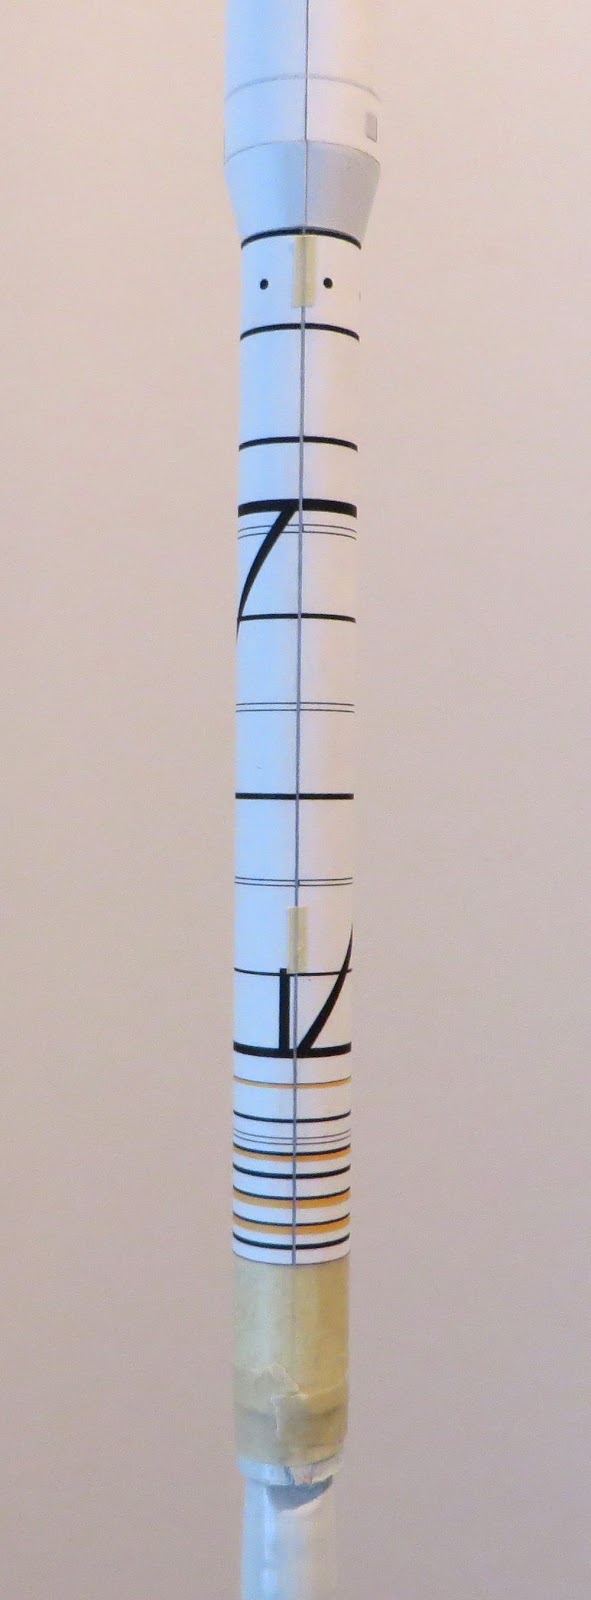
The lug gluing locations and exposed bottom tube are masked off .
After the clear coat dried and tape removed, the lugs were glued in place.
Which clear coat product do you prefer on your models with paper wraps?
ReplyDeleteHi Eddie,
DeleteIt's Krylon clear acrylic, the only product I use from Krylon.
Be sure to find the UV protect clear - Krylon UV Gloss Clear #1305.
I also use the same stuff to spray my home print decal sheets.
I don't clear coat finished models anymore. I only seal the decals with Pledge (with Future shine). Dip a Q-tip, wipe off the excess and use the wet Q-tip as a small brush over the decal.
I've found that models (overall) sprayed with clear acrylic get sticky in hot, humid weather.