

Here's the SRB white areas after painting.
Everything is still a dry fit, no glue. The nose cone was removed and set aside for later gluing.
The inside of the SRB tube has no paint in it so the flame fin assembly can slide in easily.
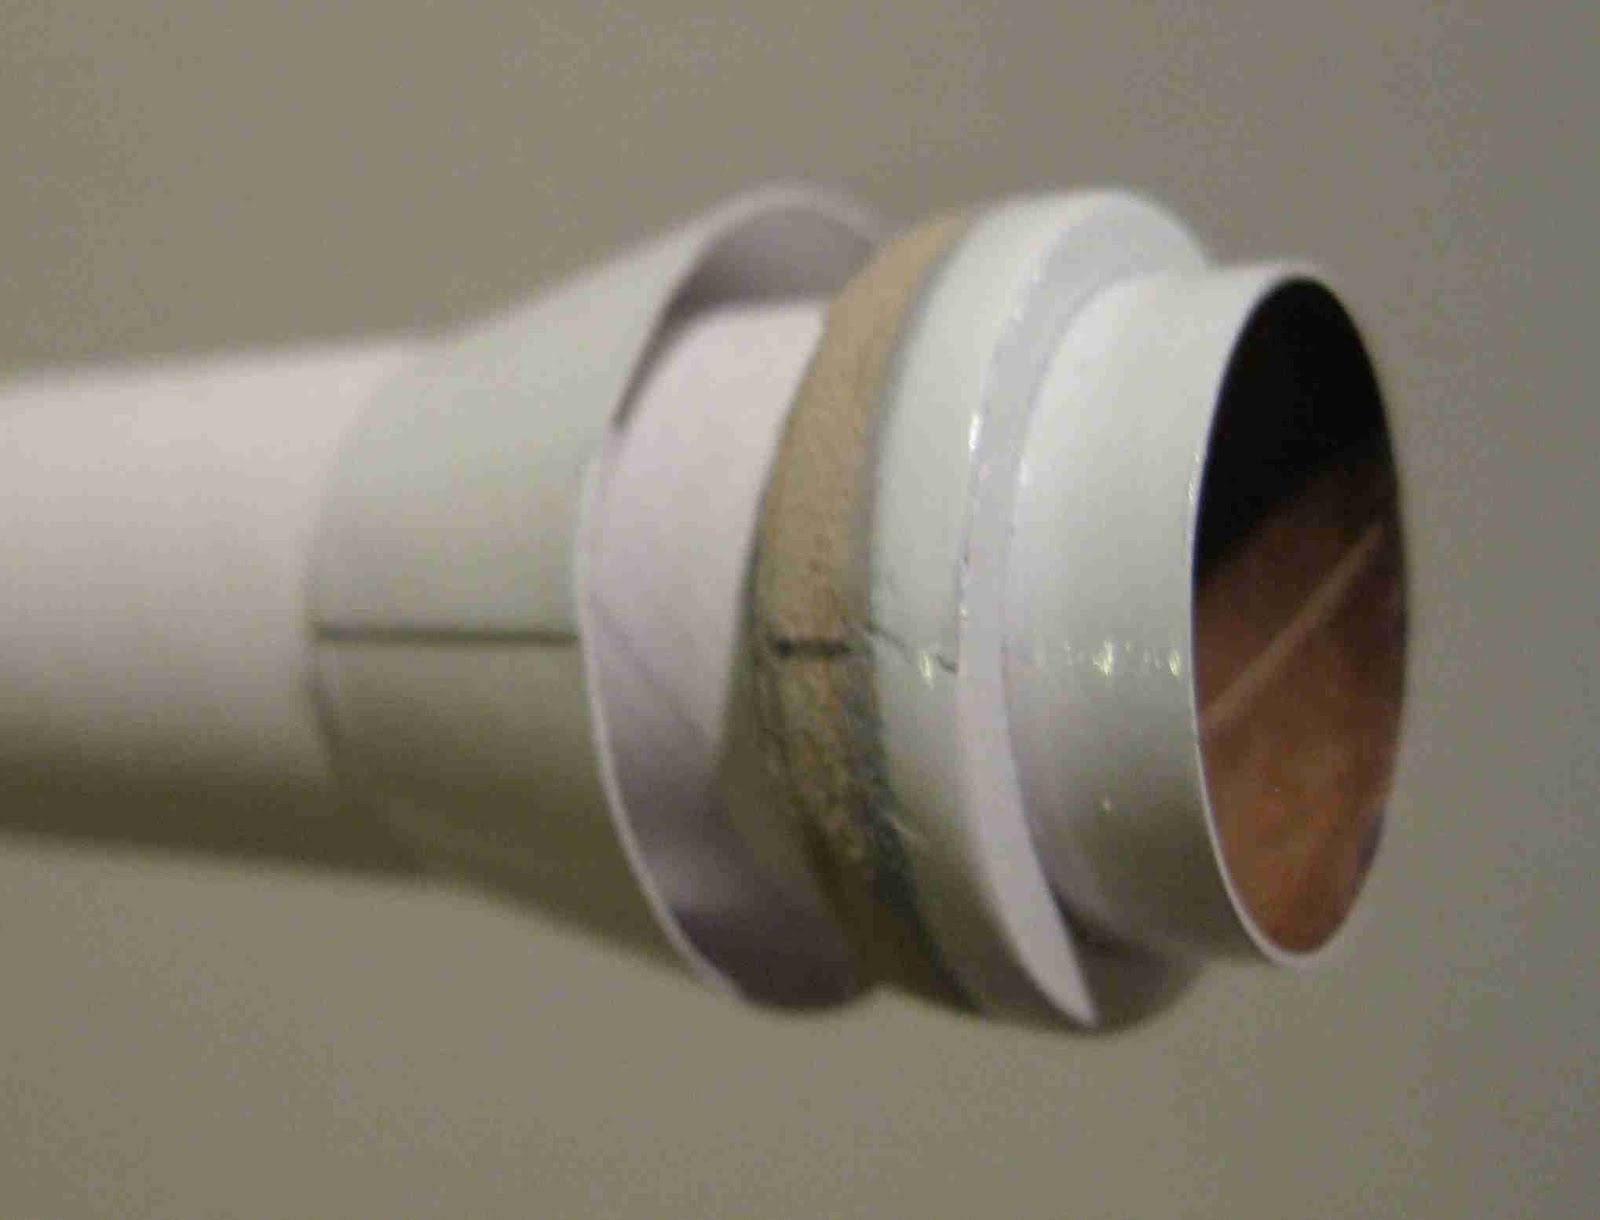 Take a look at your rings. If there is any roughness on the edge or the seam is still visible, plan ahead and hide it where it won't be seen.
The skirt seam will be on the inside where the SRB glues to the core tank.
I'll line up the skirt seam with the rough area left on the support ring.
The skirt seam will also be in line with the wrap seam, that's where the pencil line will now go.
 With the support ring glued on, the skirt is slid down from the top (instead of the bottom) and onto ring.
You can see the glue lines in place before the skirt was slid onto the ring.
Why go through these extra steps?
I didn't want to brush paint the nose cone, support ring or the area below the ring. There was a bit of planning before doing Step 4. It could certainly be built as shown in the instructions, I just wanted smoother painted surfaces I couldn't get with a brush.
No comments:
Post a Comment